Well, isn’t setting up an air purifier just a breeze? Trust me, it’s not as complicated as it may seem.
In this guide, I’ll walk you through the step-by-step process of getting your air purifier up and running smoothly. From choosing the right purifier to understanding the control panel, I’ll cover it all.
So, sit back, relax, and get ready to breathe in that fresh, clean air in no time. Let’s get started!
Key Takeaways
- Consider room size, filtration system, and noise level when selecting an air purifier.
- Avoid placing the air purifier in a corner or against a wall to ensure better air circulation.
- Thoroughly inspect the packaging for any signs of damage or tampering before unboxing the air purifier.
- Familiarize yourself with the control panel functions and optimal settings for the air purifier.
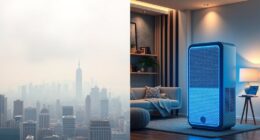
Choosing the Right Air Purifier
To choose the right air purifier, you’ll need to consider factors such as room size, filtration system, and noise level.
When it comes to air purifier brands, there are several options available in the market. Some popular brands include Honeywell, Dyson, and Blueair. Each brand offers different features and benefits, so it’s important to do your research and determine which one suits your needs best.
In terms of air purifier features, you’ll want to look for models that have a HEPA filtration system, as these are highly effective in removing allergens and pollutants from the air.
Additionally, consider the noise level of the air purifier, especially if you plan to use it in a bedroom or office space. Look for models that have a quiet operation mode or adjustable fan speeds to ensure a peaceful environment.
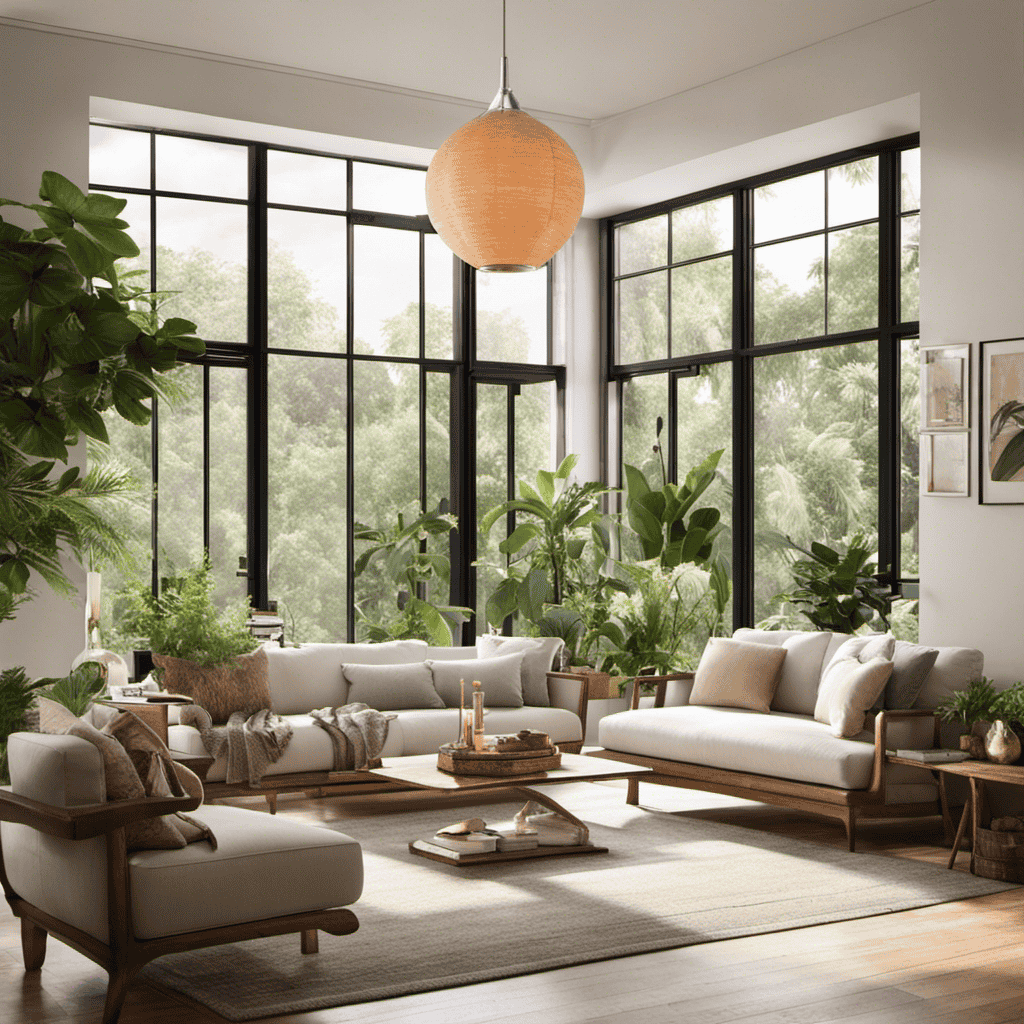
Selecting the Ideal Location for Your Air Purifier
When selecting the ideal location for your air purifier, it’s important to consider factors such as air circulation and proximity to sources of pollutants. Proper placement of your air purifier can have significant benefits in improving indoor air quality and overall health.
Here are a few key points to keep in mind:
-
Avoid placing the air purifier in a corner or against a wall: This can restrict airflow and limit the purifier’s effectiveness. Instead, position it in the center of the room for better air circulation.
-
Keep the air purifier away from obstructions: Furniture, curtains, and other objects can obstruct airflow and reduce the purifier’s efficiency. Place it in an open area for optimal performance.
-
Consider placing the air purifier near potential sources of pollutants: If you have specific areas in your home where pollutants are more likely to accumulate, such as near a pet’s bed or litter box, placing the purifier nearby can help capture and filter those pollutants effectively.
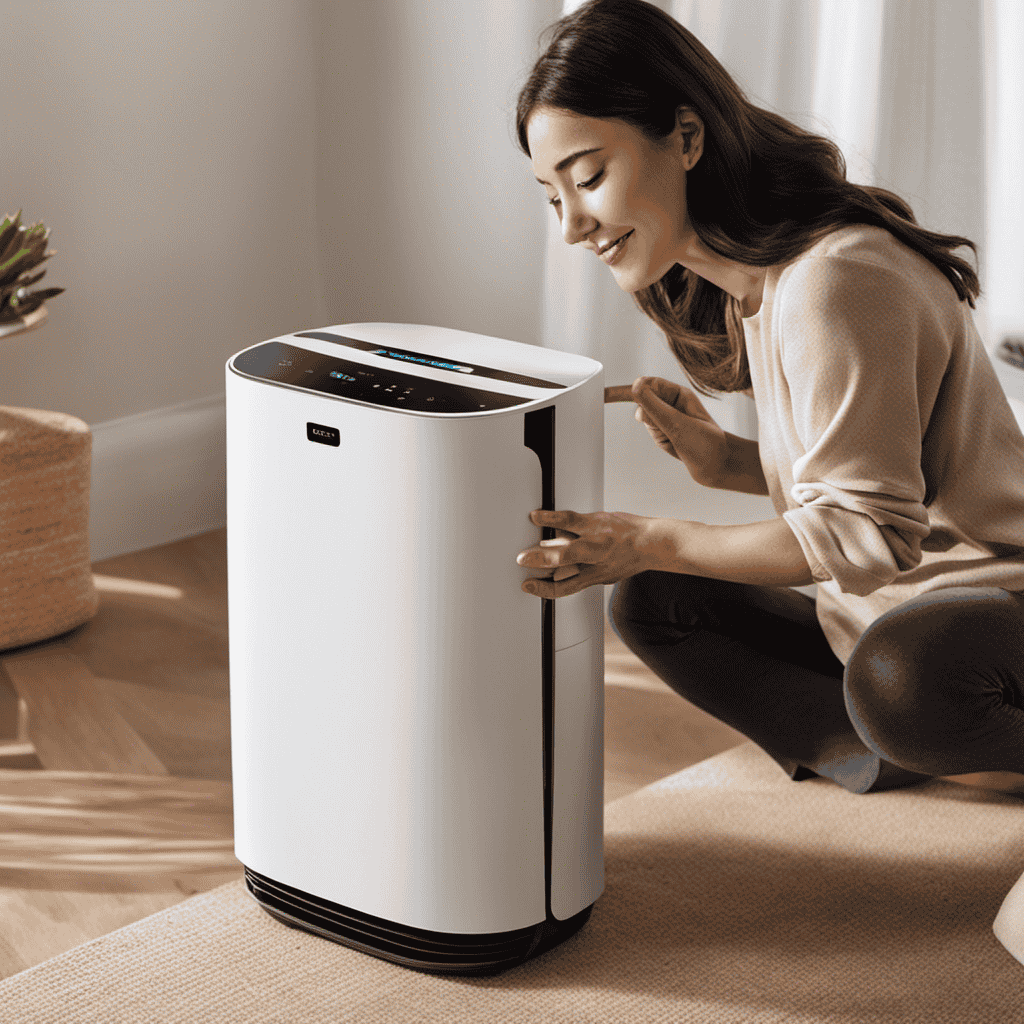
Unboxing and Checking the Contents
When it comes to unboxing and checking the contents of a new air purifier, there are a few key points to keep in mind.
First and foremost, it’s important to thoroughly inspect the packaging for any signs of damage or tampering.
Next, carefully remove all the accessories and components from the box, making sure to check that everything is included as stated in the product description or manual.
Contents and Accessories
Make sure you have all the necessary contents and accessories for your air purifier setup.
When it comes to air purifier maintenance, there are a few cleaning techniques you should be aware of. Here are some important things to keep in mind:
-
Filters: Check if your air purifier comes with a filter and make sure it is clean and in good condition. If not, you may need to purchase replacement filters.
-
Pre-filters: Some air purifiers have pre-filters that capture larger particles like dust and pet hair. These should also be cleaned regularly to maintain optimal performance.
-
Accessories: Your air purifier may come with additional accessories such as a remote control, user manual, or cleaning brush. Make sure you have all of these items to fully utilize your air purifier.
Unboxing and Inspection
Before you begin, it’s important to inspect the contents and accessories of your air purifier setup.
When unboxing your air purifier, follow these tips to ensure a smooth and hassle-free installation.
Start by carefully removing the packaging and placing it aside for recycling. Then, check for any visible damages or defects on the unit.
Inspect the power cord for any fraying or cuts, and make sure all the necessary accessories, such as filters and remote control, are included.
Refer to the inspection checklist provided by the manufacturer to ensure you have everything you need. Take note of any missing or damaged items and contact customer support for assistance.
Assembling the Air Purifier
To assemble the air purifier, start by connecting the base to the main unit. Make sure the connectors align properly before securing them in place.
Once the base is attached, proceed to attach the filters to the main unit. Check the instructions to ensure you are installing them correctly.
After that, plug in the power cord and turn on the air purifier.
Here are some assembling techniques and troubleshooting tips to help you along the way:
- Check for any loose or missing parts before starting the assembly process.
- Follow the step-by-step instructions provided in the user manual to ensure proper assembly.
- If you encounter any difficulties during assembly, refer to the troubleshooting section of the manual or contact customer support for assistance.
Understanding the Control Panel and Settings
When it comes to operating my air purifier, understanding the control panel functions and optimal settings is crucial for achieving the best air quality in my home.
The control panel functions allow me to customize and control various aspects of the air purifier, such as fan speed, timer settings, and mode selection.
Control Panel Functions
The control panel functions include adjusting the fan speed and setting a timer. These features are essential for maintaining and troubleshooting your air purifier effectively.
Here are some key functions of the control panel:
-
Fan Speed: The control panel allows you to adjust the fan speed according to your needs. You can choose from low, medium, or high settings to regulate the airflow and filtration efficiency.
-
Timer: The timer function enables you to set a specific duration for the air purifier to operate. This is helpful when you want the unit to automatically turn off after a certain period, saving energy and extending the filter’s lifespan.
-
Mode Selection: Some air purifiers offer different modes such as sleep mode, auto mode, or turbo mode. These modes optimize the purification process based on the air quality and your preferences.
Optimal Settings Guide
Here’s a handy guide to help you find the optimal settings for your air purifier.
When it comes to cleaning techniques, it’s important to consider the size of your space and the level of air pollution. For larger rooms or high pollution areas, you might want to set your air purifier on a higher fan speed. This will ensure that the air is being filtered effectively and efficiently. On the other hand, if you’re in a smaller room or the air quality is relatively good, a lower fan speed will suffice.
Now let’s talk about noise levels and sleep mode. Many air purifiers come with a sleep mode feature that operates on a lower fan speed, reducing noise levels. This is perfect for nighttime use, as it won’t disturb your sleep. If noise is not a concern for you, then you can choose the regular fan speed setting.
Remember to clean or replace the filters regularly to maintain optimal performance.
With these tips in mind, you can now set your air purifier to the perfect settings for your needs.
Installing the Filters
To install the filters, you’ll need to remove the air purifier’s cover. This process is simple and can be done in just a few steps. Here’s how you can do it:
-
First, locate the cover of your air purifier. It is usually located on the front or back of the device.
-
Once you’ve found the cover, gently remove it by sliding it off or unscrewing it, depending on the model.
-
After removing the cover, you will see the filters inside. Take note of the type of filters your purifier uses, as you will need to choose the appropriate replacement filters.
-
To clean the filters, carefully remove them from the purifier and gently brush off any loose dust or debris. If your filters are washable, follow the manufacturer’s instructions for cleaning.
-
Once the filters are clean or replaced, simply place them back into the air purifier and securely put the cover back on.
-
Congratulations! Your air purifier is now ready to provide you with clean and fresh air.
Remember to regularly check and clean or replace your filters to maintain optimal performance and effectiveness.
Connecting the Power Source
After successfully installing the filters, the next step is to connect the power source to your air purifier. This is a crucial step in ensuring that your purifier functions effectively. To help you understand the power source setup, I have provided a table below:
| Power Source | Connection Type | Troubleshooting Tips |
|---|---|---|
| Electrical | Plug and Play | Check if the power outlet is working |
| Battery | Battery Pack | Replace batteries if they are low |
| USB | USB Cable | Ensure the USB cable is securely connected |
When connecting the power source, make sure to follow the manufacturer’s instructions. If you encounter any issues, the troubleshooting tips in the table can help you identify and resolve the problem. Remember to always prioritize safety when dealing with electrical connections and consult a professional if needed.
Testing and Adjusting Air Purifier Settings
When testing and adjusting the settings of your air purifier, it is important to carefully follow the manufacturer’s instructions. This will ensure that you are using the device correctly and getting the best results.
To begin, you should test the air quality in your home using the air purifier’s built-in sensor. This will give you an idea of the pollutant levels and help you determine the appropriate fan speed.
Once you have tested the air quality, you can adjust the fan speed accordingly. Most air purifiers have multiple fan speed settings, allowing you to choose a higher speed for more polluted areas or a lower speed for quieter operation.
It is important to regularly test and adjust the settings of your air purifier to ensure that it is effectively cleaning the air in your home.
- Test the air quality using the built-in sensor.
- Adjust the fan speed based on the pollutant levels.
- Regularly test and adjust the settings for optimal air purification.
Maintaining and Replacing Filters
When it comes to maintaining and replacing filters for your air purifier, there are a few key points to keep in mind.
First, it’s important to understand the lifespan of your filters and how often they need to be replaced. This will ensure that your air purifier continues to work effectively in removing pollutants from the air.
Additionally, finding compatible replacements for your filters is crucial to ensure proper functioning of the air purifier. It’s important to find filters that are specifically designed for your particular model and follow the manufacturer’s recommendations for care and replacement.
Filter Lifespan and Care
To extend the filter lifespan and ensure proper care of your air purifier, there are a few key steps to follow. First, regularly clean the pre-filter to remove large particles and debris, allowing the air purifier to function efficiently. Simply remove the pre-filter from the unit and rinse it under running water. Make sure to let it dry completely before reinserting it into the air purifier.
In addition to cleaning the pre-filter, it is important to replace the filters as recommended by the manufacturer. Follow the guidelines provided to determine the appropriate time for filter replacement. Typically, filters need to be replaced every 6 to 12 months, depending on usage and air quality. Some air purifiers come with filter replacement indicators, which can be helpful in keeping track of when it’s time to replace the filters.
Finding Compatible Replacements
Finding compatible replacements for your air purifier filters is important to ensure that the device continues to function effectively and provide clean air. When it comes to finding compatible replacement options, there are a few key factors to consider. First, you need to make sure that the replacement filters are specifically designed for your air purifier model. This information can usually be found in the user manual or on the manufacturer’s website. Additionally, you should consider the type of filter you need, such as HEPA or activated carbon, based on your specific air purification needs. Lastly, affordability is also a factor to consider, as replacement filters can vary in price. By finding affordable alternatives, you can maintain the performance of your air purifier without breaking the bank.
| Factor to Consider | Explanation |
|---|---|
| Compatibility | Ensure that the replacement filters are designed for your air purifier model. |
| Type of Filter | Consider the type of filter you need based on your air purification needs. |
| Affordability | Look for affordable alternatives to maintain the performance of your air purifier. |
Now that you know how to find compatible replacement filters, let’s move on to troubleshooting common issues that may arise with your air purifier.
Troubleshooting Common Issues
If your air purifier is not working properly, you might want to check if the filter needs to be replaced. Troubleshooting common problems with your air purifier can help you identify and fix the issue.
Here are some troubleshooting techniques to consider:
-
Check the power source: Ensure that the air purifier is properly plugged in and the power source is working.
-
Clean the filter: If the filter is dirty or clogged, it can hinder the air purifier’s performance. Clean or replace the filter as needed.
-
Remove any obstructions: Make sure there are no objects blocking the air intake or outlet vents of the purifier.
By following these troubleshooting techniques, you can address common issues and get your air purifier back to optimal performance.
Now, let’s move on to some tips for maximizing air purifier efficiency.
Tips for Maximizing Air Purifier Efficiency
Here are some tips on how to maximize your air purifier’s efficiency.
-
Place your air purifier in a central location within the room, away from obstructions that could block the airflow.
-
Keep doors and windows closed to prevent outside pollutants from entering the space.
-
Regularly clean and replace the filters as needed, as dirty filters can hinder the purifier’s performance.
-
Set the fan speed to a lower setting, as higher speeds consume more energy.
-
Keep the air purifier running continuously to maintain clean air throughout the day.
-
Consider using other methods to improve air quality, such as reducing indoor pollutants and ventilating the space regularly.
Frequently Asked Questions
Can I Use My Air Purifier in Multiple Rooms?
Yes, you can use your air purifier in multiple rooms. It’s great for small spaces and offers many benefits. It helps remove allergens, pollutants, and odors, ensuring clean and fresh air throughout your home.
How Often Should I Clean the Exterior of My Air Purifier?
I clean the exterior of my air purifier once a week to keep it running efficiently. Regular exterior cleaning is important for air purifier maintenance and ensures clean air in my home.
Is It Necessary to Run the Air Purifier Continuously?
It’s not necessary to run the air purifier continuously. Continuous use can increase energy consumption. It’s best to use it when needed, such as during times of poor air quality or when there are specific odors or allergens present.
Can I Use Scented Air Fresheners With My Air Purifier?
I wouldn’t dare use scented air fresheners with my air purifier! They can release harmful chemicals and clog the filters. Instead, I’d consider using natural alternatives like essential oils or opening windows for fresh air.
What Should I Do if There Is a Strange Odor Coming From My Air Purifier?
If there’s a strange odor coming from my air purifier, troubleshoot by checking the filter for any debris or mold. Clean the purifier and replace the filter if needed. Regular maintenance, like cleaning and changing filters, can help prevent odors.
Conclusion
In conclusion, setting up an air purifier is a breeze! With the right unit and proper location, you can enjoy clean and fresh air in your home.
Don’t forget to unbox and assemble the purifier, familiarize yourself with the control panel, and test and adjust the settings for optimal performance.
Regular maintenance and filter replacements are essential for keeping your purifier working effectively.
Remember, troubleshooting common issues is part of the process.
So go ahead, set up your air purifier and breathe easy!

At the heart of Aero Guardians’ informative and engaging content lies the dedication and expertise of Marcus. As one of the prominent writers for the platform, Marcus has been pivotal in translating complex technical jargon into digestible, relatable content for our readers.