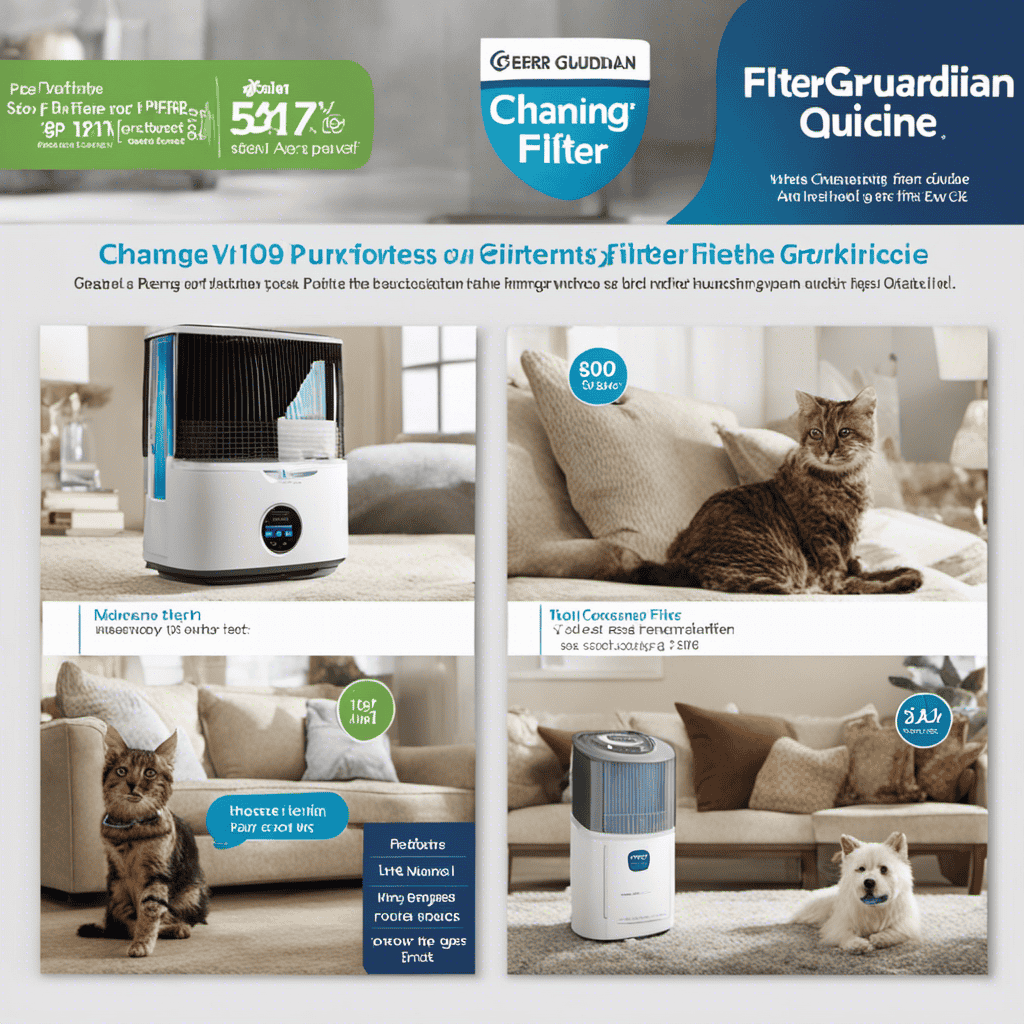
Did you realize that indoor air can be up to 5 times more contaminated than outdoor air? This is why it is crucial to ensure that the filters in your Germ Guardian Pet Air Purifier are clean and working effectively.
In this article, I’ll guide you through the step-by-step process of changing the filter in your Germ Guardian Pet Air Purifier. With the right tools and materials, you’ll be able to ensure that your air purifier is effectively removing pet dander, allergens, and odors from your home.
Key Takeaways
- Indoor air can be up to 5 times more polluted than outdoor air.
- Choosing the right filter based on specific needs is crucial.
- Regularly changing the filter ensures effective capture of pet dander and allergens.
- Cleaning frequency depends on usage and is recommended more frequently for pets or allergies.
Understanding the Germ Guardian Pet Air Purifier
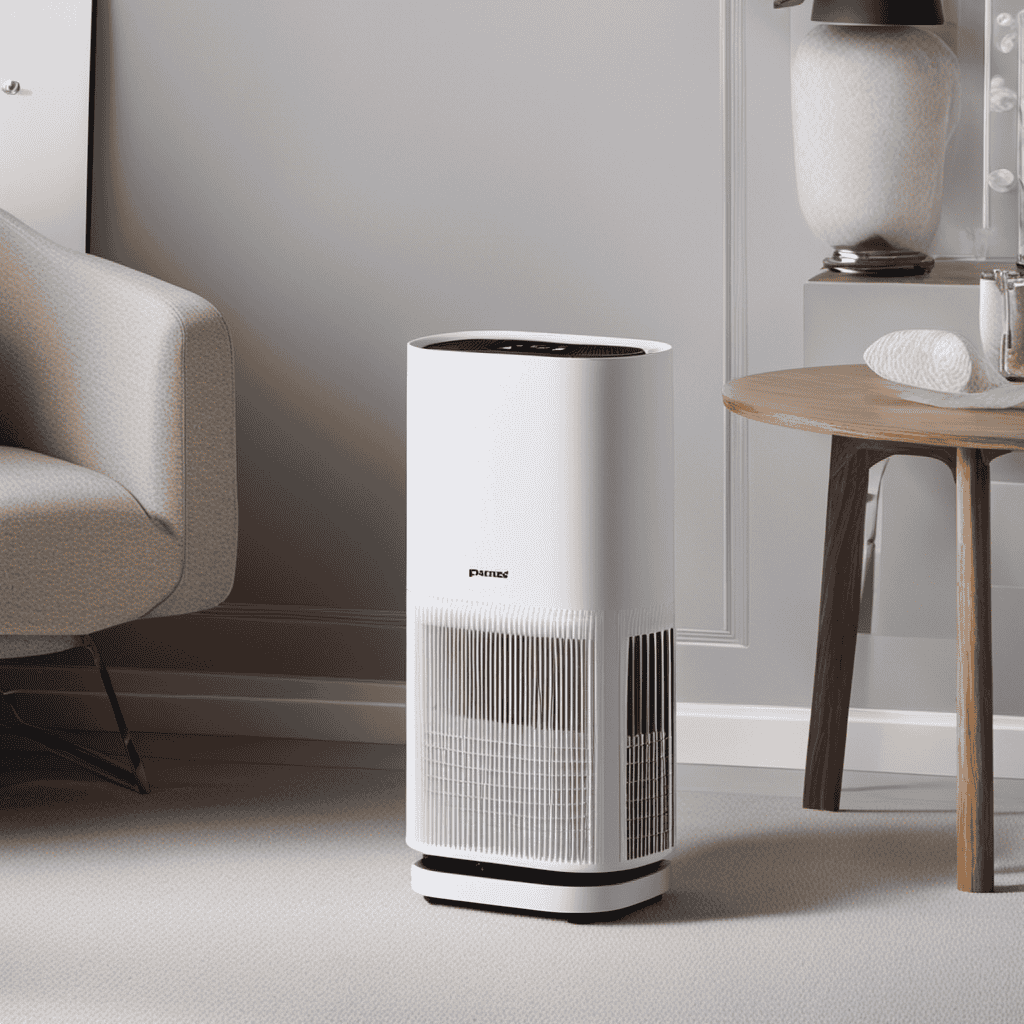
The Germ Guardian Pet Air Purifier is designed to effectively remove pet dander and odors from the air. Understanding filter specifications is crucial in ensuring that the air purifier functions optimally.
The filter is responsible for capturing and trapping pet dander, hair, allergens, and other airborne particles. Different filters have different capabilities, so it’s important to choose the right one based on your specific needs. For example, if you have pets that shed a lot, a filter with a higher MERV rating would be more suitable as it can capture smaller particles.
The benefits of air purification for pets are immense. Not only does it improve the air quality in your home, but it also helps reduce allergies and respiratory issues that can be caused by pet dander.
Now that we understand the importance of filter specifications and the benefits of air purification, let’s move on to identifying the correct filter for your Germ Guardian Pet Air Purifier.
Identifying the Correct Filter for Your Germ Guardian Pet Air Purifier
To ensure you have the correct replacement, check the model number on your Germ Guardian Pet Air Purifier’s existing filter.
The filter selection for your pet air purifier is crucial for maintaining clean and healthy air in your home. Different models of Germ Guardian Pet Air Purifiers may require different types of filters, so it is important to identify the correct one.
The model number can usually be found on the back or bottom of the unit. Once you have the model number, you can easily find the corresponding filter online or at a local retailer.
Proper filter maintenance is essential for the efficiency and longevity of your air purifier. Regularly changing the filter as recommended by the manufacturer will ensure that it continues to effectively capture pet dander, allergens, and other airborne particles, providing a clean and comfortable environment for you and your furry friend.
Tools and Materials Needed for Changing the Filter
You’ll need a few tools and materials to properly swap out the old filter. Here’s what you’ll need:
-
Replacement filter: Make sure to purchase the correct filter for your Germ Guardian Pet Air Purifier model. Check the product manual or the manufacturer’s website for the specific filter model number.
-
Screwdriver: Most air purifiers require removing the front panel to access the filter. A screwdriver will help you easily remove the screws holding the panel in place.
-
Cleaning cloth: Before installing the new filter, it’s a good idea to clean the inside of the purifier. A soft cleaning cloth will help you remove any dust or debris that may have accumulated.
-
Duster or vacuum cleaner: Regular maintenance of your Germ Guardian Pet Air Purifier is essential for optimal performance. Use a duster or a vacuum cleaner with a brush attachment to clean the exterior of the purifier and remove any loose particles.
Step-by-Step Guide to Removing the Old Filter
Before starting, make sure you have all the necessary tools and materials for removing the old filter.
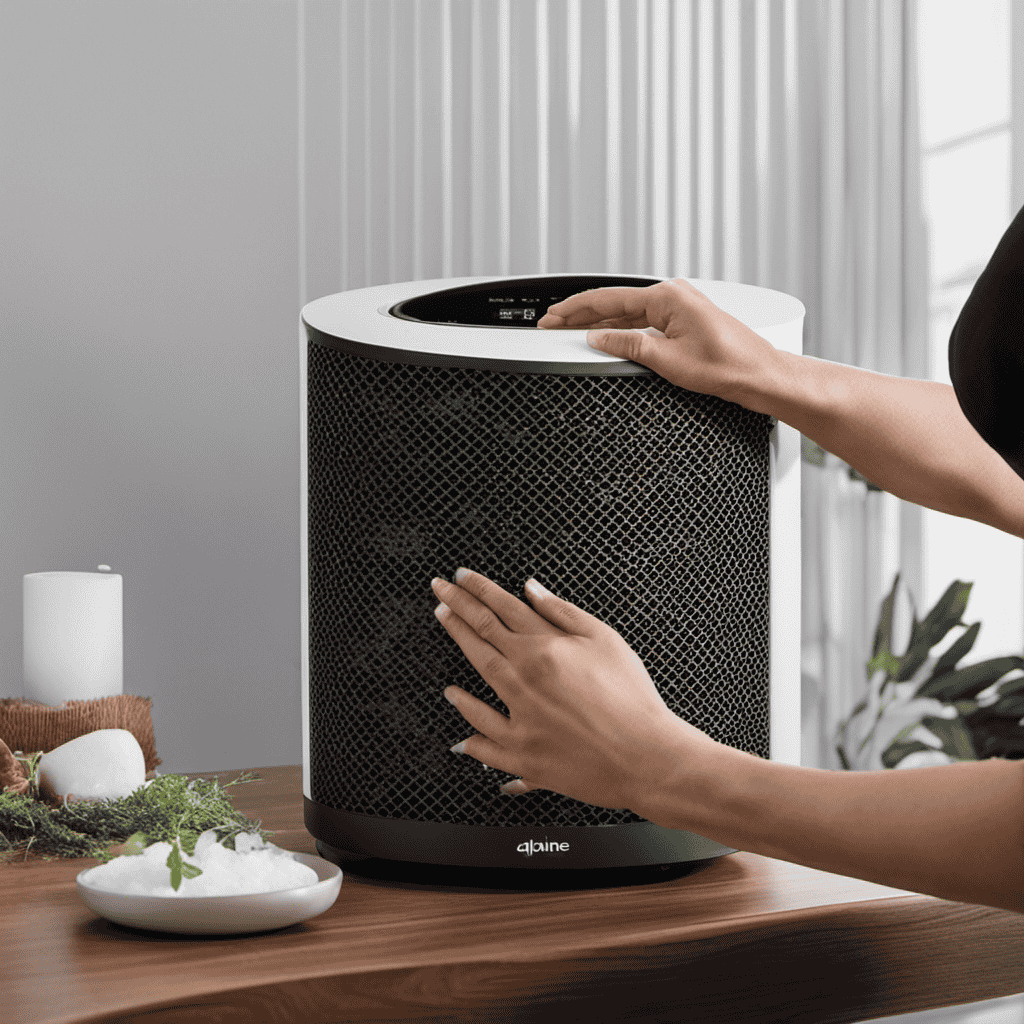
Regular maintenance and cleaning of your Germ Guardian pet air purifier is essential for optimal performance and to ensure the health and well-being of your furry friend. Cleaning the filter is a crucial part of this maintenance routine, as it helps to remove pet dander, hair, and other airborne particles that can trigger allergies and respiratory issues.
The cleaning frequency will depend on the level of pet hair and dander in your home, but it is generally recommended to clean the filter every 3-6 months.
To remove the old filter, follow these steps:
- Turn off the air purifier and unplug it from the power source.
- Locate the filter compartment door, usually located at the back of the purifier.
- Open the compartment door and carefully slide out the old filter.
- Dispose of the old filter properly, following local waste disposal regulations.
Properly Installing the New Filter in Your Germ Guardian Pet Air Purifier
After disposing of the old filter, carefully insert the new filter into the filter compartment of your Germ Guardian pet air purifier. Installing a new filter is an important step to ensure that your air purifier continues to effectively remove pet dander, odors, and allergens from your home.
Here are some helpful tips for a successful filter replacement:
-
Align the filter properly: Make sure that the arrows on the filter match the direction of the airflow indicated on the purifier.
-
Secure the filter: Ensure that the filter is securely in place, with no gaps or loose edges.
-
Reset the filter indicator: If your Germ Guardian pet air purifier has a filter replacement indicator, reset it according to the manufacturer’s instructions.
-
Regular filter replacements: To maintain optimal air quality, replace the filter every 6-8 months or as recommended by the manufacturer.
Maintenance Tips for Extending the Lifespan of Your Filter
When it comes to maintaining the lifespan of your air purifier filter, two important factors to consider are cleaning frequency and best practices for storage.
Properly cleaning your filter on a regular basis is crucial for its optimal performance and longevity.
Additionally, storing the filter correctly when not in use can help prevent damage and ensure its effectiveness when you need it most.
Cleaning Frequency for Filters
The cleaning frequency for the filters depends on how often you use the Germ Guardian Pet Air Purifier. If you have pets or allergies, it is recommended to clean the filters more frequently to ensure optimal performance. Here are some cleaning techniques to maintain the filter lifespan:
-
Vacuuming: Use a vacuum cleaner with a brush attachment to gently remove dust and debris from the surface of the filter.
-
Washing: Some filters are washable, so follow the manufacturer’s instructions to properly clean them. Use mild soap and water, and allow the filter to dry completely before reinstalling.
-
Replacement: If the filter is not washable or has reached its maximum cleaning capacity, it is time to replace it. Refer to the user manual for the recommended replacement schedule.
-
Regular Maintenance: Keep the air purifier clean by wiping the exterior with a damp cloth and removing any visible dust or dirt.
Best Practices for Storage
To ensure optimal performance, it’s recommended to follow best practices for storing the filters when not in use. Proper storage can extend the lifespan of your filters and maintain their efficiency.
Here are some storage best practices to keep in mind:
- Clean the filters before storing them to remove any dirt or debris.
- Place the filters in a sealed bag or container to protect them from dust and moisture.
- Store the filters in a cool, dry area away from direct sunlight.
By following these storage best practices, you can ensure that your filters are well-maintained and ready for use when needed.
Regular filter maintenance is essential for the longevity and effectiveness of your Germ Guardian Pet Air Purifier. Remember to check the manufacturer’s guidelines for specific instructions on how to care for and store your filters.
Troubleshooting Common Issues With Filter Change in the Germ Guardian Pet Air Purifier
When it comes to maintaining the Germ Guardian Pet Air Purifier, one common issue that users often face is filter change problems. Whether it’s difficulty removing the old filter or properly installing the new one, these challenges can be frustrating.
However, there are troubleshooting tips that can help you overcome these problems and ensure a smooth filter change process.
Filter Change Problems
Have you been having any issues with changing the filter on your Germ Guardian pet air purifier? Don’t worry, you’re not alone. Many people encounter common filter issues when it comes to replacing the filters in their Germ Guardian pet air purifiers.
To help you navigate through these problems, here is a handy filter replacement guide:
-
Difficulty removing the old filter: Some users find it challenging to remove the old filter due to a tight fit. Gently wiggle the filter while pulling it out to avoid any damage.
-
Wrong filter size: Make sure you purchase the correct filter size for your specific Germ Guardian pet air purifier model. Using the wrong size can lead to inefficiency and potential damage.
-
Filter not fitting properly: If you notice that the replacement filter doesn’t fit snugly or securely, double-check that you have the correct filter size. Contact the manufacturer if you continue to experience this issue.
-
Unclear filter replacement instructions: If the user manual or instructions provided with your Germ Guardian pet air purifier are confusing or unclear, try searching for online tutorials or videos that can guide you through the process step-by-step.
With these tips in mind, you’ll be able to successfully change the filter in your Germ Guardian pet air purifier.
Now, let’s move on to the next section where we will explore troubleshooting tips for filters.
Troubleshooting Tips for Filters
If you’re experiencing issues with the filter on your Germ Guardian pet air purifier, here are some troubleshooting tips to help you out. One common issue is the filter not fitting properly or not staying in place. To fix this, make sure you have the correct filter size for your model and check if there are any obstructions or debris preventing a snug fit. Another common issue is a decrease in air purification efficiency. This can be caused by a clogged filter. To resolve this, try cleaning the filter or replacing it if necessary. Lastly, if you notice unusual smells or odors coming from your air purifier, it could be due to a dirty or expired filter. Regularly replacing the filter and following the manufacturer’s recommendations will help maintain optimal performance.
| Common Issues | Troubleshooting Tips |
|---|---|
| Filter not fitting | – Check for correct filter size |
| properly | – Remove obstructions or debris |
| preventing a snug fit | |
| Decrease in air | – Clean the filter or replace it |
| purification efficiency | if necessary |
| Unusual smells or | – Regularly replace the filter |
| odors | – Follow manufacturer’s |
| recommendations |
Frequently Asked Questions
Can I Use a Generic Filter Instead of the Germ Guardian Filter for My Germ Guardian Pet Air Purifier?
Yes, you can use a generic filter as an alternative option for your Germ Guardian Pet Air Purifier. It’s important to check the compatibility and size specifications to ensure proper functioning and effective air purification.
How Often Should I Change the Filter in My Germ Guardian Pet Air Purifier?
Changing the filter in my Germ Guardian Pet Air Purifier is crucial for maintaining clean air. To extend its lifespan, I clean it regularly following the manufacturer’s instructions.
Can I Wash and Reuse the Filter in My Germ Guardian Pet Air Purifier?
Yes, you can clean and reuse the filter in your Germ Guardian Pet Air Purifier. To clean the filter, gently vacuum or rinse it with water. Let it dry completely before reinstalling.
How Do I Know if My Filter Needs to Be Changed?
I can easily tell if my air purifier filter needs changing. When it gets clogged with dust and pet hair, the air flow decreases, and I notice a decrease in air quality.
What Is the Lifespan of the Germ Guardian Pet Air Purifier Filter?
The Germ Guardian Pet Air Purifier filter lifespan depends on the air quality and usage. It is recommended to replace the filter every 6-8 months. Follow the Germ Guardian Pet Air Purifier Filter Replacement Guide for detailed instructions.
Conclusion
In conclusion, changing the filter in your Germ Guardian Pet Air Purifier is a simple and important task for maintaining clean and fresh air in your home. By following the step-by-step guide and using the correct tools and materials, you can easily remove the old filter and install a new one.
Remember to regularly maintain and clean your filter to extend its lifespan. So why wait? Start breathing in cleaner air for you and your furry friend today! Can you imagine the difference it will make in your home?
