Hey there! So, you’ve got yourself a Germguardian Air Purifier and you’re wondering how to keep that filter squeaky clean, right? Well, you’re in luck because I’ve got all the tips and tricks you need to know.
In this article, I’ll walk you through the step-by-step process of cleaning your Germguardian Air Purifier Filter. From gathering the necessary supplies to maintaining its efficiency, I’ve got you covered.
So, let’s dive in and get that filter back to its pristine condition!
Key Takeaways
- Regular maintenance is crucial for optimal performance and longevity of the Germguardian Air Purifier Filter.
- Cleaning the filter regularly is important to remove trapped airborne particles and pollutants.
- Proper reinstallation of the cleaned filter ensures efficient air purification.
- Clean filters enhance air quality by capturing and removing airborne particles, providing relief for allergies and asthma.

LEVOIT Air Purifier for Home Allergies Pet Hair in Bedroom, Covers Up to 1073 ft² by 56W High Torque Motor, AHAM VERIFIDE, 3-in-1 Filter with HEPA Sleep Mode, Remove Dust Smoke Odor, Core300-P, White
WHY CHOOSE AHAM VERIFIDE AIR PURIFIERS: AHAM (Association of Home Appliance Manufacturers) is an ANSI-accredited organization that sets...
As an affiliate, we earn on qualifying purchases.
Understanding the Germguardian Air Purifier Filter
Understanding the Germguardian Air Purifier filter is essential for effectively cleaning it. Regular maintenance is crucial to ensure optimal performance and longevity of the device.
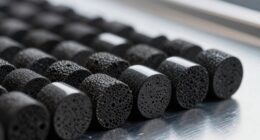
The filter is the heart of the purifier, responsible for trapping airborne particles and pollutants. Over time, the filter can become clogged, reducing its effectiveness. It is important to check the filter regularly and clean or replace it as needed.
Common filter problems include a dirty or worn-out filter, which can hinder the purifier’s ability to remove allergens and odors from the air. To maintain the filter, follow the manufacturer’s instructions for cleaning or replacing it.

KNKA Air Purifier for Home Bedroom Large Room Up to 1,695 Ft² in 1 Hr, HEPA Air Cleaner with Washable Pre-Filter, AHAM VERIFIDE, AQI Display, ECO Mode, Pet Mode for Pets, Dust, Pollen, APH4000
𝐀𝐇𝐀𝐌 𝐕𝐞𝐫𝐢𝐟𝐢𝐞𝐝 & 𝐇𝐢𝐠𝐡 𝐂𝐀𝐃𝐑 𝐕𝐚𝐥𝐮𝐞: Certified by the Association of Home Appliance Manufacturers, this air purifier provides...
As an affiliate, we earn on qualifying purchases.
Gathering the Necessary Cleaning Supplies
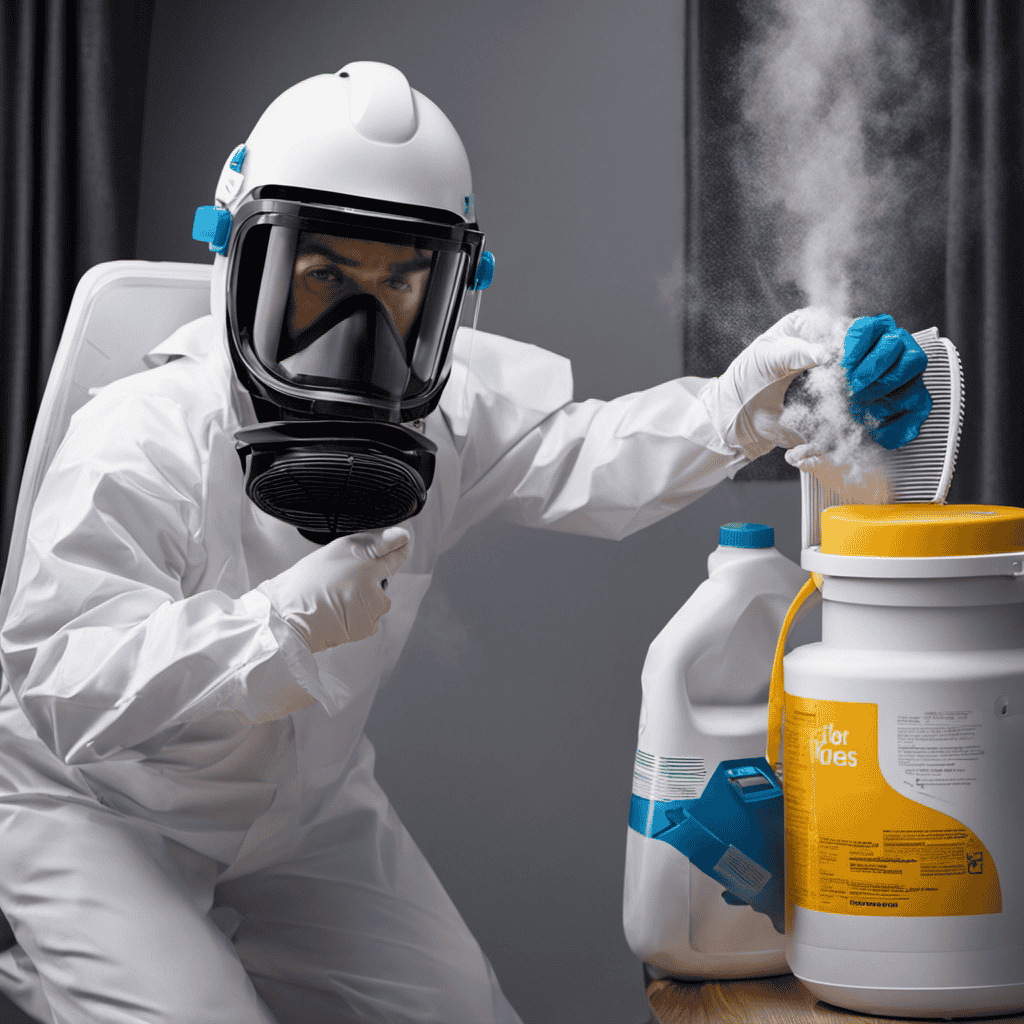
To gather the necessary cleaning supplies for your Germguardian air purifier filter, start by checking if you have a vacuum cleaner with a brush attachment. This attachment will help in removing any loose particles or debris from the filter.
Additionally, you will need a mild soap or detergent, warm water, and a soft cloth or sponge for cleaning the filter. It is important to avoid using harsh chemicals or abrasive materials as they can damage the filter.
Once you have gathered these supplies, you are ready to begin cleaning your Germguardian air purifier filter. Remember to follow proper cleaning techniques and allow the filter to dry completely before reassembling it back into the unit. Proper reassembly is crucial for the efficient functioning of your air purifier.

LEVOIT Air Purifiers for Bedroom Home Dorm, AHAM VERIFIDE, 3-in-1 Filter Cleaner With Aroma Pad, Filters Smoke, Allergens, Pet Dander, Odor, Dust, Office, Desktop, Core Mini-P, White
𝗪𝗛𝗬 𝗖𝗛𝗢𝗢𝗦𝗘 𝗔𝗛𝗔𝗠 𝗩𝗘𝗥𝗜𝗙𝗜𝗗𝗘 𝗔𝗜𝗥 𝗣𝗨𝗥𝗜𝗙𝗜𝗘𝗥𝗦: AHAM (Association of Home Appliance Manufacturers) is an ANSI-accredited organization that sets...
As an affiliate, we earn on qualifying purchases.
Removing the Filter From the Air Purifier
When it comes to cleaning your air purifier, it’s important to start with proper filter removal. This step is crucial in ensuring that you can effectively clean the filter and maintain the optimal performance of your device.
In this discussion, I will explain the correct techniques for removing the filter, provide detailed cleaning instructions, and guide you through the process of reinstalling the cleaned filter for continued use.
Proper Filter Removal
First, make sure you’ve unplugged the germguardian air purifier before removing the filter. Proper filter removal is crucial for effective filter cleaning techniques and filter maintenance tips. Here are the steps to follow:
-
Locate the filter compartment: Most air purifiers have a designated area where the filter is housed. It is usually located at the back or side of the purifier.
-
Open the compartment: Depending on the model, you may need to press a release button or slide a latch to open the compartment.
-
Remove the filter: Carefully pull out the filter from its housing. Be gentle to avoid damaging the filter.
-
Inspect the filter: Take a moment to inspect the filter for any visible dirt or debris. This will help you determine the cleaning method required.
Now that you have successfully removed the filter, let’s move on to the cleaning techniques explained in the next section.
Cleaning Techniques Explained
Once you’ve inspected the filter for any visible dirt or debris, it’s time to learn about the cleaning techniques explained in the next section. Proper filter maintenance is essential to keep your GermGuardian air purifier working effectively.
Here are some cleaning tips that will help you maintain a clean and efficient filter.
First, make sure to turn off and unplug the air purifier before starting the cleaning process.
Gently vacuum the filter to remove any loose dirt or dust.
If the filter is washable, rinse it under running water until the water runs clear.
Allow the filter to air dry completely before reinstalling it.
Remember to clean the filter regularly, about once a month or as needed, to ensure optimal performance and prolong its lifespan.
Following these cleaning techniques will help keep your GermGuardian air purifier filter in top condition.
Reinstalling the Cleaned Filter
After the filter has been thoroughly cleaned and dried, it’s time to reinstall it. Here are some techniques to ensure proper reinstallation and avoid common mistakes:
-
Align the filter correctly: Make sure the arrow on the filter matches the arrow on the unit to ensure proper airflow.
-
Secure the filter: Double-check that the filter is securely in place. Any loose or improperly installed filter can affect the air purification process.
-
Reset the filter indicator: If your GermGuardian air purifier has a filter replacement indicator, reset it after reinstalling the filter. This ensures accurate tracking of when the next filter change is due.
-
Test the unit: Turn on the air purifier and ensure that it is functioning properly after reinstalling the filter.
With these reinstalling techniques in mind, you can confidently proceed to the next step of preparing the filter for cleaning.
Now, let’s move on to preparing the filter for cleaning.

Air Purifiers for Home Large Room, Cover Up to 2600 Ft² with Washable Filters, Powerful Turbo Mode, PM2.5 Air Quality Display, 22dB Sleep Mode, Air Cleaner for Pets Hair, HAP607, Bright White
𝐓𝐑𝐈𝐏𝐋𝐄 𝐈𝐍𝐓𝐀𝐊𝐄, 𝐖𝐇𝐎𝐋𝐄-𝐑𝐎𝐎𝐌 𝐏𝐔𝐑𝐈𝐅𝐈𝐂𝐀𝐓𝐈𝐎𝐍: Featuring a front air inlet combined with wider dual-side air inlets, this air purifier...
As an affiliate, we earn on qualifying purchases.
Preparing the Filter for Cleaning
Before you begin cleaning the GermGuardian air purifier filter, make sure to unplug the device from the power source. Proper maintenance of your air purifier filter is essential to ensure its efficiency and longevity. There are several cleaning methods you can use to keep your filter in top condition.
One popular method is to vacuum the filter gently with a soft brush attachment to remove any dust or debris. Another option is to rinse the filter under running water, making sure to remove any visible dirt. However, it is important to note that not all GermGuardian filters are washable, so be sure to check the manufacturer’s instructions before attempting to clean your filter.
To help you keep track of your filter cleaning schedule, here is a table outlining some maintenance tips:
| Maintenance Tips |
|---|
| Regularly check the filter for dirt and debris. |
| Follow the manufacturer’s instructions for cleaning. |
| Replace the filter if it is damaged or no longer effective. |
| Keep the air purifier in a clean and well-ventilated area. |
Cleaning the Germguardian Air Purifier Filter
To ensure optimal performance, it is important to regularly maintain and clean your GermGuardian air purifier filter. Proper filter maintenance is essential for the longevity and effectiveness of your air purifier. Here are four important steps to clean your GermGuardian air purifier filter:
-
Determine the cleaning frequency: The cleaning frequency of your filter depends on factors like air quality, usage, and manufacturer recommendations. Check the user manual or GermGuardian’s website for guidance on how often to clean your specific model.
-
Remove the filter: Turn off and unplug the air purifier before removing the filter. Carefully take out the filter from the unit, following the manufacturer’s instructions.
-
Clean the filter: Gently vacuum the filter to remove any dust and debris. If the filter is washable, rinse it under running water. Do not use any detergents or chemicals as they may damage the filter’s performance.
-
Allow the filter to dry completely: After cleaning, let the filter air dry completely before reassembling it. This ensures that no moisture is trapped inside, which can lead to mold or bacteria growth.
By following these steps, you can effectively clean and maintain your GermGuardian air purifier filter, ensuring it continues to provide fresh and clean air for your home.
Now, let’s move on to the next section on drying and reassembling the filter.
Drying and Reassembling the Filter
When it comes to properly reassembling the Germguardian air purifier filter, there are a few techniques that I have found to be effective.
First, make sure to align the filter correctly with the arrows or indicators on the unit. Additionally, ensure that all the tabs and latches are securely fastened to prevent any air leaks.
As for drying time, I recommend allowing the filter to dry completely before reassembling it and turning the purifier back on. This can help prevent any mold or mildew growth.
Proper Reassembly Techniques
After removing and cleaning the individual components, you’ll want to ensure that you reassemble the GermGuardian air purifier filter correctly. Proper reassembly is crucial for the effective and efficient functioning of the filter. Here are some maintenance tips to follow:
-
Align the filter: Make sure the arrows on the filter align with the arrows on the unit. This ensures proper airflow and filtration.
-
Secure the filter: Gently press the filter into place until you feel it click securely. This ensures that the filter won’t shift or fall out during operation.
-
Replace the cover: Carefully place the cover back onto the unit and ensure that it attaches firmly. This helps to maintain a tight seal and prevent air leakage.
-
Test the unit: Once reassembled, turn on the air purifier and check for any unusual sounds or issues. This final step confirms that the filter has been reassembled correctly.
Drying Time Recommendations
Once the components are properly reassembled, it’s important to allow sufficient time for the filter to dry before using the GermGuardian air purifier again. Proper drying time is crucial for maintaining the efficiency and effectiveness of your air purifier.
After cleaning or replacing the filter, it is recommended to leave it to dry for at least 24 hours. This allows any moisture or dampness to evaporate completely, ensuring that the filter is completely dry before it is put back into the air purifier.
Failure to allow the filter to dry properly can lead to mold or mildew growth, which can affect the air quality in your home and potentially damage the filter itself. So, be patient and give your filter the time it needs to dry thoroughly.
Your GermGuardian air purifier will thank you for it.
Benefits of Clean Filters
To ensure optimal performance, you’ll notice a significant improvement in air quality with regularly maintained filters. Here are the benefits and importance of clean filters:
-
Enhanced Air Quality: Clean filters effectively capture and remove airborne particles, such as dust, pollen, pet dander, and mold spores, improving the overall air quality in your home.
-
Allergy Relief: By removing allergens, clean filters can provide relief for individuals suffering from allergies or asthma, reducing symptoms and promoting better respiratory health.
-
Increased Efficiency: A clean filter allows the air purifier to function at its best, ensuring maximum airflow and filtration efficiency.
-
Prolonged Lifespan: Regularly cleaning and replacing filters can extend the lifespan of your air purifier, saving you money in the long run.
Maintaining the clean filter is essential for maximum efficiency and continued benefits in air quality.
Maintaining the Clean Filter for Maximum Efficiency
To ensure maximum efficiency, you’ll need to regularly maintain the clean filter of your germguardian air purifier. By keeping the filter clean, you can maximize its efficiency and prolong its lifespan. Cleaning the filter is a simple task that can be done in a few easy steps. First, turn off the air purifier and unplug it from the power source. Then, remove the filter from the unit and gently tap it to remove any loose particles. Next, rinse the filter with water to remove any remaining dirt and debris. Allow the filter to air dry completely before placing it back into the air purifier. By following these steps and cleaning your filter regularly, you can ensure that your germguardian air purifier is operating at its best, providing you with clean and fresh air.
| Steps to Clean Germguardian Air Purifier Filter |
|---|
| 1. Turn off and unplug the air purifier. |
| 2. Remove the filter from the unit. |
| 3. Tap the filter to remove loose particles. |
| 4. Rinse the filter with water. |
| 5. Allow the filter to air dry completely. |
Troubleshooting and Common Issues With Germguardian Air Purifier Filters
When troubleshooting common issues with your Germguardian air purifier filters, it’s important to check for any clogs or blockages that may be affecting the airflow. Here are some troubleshooting tips to help you get your air purifier back to optimal performance:
-
Check for clogs: Remove the filter and inspect it for any debris or buildup. Clean or replace the filter if needed.
-
Clean the air intake: Dust and dirt can accumulate on the air intake, reducing airflow. Use a soft brush or vacuum attachment to gently clean the intake.
-
Ensure proper placement: Make sure the filter is installed correctly and securely in the air purifier. Improper placement can lead to reduced performance.
-
Replace filters regularly: Over time, air purifier filters can become saturated with pollutants and lose their effectiveness. Replace the filters according to the manufacturer’s recommendations to maintain optimal performance.
Frequently Asked Questions
How Often Should I Clean My Germguardian Air Purifier Filter?
I clean my Germguardian air purifier filter every 3-6 months. Regular maintenance is key to its performance and longevity. To properly maintain it, follow the manufacturer’s instructions and consider replacing the filter when necessary.
Can I Use Household Cleaning Products to Clean the Germguardian Air Purifier Filter?
I wouldn’t recommend using household cleaning products like bleach or vinegar to clean the Germguardian air purifier filter. It’s best to follow the manufacturer’s instructions for proper cleaning methods to ensure optimal performance and longevity.
Can I Wash the Germguardian Air Purifier Filter in the Dishwasher?
No, it is not recommended to wash the Germguardian air purifier filter in the dishwasher. There are alternative methods for cleaning the filter that are more effective and will prolong its lifespan.
What Should I Do if My Germguardian Air Purifier Filter Has a Strong Odor After Cleaning?
If my Germguardian air purifier filter has a strong odor after cleaning, I would recommend checking for any mold growth. If present, I would clean it thoroughly using a mixture of water and vinegar. To maintain the filter’s longevity, regular cleaning and replacement is essential.
How Long Does It Take for the Germguardian Air Purifier Filter to Dry Completely After Cleaning?
To speed up the drying process of a Germguardian air purifier filter, you can try placing it in a well-ventilated area or using a hairdryer on low heat. However, check the manufacturer’s instructions to ensure this won’t damage the filter.
Conclusion
In conclusion, cleaning your Germguardian air purifier filter is crucial for maintaining a healthy and efficient air purification system. By following the steps outlined in this article, you can easily remove, clean, and maintain your filter to ensure maximum performance.
Remember, a clean filter means cleaner air for you and your loved ones. So, don’t neglect this important task and let your Germguardian keep fighting against those pesky germs and allergens, providing you with fresh and clean air.