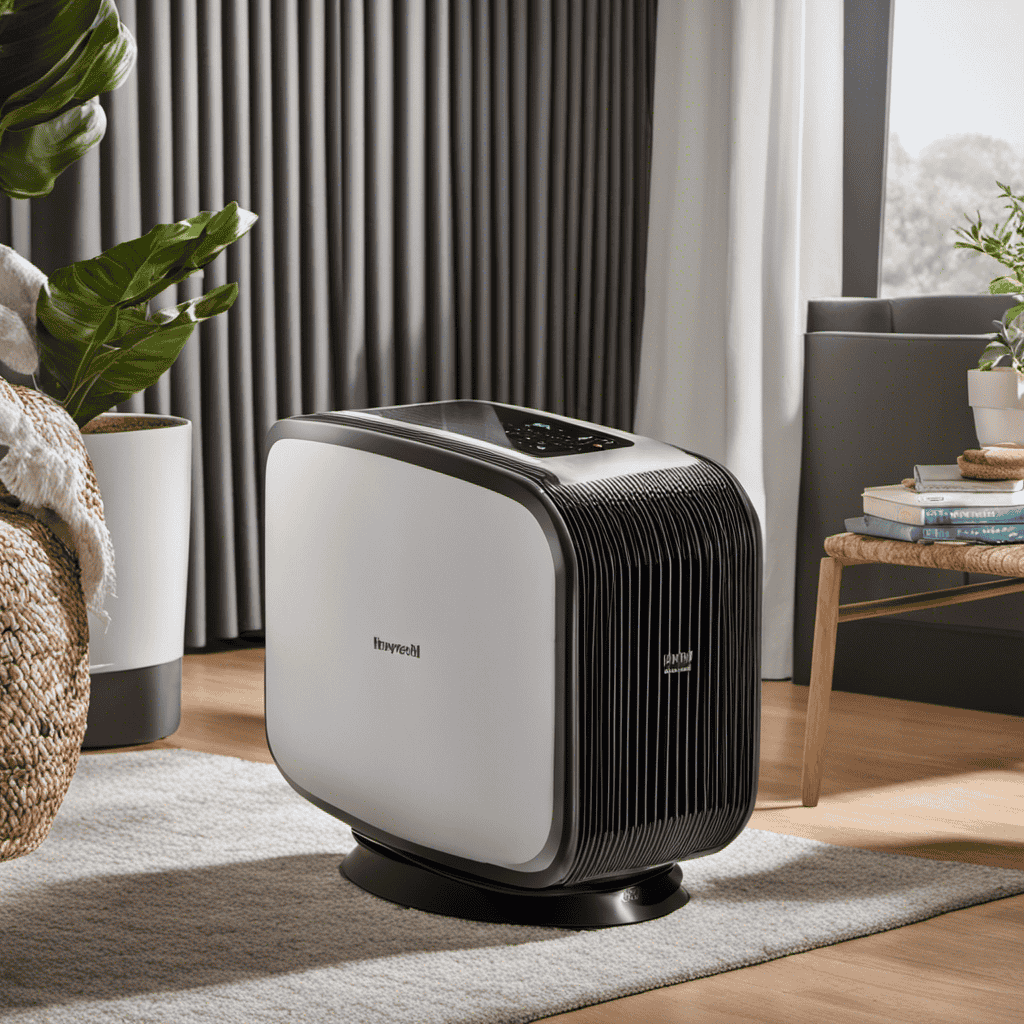
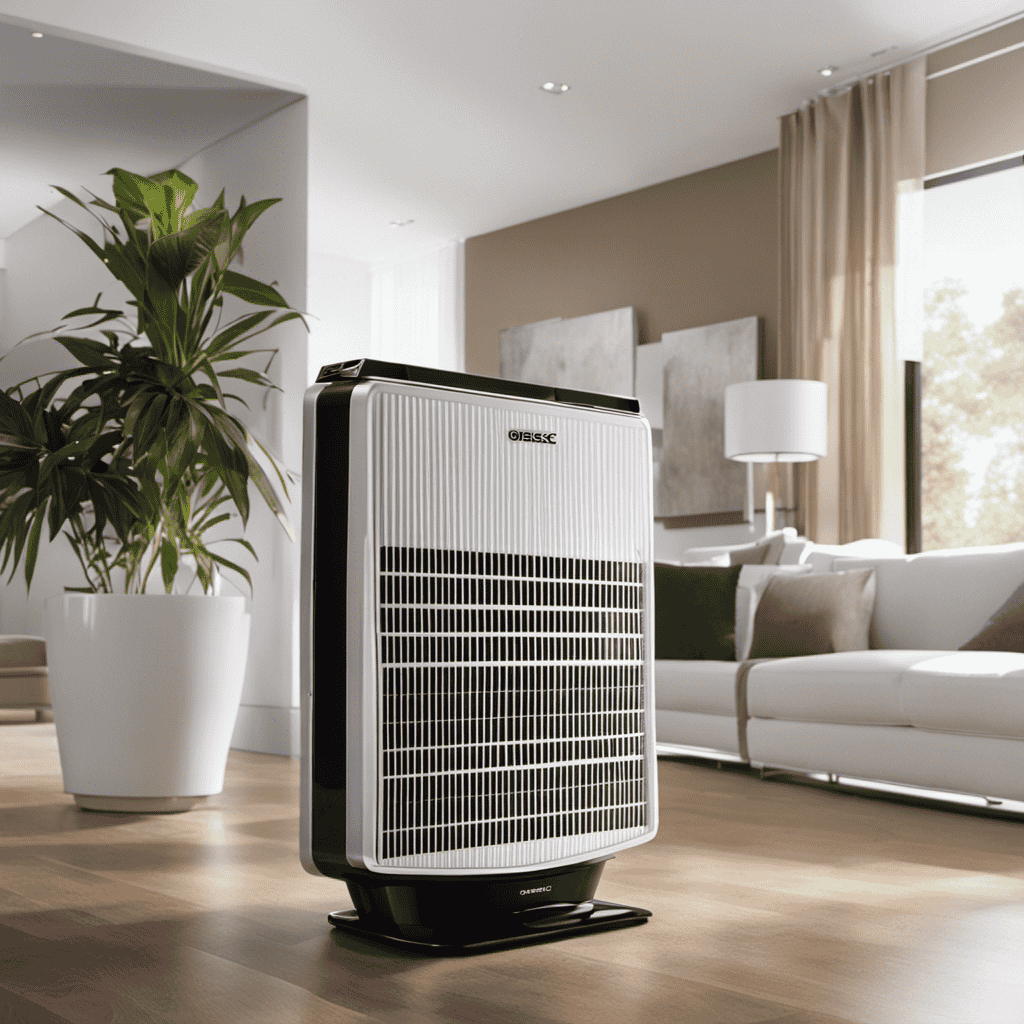
So you think your air purifier is keeping your indoor air clean and fresh? Well, think again! It’s time to face the cold, hard truth: your beloved Honeywell air purifier needs a thorough cleaning.
Lucky for you, I’m here to guide you through the process like a seasoned indoor air quality specialist. From removing and cleaning the filters to reassembling and testing the purifier, I’ll leave no stone unturned.
Get ready to discover the secrets of maintaining optimal air quality in your home.
Key Takeaways
- Gather cleaning supplies
- Power off and unplug the air purifier
- Clean the pre-filter and the HEPA filter
- Inspect and clean the activated carbon filter

LEVOIT Top Fill Humidifiers for Bedroom, 2.5L Tank for Large Room, Easy to Fill & Clean, 28dB Quiet Cool Mist Air Humidifier for Home Baby Nursery & Plants, Auto Shut-off for Safety, 25H
𝙁𝙖𝙨𝙩 𝙃𝙪𝙢𝙞𝙙𝙞𝙛𝙞𝙘𝙖𝙩𝙞𝙤𝙣 𝘼𝙡𝙡 𝙉𝙞𝙜𝙝𝙩: Runs for up to 25 hours on low thanks to its SUPER LARGE capacity...
As an affiliate, we earn on qualifying purchases.
Step 1: Gather Cleaning Supplies
First, you’ll want to gather all of the cleaning supplies you’ll need. To properly clean your Honeywell air purifier, you’ll need a few essential items.
Start by gathering a soft cloth or microfiber cloth, a mild detergent or cleaning solution specifically designed for air purifiers, and a small brush or vacuum cleaner with a brush attachment for removing dust and debris. These supplies are crucial for the cleaning process and will ensure that your air purifier is thoroughly cleaned and maintained.

Humidifiers for Large Room with Large Room Humidifiers
Humidifiers for Large Room with Large Room Humidifiers
As an affiliate, we earn on qualifying purchases.
Step 2: Power Off and Unplug the Air Purifier
When it comes to cleaning your air purifier, safety precautions are of utmost importance. As an indoor air quality specialist, I cannot stress enough the significance of unplugging the device before starting the cleaning process. This not only ensures your safety but also protects the air purifier from any potential damage.
Additionally, don’t forget to turn off the device before cleaning to avoid any electrical mishaps.
Safety Precautions While Cleaning
Before cleaning your Honeywell air purifier, make sure to follow all safety precautions. As an indoor air quality specialist, I can’t stress enough the importance of taking proper safety measures while cleaning your air purifier.
Here are some key safety precautions to keep in mind:
- Use cleaning products specifically designed for air purifiers to avoid damaging sensitive components.
- Always unplug the air purifier before starting the cleaning process to prevent electric shock.
- Avoid using harsh chemicals or abrasive cleaning techniques that can harm the unit.
- Handle the filters with care to prevent any tearing or damage.
- Take caution while cleaning the fan blades to avoid injury.
By following these safety precautions, you can ensure a safe and effective cleaning process for your Honeywell air purifier.
Importance of Unplugging Device
To ensure your safety, always remember to unplug the device before cleaning. This is an important step in maintaining your air purifier and ensuring its optimal performance.
Regular maintenance is crucial for the longevity and effectiveness of your air purifier. A clean air purifier not only improves indoor air quality but also provides numerous health benefits.
When cleaning your Honeywell air purifier, it is essential to follow the manufacturer’s instructions and use the recommended cleaning solutions and tools. Neglecting certain cleaning aspects can lead to a decrease in performance and potential damage to the device.
By paying attention to even the smallest details and thoroughly cleaning your air purifier, you can enjoy clean and fresh air in your home while reducing allergens and pollutants.
Regular maintenance is key to the benefits of a clean air purifier.
Turning off Before Cleaning
Remember, it’s important to always turn off the device before starting the cleaning process. This safety measure ensures that you can safely clean the air purifier without any risk of electrical shock.
Proper cleaning techniques are crucial to maintain the performance and longevity of your Honeywell air purifier. As an indoor air quality specialist, I understand the significance of this step in the cleaning process. By turning off the device, you eliminate any potential hazards and allow for a thorough cleaning. Neglecting this step could lead to damage to the air purifier and compromise its ability to effectively purify the air in your home.
Now that you have turned off the device, let’s move on to the next step: removing and cleaning the pre-filter.

Homvana 3.6L Top-Fill Cool Mist Humidifiers for Bedroom, Large Room & Plants, 23dB Ultra-Quiet, Easy-to-Clean 2-in-1 Baby Humidifier & Oil Diffuser for Congestion Relief, Lasts Up to 4 Nights (Grey)
[3-in-1 Humidifier Meets All You Expect] Cool Mist Humidifier+Aromatherapy+Mood Light, purchase for once to satisfy all you expect!...
As an affiliate, we earn on qualifying purchases.
Step 3: Remove and Clean the Pre-Filter
As an indoor air quality specialist, I would like to discuss some important maintenance tips for pre-filters and the frequency at which they should be cleaned.
Pre-filters play a crucial role in capturing larger particles, such as dust and pet hair, before they reach the main filter of an air purifier. To ensure optimal performance, it is recommended to clean the pre-filter every 1-3 months, depending on the level of pollutants in your environment.
Neglecting to clean the pre-filter regularly can lead to decreased efficiency and a shorter lifespan of your air purifier.
Pre-Filter Maintenance Tips
Regularly cleaning the pre-filter is crucial to ensure optimal performance of your Honeywell air purifier. As an indoor air quality specialist, I understand the importance of maintaining clean air purifiers for a healthier indoor environment.
Here are some pre-filter maintenance techniques and the benefits of regular cleaning:
- Use a vacuum cleaner or brush attachment to remove dust and debris from the pre-filter surface.
- For stubborn dirt, gently wash the pre-filter with mild soap and water, then rinse thoroughly and let it air dry completely.
By regularly cleaning the pre-filter, you can improve the efficiency and lifespan of your air purifier. It helps to maintain a high-quality indoor air by capturing larger particles like dust, pet dander, and pollen. Neglecting this important step can lead to reduced performance and potential damage to the air purifier.
Now that you know the pre-filter maintenance tips, let’s move on to discussing the frequency of pre-filter cleaning.
Frequency of Pre-Filter Cleaning
To keep your indoor air quality at its best, it’s important to know how often you should clean the pre-filter. The frequency of pre-filter cleaning depends on several factors, such as the level of air pollution in your area, the size of your air purifier, and the type of filter used.
As an indoor air quality specialist, I recommend checking the condition of your pre-filter every month and cleaning it if necessary. However, in some cases, a replacement may be needed instead of cleaning. If you notice a significant buildup of dust, dirt, or other particles on the pre-filter, it’s time for a cleaning or replacement.
It’s crucial to follow a regular cleaning schedule to ensure optimal performance and longevity of your air purifier. Neglecting this maintenance aspect can result in reduced air purification efficiency and potential damage to the unit.
DREO 16L Smart Humidifier Large Room 1000 ft², 130H Cool Mist Air Humidifiers for Bedroom Plants Baby, Top Fill, Remote/Touch/Voice & APP Control, Clean Tank Technology, 30dB, RGB Light, HM755S White
130 𝙃𝙤𝙪𝙧𝙨 𝙐𝙡𝙩𝙧𝙖-𝙇𝙤𝙣𝙜 𝙍𝙪𝙣𝙩𝙞𝙢𝙚: The 16L DREO humidifiers for bedroom provides up to 130 hours of continuous humidification...
As an affiliate, we earn on qualifying purchases.
Step 4: Clean the HEPA Filter
First, make sure you unplug the air purifier before removing and cleaning the HEPA filter. The HEPA filter is a critical component of the air purifier, responsible for trapping and removing small particles from the air. Cleaning the HEPA filter is essential for maintaining optimal air purification performance.
Here are the steps to clean the HEPA filter:
- Carefully remove the HEPA filter from the air purifier.
- Gently tap the filter to remove any loose dirt or debris.
- Use a vacuum cleaner with a brush attachment to remove embedded particles.
- If the filter is heavily soiled, you may need to replace it with a new one.
Cleaning the HEPA filter regularly has several benefits. It improves the air purifier’s efficiency and extends its lifespan. A clean HEPA filter also ensures that the air you breathe is free from allergens, dust, and other harmful particles. Neglecting to clean or replace the HEPA filter can lead to reduced air quality and decreased performance of the air purifier.
Now, let’s move on to the next step: cleaning the activated carbon filter.
Step 5: Clean the Activated Carbon Filter
Now, you’ll want to carefully remove the activated carbon filter from the air purifier to begin cleaning it. The activated carbon filter plays a crucial role in removing odors and chemicals from the air, so proper maintenance is essential for optimal performance.
To clean the activated carbon filter, follow these steps:
-
Inspect the Filter: Check for any visible dirt or debris on the filter. If there is excessive buildup, it may be time to replace the filter instead of cleaning it.
-
Gently Vacuum: Use a soft brush attachment on your vacuum cleaner to gently remove any loose particles from the filter. Be careful not to damage the delicate carbon particles.
-
Wash with Water: Fill a basin with warm water and a mild detergent. Submerge the activated carbon filter and gently agitate it to dislodge any remaining dirt. Rinse thoroughly with clean water and allow it to air dry completely before reinstalling.
Step 6: Reassemble and Test the Air Purifier
After cleaning the activated carbon filter, it’s time to reassemble the air purifier and test its performance. The reassembly process is crucial to ensure that the air purifier functions optimally and effectively removes pollutants from the indoor air.
Here are the steps to follow:
-
Place the cleaned activated carbon filter back into its designated slot, ensuring a snug fit.
-
Secure the filter cover or housing by aligning the tabs and gently pressing it into place.
-
Reattach any other components that were removed during the cleaning process, such as the pre-filter or HEPA filter.
-
Plug in the air purifier and turn it on.
-
Allow the purifier to run for at least 30 minutes to properly assess its air purification effectiveness.
-
Use an air quality monitor or conduct a visual inspection to check if the purifier is effectively removing particles, allergens, and odors from the air.
Frequently Asked Questions
How Often Should I Clean My Honeywell Air Purifier’s Filters?
I clean my Honeywell air purifier’s filters every 3 months to ensure optimal performance. To clean the pre-filter, I vacuum it or rinse it in warm water. Regular maintenance is important for clean air.
Can I Use Soap or Detergent to Clean the Filters?
Soap or detergent should not be used to clean the filters of the Honeywell air purifier. There are alternative options, such as using a vacuum cleaner or gently washing the filters with water.
Is It Necessary to Replace the Filters Regularly or Can They Be Reused?
Regularly replacing air purifier filters is necessary for optimal performance and clean air. Reusing filters may compromise air quality and reduce efficiency. It is recommended to follow manufacturer guidelines and replace filters as recommended for the best results.
Can I Clean the Exterior of the Air Purifier With Water?
Yes, you can clean the exterior of the air purifier with water. However, it’s important to follow the manufacturer’s instructions and use a damp cloth or sponge, avoiding excessive moisture that could damage the unit.
Are There Any Special Precautions I Should Take While Cleaning the Filters to Avoid Damaging Them?
When cleaning air purifier filters, it is crucial to take certain precautions to avoid damaging them. Following specific cleaning methods, using the right tools and solutions, and handling the filters with care are essential steps in maintaining their performance and longevity.
Conclusion
In conclusion, it’s crucial to regularly clean your Honeywell air purifier to ensure optimal performance and maintain clean indoor air quality.
According to a recent study, dirty air filters can reduce the efficiency of an air purifier by up to 50%. Therefore, it’s essential to follow the step-by-step instructions provided by an indoor air quality specialist or HVAC technician to thoroughly clean the pre-filter, HEPA filter, and activated carbon filter.
By paying attention to detail and using the recommended cleaning solutions and techniques, you can enjoy clean and purified air in your home.