I’m here to demonstrate how to properly clean your Germguardian Air Purifier, making it easier for you to breathe in your home.
Picture this: a fresh, clean air purifier, free from dust and germs, working at maximum efficiency.
In this article, I’ll guide you through the step-by-step process of cleaning the outer surfaces, filters, UV-C light, and ionizer of your Germguardian Air Purifier.
By following these instructions, you’ll not only improve the air quality in your home but also prolong the lifespan of your purifier.
Let’s get started!
Key Takeaways
- Different models of Germguardian Air Purifiers target specific air quality issues such as allergens, smoke, and odors.
- Cleaning the outer surfaces and filters of the air purifier is necessary to ensure a clean and efficient functioning unit.
- Regular maintenance, including cleaning the UV-C light and ionizer, is important for optimal performance.
- Proper reassembly techniques and setting a regular cleaning schedule are crucial for effective filtration and longevity of the purifier.

LEVOIT Top Fill Humidifiers for Bedroom, 2.5L Tank for Large Room, Easy to Fill & Clean, 28dB Quiet Cool Mist Air Humidifier for Home Baby Nursery & Plants, Auto Shut-off for Safety, 25H
𝙁𝙖𝙨𝙩 𝙃𝙪𝙢𝙞𝙙𝙞𝙛𝙞𝙘𝙖𝙩𝙞𝙤𝙣 𝘼𝙡𝙡 𝙉𝙞𝙜𝙝𝙩: Runs for up to 25 hours on low thanks to its SUPER LARGE capacity...
As an affiliate, we earn on qualifying purchases.
Understanding the Germguardian Air Purifier
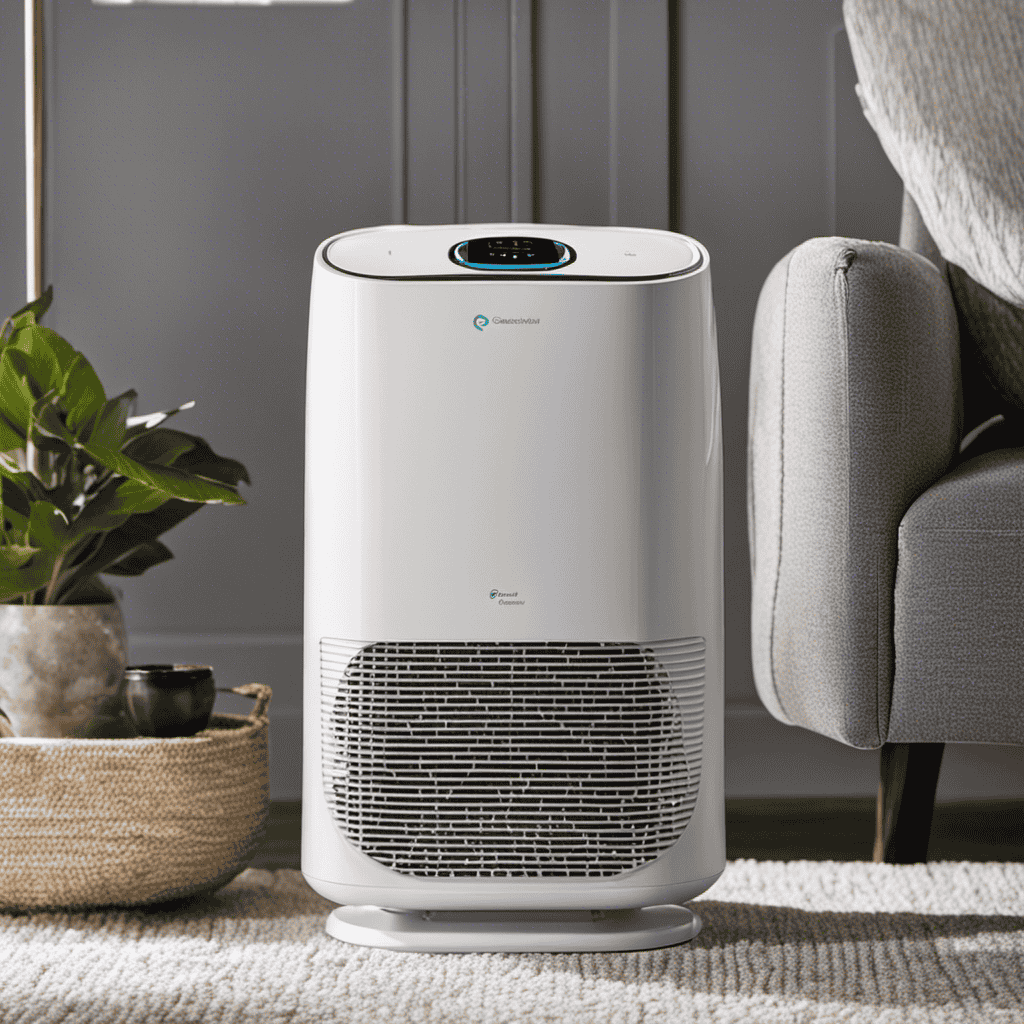
Understanding how the Germguardian Air Purifier works can help you effectively clean your indoor air. There are different types of Germguardian air purifiers available, each designed to tackle specific air quality issues. These include models that target allergens, smoke, and odors.
By using an air purifier, you can experience numerous benefits. Firstly, it helps to remove airborne particles such as dust, pollen, and pet dander, which can trigger allergies and respiratory issues. Secondly, it helps to eliminate unpleasant odors, making your home smell fresh and clean. Lastly, it can reduce the presence of harmful substances like smoke and volatile organic compounds (VOCs), improving the overall air quality.
Now that you understand the benefits of using an air purifier, let’s move on to preparing for the cleaning process.

DREO Humidifiers for Bedroom, 3L Top Fill 30H & 26dB Quiet Runtime for Large Room, Cool Mist Ultrasonic Humidifier with Humidity Sensor, Night Light for Home, Baby, Nursery, Plants, New Edition
𝐅𝐨𝐫𝐠𝐞𝐭 𝐚𝐛𝐨𝐮𝐭 𝐜𝐨𝐧𝐬𝐭𝐚𝐧𝐭 𝐫𝐞𝐟𝐢𝐥𝐥𝐬: With a 3L tank and convenient top-fill design, this humidifier large room for baby...
As an affiliate, we earn on qualifying purchases.
Preparing for the Cleaning Process
Before you start, make sure you have all the necessary tools for preparing the cleaning process of your Germguardian air purifier. Here are the essential items to gather:
-
Soft, lint-free cloth: This will be used to wipe down the exterior of the air purifier and remove any dust or grime that has accumulated.
-
Antibacterial cleaning solution: It’s important to use a cleaning solution that is specifically designed for air purifiers. This will help eliminate any bacteria or germs that may be present on the device.
-
Replacement filters: Depending on the model of your Germguardian air purifier, you may need to replace the filters periodically. It’s important to have these on hand before you begin the cleaning process.
Following these air purifier maintenance and cleaning instructions will ensure that your Germguardian air purifier continues to function effectively and provide you with clean, fresh air.

Homvana Humidifiers for Bedroom Home, 3.6 L Cool Mist Top-Fill 34H Super Long Time, Quiet 23dB, Baby Humidifier, Oil Diffuser for Large Room, House, Plant, Nursery, Office, BPA FREE, Ultrasonic (Grey)
[3-in-1 Humidifier Meets All You Expect] Cool Mist Humidifier+Aromatherapy+Mood Light, purchase for once to satisfy all you expect!...
As an affiliate, we earn on qualifying purchases.
Cleaning the Outer Surfaces and Filters
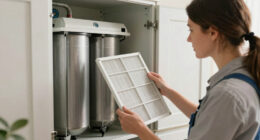
To get started, grab a soft cloth and wipe down the exterior of your Germguardian air purifier to remove any dust or grime. This will ensure that your purifier is clean and ready for the next step.
Next, let’s move on to cleaning the pre-filter. Gently remove the pre-filter from the purifier and rinse it under running water. Be sure to remove any dirt or debris that may have accumulated on the filter. Allow the pre-filter to air dry completely before placing it back into the purifier.
Now, let’s clean the control panel. Use a damp cloth and mild detergent to wipe down the control panel, being careful not to get any water inside the purifier. Make sure to dry the control panel thoroughly before using the purifier again.

DREO 6L Humidifiers for Bedroom, Smart Warm & Cool Mist for Large Room, 60Hr Quiet Runtime for Baby, Plant, Humidity Sensor, Indicator Light, 12H Timer, Google/Alexa, HM713S
𝙎𝙪𝙥𝙚𝙧 𝙁𝙖𝙨𝙩, 𝙄𝙣𝙨𝙩𝙖𝙣𝙩 𝙒𝙖𝙧𝙢 𝙈𝙞𝙨𝙩: The humidifiers for bedroom creates a comforting, 133°F smart warm and cool mist...
As an affiliate, we earn on qualifying purchases.
Cleaning the UV-C Light and Ionizer
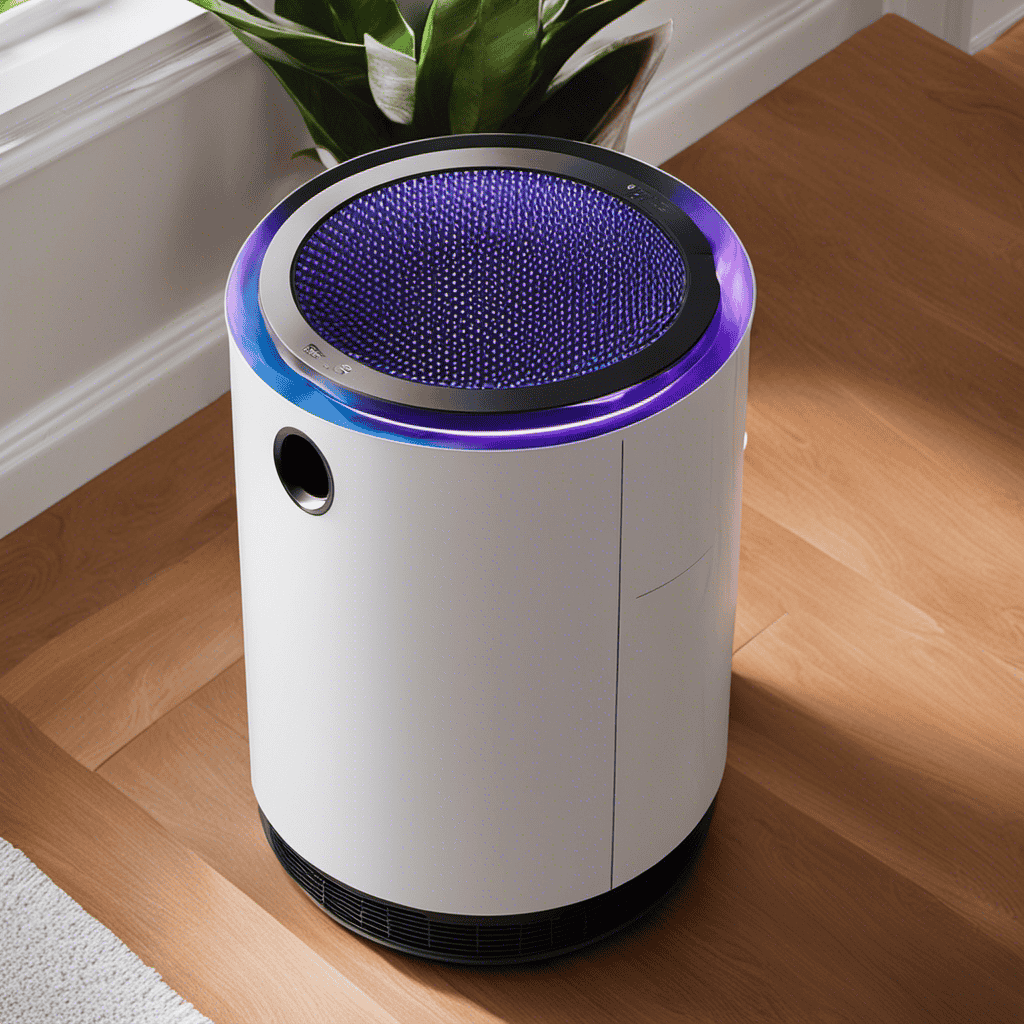
Maintaining the UV-C light in your air purifier is crucial for optimal performance and effectiveness. Regularly inspect the UV-C light bulb for any signs of damage or discoloration, and replace it if necessary.
Additionally, cleaning the ionizer is an important step to ensure that it continues to remove airborne particles effectively. Use a soft, dry cloth or brush to gently clean the ionizer plates, taking care not to damage them.
UV-C Light Maintenance
You’ll need to regularly check the UV-C light bulb in your GermGuardian air purifier to ensure it’s functioning properly. The UV-C light is an important component of the purifier, as it helps to kill airborne bacteria and viruses.
To maintain the UV-C light, follow these steps:
-
Check the UV-C light bulb every 6 months to see if it needs replacement. A worn-out bulb may not effectively kill germs, reducing the purifier’s performance.
-
Replace the UV-C light bulb if it appears dark or if it has been in use for over 9 months. This will ensure optimal germ-killing performance.
-
Enjoy the benefits of a clean and healthy environment. The UV-C light helps reduce the spread of illness-causing germs, making your home a safer place for you and your family.
Ionizer Cleaning Tips
For optimal performance, regularly clean the ionizer in your GermGuardian air purifier. The ionizer is responsible for emitting negatively charged ions into the air which attach to positively charged particles, such as dust and pollen, causing them to fall out of the air. Over time, the ionizer can become dirty and less effective, so it’s important to clean it to maintain its efficiency. Here are some troubleshooting tips and maintenance steps to follow:
| Ionizer Cleaning Tips | Troubleshooting Tips |
|---|---|
| Unplug the purifier | Check power connection |
| Remove the ionizer | Replace worn-out parts |
| Use a soft brush | Check for clogged filters |
| Gently clean the wires | Reset the purifier |
Maintaining and Reassembling the Purifier
When it comes to maintaining and reassembling the air purifier, there are some key points to keep in mind.
First, proper cleaning techniques are crucial to ensure the purifier functions effectively. I will provide step-by-step instructions on how to clean each component thoroughly.
Additionally, I will share some helpful tips and tricks for reassembling the purifier correctly, ensuring it operates at its optimal level.
Proper Cleaning Techniques
To effectively clean your GermGuardian air purifier, it’s important to follow proper cleaning techniques. Here are three effective cleaning methods that will help keep your purifier in top shape:
-
Regularly replace the filters: The filters in your GermGuardian air purifier are responsible for trapping and removing contaminants from the air. Over time, these filters can become clogged and less effective. To ensure optimal performance, it’s recommended to replace the filters every 6-12 months, or as specified by the manufacturer.
-
Clean the exterior: Dust and dirt can accumulate on the exterior of your purifier, affecting its overall efficiency. Use a soft, damp cloth to wipe down the surface of the purifier regularly. Avoid using harsh chemicals or abrasive materials that could damage the unit.
-
Vacuum the pre-filter: The pre-filter catches large particles like pet hair and dust, preventing them from reaching the main filter. To clean the pre-filter, simply remove it from the purifier and vacuum it using a brush attachment. This will help prolong the life of the main filter and maintain the purifier’s performance.
Reassembly Tips and Tricks
After cleaning, make sure to reassemble the filters and exterior components of your GermGuardian air purifier properly. Proper reassembly techniques are essential to ensure optimal performance and longevity of your air purifier. Here are some tips and tricks to help you with the reassembly process:
| Component | Technique | Mistakes to Avoid |
|---|---|---|
| Filters | Align the notches and slots correctly to ensure a secure fit. | Avoid forcing the filters into place, as it may cause damage. |
| Exterior Components | Follow the manufacturer’s instructions to correctly attach the exterior components. | Be careful not to over-tighten screws, as it can lead to cracks or breakage. |
| Electrical Connections | Double-check all electrical connections to ensure they are securely plugged in. | Avoid bending or damaging wires during reassembly. |
Tips for Regular Maintenance and Troubleshooting
One way to keep your GermGuardian air purifier running smoothly is by regularly cleaning the filter. Proper maintenance of your air purifier is essential for optimal performance and longevity.
Here are some troubleshooting techniques and tips for maintaining your GermGuardian air purifier:
-
Follow a maintenance schedule: Set a regular cleaning schedule for your air purifier to ensure effective filtration. This can be done every 3 to 6 months, depending on the usage and air quality.
-
Clean the pre-filter: The pre-filter is the first line of defense against larger particles. Remove and clean it regularly to prevent clogging and maintain optimal airflow.
-
Replace the HEPA filter: The HEPA filter is responsible for capturing small particles and allergens. It is recommended to replace it every 6 to 12 months, or when the filter indicator light comes on.
Frequently Asked Questions
Can I Clean the Germguardian Air Purifier Without Taking It Apart?
Yes, you can clean the Germguardian air purifier without taking it apart. Follow these cleaning tips from the maintenance guide: vacuum the outer surface, wipe the filter, and use a soft brush to remove dust.
Should I Clean the Air Purifier More Frequently if I Have Pets?
If you have pets, it’s a good idea to clean your air purifier more frequently. Pet dander can build up quickly, so regular cleaning will help minimize allergens and keep the air in your home fresh and clean.
Is It Safe to Use Cleaning Agents or Disinfectants on the Germguardian Air Purifier?
Yes, it is safe to use cleaning agents or disinfectants on the Germguardian air purifier. However, it is important to follow the manufacturer’s instructions and use products that are specifically recommended for cleaning air purifiers.
How Often Should I Replace the Filters in the Germguardian Air Purifier?
I replace the filters in my Germguardian air purifier every 6-8 months. To clean it without disassembling, I vacuum the outside and use a soft cloth to wipe the surface.
Can I Clean the Pre-Filter and HEPA Filter With Water?
Yes, you can clean the pre-filter and HEPA filter of the Germguardian Air Purifier with water. After cleaning, make sure to properly dry the filters before re-installing them. Alternatively, you can also use a vacuum cleaner to remove dust and debris.
Conclusion
In conclusion, cleaning your Germguardian air purifier is a crucial step in ensuring its optimal performance and longevity. By following the steps outlined in this article, you can effectively remove dirt, dust, and allergens from the air and maintain a clean and healthy environment in your home.
Remember to regularly clean the outer surfaces and filters, as well as the UV-C light and ionizer, to keep your purifier working efficiently. With proper maintenance and troubleshooting, your Germguardian air purifier will continue to provide you with clean and fresh air for years to come.
So don’t hesitate, start cleaning your air purifier today and breathe easier tomorrow.