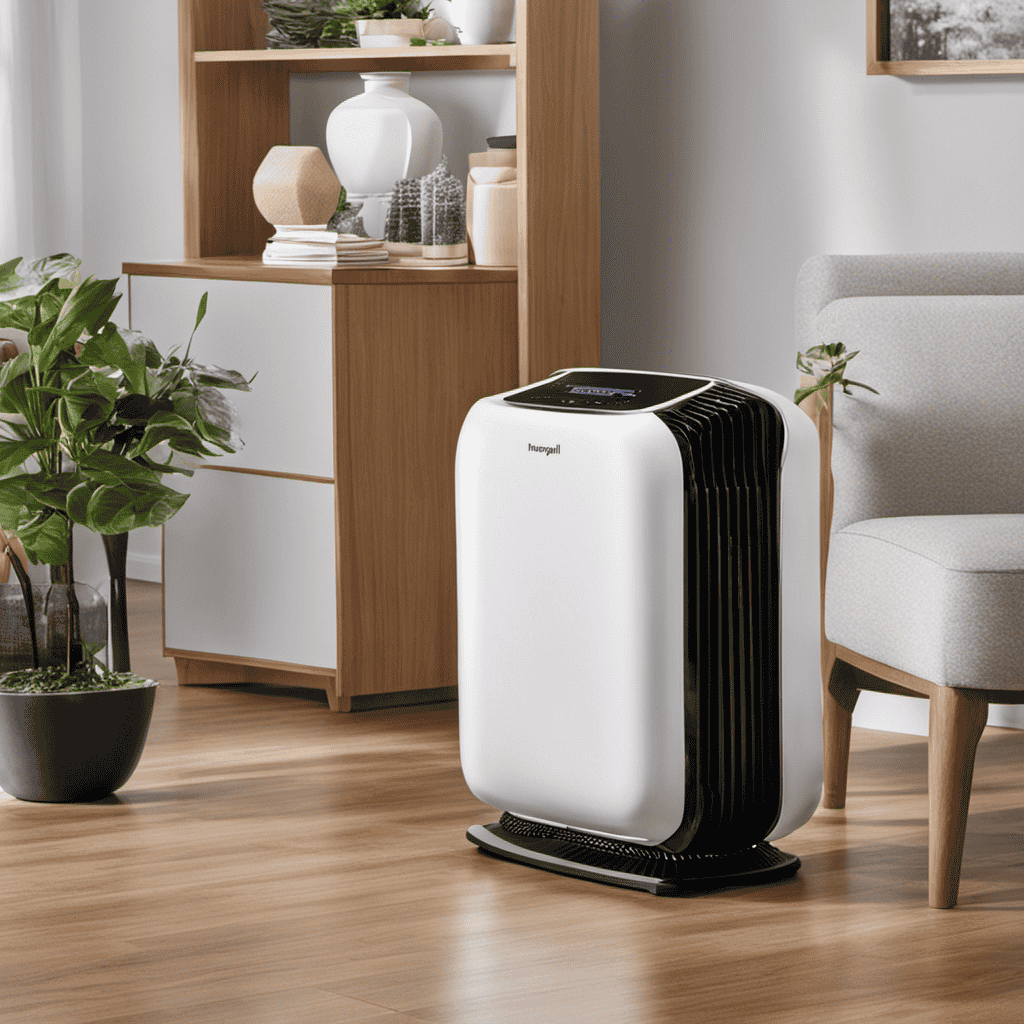
As a Honeywell Air Purifier owner, it is crucial to keep it clean to maintain peak performance and ensure clean air in your home. This article will walk you through the detailed process of cleaning your Honeywell Air Purifier, including identifying its various components and performing a thorough cleaning and disinfection.
By following these instructions, you’ll be able to maintain your air purifier’s efficiency and prolong its lifespan.
Let’s dive in and discover how to keep your Honeywell Air Purifier in pristine condition.
Key Takeaways
- Regular cleaning of the Honeywell Air Purifier is essential for maintaining efficiency and effectiveness.
- Cleaning the different parts of the air purifier, such as filters, fan blades, and control panel, is necessary for optimal performance.
- Proper cleaning techniques, such as tapping filters, using a soft brush or vacuum cleaner attachment, and washing filters with mild soap and water, help remove dirt and debris.
- Deep cleaning and disinfecting should be done periodically, including cleaning the exterior surfaces and using a solution of isopropyl alcohol and water for disinfection.
Why Clean Your Honeywell Air Purifier
Why should you clean your Honeywell air purifier regularly?
Regular cleaning of your Honeywell air purifier offers numerous benefits and is essential for maintaining its efficiency. Over time, dust, allergens, and other particles accumulate on the filters and inside the unit, reducing its effectiveness.
By cleaning your air purifier regularly, you ensure that it continues to remove pollutants from the air, improving the overall air quality in your home. Regular maintenance also helps prolong the lifespan of the unit and prevents any potential issues that may arise from neglect.
Understanding the importance of keeping your Honeywell air purifier clean will not only help you breathe cleaner air, but it will also save you money in the long run by avoiding costly repairs or replacements.
Now, let’s move on to understanding the different parts of your Honeywell air purifier.
Understanding the Different Parts of Your Honeywell Air Purifier
When it comes to maintaining your Honeywell Air Purifier, there are several key points to keep in mind.
First, it’s important to understand the filter replacement frequency to ensure optimal performance.
Additionally, proper fan maintenance is crucial for keeping the air purifier running smoothly and effectively.
Lastly, cleaning the control panel regularly helps to maintain its functionality and prolong its lifespan.
Let’s dive into each of these topics in more detail to ensure your Honeywell Air Purifier stays in top shape.
Filter Replacement Frequency
The recommended filter replacement frequency for the Honeywell air purifier is every six to twelve months. Regularly replacing your filters is crucial in preventing mold growth and extending the lifespan of your air purifier.
Mold spores can accumulate on dirty filters, leading to potential health issues and reduced purifying efficiency. To ensure optimal performance, check the condition of your filters every month. If they appear dirty or discolored, it’s time to replace them.
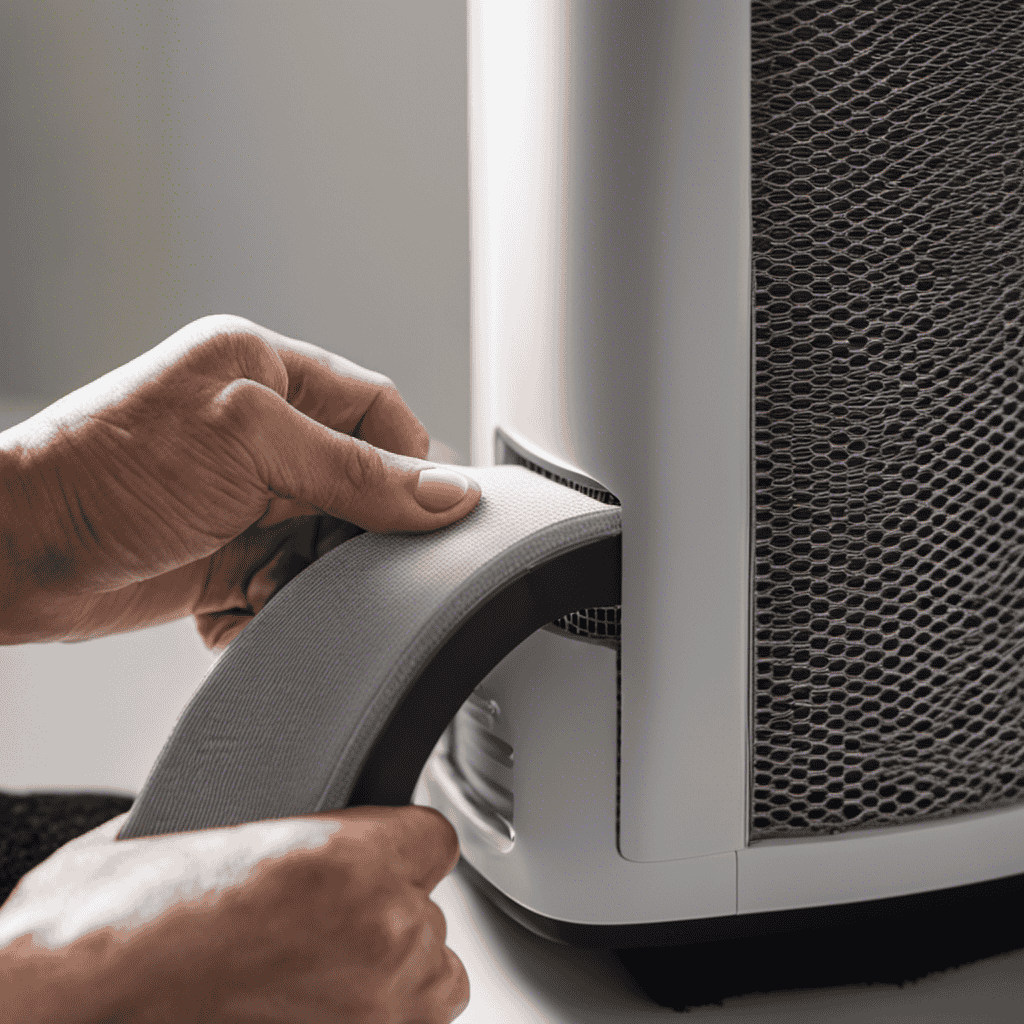
Start by turning off the purifier and unplugging it from the power source. Open the front panel and carefully remove the old filters. Replace them with new ones, ensuring they fit snugly. Close the panel and plug the purifier back in.
Following these simple steps will keep your air purifier running smoothly and effectively.
Proper Fan Maintenance
To keep your fan running smoothly, it’s important to regularly clean and lubricate it.
Fan cleaning tips and fan maintenance techniques are essential to ensure optimal performance and longevity.
Begin by unplugging the fan and removing any dust or debris from the blades and grill using a soft cloth or brush.
For a deeper clean, you can use a mild detergent mixed with water. Be sure to dry the fan thoroughly before plugging it back in.
To lubricate the fan, locate the oil ports on the motor and apply a few drops of oil. This will help reduce friction and keep the fan running quietly.
By following these simple maintenance steps, you can keep your fan in top shape for years to come.
Now, let’s move on to cleaning the control panel.
Cleaning the Control Panel
Check for any dirt or grime on your control panel and wipe it clean with a soft cloth. This is an important step in maintaining the overall cleanliness of your Honeywell air purifier.
The control panel is a crucial part of the device, as it allows you to adjust settings and monitor the air quality in your home. To ensure that it functions properly, it is essential to keep it clean and free from any debris.
When cleaning the control panel, make sure to use gentle cleaning techniques to avoid causing any damage. Avoid using harsh chemicals or abrasive materials that could scratch or damage the surface.
Regularly cleaning the control panel is a simple yet effective way to ensure the proper maintenance of your Honeywell air purifier.
Preparing for Cleaning: Safety Measures and Precautions
Before starting the cleaning process, it’s important to take safety measures and precautions.
Firstly, gather all the necessary cleaning supplies, including a soft cloth, mild soap or cleaning solution, and water. Ensure that the air purifier is turned off and unplugged before starting the cleaning process. It’s crucial to avoid contact with any electrical components to prevent any accidents.
Next, find a clean and flat surface to work on. Place a towel or mat under the air purifier to catch any water or cleaning solution that may drip during the cleaning process. When handling the air purifier, be gentle to avoid any damage.
Now that we have taken the necessary precautions, let’s move on to the step-by-step guide to cleaning the pre-filter.
Step-by-Step Guide to Cleaning the Pre-Filter
Now that we’ve gathered the necessary cleaning supplies, let’s start by unplugging the air purifier and turning it off. Proper pre-filter maintenance is essential to ensure the longevity and efficiency of your Honeywell air purifier.
To clean the pre-filter, follow these simple steps:
-
Remove the pre-filter: Open the front panel of the air purifier and locate the pre-filter. Carefully remove it by sliding it out of its housing.
-
Vacuum the pre-filter: Use a vacuum cleaner with a brush attachment to gently remove any dust and debris from the pre-filter. Be thorough in cleaning all sides of the filter.
-
Wash the pre-filter: Fill a basin with warm water and a mild detergent. Submerge the pre-filter and gently agitate it to remove any remaining dirt. Rinse it thoroughly with clean water and allow it to air dry completely before reinserting it into the air purifier.
Cleaning the HEPA Filter: What You Need to Know
To maintain the effectiveness of your HEPA filter, you’ll want to replace it every 6-12 months. Regular cleaning can help extend its lifespan and ensure optimal performance.
When it comes to cleaning techniques, it’s important to follow the manufacturer’s instructions. Most HEPA filters can’t be washed or vacuumed, as it can damage the delicate fibers. Instead, you can use compressed air or a soft brush to remove any visible debris.
Additionally, it’s crucial to adhere to a maintenance schedule. Set a reminder on your calendar to check your HEPA filter regularly and replace it as needed. By keeping up with proper maintenance, you can ensure that your air purifier continues to effectively filter out pollutants and provide you with cleaner air.
Now, let’s move on to how to properly clean the carbon filter.
How to Properly Clean the Carbon Filter
The carbon filter in your air purifier can be cleaned by gently wiping it with a damp cloth. Proper carbon filter maintenance is essential for ensuring the longevity and efficiency of your air purifier.
Here are three key techniques to keep in mind when cleaning your carbon filter:
- Remove the filter from the air purifier unit before cleaning.
- Use a soft, damp cloth to gently wipe away any dust or debris from the filter surface.
- Allow the filter to air dry completely before reinserting it into the air purifier.
By following these cleaning techniques for the carbon filter, you can ensure that your air purifier continues to effectively remove odors and harmful gases from your indoor environment.
Now, let’s move on to the next section where we will discuss cleaning the ionizer: tips and techniques.
Cleaning the Ionizer: Tips and Techniques
To clean the ionizer, first turn off the unit. Gently wipe the ionizer blades with a soft cloth. The ionizer is an important component of your Honeywell air purifier. It helps to remove pollutants from the air by emitting charged ions. Over time, dust and particles can accumulate on the blades, hindering the ionizer’s effectiveness. Regular maintenance is necessary for optimal performance. When cleaning the ionizer, use a soft cloth to avoid scratching the blades. Gently wipe the blades in a back-and-forth motion, removing any visible dirt or debris. Avoid applying too much pressure, as this may damage the blades. Once the ionizer is clean, you can move on to maintaining the air quality monitor in your Honeywell air purifier.
Maintaining the Air Quality Monitor in Your Honeywell Air Purifier
When it comes to maintaining the air quality monitor in your Honeywell air purifier, there are two key points to keep in mind: cleaning frequency recommendations and proper cleaning techniques.
First, it is important to follow the manufacturer’s guidelines for cleaning frequency in order to ensure optimal performance of the air quality monitor.
Secondly, using proper cleaning techniques, such as using a soft cloth and mild soap, will help to prevent damage and ensure accurate readings.
Cleaning Frequency Recommendations
For optimal performance, it’s important to regularly clean your Honeywell air purifier according to the manufacturer’s recommendations. Proper cleaning techniques and maintenance tips will ensure that your air purifier continues to provide you with clean and fresh air.
Here are three reasons why regular cleaning is crucial:
-
Improved air quality: Regularly cleaning your air purifier removes dust, allergens, and other pollutants from the air, helping to maintain a healthy living environment.
-
Longevity of the device: Cleaning your air purifier regularly prevents the accumulation of dirt and debris, which can clog the filters and reduce the effectiveness of the unit over time.
-
Cost savings: By cleaning your air purifier regularly, you can extend the lifespan of the filters, reducing the frequency of filter replacements and saving you money in the long run.
Now that you understand the importance of regular cleaning, let’s move on to the proper cleaning techniques for your Honeywell air purifier.
Proper Cleaning Techniques
Make sure you regularly check and clean the filters of your device to maintain optimal performance. Proper air purifier maintenance is crucial for ensuring clean and healthy air in your home.
Cleaning techniques for your Honeywell air purifier are simple and easy to follow. First, unplug the device and remove the filters. Gently tap them to remove any loose dirt or debris.
Next, use a soft brush or vacuum cleaner attachment to clean the filters more thoroughly. For stubborn dirt or stains, you can wash the filters with mild soap and water, making sure to rinse them thoroughly and allow them to air dry completely before reinstalling.
Remember to clean the exterior of the device regularly as well, using a damp cloth to wipe away dust and dirt. By following these cleaning techniques, you can extend the lifespan of your air purifier and maintain its optimal performance.
Removing Dust and Debris From the Fan and Motor
To remove dust and debris from the fan and motor, you’ll need to first unplug the Honeywell air purifier. Here’s how you can properly clean and maintain your air purifier:
-
Gently remove the front cover – Carefully detach the front cover by releasing the tabs or screws. Be cautious not to damage any delicate components.
-
Wipe down the fan blades and motor – Use a soft, dry cloth or a brush to gently remove any dust or debris from the fan blades and motor. Be thorough but gentle to avoid causing any damage.
-
Remove pet hair with a vacuum attachment – If you have pets, their hair can accumulate around the fan and motor. Use a vacuum cleaner with a brush attachment to carefully suck up any pet hair and dander.
Regularly cleaning your air purifier not only improves its performance but also ensures proper lubrication and prevents any potential damage.
Cleaning the Air Intake and Exhaust Vents
Proper vent maintenance is essential for the efficient operation and longevity of your ventilation system. Regular cleaning of the air intake and exhaust vents helps to prevent the buildup of dust, dirt, and other debris, which can impede airflow and reduce the overall effectiveness of the system.
It is recommended to clean the vents at least once every three months to ensure optimal performance and improve the air quality in your space.
Proper Vent Maintenance
Regularly cleaning the vents is essential for maintaining your Honeywell air purifier’s performance. Neglecting this simple task can lead to a decrease in air quality and even damage to your purifier. To ensure your vents are properly maintained, follow these vent cleaning techniques:
-
Remove the vent covers: Gently detach the vent covers from the purifier and set them aside.
-
Clean the vents: Use a soft brush or cloth to remove any dust or debris that has accumulated on the vents. Be thorough and pay attention to any hard-to-reach areas.
-
Check for blockages: Inspect the vents for any clogs or blockages that could impede the airflow. If you notice any obstructions, use a vacuum cleaner or compressed air to clear them out.
Common vent maintenance problems to watch out for include excessive dust buildup, trapped pet hair, and blockages from debris.
Cleaning Frequency Recommendations
Cleaning the vents of your Honeywell air purifier on a consistent basis is crucial for maintaining optimal performance and improving air quality in your home. Regular cleaning prevents dust, debris, and allergens from accumulating and obstructing the airflow. To ensure the longevity of your air purifier, follow these cleaning techniques and maintenance tips:
- Check the manufacturer’s instructions for specific cleaning recommendations.
- Use a soft brush or vacuum attachment to gently remove dust and dirt from the vents.
- Wipe the vents with a damp cloth to remove any remaining residue.
- Allow the vents to dry completely before reassembling the air purifier.
By following these simple cleaning steps, you can keep your Honeywell air purifier working efficiently and effectively.
Now, let’s move on to cleaning the control panel and buttons to ensure the overall cleanliness of your unit.
Cleaning the Control Panel and Buttons
To clean the control panel and buttons on your Honeywell air purifier, start by unplugging the device. This ensures your safety and prevents any accidental damage.
Here are the best practices and cleaning techniques to follow:
-
Gently wipe the control panel and buttons with a soft, lint-free cloth dampened with warm water and mild soap. Avoid using abrasive cleaners or harsh chemicals as they can damage the surface.
-
Pay special attention to any stubborn dirt or grime. Use a soft-bristle toothbrush or cotton swab dipped in the soapy water to gently scrub those areas.
-
After cleaning, wipe the control panel and buttons with a clean, dry cloth to remove any excess moisture.
Following these steps regularly will help maintain the cleanliness and functionality of the control panel and buttons, ensuring your Honeywell air purifier continues to perform at its best.
Tips for Cleaning the Exterior of Your Honeywell Air Purifier
When wiping down the control panel and buttons, be sure to use a soft cloth dampened with warm water and mild soap.
However, cleaning the exterior of your Honeywell air purifier requires a slightly different approach. To effectively clean the exterior, start by unplugging the unit and removing any filters or parts that can be detached.
Next, using a soft cloth or sponge, dampen it with a mixture of warm water and a small amount of mild detergent. Gently wipe down the surfaces, being careful not to get any water into the unit’s vents or openings.
For tough stains or grime, you can use a non-abrasive cleaner. Once you’ve finished cleaning, make sure the exterior is completely dry before reassembling the parts and plugging the unit back in.
Following these cleaning techniques and maintenance tips will help keep your Honeywell air purifier looking and functioning at its best.
Deep Cleaning and Disinfecting the Air Purifier
To deep clean and disinfect your air purifier, it’s important to follow these steps:
- Unplug the unit and detach any removable parts.
- Use a mild detergent or dish soap mixed with warm water to clean the exterior surfaces of the air purifier. Gently wipe the surfaces with a soft cloth or sponge.
- Check the manufacturer’s instructions for specific cleaning recommendations for the filters. Some filters may be washable, while others may need to be replaced.
- To disinfect the unit, you can use a solution of 70% isopropyl alcohol and water. Spray the solution onto a clean cloth and wipe down the surfaces of the air purifier.
By following these steps, you can maintain a clean and hygienic environment in your home.
Now let’s move on to the next section about how often you should clean your Honeywell air purifier.
How Often Should You Clean Your Honeywell Air Purifier
Now that you know how to deep clean and disinfect your Honeywell air purifier, let’s talk about how often you should clean it to keep it running efficiently.
The cleaning frequency of your air purifier depends on various factors such as the environment it’s in and how frequently it’s used. As a general rule, it’s recommended to clean the pre-filter every three months and replace it every three to twelve months. The HEPA filter should be replaced every one to three years, depending on usage.
Additionally, it’s essential to regularly check and clean the exterior of the unit to prevent dust buildup.
By following these maintenance tips, you can ensure that your Honeywell air purifier continues to provide you with clean and fresh air.
Now, let’s move on to troubleshooting common cleaning issues with your Honeywell air purifier.
Troubleshooting Common Cleaning Issues With Your Honeywell Air Purifier
If you’re experiencing any issues while cleaning your Honeywell air purifier, there are some common troubleshooting steps you can take.
Here are three potential problems you may encounter and how to address them:
-
Filter Replacement Error: If your air purifier is displaying a filter replacement error, make sure the filter is properly installed and seated in its designated spot. Double-check that the filter is the correct one for your specific model.
-
Power Issues: If your air purifier is not turning on or has intermittent power, check the power cord for any damages or loose connections. Plug the purifier into a different outlet to rule out any issues with the current power source.
-
Cleaning Hard-to-Reach Areas: To clean the difficult-to-reach areas of your air purifier, use a small brush or a vacuum cleaner with a brush attachment. Pay special attention to the vents, grilles, and fan blades to remove any dust or debris that could be affecting performance.
Frequently Asked Questions
Can I Clean My Honeywell Air Purifier With Water?
Yes, you can clean your Honeywell air purifier with water. It is one of the recommended cleaning methods for maintenance. Make sure to follow the proper steps to ensure effective cleaning and avoid damaging the unit.
How Do I Know When It’s Time to Replace the Filters in My Honeywell Air Purifier?
When it’s time to replace the filters in my Honeywell air purifier, I look for signs of a dirty air filter, like reduced air flow or increased allergy symptoms. I replace the filters every 3-6 months for optimal performance.
Can I Use Cleaning Solutions or Chemicals to Clean My Honeywell Air Purifier?
I don’t recommend using cleaning solutions or chemicals to clean my Honeywell air purifier. Instead, I suggest using gentle cleaning techniques and alternative cleaning methods to ensure the longevity and effectiveness of the device.
What Should I Do if My Honeywell Air Purifier Is Not Turning on After Cleaning?
If my Honeywell air purifier is not turning on after cleaning, there are a few troubleshooting tips to try. Check the power source, make sure the filters are properly installed, and reset the unit if necessary.
Is It Safe to Clean the Control Panel and Buttons of My Honeywell Air Purifier With a Damp Cloth?
Yes, it is safe to clean the control panel and buttons of your Honeywell air purifier with a damp cloth. However, make sure to unplug the purifier before cleaning and avoid using excessive water. Follow these cleaning tips for best practices.
Is the Cleaning Process Similar for Different Brands of Air Purifiers?
When it comes to cleaning Coway air purifier instructions, each brand may have specific guidelines. It’s important to follow the manufacturer’s recommendations for proper maintenance and cleaning to ensure optimal performance. Be sure to consult the cleaning coway air purifier instructions for your specific model to keep it running efficiently.
Conclusion
After following these step-by-step instructions, you should now have a clean and fresh Honeywell air purifier ready to improve the air quality in your home.
Remember, a clean air purifier not only ensures optimal performance but also helps maintain a healthy living environment.
So, don’t let dust and allergens pile up, take the time to clean your air purifier regularly.
As the saying goes, ‘Clean air is like a breath of fresh air for your soul.’
