I cannot afford to neglect cleaning my Honeywell air purifier. As each day goes by, the air quality in my home becomes increasingly important for my health.
So, I turn to YouTube to find the most comprehensive guide on how to clean my Honeywell air purifier. In this article, I will provide you with a step-by-step guide, using my own personal experiences, to ensure that your Honeywell air purifier is spotless and functioning at its best.
Key Takeaways
- The Honeywell Air Purifier is equipped with a True HEPA filter that captures 99.97% of airborne particles.
- Regular cleaning of filters and components is essential for maintaining the efficiency and lifespan of the air purifier.
- Proper disassembly and reassembly techniques should be followed when cleaning the air purifier.
- Thoroughly cleaning the filters and components, as well as regularly replacing filters, helps improve air quality, reduce allergens and pollutants, and enhance respiratory health.

KNKA Air Purifier for Home Bedroom Large Room Up to 1,695 Ft² in 1 Hr, HEPA Air Cleaner with Washable Pre-Filter, AHAM VERIFIDE, AQI Display, ECO Mode, Pet Mode for Pets, Dust, Pollen, APH4000
𝐀𝐇𝐀𝐌 𝐕𝐞𝐫𝐢𝐟𝐢𝐞𝐝 & 𝐇𝐢𝐠𝐡 𝐂𝐀𝐃𝐑 𝐕𝐚𝐥𝐮𝐞: Certified by the Association of Home Appliance Manufacturers, this air purifier provides...
As an affiliate, we earn on qualifying purchases.
Understanding the Honeywell Air Purifier
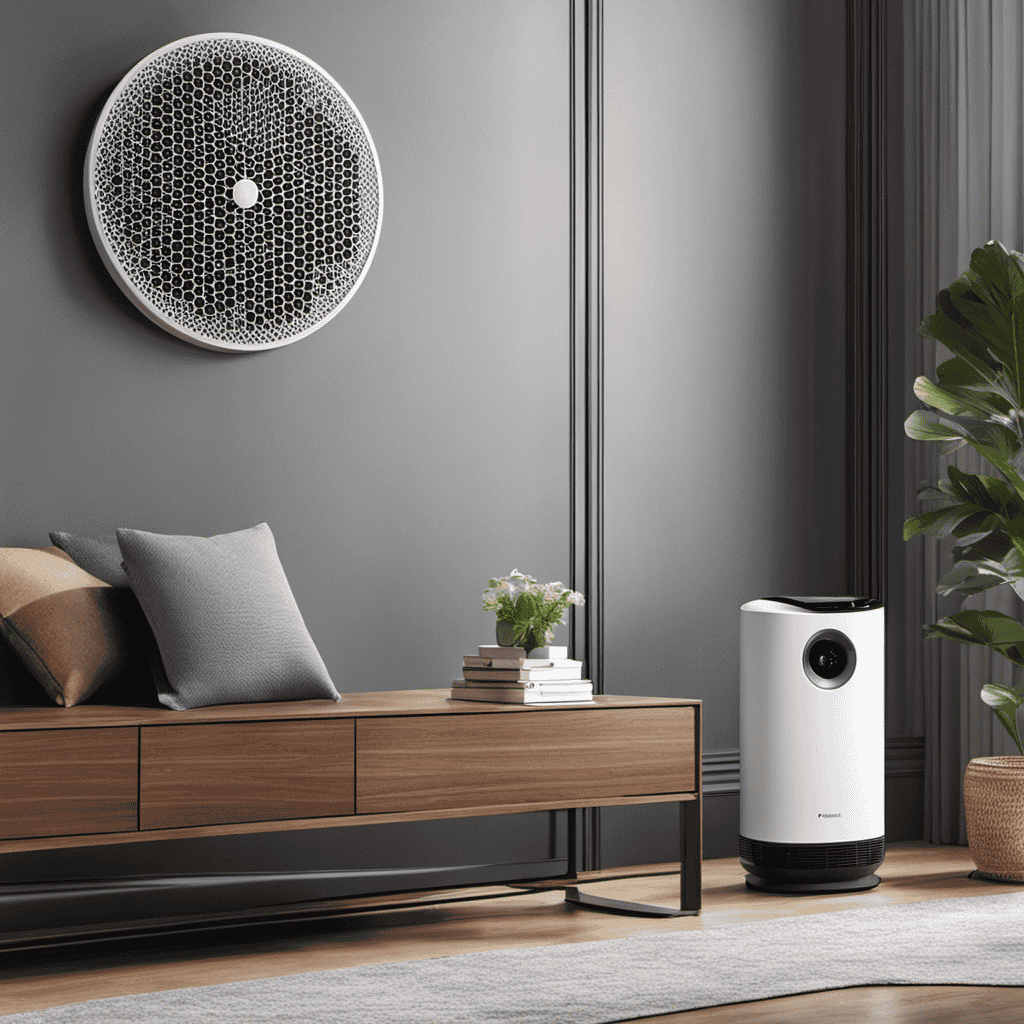
To understand the Honeywell Air Purifier, you’ll need to familiarize yourself with its features and functions.
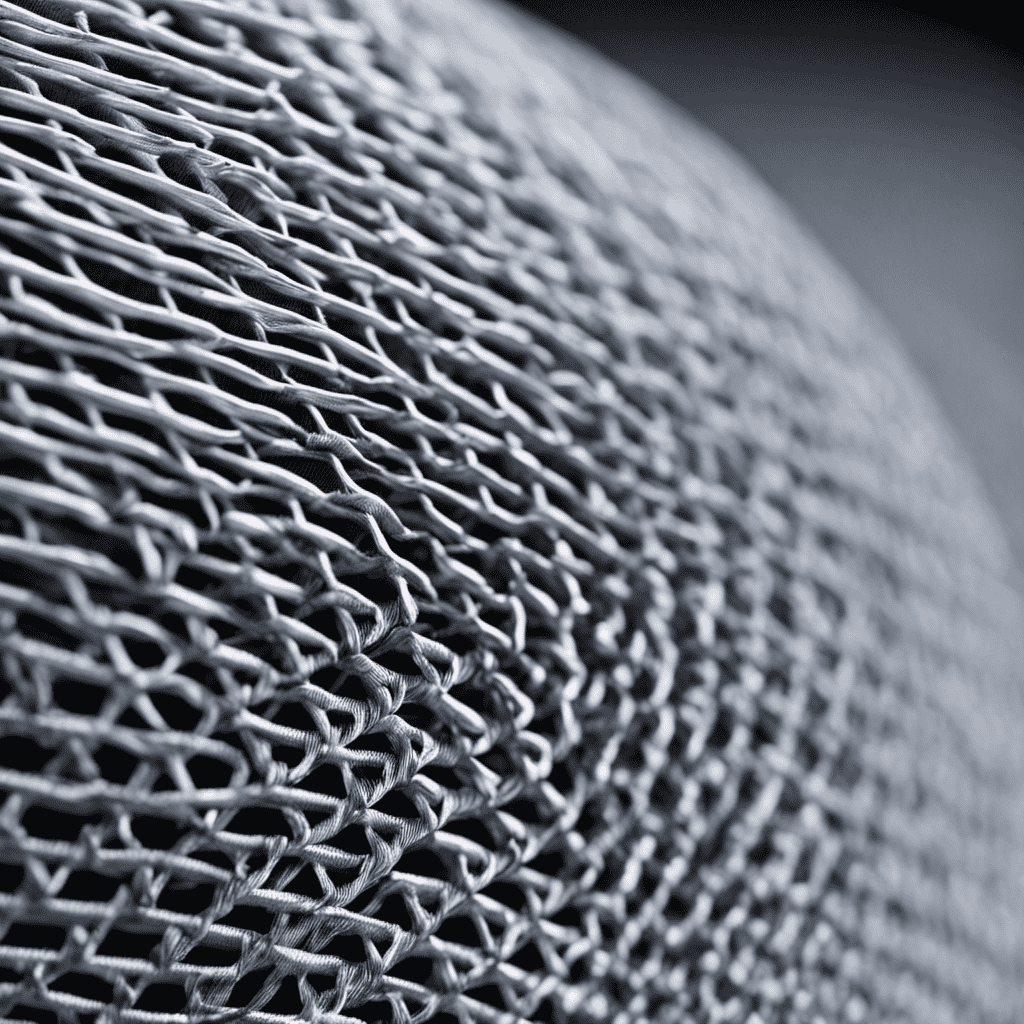
The Honeywell air purifier is equipped with a True HEPA filter, which effectively captures up to 99.97% of airborne particles as small as 0.3 microns. This ensures that the air in your home is clean and free from allergens, dust, and pet dander.
Additionally, the air purifier features an activated carbon pre-filter that helps to reduce unpleasant odors and volatile organic compounds (VOCs).
The unit also has a powerful fan that circulates the purified air throughout the room, providing you with fresh and clean air to breathe.
The benefits of using a Honeywell air purifier include improved indoor air quality, reduced allergy symptoms, and a cleaner living environment.

Pet Air Purifier for Home Large Room 2500 sq ft, H13 HEPA Washable Double-Sided Filter,Air Cleaner for Pet Hair Dander Odor Allergies Pollutant Smoke Dust,PM2.5 Air Quality Monitor,Auto Mode,P358 Grey
U Shape Air Inlet,No Hair Stuck, Firmly Absorb Pet Floating Hair In Pet Mode: Traditional fence / grid...
As an affiliate, we earn on qualifying purchases.
Gathering the Necessary Cleaning Supplies
First, you’ll need to gather all the supplies you need to clean your Honeywell air purifier. Cleaning your air purifier regularly is essential for maintaining its efficiency and prolonging its lifespan. Here are the supplies you’ll need:
-
Soft cloth or microfiber cloth: This will be used to wipe down the exterior of the air purifier and remove any dust or dirt.
-
Mild detergent or cleaning solution: Dilute a small amount of detergent or cleaning solution in water to clean the filters and other removable parts of the air purifier.
-
Vacuum cleaner with a brush attachment: This will help you remove any larger debris or dust particles from the air purifier before cleaning it.
-
Compressed air canister: This is useful for blowing away any stubborn dust or dirt from hard-to-reach areas, such as the vents or crevices of the air purifier.

LEVOIT Air Purifier for Home Allergies Pet Hair in Bedroom, Covers Up to 1073 ft² by 56W High Torque Motor, AHAM VERIFIDE, 3-in-1 Filter with HEPA Sleep Mode, Remove Dust Smoke Odor, Core300-P, White
WHY CHOOSE AHAM VERIFIDE AIR PURIFIERS: AHAM (Association of Home Appliance Manufacturers) is an ANSI-accredited organization that sets...
As an affiliate, we earn on qualifying purchases.
Step-by-Step Guide for Disassembling the Air Purifier
When it comes to disassembling an air purifier, it is crucial to follow proper technique to avoid damaging any components.
The first step is to ensure that you have the necessary tools, such as a screwdriver and pliers, to safely remove the different parts of the air purifier.
Once you have successfully disassembled the unit, it is equally important to understand the reassembling process in order to put everything back together correctly and ensure the proper functioning of the air purifier.
Proper Disassembly Technique
It’s important to use the proper disassembly technique when cleaning your Honeywell air purifier. To ensure a thorough and efficient cleaning process, follow these steps:
-
Start by unplugging the air purifier from the power source to avoid any electrical accidents.
-
Carefully remove the front cover by gently pulling it towards you, making sure not to force it or damage any components.
-
Next, locate and remove the filters. Depending on the model, this may involve sliding out a drawer or lifting a panel.
-
Finally, detach any additional parts, such as the pre-filter or ionizer, following the manufacturer’s instructions.
When reassembling your air purifier, make sure to reverse these steps, ensuring that each component is securely in place.
If you encounter any difficulties during the disassembly or reassembly process, consult the user manual or contact Honeywell customer support for troubleshooting common issues.
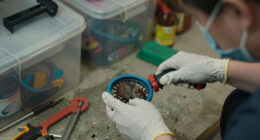
Tools Required for Disassembly
To properly disassemble your Honeywell air purifier, you’ll need a few tools. The disassembly process requires the use of a Phillips screwdriver, a flathead screwdriver, and a pair of needle-nose pliers.
The Phillips screwdriver is essential for removing the screws that hold the outer casing together. The flathead screwdriver is useful for prying open any clips or latches that secure the different components of the air purifier. Lastly, the needle-nose pliers come in handy for disconnecting any wire connectors or removing stubborn parts.
These disassembly tools ensure a smooth and efficient disassembly process, allowing you to access all the necessary components for cleaning or maintenance. Once the air purifier is disassembled, you can proceed to the next step of reassembling the air purifier.
Reassembling the Air Purifier
After disassembling the air purifier, you’ll need to follow the reverse steps to reassemble it. Here is a step-by-step guide to help you with the process:
- Begin by placing the air purifier’s main body on a flat, stable surface.
- Carefully align the front cover with the body, ensuring that all the tabs and slots fit together perfectly.
- Gently press the cover until you hear a click, indicating that it is securely attached.
- Finally, reattach any additional components, such as the pre-filter or ionizer, following the manufacturer’s instructions.
Reassembling the air purifier is an important step in maintaining its functionality and efficiency. Once you have successfully reassembled it, you can move on to thoroughly cleaning the filters and components to ensure optimal performance.
Air Purifiers for Home Large Rooms up to 3500 Ft², H13 True HEPA 0.1 Micron 99.97% Filtration with Carbon Filter, 235 CFM CADR, for Pollen, Pet Odor, Smoke, VOCs, 30dB Sleep Mode, PM2.5 Display
H13 True HEPA + Carbon Filter – Removes Odors & Smoke: Equipped with H13 True HEPA (0.1μm, 99.97%)...
As an affiliate, we earn on qualifying purchases.
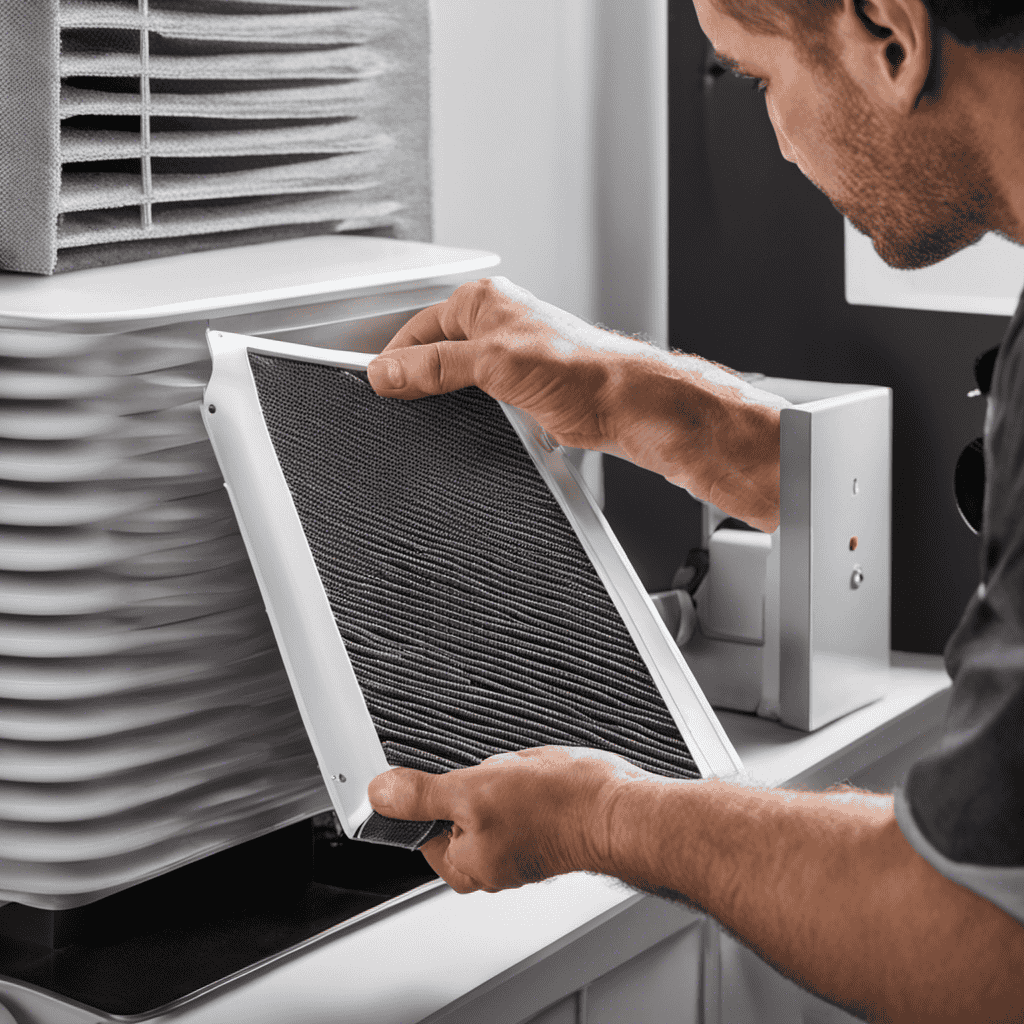
Thoroughly Cleaning the Filters and Components
First, make sure you unplug the Honeywell air purifier before thoroughly cleaning its filters and components.
To clean the filters, remove them from the unit and gently tap them to remove any loose dirt or dust. Then, use a soft brush to remove any remaining particles. For stubborn dirt, you can use a mild detergent and water solution to gently scrub the filters. Rinse them thoroughly and allow them to dry completely before reinstalling.
As for the components, use a damp cloth to wipe down the exterior of the purifier, being careful not to get any water inside. For stubborn dirt, you can use a mild cleaning solution. Remember to dry the components thoroughly before plugging the air purifier back in.
Reassembling the Air Purifier
When it comes to reassembling the air purifier, there are some proper steps that need to be followed to ensure everything is put back together correctly.
First, it is important to carefully review the disassembly process to understand how all the components fit together.
Then, I will guide you through the proper reassembly steps to ensure the air purifier functions properly.
Additionally, I will discuss common reassembly mistakes to avoid, to prevent any potential issues or damage to the air purifier.
Proper Reassembly Steps
To properly reassemble your Honeywell air purifier, make sure you carefully follow these steps:
-
Begin by placing the filters back into their designated slots. Ensure that they are securely in place and aligned correctly.
-
Next, attach the front panel to the main unit. Slide it into position and make sure it clicks into place.
-
Reattach the control panel by aligning the tabs with the slots on the main unit. Press firmly until it snaps into place.
-
Finally, secure the top cover by aligning it with the grooves on the main unit. Push down firmly to lock it in place.
Following these steps will ensure a proper reassembly of your Honeywell air purifier. If you encounter any issues during the reassembly process, double-check the alignment and make sure all components are securely attached.
Common Reassembly Mistakes
One common mistake when reassembling the Honeywell air purifier is not aligning the tabs with the slots on the main unit securely. This can lead to a loose connection and poor performance.
To avoid this issue, make sure to carefully line up the tabs on the filter cover with the corresponding slots on the main unit. Give it a gentle push until you hear a click, indicating that it is securely in place.
Another important reassembly tip is to double-check all connections and ensure everything is properly aligned before turning on the air purifier. This will help prevent any potential issues and ensure optimal functionality.
Tips for Maintaining a Clean Honeywell Air Purifier
Maintaining a clean Honeywell air purifier is essential for optimal performance. To ensure your air purifier continues to function effectively, here are some cleaning techniques you can follow:
-
Regular Filter Replacement: Replace the filters according to the manufacturer’s instructions. This will prevent dust and pollutants from accumulating and clogging the system.
-
Wipe Down the Exterior: Use a damp cloth to clean the exterior of the air purifier. This will remove any dust or dirt that may have settled on the surface.
-
Vacuum the Intake Vents: Gently vacuum the intake vents to remove any debris that may be blocking the airflow. This will help maintain the efficiency of the purifier.
-
Clean the Pre-Filters: If your air purifier has pre-filters, clean them regularly by rinsing them with water and allowing them to dry completely before reinstalling.
Frequently Asked Questions
Can I Clean the Honeywell Air Purifier With Regular Household Cleaning Products?
I can clean the Honeywell air purifier with regular household cleaning products. However, it is recommended to use specific cleaning solutions provided by the manufacturer to ensure proper maintenance and avoid damaging the device.
How Often Should I Clean the Filters and Components of the Honeywell Air Purifier?
I clean the filters and components of my Honeywell air purifier regularly to ensure proper functioning. Following the manufacturer’s instructions, I use specific cleaning techniques and products recommended for maintenance.
Can I Wash the Filters of the Honeywell Air Purifier in the Dishwasher?
No, it is not safe to wash the filters of the Honeywell air purifier in the dishwasher. The filters are not designed to withstand the high heat and water pressure of a dishwasher, which can damage them and reduce their effectiveness.
Is It Necessary to Unplug the Honeywell Air Purifier Before Cleaning It?
It is not safe to clean the Honeywell Air Purifier while it is still plugged in. There are potential risks of electric shock or damage to the unit. Always unplug before cleaning.
Can I Use Compressed Air to Clean the Honeywell Air Purifier Instead of Disassembling It?
Certainly! Using compressed air to clean the Honeywell air purifier can be a safe and effective alternative method. It allows for thorough cleaning without the need for disassembling. Remember to follow instructions carefully to ensure proper maintenance.
Conclusion
In conclusion, maintaining a clean Honeywell air purifier is essential for optimal performance and longevity. By following the step-by-step guide provided, you can easily disassemble, clean, and reassemble your air purifier.
Remember to regularly clean the filters and components to prevent dust and allergens from accumulating. Just as purifying the air improves our health, purifying our surroundings can bring a sense of clarity and rejuvenation to our lives.
So, take a moment to clean your air purifier and let the freshness of a purified environment inspire you.