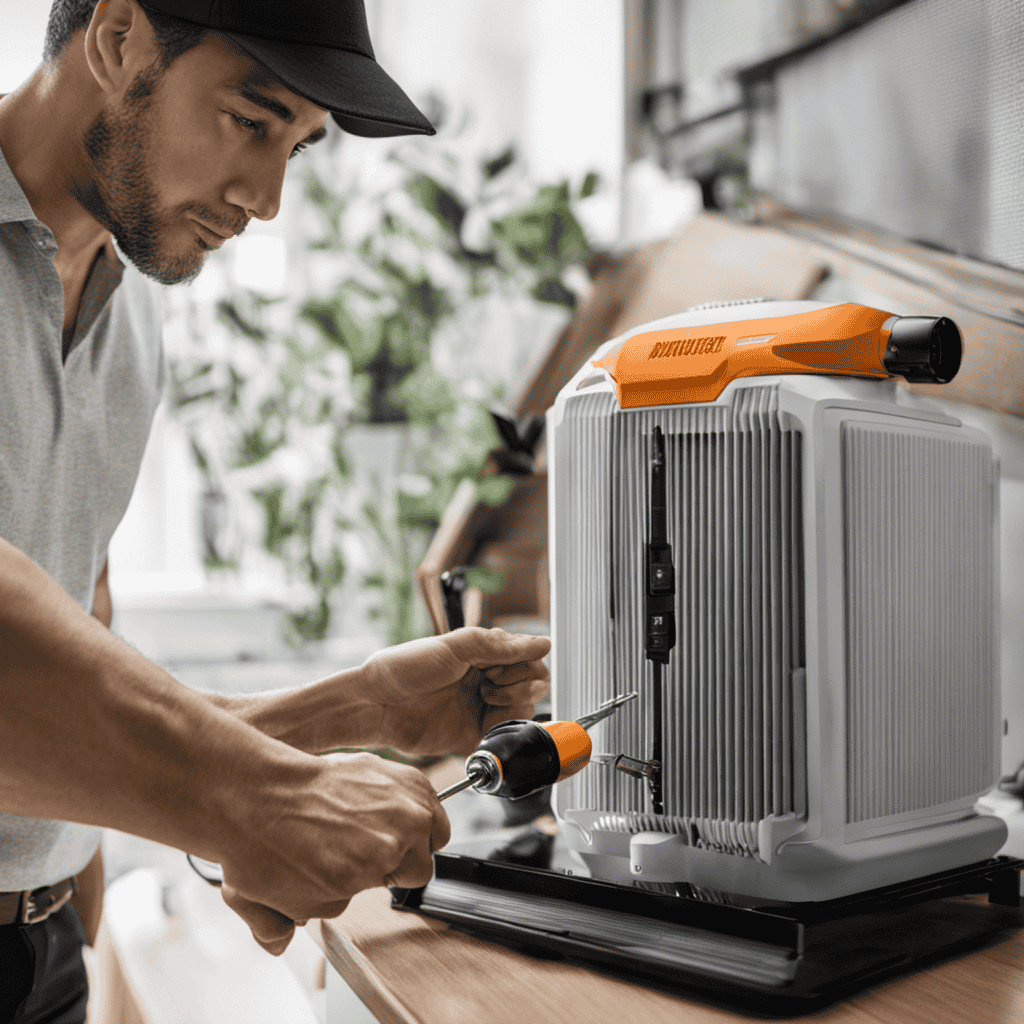
I’m here to show you how to fix your air purifier, step by step.
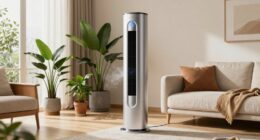
Picture this: you’re sitting in your home, breathing in clean, fresh air. But suddenly, your air purifier starts acting up, and you’re left wondering what to do.
Well, worry no more! In this article, I’ll guide you through the process of assessing the issue, checking power and connections, cleaning or replacing filters, troubleshooting fan or motor problems, and much more.
Let’s get started on getting your air purifier back in top shape!
Key Takeaways
- Properly maintain and clean the air purifier filters to ensure optimal performance and clean air.
- Troubleshoot power and connection issues by checking the power source, connections, and power cord for any damage or loose connections.
- Address noise issues by identifying the source of the noise, inspecting the motor and components for damage or misalignment, and implementing noise reduction techniques.
- Seek professional assistance for complex issues or when dealing with odor problems, malfunctioning controls or display, airflow problems, leaks, or water accumulation.

KNKA Air Purifier for Home Bedroom Large Room Up to 1,695 Ft² in 1 Hr, HEPA Air Cleaner with Washable Pre-Filter, AHAM VERIFIDE, AQI Display, ECO Mode, Pet Mode for Pets, Dust, Pollen, APH4000
𝐀𝐇𝐀𝐌 𝐕𝐞𝐫𝐢𝐟𝐢𝐞𝐝 & 𝐇𝐢𝐠𝐡 𝐂𝐀𝐃𝐑 𝐕𝐚𝐥𝐮𝐞: Certified by the Association of Home Appliance Manufacturers, this air purifier provides...
As an affiliate, we earn on qualifying purchases.
Assessing the Issue
Before moving forward, let’s first assess what the issue might be with your air purifier.
When troubleshooting power issues, it’s important to check if the unit is properly plugged in and the power switch is turned on. Ensure that the power outlet is functioning by plugging in another device.
If the air purifier still doesn’t turn on, it could be a problem with the power cord or the internal circuitry. In such cases, contacting a professional technician might be necessary.
Diagnosing air quality problems involves checking the filters for dirt and debris. Clogged filters can hinder the purifier’s effectiveness. Additionally, inspect the air intake and outlet vents for any obstructions.
Addressing these basic troubleshooting steps can help pinpoint the issue with your air purifier.

LEVOIT Air Purifier for Home Large Room Up to 1073Ft² with Air Quality Monitor, AHAM VERIFIDE, Smart WiFi, Washable Pre-Filter, HEPA Sleep Mode for Pets, Allergies, Dust, Pollen, Vital 100S-P, White
𝐖𝐇𝐘 𝐂𝐇𝐎𝐎𝐒𝐄 𝐀𝐇𝐀𝐌 𝐕𝐄𝐑𝐈𝐅𝐈𝐃𝐄 𝐀𝐈𝐑 𝐏𝐔𝐑𝐈𝐅𝐈𝐄𝐑𝐒: AHAM (Association of Home Appliance Manufacturers) is an ANSI-accredited organization that sets...
As an affiliate, we earn on qualifying purchases.
Checking Power and Connections
Make sure you’re checking the power and connections of your air purifier.
When troubleshooting power issues, start by verifying that the unit is properly plugged into a functioning electrical outlet. Ensure that the power cord is securely connected to both the air purifier and the outlet. If the unit still doesn’t turn on, try using a different outlet to rule out any potential issues with the original one.
Additionally, inspect the power cord for any signs of damage, such as frayed wires or exposed insulation. If you notice any issues, it may be necessary to replace the power cord.
Connection issues can also cause problems, so make sure that the air purifier is properly connected to any necessary filters or accessories.

PuroAir 240 HEPA Air Purifiers for Home Large Rooms - Covers Up to 1,000 Sq Ft - Filters Up to 99.9% of Pollutants, Smoke, Pollen, Dust - Quiet HEPA Air Filter - Air Purifiers for Bedroom
Cleaner Air in Minutes: PuroAir is proven to filter the pollutants lurking in your home’s air. This large...
As an affiliate, we earn on qualifying purchases.
Cleaning or Replacing Filters
In this discussion, I’ll provide some essential filter maintenance tips to help optimize the performance of your air purifier.
Regularly cleaning or replacing filters is crucial to ensure clean and healthy air in your environment. By following these tips, you can also extend the lifespan of your filters, saving you time and money in the long run.
Filter Maintenance Tips
To keep your air purifier functioning effectively, it’s important to regularly clean and replace the filters. Proper maintenance ensures that your air purifier continues to provide clean and fresh air for your home or office. Here are some filter maintenance tips to help you keep your air purifier in top condition:
| Filter Type | Replacement Frequency |
|---|---|
| Pre-filter | Every 3 months |
| HEPA filter | Every 6-12 months |
| Carbon filter | Every 6-12 months |
Regularly cleaning or replacing the filters is crucial because they trap and remove airborne particles, allergens, and odors from the air. Over time, the filters can become clogged with dirt and debris, which reduces the effectiveness of your air purifier. By following the recommended replacement frequencies, you can ensure that your air purifier is always running efficiently and providing you with clean, fresh air.
Extending Filter Lifespan
You can maximize the lifespan of your filters by regularly vacuuming or brushing off any visible dirt or debris. This simple maintenance task is crucial for prolonging filter life and maximizing filter efficiency.
Over time, filters can become clogged with dust, pet dander, and other particles, which can hinder their ability to effectively clean the air. By removing this buildup, you allow the filters to work more efficiently and extend their lifespan.
It is recommended to clean or replace the filters every 3-6 months, depending on the manufacturer’s instructions and the air quality in your home. Neglecting filter maintenance can lead to reduced air purifier performance and increased energy consumption.
Now, let’s move on to troubleshooting fan or motor problems to ensure your air purifier is functioning optimally.

LEVOIT Air Purifiers for Home Large Room Up to 1875 Ft² with Washable Pre-Filter, AHAM VERIFIDE, Air Quality Monitor, HEPA Sleep Mode for Allergies, Pet Hair in Bedroom, Vital 200S-P, White
𝐖𝐇𝐘 𝐂𝐇𝐎𝐎𝐒𝐄 𝐀𝐇𝐀𝐌 𝐕𝐄𝐑𝐈𝐅𝐈𝐃𝐄 𝐏𝐑𝐎𝐃𝐔𝐂𝐓𝐒: AHAM (Association of Home Appliance Manufacturers) is an ANSI-accredited organization that sets strict...
As an affiliate, we earn on qualifying purchases.
Troubleshooting Fan or Motor Problems
If your air purifier’s fan or motor is not working properly, try checking the power source or contacting customer support. Troubleshooting electrical issues can help determine the cause of the problem. First, ensure that the power cord is securely plugged into a working outlet. If the power source is fine, check for any loose connections or damaged wires. Next, inspect the fan blades for any obstructions or damage. A table below outlines common troubleshooting steps for fixing fan blade problems.
| Issue | Possible Cause | Solution |
|---|---|---|
| Fan not spinning | Motor malfunction | Contact customer support for repairs |
| Fan making noise | Loose or damaged blade | Tighten or replace fan blade as necessary |
| Fan vibrating | Unbalanced blade | Adjust or replace fan blade |
| Fan not turning on | Electrical issue | Check power source and connections |
Dealing With Strange Noises
When it comes to troubleshooting a noisy motor, it’s important to first identify the source of the noise. This can be done by carefully observing the motor while it’s running and listening for any unusual sounds.
Once the noise source is identified, the next step is to troubleshoot and fix the issue causing the noise. This may involve checking for loose or worn out parts, lubricating the motor, or replacing faulty components.
Identifying Noise Sources
To identify noise sources in your air purifier, start by checking the fan motor and any loose components.
Common noise issues in air purifiers can be caused by a malfunctioning fan motor or loose parts rattling inside the unit. Begin by examining the fan motor for any signs of damage or misalignment. Ensure that the motor is securely fastened in place and that there are no loose screws or bolts.
Next, inspect the various components of the air purifier, such as the filters, housing, and grilles, for any loose or worn-out parts. Tighten or replace any components as necessary.
By troubleshooting these common noise issues, you can determine the source of the problem and take appropriate steps to fix it.
Now, let’s move on to troubleshooting a noisy motor.
Troubleshooting Noisy Motor
To troubleshoot a noisy motor, start by checking the fan blades for any debris or obstructions that may be causing the noise. Remove any visible debris using a soft brush or cloth. If the noise persists, it may indicate a deeper issue that requires motor replacement.
Before replacing the motor, however, consider implementing noise reduction techniques to minimize the noise level. Here are some effective techniques:
- Lubricate the motor bearings regularly to reduce friction and minimize noise.
- Insulate the motor housing with sound-absorbing materials to dampen vibrations and reduce noise transmission.
- Install rubber or foam pads between the motor and the mounting surface to absorb vibrations and further minimize noise.
Addressing Odor Issues
If your air purifier is not effectively addressing odor issues, try replacing the carbon filter. Carbon filters are designed to absorb and eliminate odors from the air, so a worn-out or clogged filter may be the cause of the problem. To identify the causes of the odor, it is important to eliminate any potential sources. This can include checking for mold or mildew, cleaning pet areas, and ensuring proper ventilation in the room. By eliminating these sources, you can determine if the odor is coming from the air purifier itself. Once the carbon filter is replaced, the air purifier should be able to effectively address odor issues and improve the air quality in your home.
| Identifying Causes | Eliminating Sources |
|---|---|
| Check for mold or mildew | Clean pet areas |
| Ensure proper ventilation | Remove garbage regularly |
| Inspect air ducts | Avoid smoking indoors |
| Eliminate food odors | Use natural air fresheners |
| Clean carpets and upholstery | Keep the area clean and dry |
Handling Malfunctioning Controls or Display
When it comes to handling malfunctioning controls or display on your device, there are a few key points to keep in mind.
First, try resetting the control settings by following the manufacturer’s instructions. This can often resolve minor issues and restore normal function.
If the problem persists, it may be necessary to troubleshoot display issues by checking for loose connections, adjusting brightness settings, or updating the device’s firmware.
Resetting Control Settings
Resetting the control settings is as simple as holding down the power button for 10 seconds. This action will restore the control panel to its default settings, effectively resolving any issues related to the control settings.
However, before resetting the control panel, it is important to troubleshoot any power issues that might be causing the problem. Here are some steps to troubleshoot power issues:
- Check the power cord for any damages or loose connections.
- Ensure that the air purifier is plugged into a working power outlet.
- Try using a different power outlet to see if the issue persists.
Once you have resolved any power issues, you can proceed with resetting the control settings. This will help eliminate any settings-related malfunctions and allow you to regain control of your air purifier.
Now, let’s move on to troubleshooting display issues and resolving them effectively.
Troubleshooting Display Issues
Once you’ve resolved any power issues, you can troubleshoot display problems by checking the connection between the control panel and the display. Start by ensuring that the cables are securely plugged in at both ends.
If the connection appears to be fine, the next step is to check for any sensor errors. Sensor errors can cause the display to malfunction or show incorrect information. To troubleshoot sensor errors, refer to the user manual for specific instructions on how to recalibrate or reset the sensors.
Another common display issue is flickering. This can be caused by a loose connection or a faulty display. In such cases, try tightening the connections or contacting the manufacturer for further assistance.
Fixing Airflow Problems
To fix airflow problems in your air purifier, you can try cleaning or replacing the filters. Maintaining your air purifier is crucial for improving air quality in your home. Here are some steps you can take to ensure proper airflow:
-
Clean or replace the pre-filter: The pre-filter removes large particles like dust and pet hair, and it can become clogged over time. Cleaning or replacing it will help improve airflow.
-
Check the HEPA filter: The HEPA filter traps small particles like pollen and smoke. If it’s dirty or damaged, it can restrict airflow. Regularly inspect and replace it as needed.
-
Clean the fan and vents: Dust and debris can accumulate on the fan and vents, obstructing airflow. Use a soft brush or vacuum cleaner to remove any buildup.
Dealing With Leaks or Water Accumulation
If you notice leaks or water accumulation in your air purifier, it’s important to address the issue promptly. Water damage can not only affect the performance of your air purifier but also pose a risk to your health and safety. To prevent leaks, it is crucial to understand the common causes and take preventive measures. Here is a table summarizing the main causes of water leaks and how to prevent them:
| Cause of Leaks | Prevention |
|---|---|
| Condensation build-up | Ensure proper ventilation |
| Faulty seals | Regularly inspect and replace worn seals |
| Overfilled water tank | Follow manufacturer’s instructions for filling |
| Clogged drainage system | Clean and maintain drainage system regularly |
Seeking Professional Assistance
When seeking professional assistance for leaks or water accumulation in your air purifier, it’s important to choose a reliable and experienced technician. Trusting someone with the maintenance and repair of your air purifier ensures that the problem is properly diagnosed and resolved, preventing further damage or potential health risks.
Here are some key points to consider when finding reliable technicians:
- Look for certifications: A qualified technician should have relevant certifications and training in air purifier repair.
- Ask for references: Requesting references from previous clients can give you an idea of the technician’s reliability and expertise.
- Check for warranties: Technicians who offer warranties on their services demonstrate confidence in their workmanship.
Frequently Asked Questions
How Often Should I Clean or Replace the Filters in My Air Purifier?
I clean or replace the filters in my air purifier every 3-6 months to ensure optimal performance. To properly clean them, I gently vacuum or rinse them with water.
Can I Use Any Type of Cleaning Solution to Clean the Filters?
I can’t use any type of cleaning solution to clean the filters, but there are alternative methods. It’s important to follow the manufacturer’s instructions to ensure the longevity and efficiency of the air purifier.
What Should I Do if My Air Purifier Emits a Burning Smell?
When my air purifier emitted a burning smell, I immediately started troubleshooting. I discovered that the cause was a clogged filter and overheating motor. Fixing it involved cleaning the filters and ensuring proper ventilation.
How Long Should I Wait Before Seeking Professional Assistance if I Can’t Fix the Issue Myself?
When should I replace my air purifier? If I can’t fix the issue myself, I should wait for a reasonable amount of time before seeking professional assistance. It’s important to troubleshoot common air purifier problems before deciding to replace it.
Is It Normal for My Air Purifier to Make a Humming Noise?
Yes, it is normal for an air purifier to make a humming noise. However, if the noise becomes excessive or changes, it may indicate a problem. Regular air purifier maintenance and troubleshooting can help resolve these issues.
Conclusion
In conclusion, fixing an air purifier can be a complex task, but it is definitely achievable with the right knowledge and troubleshooting skills.
By assessing the issue, checking power and connections, cleaning or replacing filters, troubleshooting fan or motor problems, dealing with strange noises, handling malfunctioning controls or display, fixing airflow problems, and dealing with leaks or water accumulation, most common issues can be resolved.
However, in more complicated situations, seeking professional assistance may be necessary.
Remember, the key to success is patience and persistence.