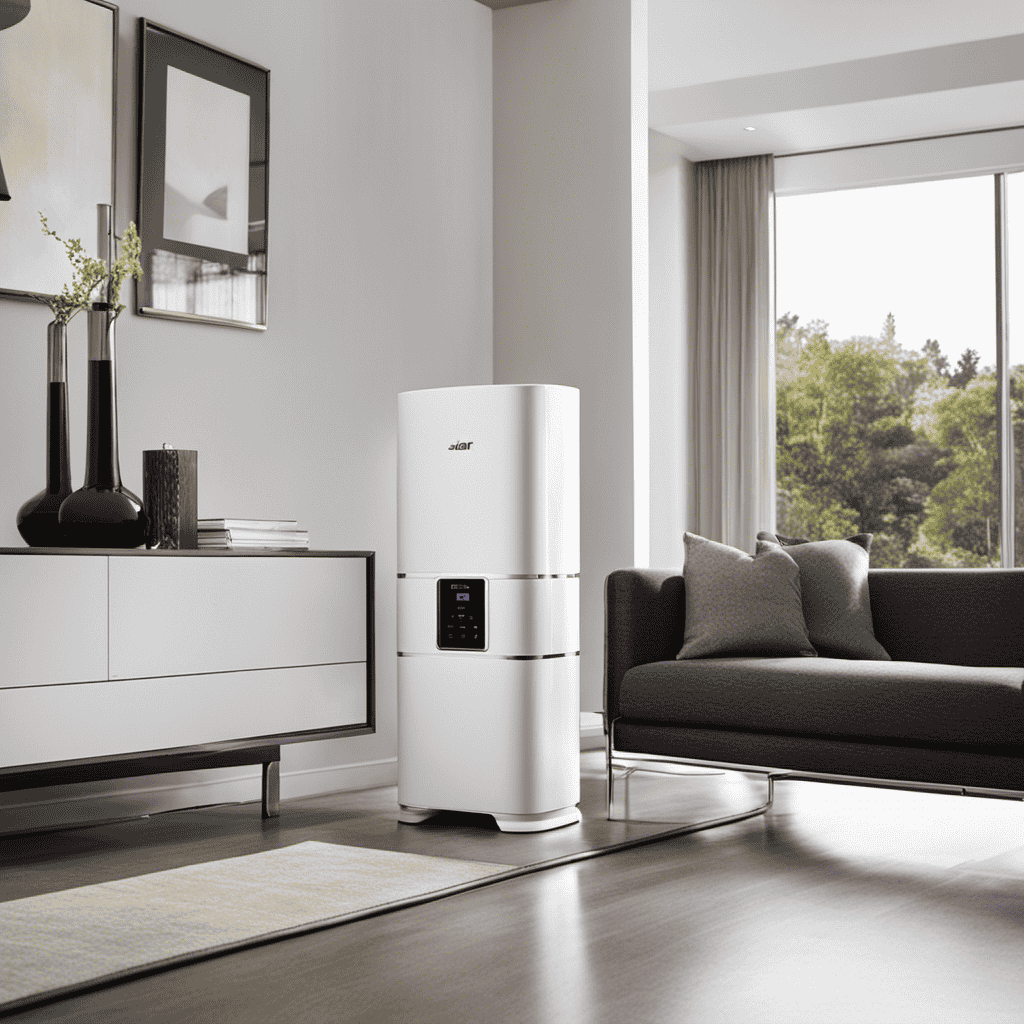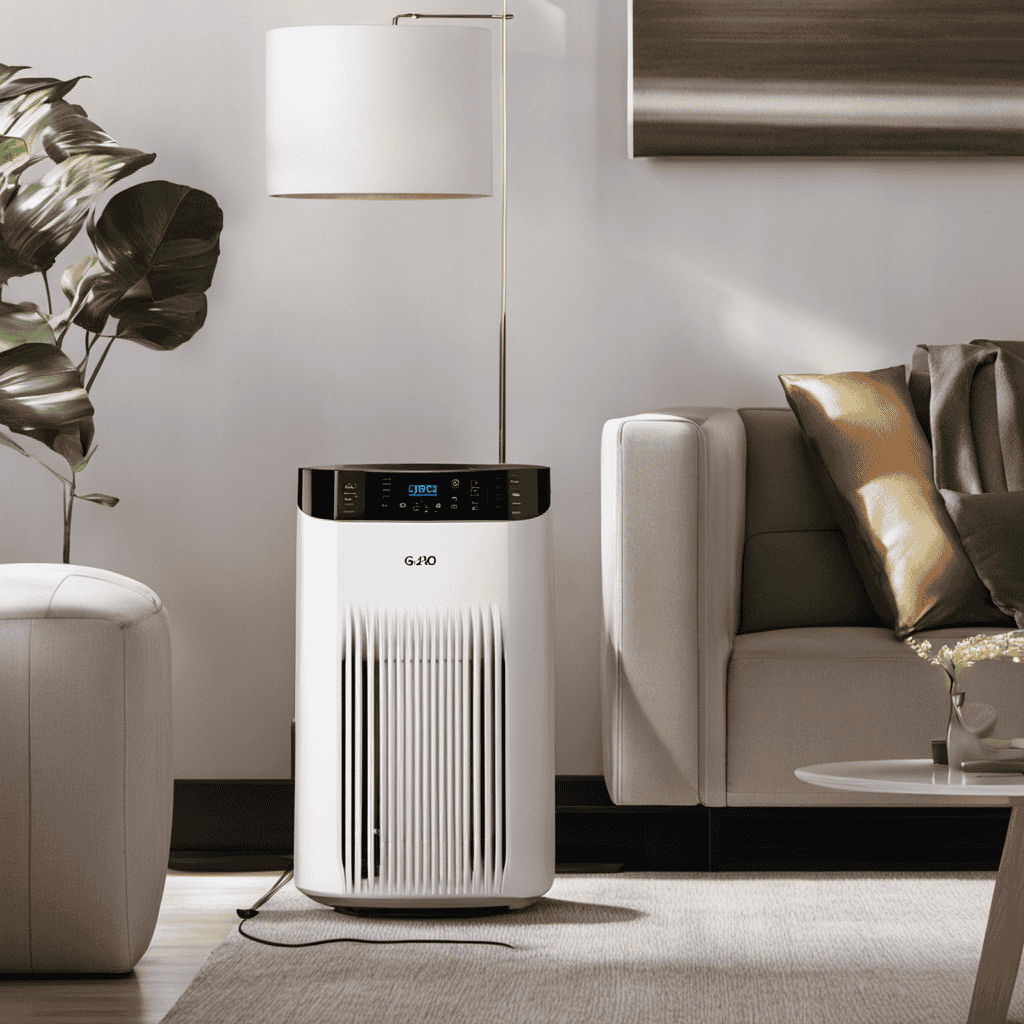
Were you aware that indoor air pollution can be up to 5 times more severe than outdoor air pollution? This is why it is crucial to invest in a reliable air purifier such as the G2000.
In this article, I will guide you through the step-by-step process of installing the G2000 air purifier. From unboxing and setting up to connecting the power cord and configuring the controls, you’ll have your air purifier up and running in no time.
Let’s get started!
Key Takeaways
- Inspect the package for any damage and carefully unbox the G2000 Air Purifier.
- Find a suitable location near a power source and ensure proper airflow for optimal performance.
- Install the filters by securely inserting them into the filter compartment and closing it.
- Connect the power cord to the air purifier and a nearby power outlet, ensuring a secure connection without any loose wires.

2 Pack Core Mini Filter H13 True HEPA Filters for LEVOIT Core Mini Core Mini-P Air Purifier Replacement Filter 3-in-1 HEPA, High-Efficiency Activated Carbon, Replace Part Core Mini-RF
- Compatibility: Fits LEVOIT Core Mini models only
- Package Quantity: Includes 2 filters for convenience
- Filtration Efficiency: H13 True HEPA filters 99.97% particles
As an affiliate, we earn on qualifying purchases.
Unboxing and Initial Setup
To start unboxing your g2000 air purifier, you’ll need to locate the package and carefully open it. Once you have the package in front of you, look for any damage on the box. If everything seems intact, use a sharp object like a box cutter to cut through the tape or plastic wrapping. Take care not to cut too deep and damage the contents inside.
As you open the box, you’ll see the g2000 air purifier securely placed in protective foam or cardboard inserts. Gently lift the purifier out of the box and remove any additional packaging materials such as plastic covers or foam padding. Take a moment to inspect the purifier for any visible damage or defects.
My initial impressions of the g2000 air purifier were positive. It has a sleek design with a modern touch panel interface. The build quality feels sturdy, and the purifier is compact in size, making it suitable for various room sizes. The unboxing experience was straightforward, and the packaging ensured the purifier arrived safely.
Preparing the Air Purifier for Installation
First, make sure you’ve gathered all the necessary tools and materials for setting up your new g2000 air purifier. To prepare the air purifier for installation, follow these steps.
First, locate a suitable location for the air purifier, preferably near a power source. Ensure that there is enough space around the unit for proper airflow.
Next, remove any packaging materials and protective covers from the air purifier. Clean the exterior of the unit using a soft cloth and mild detergent. This will help maintain the appearance of the air purifier and improve its longevity.
Lastly, familiarize yourself with the user manual and understand the recommended maintenance procedures for the g2000 air purifier. Regular maintenance is essential for optimal performance and to enjoy the many benefits of using an air purifier, such as improved air quality and reduced allergens.
Installing the Filters
Make sure you’ve removed all packaging materials and protective covers from the filters before proceeding with installation.
Proper filter maintenance is crucial for the optimal performance of your air purifier.
When it’s time for filter replacement, follow these step-by-step instructions.
Firstly, locate the filter compartment on your air purifier. It is usually at the back or bottom of the unit.
Open the compartment by removing the cover or sliding it off.
Next, take out the old filters and dispose of them properly.
Now, unpack the new filters and insert them into the compartment. Ensure they fit securely and that there are no gaps or loose ends.
Finally, close the compartment and make sure it is securely fastened.
Congratulations! You have successfully installed the new filters for your g2000 air purifier.
Remember to regularly check and replace the filters as needed for effective filter maintenance.
Connecting the Power Cord
When connecting the power cord to your device, it’s crucial to ensure proper power cord placement for optimal performance and safety.
To achieve this, follow these step-by-step instructions:
-
First, identify the power input port on your device and locate a nearby power outlet.
-
Next, align the prongs of the power cord with the corresponding slots in the power outlet and firmly insert the plug until it clicks into place.
-
Finally, check for any loose connections or exposed wires. If necessary, secure the power cord with cable ties or clips to prevent accidental disconnection.
Proper Power Cord Placement
To ensure proper functionality, you should carefully position the power cord of your g2000 air purifier. Power cord safety is crucial for the overall performance and safety of your device. Here are some important steps to follow:
-
Choose the right cord length: The g2000 air purifier comes with different cord length options, ranging from 3 to 6 feet. Measure the distance between the power outlet and the desired location of your air purifier to determine the appropriate cord length.
-
Avoid tangles and tripping hazards: Ensure that the power cord is not twisted, knotted, or tangled. Straighten it out and keep it away from high traffic areas to prevent accidents.
-
Keep away from heat sources: Place the power cord away from heat sources like radiators, heaters, or direct sunlight. Excessive heat can damage the cord and pose a fire hazard.
Ensuring Secure Connection
Make sure you have a secure connection by firmly plugging in the power cord of your g2000 air purifier. This is the first step in ensuring your device is ready to use.
Once the power cord is securely plugged in, you can proceed to establish a WiFi connection for your air purifier. Here are four important steps to follow:
-
Connect your g2000 air purifier to a power source. Ensure the power outlet is properly grounded to protect against power surges.
-
Turn on your air purifier and locate the WiFi setup button. This button is usually located on the control panel or on the side of the device.
-
Press and hold the WiFi setup button until the WiFi indicator light starts flashing. This indicates that the air purifier is ready to establish a WiFi connection.
-
Open the WiFi settings on your smartphone or tablet and search for the g2000 air purifier network. Select the network and enter the designated password to establish the WiFi connection.
Setting Up the Controls and Settings
When it comes to optimizing air purification, there are a few key points to keep in mind.
First, make sure to place the air purifier in a central location in the room to maximize its effectiveness.
Additionally, adjust the fan speed and timer settings based on the air quality and your personal preferences.
Optimizing Air Purification
One way you can optimize air purification is by adjusting the fan speed on your g2000 air purifier. By adjusting the fan speed, you can customize the air purification process to suit your specific needs.
Here are four steps to help you optimize air purification with the g2000 air purifier:
-
Assess the air quality: Before adjusting the fan speed, evaluate the current air quality in your space. This will help you determine the level of air purification required.
-
Start with the lowest setting: Begin by setting the fan speed to the lowest setting. This is ideal for smaller spaces or when the air quality is already relatively good.
-
Increase the fan speed gradually: If you find that the air quality needs improvement, gradually increase the fan speed. This will enhance the air purification process and remove more pollutants from the air.
-
Find the right balance: Experiment with different fan speeds to find the optimal balance between air purification efficiency and noise level. Remember, higher fan speeds may be noisier but provide better air purification.
Customizing Filter Settings
Now that we have optimized the air purification settings, let’s move on to customizing the filter settings of the g2000 air purifier. This feature allows you to adjust the modes and fan speed according to your specific needs.
To change modes, simply follow these steps:
- Press the mode button on the control panel.
- Use the arrow buttons to scroll through the available modes.
- Select the desired mode by pressing the mode button again.
The g2000 air purifier offers three modes: Normal, Sleep, and Turbo. Each mode is designed to cater to different situations and air quality levels.
To adjust the fan speed, follow these steps:
- Press the fan speed button on the control panel.
- Use the arrow buttons to increase or decrease the fan speed.
- Select the desired fan speed by pressing the fan speed button again.
With these customizable filter settings, you can create the perfect environment for clean and fresh air. Take control of your air purification experience with the g2000 air purifier.
| Mode | Description | Ideal Use |
|---|---|---|
| Normal | Balanced air flow | Everyday use |
| Sleep | Quiet operation | Nighttime or bedroom use |
| Turbo | Maximum air circulation | High pollution or odors |
Troubleshooting and Maintenance
To troubleshoot and maintain your g2000 air purifier, make sure you regularly clean the filters and check for any clogs in the air vents. This will help prevent common problems and extend the filter lifespan.
Here’s a step-by-step guide to properly maintain your g2000 air purifier:
-
Cleaning the filters: Remove the filters from the air purifier and gently vacuum or wash them, depending on the type of filter. Allow them to dry completely before reinstalling.
-
Checking for clogs: Inspect the air vents for any dirt or debris that may be blocking the airflow. Use a soft brush or cloth to remove any obstructions.
-
Regular maintenance schedule: Create a maintenance schedule to remind yourself to clean the filters and check for clogs at least once every three months.
-
Replacing filters: When the filters become worn out or damaged, replace them with genuine g2000 filters to ensure optimal performance.
Frequently Asked Questions
How Long Does It Take for the G2000 Air Purifier to Start Purifying the Air After Installation?
It usually takes a few minutes for the G2000 air purifier to start purifying the air after installation. However, the speed of purification can vary depending on factors such as room size and air quality.
Can I Use the G2000 Air Purifier in a Room With High Humidity Levels, Such as a Bathroom?
Sure, I can use the G2000 air purifier in a room with high humidity levels. It effectively removes pet dander and allergens, and its energy consumption is comparable to other models.
Is It Possible to Control the G2000 Air Purifier Using a Mobile App or Remote Control?
Yes, the G2000 air purifier can be controlled using a mobile app or remote control. With mobile app control and remote control compatibility, you can conveniently adjust settings and monitor air quality from anywhere in your home.
How Often Should I Replace the Filters on the G2000 Air Purifier?
I replace the filters on the G2000 air purifier once every three months. It’s important to clean them regularly to maintain optimal performance. This ensures that the purifier continues to provide clean and fresh air in my home.
Does the G2000 Air Purifier Emit Any Noise When Operating at Its Highest Setting?
Yes, the G2000 Air Purifier does emit noise when operating at its highest setting. The noise level is higher compared to lower settings, but it is still within an acceptable range for most users.
Conclusion
In conclusion, installing the G2000 air purifier is a straightforward process that anyone can tackle. By following the step-by-step instructions provided in this guide, you can have your air purifier up and running in no time.
Just like a gentle breeze sweeping through a meadow, the G2000 will effortlessly purify the air in your space, providing you with fresh and clean surroundings.
So why wait? Start enjoying the benefits of clean air today with the G2000 air purifier.