
As an experienced technician, I’ve learned that indoor air quality is crucial for a healthy living environment. That’s why I’m excited to share with you the step-by-step process of installing the Iwave-R Air Purifier.
By following this guide, you’ll gain a deeper understanding of how this powerful device works and how to properly set it up in your own space.
So let’s dive in and get started on creating a fresh and clean atmosphere for you and your loved ones.
Key Takeaways
- The Iwave-R Air Purifier is highly efficient and user-friendly, with a self-cleaning design that eliminates regular maintenance.
- It uses needlepoint bipolar ionization technology to eliminate airborne particles, allergens, and odors, and reduce the presence of viruses and bacteria.
- Proper preparation and mounting are important for effective installation, including identifying a sturdy wall or ceiling, using a stud finder, and securely attaching the air purifier to a mounting bracket.
- When connecting the electrical wiring, it is crucial to turn off power, check for damages in the wires, strip and twist together exposed copper ends, and use wire nuts to fasten connections.

Cut to Fit Activated Carbon Filter Sheet 16” x 48” - Activated Carbon Air Filter for Air Purifiers Window AC Air Vent And More - Charcoal Filters Effectively Remove Odors & Freshens the Air (1-Pack)
FRESHEN THE AIR: Our activated carbon filter sheet freshens the air by removing odors ensuring a clean an...
As an affiliate, we earn on qualifying purchases.
Understanding the Iwave-R Air Purifier
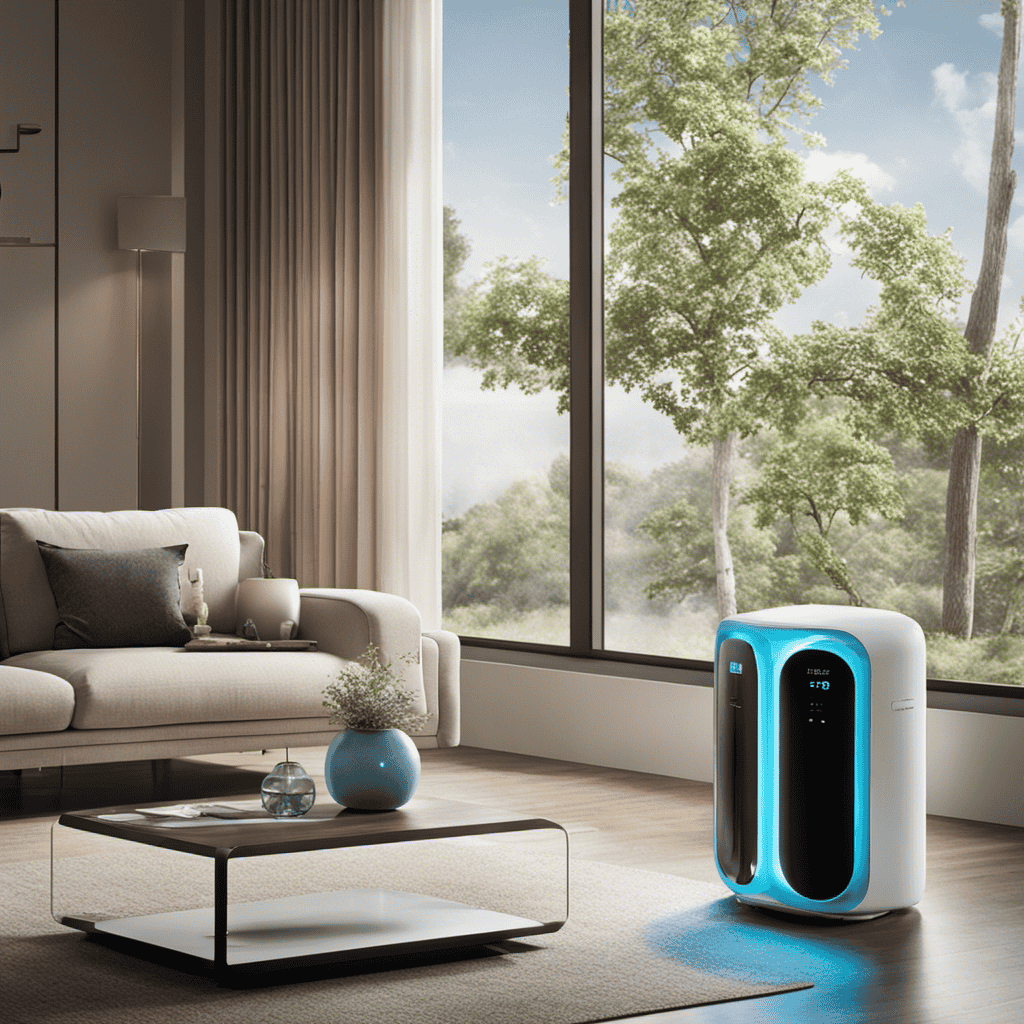
The Iwave-R air purifier is a highly efficient and user-friendly device that helps improve indoor air quality. It comes with several features that make it a top choice for anyone looking to enhance the air in their home or office.
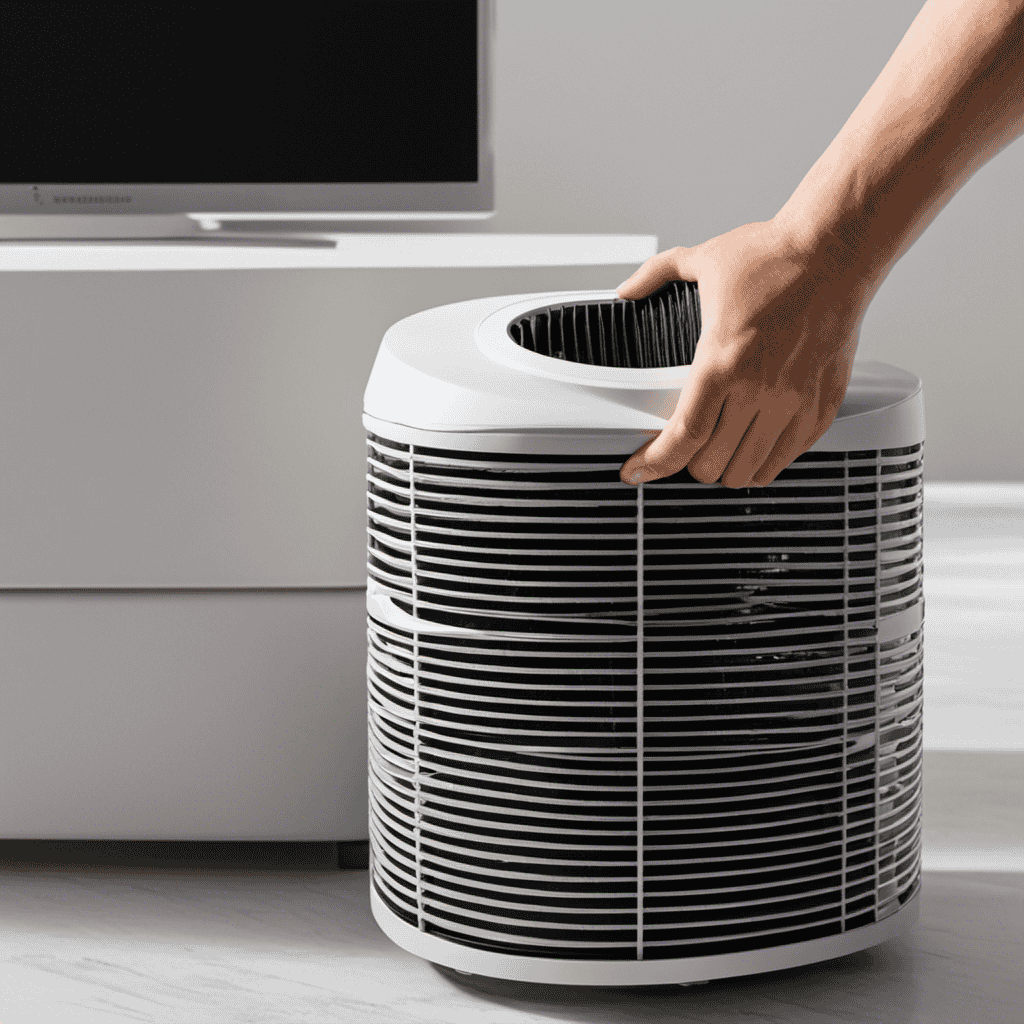
One of the standout features is its self-cleaning design, which eliminates the need for regular maintenance. Additionally, the Iwave-R uses needlepoint bipolar ionization technology to purify the air by eliminating airborne particles, allergens, and odors. This technology also reduces the presence of viruses and bacteria, creating a healthier environment.
The benefits of using the Iwave-R air purifier are numerous. Not only does it contribute to overall better air quality, but it also helps alleviate symptoms related to allergies and asthma. Furthermore, it is energy-efficient and operates silently, allowing for a peaceful and clean indoor space.
Germ Guardian GG1100W 7” Pluggable Small Air Purifier, Small Room Wall Air Sanitizer, Freshens Air, UV-C Light Kills Germs, Reduces Odors from Pets, Cooking, Mold, GermGuardian, 1-Yr Wty (White)
PLUGGABLE AIR SANITIZER - Provides cleaner air and helps reduce airborne germs and reduce household odors caused by...
As an affiliate, we earn on qualifying purchases.
Gathering the Necessary Tools and Equipment
Before diving into the installation process of the iwave-r air purifier, it is crucial to gather all the required tools and equipment. In order to ensure a successful installation, you will need a set of screwdrivers, wire strippers, pliers, and a voltage tester.
Additionally, it is important to prepare for the installation by turning off the power supply to the HVAC system and gathering all the necessary installation materials such as mounting brackets and screws.
Required Tools and Equipment
You’ll need a screwdriver to install the iwave-r air purifier. Before starting the installation process, make sure you have the following tools and equipment ready:
- Screwdriver (Phillips head)
- Wire strippers
- Electrical tape
- Wire nuts
- Mounting brackets
- Screws
- Drill
Having the right tools and equipment is crucial for a successful installation. The screwdriver will be used to remove and secure screws, while the wire strippers will help you prepare the wires for connection. Electrical tape and wire nuts are necessary for properly insulating and securing the electrical connections. The mounting brackets and screws will be used to securely mount the iwave-r air purifier to the desired location. Lastly, a drill may be needed to create pilot holes for the screws.
Now that you have all the necessary tools and equipment, let’s move on to the preparation for installation.
Preparation for Installation?
Now that you have all the necessary tools and equipment ready, let’s start preparing for installation.
Before you begin, make sure to go through a pre-installation checklist. Ensure that you have read the installation instructions provided by the manufacturer. Check if you have all the required parts and components. Verify that you have a suitable electrical outlet nearby for powering the air purifier.
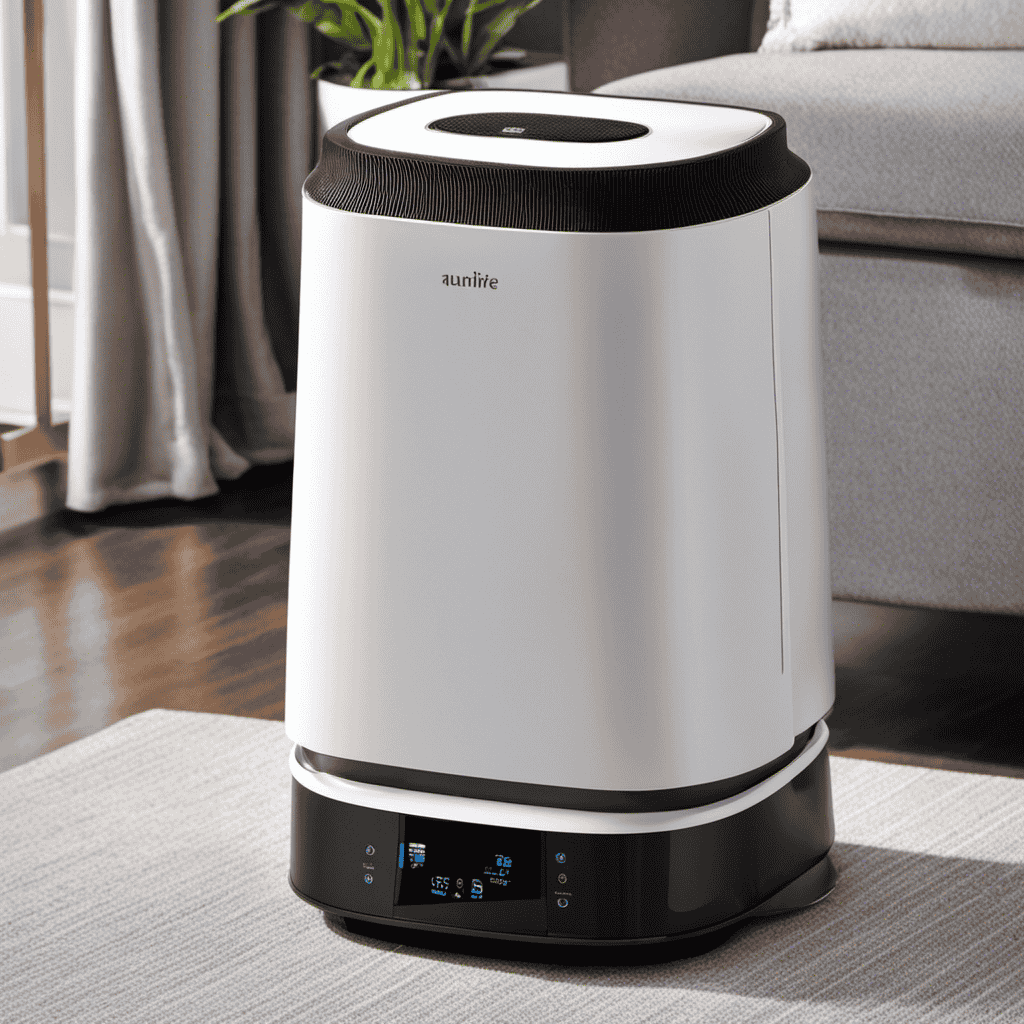
Once you have completed the pre-installation checklist, you can proceed to position the air purifier. Choose a location where the purifier can effectively circulate clean air throughout the room. Avoid placing it near obstacles or in direct sunlight. Additionally, make sure there is enough clearance around the purifier for proper airflow.
With the air purifier positioned correctly, you are now ready to prepare the installation area.

Air Purifier for Home Bedroom, AromaRoom H13 HEPA Air Filter For Smoke Pollen Dander Hair Smell Air Cleaner, 3-in-1 Filter with Sleep Mode, Quiet Air Cleaner For Pets, Home, Baby Room (White)
Effective Air Circulation Rate: this home air purifier can circulating air in twice per hour in a room...
As an affiliate, we earn on qualifying purchases.
Preparing the Installation Area
To properly prepare the installation area for your iwave-r air purifier, make sure there is sufficient space and access to an electrical outlet. Here are the steps to follow:
-
Clear the area: Remove any objects or furniture that may obstruct the installation or hinder the airflow of the iwave-r air purifier.
-
Clean the area: Thoroughly dust and clean the installation area to ensure optimal performance of the air purifier.
- Use a damp cloth to wipe down surfaces and remove any dust or debris.
- Vacuum the area to eliminate any loose particles or allergens.
By preparing the installation area, you’re setting the stage for a successful installation and effective operation of your iwave-r air purifier.
Once the area is ready, you can proceed to the next step of mounting the iwave-r air purifier.

Coir Wonder Activated Charcoal Odor Absorber – 2.2 Lb – Coconut Shell Carbon Granules – Natural Air Purifier for Home, Car, Closet, Fridge, Shoes, Gym Bags, Trash Areas – Room Deodorizer
NATURAL ODOR NEUTRALIZER : Made from premium coconut shell charcoal, our granules trap and neutralize odors—no added fragrances...
As an affiliate, we earn on qualifying purchases.
Mounting the Iwave-R Air Purifier
Once the installation area is properly prepared, make sure there is a secure and accessible location for mounting your iwave-r air purifier. Follow these installation steps to ensure a successful mounting process:
- Identify a sturdy wall or ceiling where you want to mount the iwave-r air purifier.
- Use a stud finder to locate the studs in the area.
- Mark the desired location for mounting, making sure it is centered and at a suitable height.
- Drill pilot holes into the studs using a drill bit that matches the size of the mounting screws.
- Align the mounting bracket with the pilot holes and secure it using the provided screws.
- Carefully attach the iwave-r air purifier to the mounting bracket, ensuring it is securely fastened.
- Double-check the stability of the installation by gently shaking the air purifier.
Troubleshooting tips:
- If the mounting bracket feels loose, tighten the screws further.
- If the air purifier is not level, adjust the bracket accordingly.
- If you encounter any difficulties during the installation, refer to the user manual or contact customer support for assistance.
Connecting the Electrical Wiring
When it comes to connecting electrical wiring, it’s crucial to ensure proper wire connections to avoid any potential hazards or malfunctions.
This step-by-step discussion will guide you through the process of making secure and reliable wire connections.
Additionally, we’ll cover essential electrical safety precautions to follow during the installation, as well as troubleshooting common wiring issues that may arise.
Proper Wire Connections
Make sure you’ve correctly connected the wires for proper installation of the iwave-r air purifier. Here are some wire connection tips to help you avoid any electrical issues:
-
First, ensure that the power is turned off before starting any electrical work.
-
Carefully examine the wires for any damages such as cuts or frays. Replace any damaged wires before proceeding.
-
Strip the ends of the wires to expose the bare copper using wire strippers. Make sure to strip off just enough insulation to make a secure connection.
-
Twist together the exposed copper ends of each wire securely. Use wire nuts to fasten the connection and prevent any loose wires.
-
After connecting the wires, gently tug on them to ensure they are properly secured.
Following these wire connection tips will help ensure a safe and successful installation of your iwave-r air purifier.
Now, let’s move on to discussing some important electrical safety precautions.
Electrical Safety Precautions
Before proceeding with the electrical work, it’s important to be aware of some safety precautions to ensure a secure and hazard-free installation. As an electrician, I understand the importance of electrical safety training and the essential role it plays in preventing accidents and injuries. One crucial aspect of electrical safety is grounding, which provides a path for electrical currents to flow safely into the ground, preventing the buildup of excess voltage. To emphasize the importance of grounding, here is a table highlighting its benefits:
| Benefits of Grounding |
|---|
| 1. Prevents electrical shocks |
| 2. Protects electrical devices from power surges |
| 3. Ensures proper functioning of electrical systems |
Troubleshooting Wiring Issues
Now that we have covered the necessary electrical safety precautions, let’s move on to troubleshooting wiring issues that may arise during the installation of the iwave-r air purifier.
It is not uncommon to encounter common problems or identify wiring errors that can hinder the proper functioning of the device. Here are some steps to help you address these issues:
-
Check the power supply: Ensure that the power source is functioning correctly and providing the necessary voltage for the iwave-r air purifier.
-
Inspect the wiring connections: Verify that all wiring connections are secure and properly connected according to the manufacturer’s instructions.
-
Sub-list 1: Troubleshooting common problems
-
Check for loose or damaged wires.
-
Look for any signs of overheating or burning.
-
Test the circuit breaker or fuse to ensure it is not tripped or blown.
-
Sub-list 2: Identifying wiring errors
-
Review the installation manual and wiring diagram to confirm proper wiring configuration.
-
Verify that the correct wires are being connected to the appropriate terminals.
By following these troubleshooting steps, you can efficiently identify and resolve any wiring issues that may arise during the installation process.
Once you have addressed these issues, you can move on to the next step of testing and adjusting the iwave-r air purifier.
Testing and Adjusting the Iwave-R Air Purifier
To ensure optimal performance, you should first test and adjust the Iwave-R Air Purifier. Here’s a step-by-step guide on how to do it:
-
Start by turning on the air purifier and allowing it to run for a few minutes. This will help you determine if the unit is functioning properly.
-
Next, test the effectiveness of the air purifier by placing it in a room with poor air quality. You can use a handheld air quality monitor to measure the levels of pollutants before and after running the purifier.
-
Adjust the settings of the Iwave-R Air Purifier according to your needs. It offers multiple options such as fan speed, timer, and mode. Experiment with different settings to find the ideal combination for your space.
-
Monitor the air purifier’s performance regularly. Check the filters for any signs of dirt or clogging, and clean or replace them as needed.
Maintaining and Troubleshooting the Iwave-R Air Purifier
To keep your Iwave-R Air Purifier running smoothly, make sure to regularly clean or replace the filters as needed.
Here are some troubleshooting techniques and common maintenance issues that you may encounter:
-
Troubleshooting Techniques
-
Check the power supply: Ensure that the air purifier is properly plugged in and the power switch is turned on.
-
Monitor the indicator lights: If any error lights are illuminated, consult the user manual for troubleshooting steps.
-
Common Maintenance Issues
-
Dirty filters: Over time, filters can become clogged with dust and debris. Clean or replace the filters according to the manufacturer’s instructions.
-
Odor issues: If you notice a persistent odor, check if the filter needs cleaning or replacement. Additionally, ensure that the unit is located away from sources of strong odors or chemicals.
Frequently Asked Questions
What Is the Warranty Period for the Iwave-R Air Purifier?
The warranty period for the iwave-r air purifier is one year. Using the iwave-r air purifier provides numerous benefits such as improved air quality, reduction of allergens, and elimination of odors.
Is the Iwave-R Air Purifier Suitable for Use in Large Commercial Spaces?
Yes, the iwave-r air purifier is suitable for use in large commercial spaces. It offers cost-effective options for air purification and can be compared with other commercial air purifier options.
Can the Iwave-R Air Purifier Be Installed in a Vehicle or Rv?
Yes, the iwave-r air purifier can be installed in a vehicle or RV. To install it in a boat, follow the same steps as for a vehicle. However, it is not recommended for use in an airplane.
Are There Any Replacement Filters or Parts Required for the Iwave-R Air Purifier?
Yes, there are replacement filters and parts required for the iwave-R air purifier. Regular maintenance is necessary to ensure optimal performance. It is important to follow the manufacturer’s instructions for proper filter replacement and maintenance.
Does the Iwave-R Air Purifier Have Any Additional Features, Such as a Timer or Remote Control?
The iwave-r air purifier does not have any additional features such as a timer or remote control. However, it is known for its exceptional performance and affordable price compared to other popular brands. Using the iwave-r can greatly improve indoor air quality and provide numerous health benefits.
Conclusion
In conclusion, installing the Iwave-R Air Purifier is a straightforward process that can greatly improve the air quality in your space. By following the step-by-step instructions outlined in this article, you can ensure a successful installation.
Remember to gather all the necessary tools and equipment, prepare the installation area, mount the purifier securely, connect the electrical wiring correctly, and test and adjust the settings for optimal performance.
Regular maintenance and troubleshooting will also help to keep your Iwave-R Air Purifier working effectively. So, go ahead and enjoy the benefits of clean, purified air in your home or office.