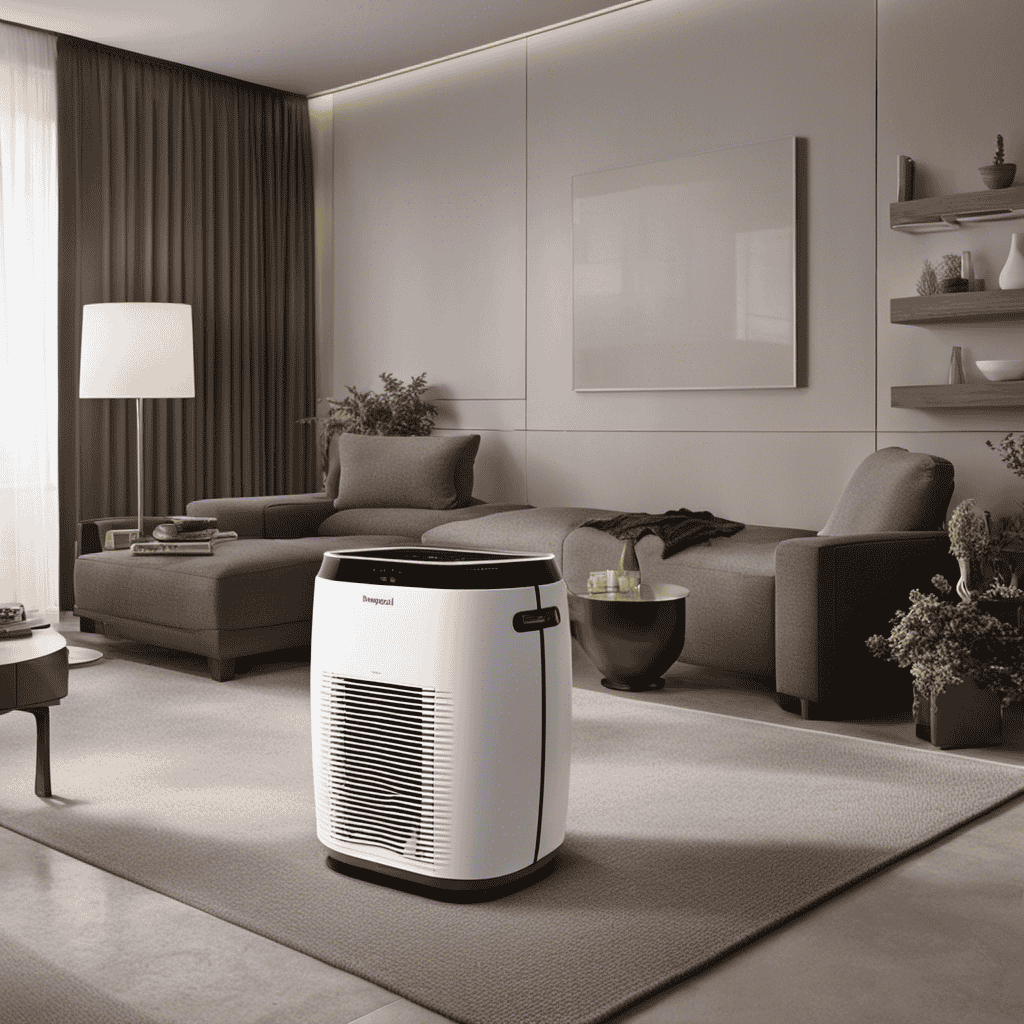
I’m gonna show you how to make your very own air purifier model, folks. It’s gonna be a game-changer for your indoor air quality.
We’ll start by choosing the right components, then we’ll assemble the frame and install the air filtration system.
After that, we’ll get into the nitty-gritty of wiring and power source setup.
Once that’s done, we’ll add a control panel and user interface for easy operation.
And don’t worry, I’ll guide you through testing, calibration, and maintenance too.
Let’s get started!
Key Takeaways
- Consider the size and efficiency of the filters
- Ensure compatibility with the air filtration system
- Choose filters with a high MERV rating and the ability to trap smaller particles
- Follow step-by-step instructions carefully during assembly and installation

LEVOIT Air Purifier for Home Allergies Pet Hair in Bedroom, Covers Up to 1073 ft² by 56W High Torque Motor, AHAM VERIFIDE, 3-in-1 Filter with HEPA Sleep Mode, Remove Dust Smoke Odor, Core300-P, White
WHY CHOOSE AHAM VERIFIDE AIR PURIFIERS: AHAM (Association of Home Appliance Manufacturers) is an ANSI-accredited organization that sets...
As an affiliate, we earn on qualifying purchases.
Choosing the Right Components
When choosing the right components for your air purifier model, it’s important to consider the size and efficiency of the filters.
Choosing appropriate components ensures that your air purifier will effectively remove pollutants from the air, providing you with cleaner and healthier indoor air quality.
The size of the filters is crucial because it determines the amount of air that can pass through and be purified. It’s essential to select filters that are compatible with your air filtration system to ensure proper functionality.
Additionally, you should consider the efficiency of the filters in capturing particles like dust, pollen, and pet dander. Look for filters with a high Minimum Efficiency Reporting Value (MERV) rating, as they can effectively trap smaller particles.
Making informed choices about the components will ensure that your air purifier performs optimally and improves your indoor air quality.

KNKA Air Purifier for Home Bedroom Large Room Up to 1,695 Ft² in 1 Hr, HEPA Air Cleaner with Washable Pre-Filter, AHAM VERIFIDE, AQI Display, ECO Mode, Pet Mode for Pets, Dust, Pollen, APH4000
𝐀𝐇𝐀𝐌 𝐕𝐞𝐫𝐢𝐟𝐢𝐞𝐝 & 𝐇𝐢𝐠𝐡 𝐂𝐀𝐃𝐑 𝐕𝐚𝐥𝐮𝐞: Certified by the Association of Home Appliance Manufacturers, this air purifier provides...
As an affiliate, we earn on qualifying purchases.
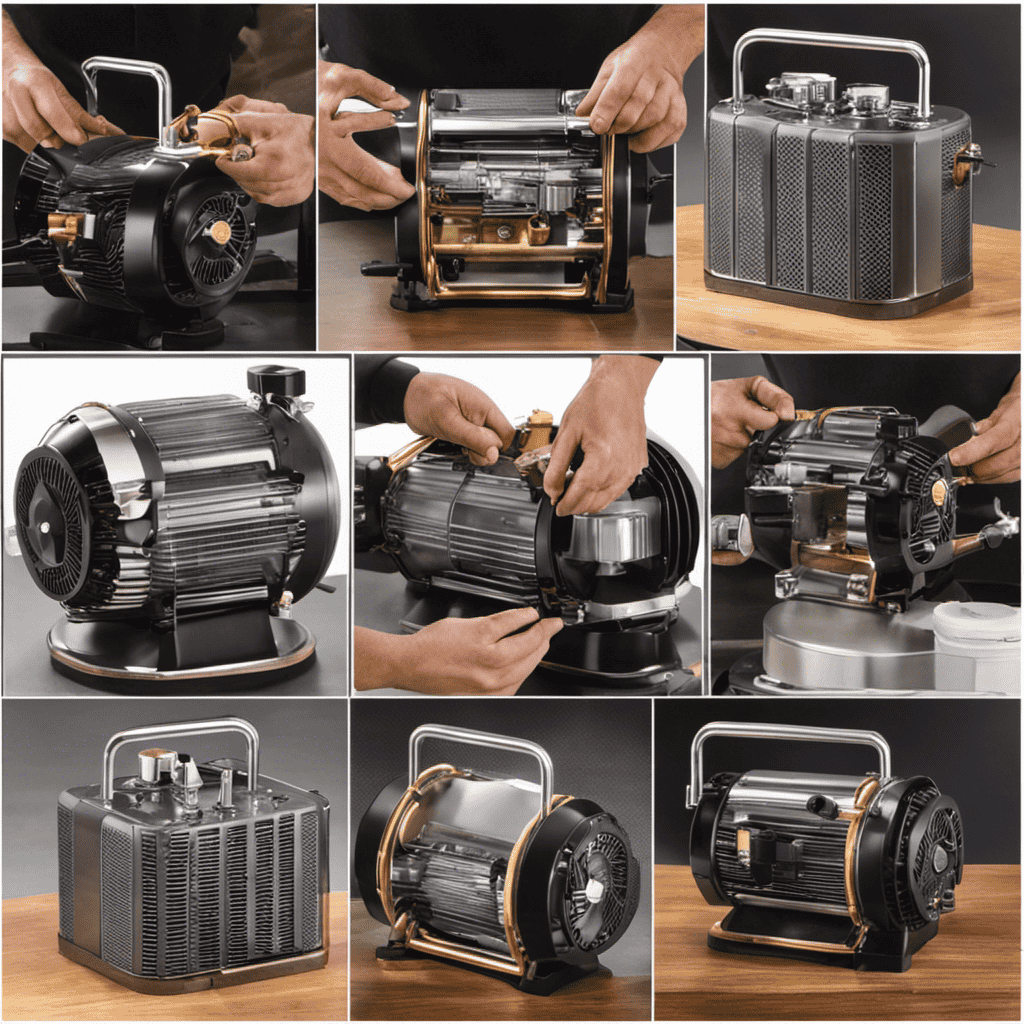
Assembling the Air Purifier Frame
To assemble the frame, start by attaching the side panels together using screws or bolts. Make sure to align them properly and tighten the screws securely. Once the side panels are connected, attach the top and bottom panels to complete the frame.
Here are some assembling techniques and troubleshooting tips to keep in mind:
- Use a level to ensure the frame is straight and balanced.
- Double-check all connections to ensure they are secure.
- If any parts are misaligned or not fitting properly, check the assembly instructions or contact the manufacturer for guidance.
- If you encounter any difficulties during the assembly process, don’t force the pieces together. Instead, try adjusting the alignment or consulting the troubleshooting section of the instruction manual.
- Take your time and follow the step-by-step instructions carefully to avoid any mistakes.
With the frame assembled, we can now move on to installing the air filtration system.

Air Purifiers for Home Large Room, Cover Up to 2600 Ft² with Washable Filters, Powerful Turbo Mode, PM2.5 Air Quality Display, 22dB Sleep Mode, Air Cleaner for Pets Hair, HAP607, Bright White
𝐓𝐑𝐈𝐏𝐋𝐄 𝐈𝐍𝐓𝐀𝐊𝐄, 𝐖𝐇𝐎𝐋𝐄-𝐑𝐎𝐎𝐌 𝐏𝐔𝐑𝐈𝐅𝐈𝐂𝐀𝐓𝐈𝐎𝐍: Featuring a front air inlet combined with wider dual-side air inlets, this air purifier...
As an affiliate, we earn on qualifying purchases.
Installing the Air Filtration System
Now that we have the frame assembled, let’s begin installing the air filtration system.
The air filtration system is a crucial component of the air purifier model as it helps remove impurities from the air, ensuring cleaner and healthier air quality.
When choosing an air filter, it is important to consider its filtration efficiency. Higher efficiency filters can effectively capture smaller particles, such as dust, pollen, and pet dander. It is recommended to select filters with a higher filtration efficiency to ensure better air purification.
Additionally, it is important to be aware of the filter replacement frequency. Regularly replacing the filters is essential to maintain optimal performance. The filter replacement frequency varies depending on factors such as filter type, usage, and air quality. It is advisable to follow the manufacturer’s recommendations for filter replacement to ensure optimal filtration efficiency.

LEVOIT Air Purifiers for Bedroom Home Dorm, AHAM VERIFIDE, 3-in-1 Filter Cleaner With Aroma Pad, Filters Smoke, Allergens, Pet Dander, Odor, Dust, Office, Desktop, Core Mini-P, White
𝗪𝗛𝗬 𝗖𝗛𝗢𝗢𝗦𝗘 𝗔𝗛𝗔𝗠 𝗩𝗘𝗥𝗜𝗙𝗜𝗗𝗘 𝗔𝗜𝗥 𝗣𝗨𝗥𝗜𝗙𝗜𝗘𝗥𝗦: AHAM (Association of Home Appliance Manufacturers) is an ANSI-accredited organization that sets...
As an affiliate, we earn on qualifying purchases.
Wiring and Power Source Setup
Let’s start by checking if the wiring and power source setup is compatible with the air filtration system. This step is crucial to ensure that the system functions properly and safely.
Here are some key considerations for power source selection and wiring techniques:
-
Power source selection: Choose a power outlet that can provide the necessary voltage and current for the air filtration system. Make sure it is grounded to prevent electrical accidents.
-
Wiring techniques: Use appropriate wire size and insulation for the voltage and current requirements of the system. Properly route the wires to avoid interference and damage. Consider using conduit or cable ducts for added protection.
By following these guidelines, you can ensure a reliable and efficient power supply for your air filtration system.
Now, let’s move on to the next step of adding the control panel and user interface.
Adding Control Panel and User Interface
When it comes to designing a user-friendly interface for an air purifier, there are several key points to consider.
First, the control panel installation process should be intuitive and easy to navigate, allowing users to quickly adjust settings and access important information.
Additionally, integrating adjustable settings such as fan speed, timer, and filter replacement notifications can greatly enhance the user experience and provide greater control over air purification.
Designing User-Friendly Interface
Creating an intuitive interface is essential for ensuring that users can easily operate the air purifier. User interface design plays a crucial role in enhancing the usability of the device. Through extensive usability testing, we can gather valuable insights into how users interact with the interface and identify areas for improvement.
Here are five key considerations for designing a user-friendly interface for an air purifier:
-
Clear and logical menu structure: Organize the options and settings in a way that makes sense to the users, ensuring easy navigation.
-
Visual cues and feedback: Incorporate visual indicators and feedback to provide users with real-time information about the device’s status and actions.
-
Intuitive controls: Use familiar symbols and icons, and design controls that are easy to understand and operate.
-
Responsive touch screen: Implement a touch screen interface that responds quickly and accurately to user input.
-
Accessibility features: Consider the needs of users with disabilities by incorporating features like voice control or adjustable font sizes.
By focusing on these aspects of user interface design, we can create an air purifier that is user-friendly and easy to operate.
Now, let’s move on to the next section, where we will discuss the control panel installation process.
Control Panel Installation Process
The control panel can be easily installed by following the step-by-step instructions provided in the user manual.
The design of the control panel plays a crucial role in the overall user experience of an air purifier. It should be intuitive, user-friendly, and visually appealing.
When installing the control panel, make sure to carefully connect all the wires and components according to the instructions. Troubleshooting tips can also be helpful during the installation process.
If you encounter any issues, such as buttons not responding or the display not working, double-check the connections and ensure everything is properly secured.
Additionally, make sure to power off the air purifier before installing the control panel to avoid any electrical hazards.
Integrating Adjustable Settings
Integrating adjustable settings into the control panel enhances the overall usability of the air purifier. With adjustable fan speed, users have the flexibility to choose the desired airflow intensity based on their preferences and the air quality in their space. This feature allows for optimal performance and energy efficiency.
Additionally, including filter replacement reminders is crucial for maintaining the effectiveness of the air purifier. These reminders can be set to notify users when it’s time to replace the filters, ensuring that the air purifier continues to capture and remove pollutants effectively.
By incorporating these adjustable settings and reminders, the air purifier becomes a more user-friendly and efficient device, providing cleaner and healthier air for its users.
- Adjustable fan speed allows for personalized airflow intensity
- Users can choose the desired fan speed based on their preferences and air quality
- Optimal performance and energy efficiency are achieved with adjustable fan speed
- Filter replacement reminders ensure the air purifier continues to effectively remove pollutants
- Users are notified when it’s time to replace the filters for optimal performance.
Testing and Calibration
When it comes to creating an air purifier model, accurate calibration is of utmost importance. Proper calibration ensures that the device functions optimally and effectively removes pollutants from the air.
In order to achieve optimal performance, rigorous testing should be conducted to identify any potential issues or areas for improvement. Various calibration techniques and tools can be utilized during this process to fine-tune the air purifier and ensure it meets the desired standards of performance and efficiency.
Importance of Accurate Calibration
Accurate calibration is crucial for optimal performance of the air purifier model. As a researcher in the field, I understand the importance of precision in the calibration process. Here are five key reasons why accurate calibration is essential:
-
Ensures proper removal of pollutants: Accurate calibration guarantees that the air purifier effectively removes harmful particles, such as dust, pollen, and smoke, from the air.
-
Maximizes energy efficiency: The calibration process ensures that the air purifier operates at its most efficient level, minimizing energy consumption and reducing electricity costs.
-
Extends the lifespan of the device: Proper calibration prevents unnecessary strain on the air purifier’s components, prolonging its lifespan and reducing the need for frequent repairs or replacements.
-
Enhances user experience: Accurate calibration ensures that the air purifier operates quietly and smoothly, providing a comfortable environment for users.
-
Meets industry standards: Through accuracy testing, calibration ensures that the air purifier complies with industry regulations and standards, guaranteeing its reliability and safety.
Testing for Optimal Performance
To ensure optimal performance, you should regularly test the calibration of your air purifier.
Testing for optimal performance involves checking the airflow optimization and filter efficiency of the device.
Airflow optimization is crucial because it determines how effectively the air purifier can circulate and filter the air in a given space. By testing the airflow, you can identify any blockages or restrictions that may hinder the purifier’s performance.
Additionally, testing the filter efficiency is important to ensure that the air purifier is effectively removing pollutants from the air. Over time, filters can become clogged or worn out, reducing their efficiency. By regularly testing the filter efficiency, you can determine if it needs to be replaced or cleaned.
Regular testing of calibration, airflow optimization, and filter efficiency will help maintain the performance and effectiveness of your air purifier.
Calibration Techniques and Tools
Regularly testing the calibration of your air purifier is essential for maintaining its performance and effectiveness. Sensor calibration plays a crucial role in ensuring accurate air quality measurement. Here are five important calibration techniques and tools to consider:
-
Sensor calibration: Regularly calibrating the sensors in your air purifier helps maintain accurate readings of air quality parameters such as particulate matter, volatile organic compounds (VOCs), and carbon dioxide levels.
-
Calibration gases: Using calibration gases with known concentrations of pollutants can help verify the accuracy of your air purifier’s sensors. These gases simulate real-world conditions and allow you to compare the readings with the expected values.
-
Calibration kits: Many air purifiers come with calibration kits that include the necessary tools and instructions for calibrating the sensors. These kits often contain calibration gases, adaptors, and tubing.
-
Professional calibration services: If you’re unsure about how to calibrate your air purifier or want to ensure accurate results, you can seek professional calibration services. These experts have the knowledge and tools to calibrate your air purifier correctly.
-
Calibration schedule: Establishing a regular calibration schedule is crucial for maintaining accurate measurements. Depending on the manufacturer’s recommendations, you may need to calibrate your air purifier monthly, quarterly, or annually.
Maintenance and Upkeep
Keeping the air purifier clean is crucial for its proper functioning. Regular maintenance ensures that the air purifier continues to provide clean and fresh air. Here are some maintenance tips to keep your air purifier running smoothly.
Firstly, make sure to clean or replace the filters regularly. This is essential as filters can get clogged with dust and pollutants, affecting the purifier’s performance.
Additionally, clean the exterior of the purifier using a damp cloth to remove any dust or grime.
It’s also important to check for any common problems that may arise, such as unusual noises or a decrease in airflow. If you encounter any issues, refer to the user manual or contact customer support for assistance.
Frequently Asked Questions
How Long Does It Typically Take to Assemble an Air Purifier Model?
Typically, it takes me around 30 minutes to assemble an air purifier model. It’s important to follow the instructions carefully and have all the necessary tools ready.
Can I Use Any Type of Air Filtration System for My Air Purifier?
I can use different types of air filtration systems for my air purifier. However, it’s important to consider their effectiveness and compare them before making a choice.
What Materials Are Commonly Used to Build the Frame of an Air Purifier?
Common materials used to build the frame of an air purifier include aluminum, plastic, and steel. The construction process involves cutting, shaping, and assembling these materials to create a sturdy and durable frame for the air purifier.
Is It Necessary to Have a Control Panel and User Interface on an Air Purifier?
Having a control panel and user interface on an air purifier can be beneficial as it allows for easy operation and customization. However, it may increase the cost and complexity of the device. Factors to consider include user preferences and budget.
How Often Should I Calibrate and Test My Air Purifier for Optimal Performance?
I calibrate and test my air purifier for optimal performance regularly. The calibration frequency depends on the manufacturer’s recommendation, typically every 6-12 months. Testing procedures involve checking airflow, filter efficiency, and sensor accuracy.
Conclusion
In conclusion, creating your own air purifier model can be a rewarding and cost-effective project. By carefully choosing the right components, assembling the frame, and installing the filtration system, you can ensure the effectiveness and functionality of your air purifier.
Next, setting up the wiring and power source, adding a control panel and user interface, and performing testing and calibration are important steps to ensure that your air purifier operates smoothly.
With proper maintenance and upkeep, you can enjoy clean and fresh air in your home. So, why not take on this DIY project and breathe easier?