So, you’ve secured a Dyson air purifier and are eager to discover its internals, huh? Well, my friend, you’ve navigated to the perfect spot.
In this article, I’m going to walk you through the process of opening your Dyson air purifier step by step. From gathering the necessary tools to safely reassembling the purifier, I’ll provide you with all the knowledge and guidance you need.
Get ready to dive into the inner workings of your purifier like a seasoned pro!
Key Takeaways
- Gathering the necessary tools
- Identifying the access points
- Removing the outer casing
- Opening the filter compartment
Step 1: Gathering the Necessary Tools
First, you’ll need to gather the necessary tools to open your Dyson air purifier. To access the internal components, you’ll require a Phillips head screwdriver and a small flathead screwdriver. The Phillips head screwdriver is essential for removing the screws that hold the casing of the air purifier together. The small flathead screwdriver is useful for prying open any clips or latches that may be securing the components in place.
Make sure to choose screwdrivers that fit snugly into the screws and have a comfortable grip for easy handling.
Once you have these tools ready, you can proceed to the next step of identifying the access points in order to open your Dyson air purifier.
Step 2: Identifying the Access Points
Next, you’ll want to locate the access points on your Dyson air purifier. Identifying these access points is crucial for troubleshooting common issues that may arise with your device.
The first access point to look for is the filter compartment, usually located at the back or side of the unit. Open it by pressing the release button or sliding the cover off.
Another access point is the control panel, which allows you to adjust settings and monitor the air quality. It is typically located on the top or front of the purifier. To access it, simply press the buttons or use the touch-sensitive display.
Step 3: Removing the Outer Casing
To remove the outer casing, you’ll need to locate the screws on the bottom of the device and use a screwdriver to unscrew them. Once you’ve removed all the screws, carefully lift the casing off the device.
Here are some important steps to follow during the process of removing the casings and preparing for the cleaning process:
- Ensure that the device is unplugged and turned off before attempting to open it.
- Keep track of the screws you remove, as they will need to be reinserted in the same locations later.
- Be gentle when lifting the casing to avoid damaging any internal components.
- Take note of any connectors or wires that may be attached to the casing and disconnect them if necessary.
- Avoid using excessive force when removing the casing to prevent any accidental breakage.
Step 4: Opening the Filter Compartment
Once all the screws are removed, carefully lift off the casing to access the filter compartment. Opening the filter compartment is a crucial step in troubleshooting filter installation issues.
To open the compartment, locate the tabs or release buttons on the sides or front of the unit. Gently press or slide these tabs to unlock the compartment. Some models may require you to twist or rotate the compartment to remove it completely.
Once the compartment is open, you can inspect the filter for any signs of damage or blockage. If you encounter any difficulties during this process, refer to the user manual or contact Dyson customer support for further assistance.
Now that the filter compartment is accessible, we can move on to the next step: accessing the internal components.
Step 5: Accessing the Internal Components
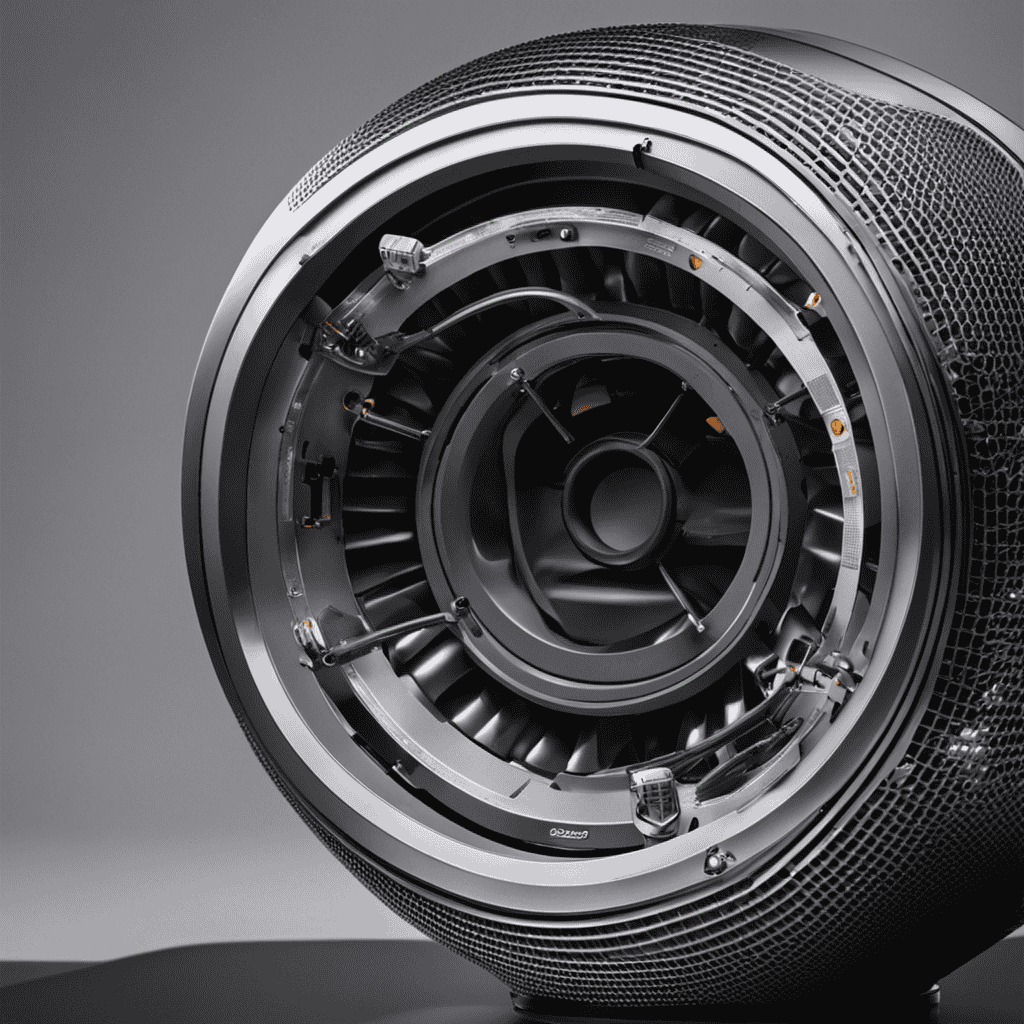
Now that you’ve successfully opened the filter compartment, you can easily access the internal components for further troubleshooting. Exploring the internal components of your Dyson air purifier can help you identify and resolve common issues that may arise. Here are some key areas to focus on:
-
Fan Blades: Check for any debris or obstruction that may be affecting the airflow. Clean the blades carefully using a soft cloth or brush.
-
Motor: Inspect the motor for any signs of damage or overheating. Ensure that it is running smoothly and quietly.
-
Electrical Connections: Examine the wiring and connectors for any loose or frayed connections. Secure any loose wires and replace damaged ones if necessary.
Step 6: Safely Reassembling the Purifier
When reassembling a Dyson air purifier, there are three key points to consider: proper part alignment, securing all components, and testing for functionality.
Proper part alignment is crucial to ensure that all parts fit together correctly and function properly.
Securing all components ensures that the purifier is safe to use and prevents any potential accidents or malfunctions.
Finally, testing for functionality allows you to verify that the purifier is working as intended before using it.
Following these steps will help you safely reassemble your Dyson air purifier and ensure its optimal performance.
Proper Part Alignment
To properly align the parts of your Dyson air purifier, make sure you carefully match the grooves and tabs together. This step is crucial for the proper maintenance and functioning of your purifier.
Here are some important tips to ensure you achieve a perfect alignment:
-
Start by inspecting each part for any dirt, debris, or damage. If necessary, use a soft cloth or brush to gently clean the surfaces.
-
Once the parts are clean, locate the corresponding grooves and tabs on each piece. These are designed to fit together snugly and securely.
-
Align the grooves and tabs carefully, making sure they interlock properly. Apply gentle pressure and listen for a clicking sound, indicating a successful alignment.
Proper part alignment is essential for the efficiency and longevity of your Dyson air purifier. By following these cleaning techniques and maintenance tips, you can ensure optimal performance and a healthier environment in your home.
Securing All Components
Securing all the components ensures proper functioning and maintenance of your Dyson air purifier.
Proper filter maintenance is essential for optimal performance and longevity. To maintain your air purifier’s filter, start by turning off the power and unplugging the device.
Carefully remove the filter cover by pressing the release buttons on each side. Take out the filter and gently tap it to remove any dust or debris. If the filter is dirty, wash it with cold water and let it air dry completely before reinstalling.
Troubleshooting common issues like strange odors or reduced airflow can often be resolved by checking if all components are securely in place. Make sure the filter cover, filter, and other parts are properly aligned and locked into position.
Regularly inspecting and securing all components will keep your Dyson air purifier operating at its best.
Testing for Functionality
Regularly checking if all components are properly aligned and locked into position will ensure the functionality of your Dyson air purifier. To evaluate the performance of your air purifier, there are several testing methods you can employ:
-
Air Quality Testing: Use a separate air quality monitor to compare the air quality before and after running the purifier. This will give you a clear indication of its effectiveness in removing pollutants.
-
Noise Level Testing: Run the air purifier at different fan speeds and measure the noise levels using a decibel meter. This will help you assess its noise performance and choose the most suitable setting.
-
Filter Efficiency Testing: Occasionally remove and inspect the filters for any signs of dirt or damage. Clean or replace them as necessary to maintain optimal performance.
Frequently Asked Questions
How Often Should I Open and Clean the Filter Compartment of My Dyson Air Purifier?
Regularly cleaning the filter compartment of my Dyson air purifier is crucial for optimal air purification performance. It helps maintain the longevity of the filters and ensures they continue to effectively remove pollutants from the air.
Can I Use Any Tool to Remove the Outer Casing, or Do I Need a Specific Type of Screwdriver?
Can I use any tool to remove the outer casing, or do I need a specific type of screwdriver? When opening the Dyson Air Purifier, it is important to follow safety precautions and use the recommended tools for proper disassembly.
Is It Safe to Open the Purifier Without Unplugging It From the Power Source?
It is not safe to open the purifier without unplugging it from the power source. Safety measures should always be followed to avoid potential risks of electric shock or damage to the purifier.
Are There Any Precautions I Should Take While Accessing the Internal Components of the Purifier?
When accessing the internal components of the Dyson Air Purifier, it is important to take certain precautions. Ensure that the purifier is unplugged from the power source and handle the components carefully to avoid any damage.
What Should I Do if I Encounter Any Difficulties or Resistance When Trying to Open the Filter Compartment?
If I encounter difficulties or resistance when trying to open the filter compartment, I can try troubleshooting tips like checking for any common mistakes such as not fully unlocking or twisting the compartment.
Conclusion
In conclusion, opening a Dyson air purifier is a relatively simple process that can be easily accomplished with the right tools and instructions. By following the steps outlined in this article, you can safely access the internal components and clean or replace the filters as needed.
Remember to exercise caution and follow all safety guidelines to ensure a successful and efficient operation. With a little bit of knowledge and attention to detail, you’ll be able to keep your Dyson air purifier running smoothly and effectively for years to come.