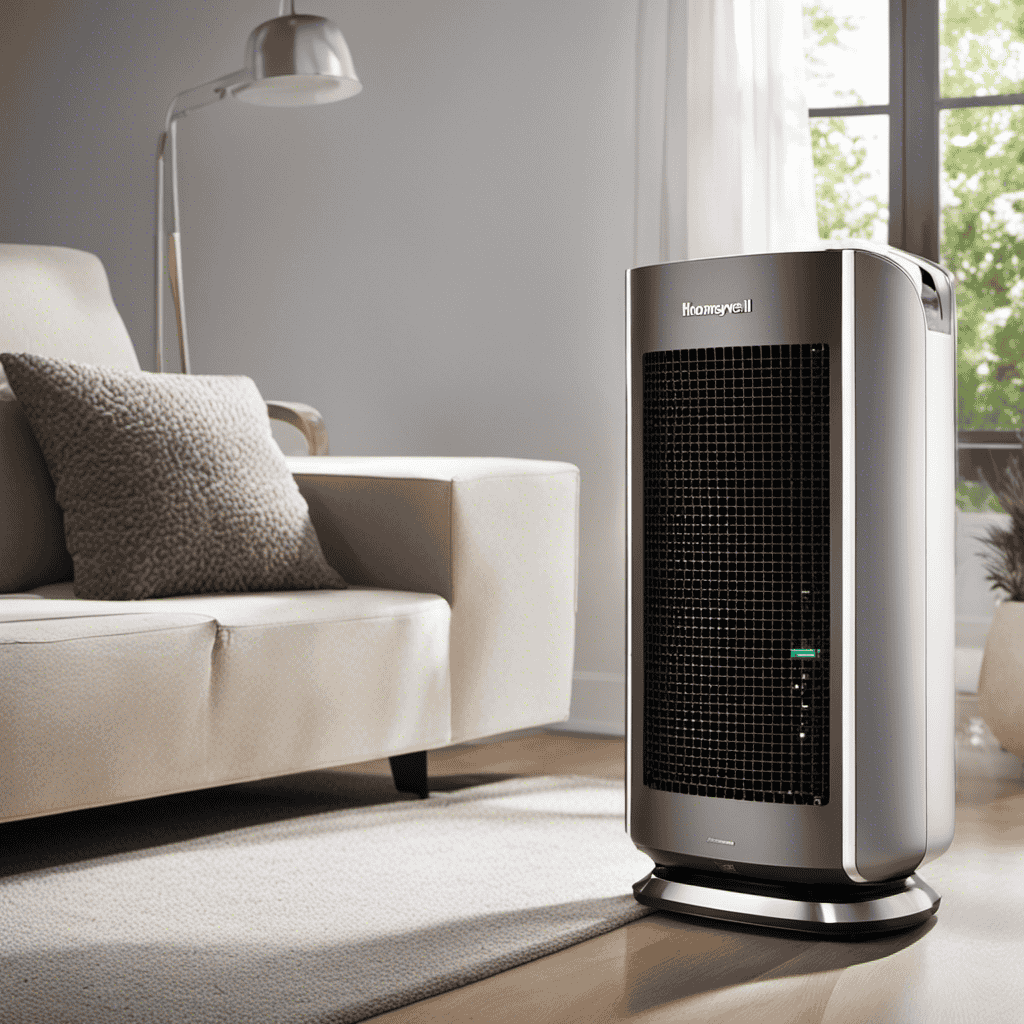

As someone fortunate enough to have a Honeywell air purifier, I’m familiar with the aggravation caused by the relentless Check Filter Light. It resembles an annoying mosquito whining near your ear, nudging you about the potential dip in your air’s purity.
But fear not, my fellow air purifier enthusiasts! In this article, I will guide you through the step-by-step process of turning off that annoying light and ensuring that your Honeywell air purifier is running at optimal efficiency.
So sit back, relax, and let’s banish that Check Filter Light once and for all.
Key Takeaways
- The Check Filter Light on a Honeywell Air Purifier is not an error indicator or malfunction, but rather alerts when the filter needs attention.
- Regular maintenance of the air purifier, including cleaning or replacing the filter, is important for optimal efficiency and clean air.
- The Honeywell Air Purifier model can be identified by locating the product label on the device, which contains important information such as the model number, serial number, and manufacturing date.
- Accessing and replacing the filter requires locating the tabs or latches on the sides or back of the unit, unplugging the unit before accessing the filter compartment, gently pulling out the old filter using tabs or handles, and properly disposing of the old filter.
Understanding the Check Filter Light
To understand the Check Filter light on your Honeywell air purifier, you need to know its purpose and how it functions.
The Check Filter light is a helpful feature that alerts you when it’s time to clean or replace the filter in your air purifier. It ensures that the air purifier continues to operate at optimal efficiency and provides you with clean, fresh air.
Contrary to common misconceptions, the Check Filter light is not an error indicator or a malfunction. It simply indicates that the filter needs attention. If the light turns on, troubleshooting solutions include checking the filter for dirt and debris, cleaning it if necessary, or replacing it with a new one.
Regularly maintaining and replacing the filter as needed will ensure that your air purifier works effectively to remove pollutants from your indoor air.
Identifying the Honeywell Air Purifier Model
The first step in identifying the model of your Honeywell air purifier is to locate the product label on the device. This label is usually located on the back or bottom of the unit and contains important information about the model, such as the model number, serial number, and manufacturing date.
Once you have located the product label, you can use this information to troubleshoot any issues you may be experiencing with your air purifier. Understanding the features of your air purifier is essential for effective troubleshooting. Some common features include different fan speeds, a timer function, and a filter replacement indicator. By familiarizing yourself with these features, you will be better equipped to address any problems that may arise.
Now that you have identified your air purifier model, let’s move on to accessing the filter compartment.
Accessing the Filter Compartment
Now that you’ve located the product label, let’s see how you can easily access the filter compartment.
To maintain your Honeywell air purifier and troubleshoot the filter indicator, follow these steps.
Start by locating the tabs or latches on the sides or back of the unit. These tabs or latches are designed to secure the filter compartment. Gently press or release them to open the compartment.
Inside, you will find the filter, which needs regular maintenance to ensure optimal performance. Depending on the model, the filter may need to be replaced or cleaned. Refer to the user manual for specific instructions on how to maintain the filter.
Remember to always unplug the unit before accessing the filter compartment to ensure your safety.
Removing the Old Filter
Once you’ve accessed the filter compartment, you’ll need to gently pull out the old filter. To begin the disassembling process, locate the tabs or handles on the filter and carefully grip them. Apply a steady, even pressure as you slowly pull the filter out of its housing. Be cautious not to damage the filter or any surrounding components.
Once the filter is removed, it is important to follow proper filter disposal procedures. Check the manufacturer’s instructions or local regulations for guidance on how to dispose of the old filter. Some filters can be recycled, while others may need to be disposed of in the regular trash.
Remember to replace the old filter with a new one before reassembling the filter compartment.
Cleaning or Replacing the Filter
To properly clean or replace the filter, you’ll want to carefully follow the manufacturer’s instructions. Filter maintenance is crucial for keeping your air purifier working effectively and prolonging its lifespan.
First, make sure to turn off the air purifier and unplug it from the power source. Next, locate the filter compartment and open it according to the instructions. Remove the filter and inspect it for any visible dirt or debris. If it can be cleaned, gently vacuum or rinse it under running water. Allow the filter to dry completely before placing it back into the air purifier.
If the filter is not washable or too clogged, it’s time to replace it with a new one. Remember to check the manufacturer’s recommendations for the filter lifespan.
With the filter properly cleaned or replaced, you can now move on to resetting the check filter light.
Resetting the Check Filter Light
When it comes to resetting the filter indicator on your air purifier, there are a few key points to keep in mind.
First, you’ll need to consult the user manual for your specific model to determine the exact steps for resetting the indicator. It’s important to follow these instructions carefully to ensure that the indicator is reset correctly and accurately reflects the status of your filter.
If you encounter any issues or the filter indicator continues to show an error even after resetting, troubleshooting may be necessary to identify and resolve the underlying problem.
Resetting Filter Indicator
You can easily reset the filter indicator on your Honeywell air purifier by following these steps:
-
Locate the control panel on your air purifier. It is usually located on the top or front of the unit. The control panel typically consists of buttons and an LCD screen.
-
Press and hold the ‘Filter Reset’ or ‘Timer Reset’ button. This button is specifically designed to reset the filter indicator and timer. Hold the button for approximately 5 to 10 seconds until the indicator light turns off or the timer resets.
By performing these steps, you will reset the filter indicator on your Honeywell air purifier, ensuring accurate tracking of the filter’s lifespan and preventing any filter error messages from appearing.
Now, let’s move on to troubleshooting the filter indicator in case you encounter any issues.
Troubleshooting Filter Indicator
If the filter indicator on your Honeywell air purifier is not resetting, try holding the ‘Filter Reset’ or ‘Timer Reset’ button for a longer duration. This can sometimes resolve the issue and allow you to reset the filter indicator light.
If the problem persists, there may be other factors causing the filter indicator light to stay on. One possibility is that the filter itself is dirty and needs to be cleaned or replaced. Regular filter maintenance is crucial to ensure optimal performance of your air purifier. Make sure to clean or replace the filter according to the manufacturer’s instructions.
Additionally, check for any obstructions or blockages that may be preventing proper airflow. Troubleshooting the filter indicator light is just one aspect of maintaining your Honeywell air purifier.
Now, let’s move on to troubleshooting some other common issues.
Troubleshooting Common Issues
One way to troubleshoot common issues with your Honeywell air purifier is by checking the filter light. If the filter light is on, it could indicate that the filter needs to be cleaned or replaced. Here are some troubleshooting techniques to help you resolve common issues:
-
Filter Maintenance
-
Clean or replace the filter regularly.
-
Follow the manufacturer’s instructions for proper cleaning and replacement.
-
Airflow Restrictions
-
Ensure that the air purifier is not placed in a corner or against a wall, as this can restrict airflow.
-
Keep the surrounding area free from obstructions such as curtains or furniture.
Maintaining the Air Purifier for Long-Term Use
When it comes to maintaining an air purifier for long-term use, there are three key points to consider: filter replacement frequency, cleaning techniques for filters, and the importance of regular maintenance.
The filter replacement frequency will depend on the specific model and usage, but it is generally recommended to replace the filters every 6 to 12 months.
Cleaning techniques for filters may vary, but most filters can be cleaned with a vacuum or by gently rinsing them under running water.
Regular maintenance is crucial to ensure optimal performance and efficiency of the air purifier, as it helps to remove accumulated dirt, dust, and allergens from the filters and other components.
Filter Replacement Frequency
To maintain optimal air quality, it is important to regularly replace the filter in your Honeywell air purifier. Proper filter replacement is crucial for extending the lifespan of your air purifier and ensuring its effectiveness.
Here are some important factors that can affect the frequency of filter replacement:
- Extending filter lifespan:
- Vacuuming or brushing off the filter regularly to remove larger particles and debris.
- Avoiding exposing the filter to excessive moisture or humidity, as this can decrease its lifespan.
Factors affecting filter replacement frequency:
- Air quality: If you live in an area with high pollution or allergens, you may need to replace the filter more frequently.
- Usage: The more you use your air purifier, the more frequently the filter will need to be replaced.
By understanding these factors, you can determine the appropriate filter replacement schedule for your Honeywell air purifier.
Now, let’s explore the cleaning techniques for filters to further enhance the longevity and effectiveness of your air purifier.
Cleaning Techniques for Filters
Regularly cleaning your air purifier’s filters can help maintain optimal air quality and extend the lifespan of your device. It is important to follow a cleaning schedule to ensure that the filters are free from dust, allergens, and other pollutants. By doing so, you can ensure that your air purifier continues to effectively remove impurities from the air.
To help you keep track of your filter maintenance, here is a simple table outlining the recommended cleaning schedule for different types of filters:
| Filter Type | Cleaning Frequency |
|---|---|
| Pre-Filter | Every 1-2 weeks |
| HEPA Filter | Every 6-12 months |
| Carbon Filter | Every 6-12 months |
| UV-C Filter | Every 6-12 months |
| Ionizer | Every 6-12 months |
Following this cleaning schedule will not only ensure that your air purifier is functioning optimally, but also help prolong the lifespan of your device. Remember to consult your air purifier’s manual for specific instructions on how to clean the filters properly.
Importance of Regular Maintenance
Maintaining your air purifier through regular cleaning and filter changes is crucial for ensuring optimal air quality and prolonging the lifespan of the device. By properly maintaining your air purifier, you can reap the benefits of clean air in your home or office.
Here are some key reasons why filter maintenance is essential:
-
Improved Air Quality:
Regular filter changes remove dust, allergens, and pollutants from the air, ensuring that you breathe in clean and fresh air. Clean filters help reduce the risk of respiratory issues and allergies, promoting better health and well-being. -
Enhanced Performance:
A clean filter allows the air purifier to function efficiently, ensuring maximum airflow and filtration. With regular maintenance, the air purifier can effectively capture and eliminate airborne particles, improving its overall performance.
Frequently Asked Questions
How Often Should I Clean or Replace the Filter in My Honeywell Air Purifier?
I clean my Honeywell air purifier filter every 3 months or when the check filter light comes on. Signs of a dirty filter include reduced airflow and an increase in dust or odors.
Can I Use a Generic Filter Instead of a Honeywell Brand Filter in My Air Purifier?
Using generic filters in your Honeywell air purifier has pros and cons. While they may be cheaper, they may not fit properly or have the same filtration quality. Consider the potential risks before making a decision.
How Do I Know if the Check Filter Light Is a False Alarm or if There Is a Genuine Issue With the Filter?
To troubleshoot common issues with the Honeywell Air Purifier, I’ll explain how to properly maintain and clean the filter. This will help determine if the check filter light is a false alarm or if there is a genuine issue.
Is It Necessary to Reset the Check Filter Light After Cleaning or Replacing the Filter?
Yes, it is necessary to reset the check filter light after cleaning or replacing the filter. This ensures accurate monitoring and prevents false alarms. Troubleshooting filter issues may require resetting the light as well.
Can I Use the Air Purifier Without the Filter or With a Damaged Filter?
I cannot use the air purifier without a filter or with a damaged filter. It is important to replace the filter regularly to maintain the effectiveness of the purifier and troubleshoot the check filter light.
Conclusion
In conclusion, tackling the check filter light on your Honeywell air purifier is like embarking on a quest to restore the purity of the air in your home.
Just like a knight on a mission, you must first understand the purpose of the check filter light and identify your model.
Then, armed with knowledge, you access the filter compartment and bravely remove the old filter.
With careful cleaning or replacement, you restore the air purifier’s power.
Finally, with a simple reset, you vanquish the check filter light and ensure long-term air purification success.