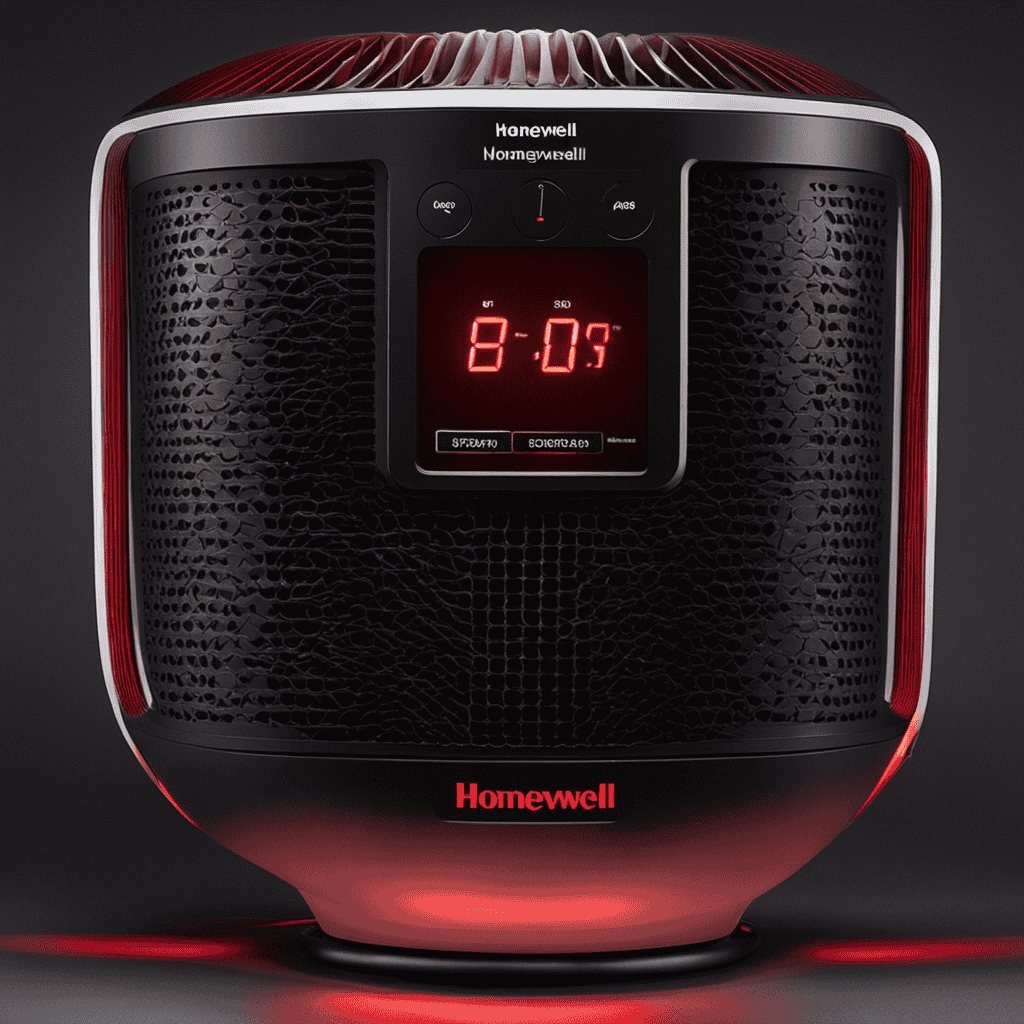
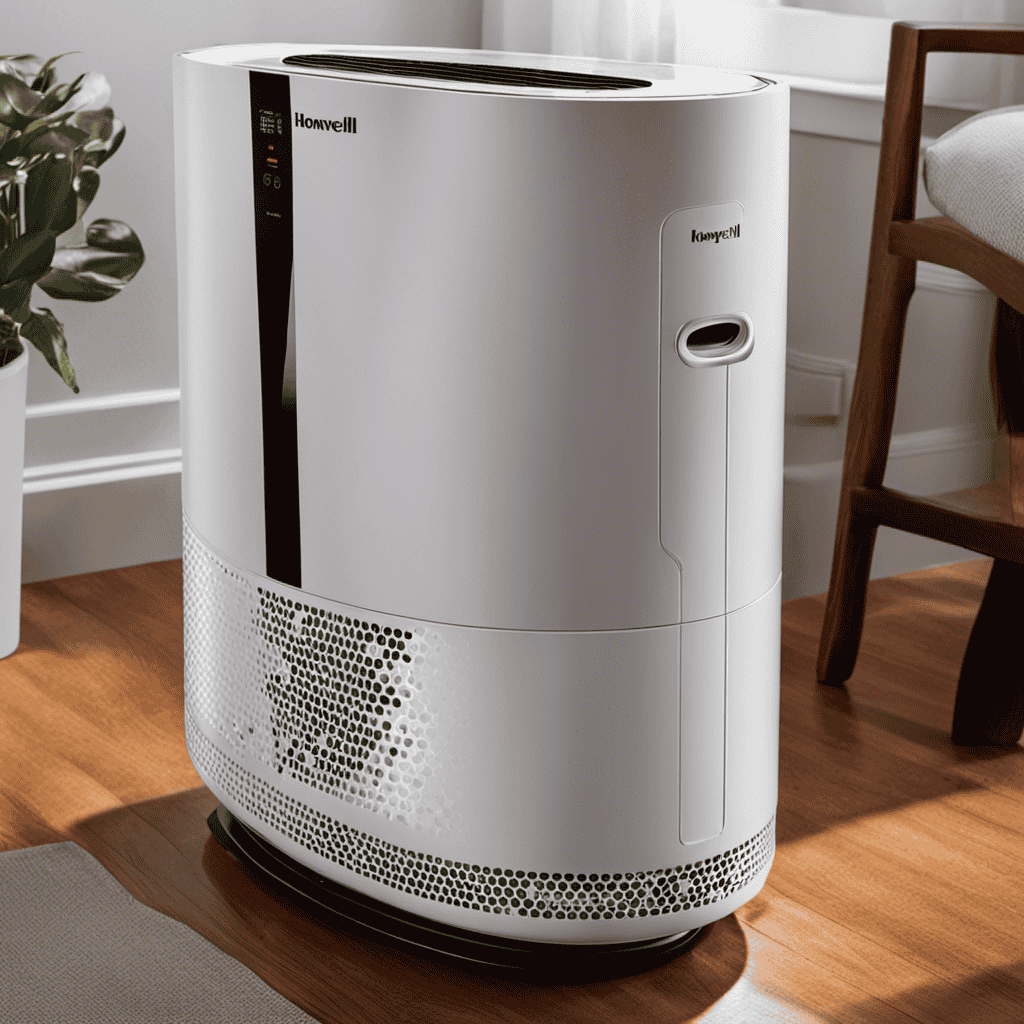
As someone who owns a Honeywell air purifier, I understand the annoyance of seeing the red light begin to flash. However, there’s no need to worry! In this article, I will walk you through the process of disabling that troublesome red light on your Honeywell air purifier.
From understanding the indicator’s meaning to checking the filter status and resetting the unit, I’ll provide you with detailed instructions and tips to get your purifier back up and running smoothly.
So, let’s dive in and banish that red light for good!
Key Takeaways
- The red light on a Honeywell air purifier indicates a problem with the device.
- Troubleshoot the issue by checking the filter, connections, and consulting the user manual.
- Regularly clean or replace the filter for optimal air quality.
- Reset the filter indicator by holding down the reset button for 5 seconds.
DREO 16L Smart Humidifier Large Room 1000 ft², 130H Cool Mist Air Humidifiers for Bedroom Plants Baby, Top Fill, Remote/Touch/Voice & APP Control, Clean Tank Technology, 30dB, RGB Light, HM755S White
130 𝙃𝙤𝙪𝙧𝙨 𝙐𝙡𝙩𝙧𝙖-𝙇𝙤𝙣𝙜 𝙍𝙪𝙣𝙩𝙞𝙢𝙚: The 16L DREO humidifiers for bedroom provides up to 130 hours of continuous humidification...
As an affiliate, we earn on qualifying purchases.
Understand the Meaning of the Red Light Indicator
To understand the meaning of the red light indicator on your Honeywell air purifier, you should check the user manual for specific instructions. The red light indicator serves as a troubleshooting tool to alert you to potential issues with your air purifier.
When the red light is on, it usually indicates a problem that needs attention. Common reasons for the red light to turn on include a clogged filter, a malfunctioning sensor, or a power issue.
To troubleshoot the red light indicator, start by checking the filter and cleaning or replacing it if necessary. Make sure the air purifier is properly plugged in and that there are no loose connections.
If these steps don’t resolve the issue, consult the user manual for further troubleshooting guidance.
DREO 6L Humidifiers for Bedroom, Smart Warm & Cool Mist for Large Room, 60Hr Quiet Runtime for Baby, Plant, Humidity Sensor, Indicator Light, 12H Timer, Google/Alexa, HM713S
𝙎𝙪𝙥𝙚𝙧 𝙁𝙖𝙨𝙩, 𝙄𝙣𝙨𝙩𝙖𝙣𝙩 𝙒𝙖𝙧𝙢 𝙈𝙞𝙨𝙩: The humidifiers for bedroom creates a comforting, 133°F smart warm and cool mist...
As an affiliate, we earn on qualifying purchases.
Check the Filter Status
When it comes to maintaining your air purifier’s performance, there are several key points to consider.
Firstly, regularly cleaning or replacing the filter is crucial to ensure optimal air quality.
Secondly, resetting the filter indicator is necessary after cleaning or replacing the filter to accurately monitor its status.
Lastly, if you encounter any issues or have questions about your air purifier, contacting customer support is recommended for expert assistance.
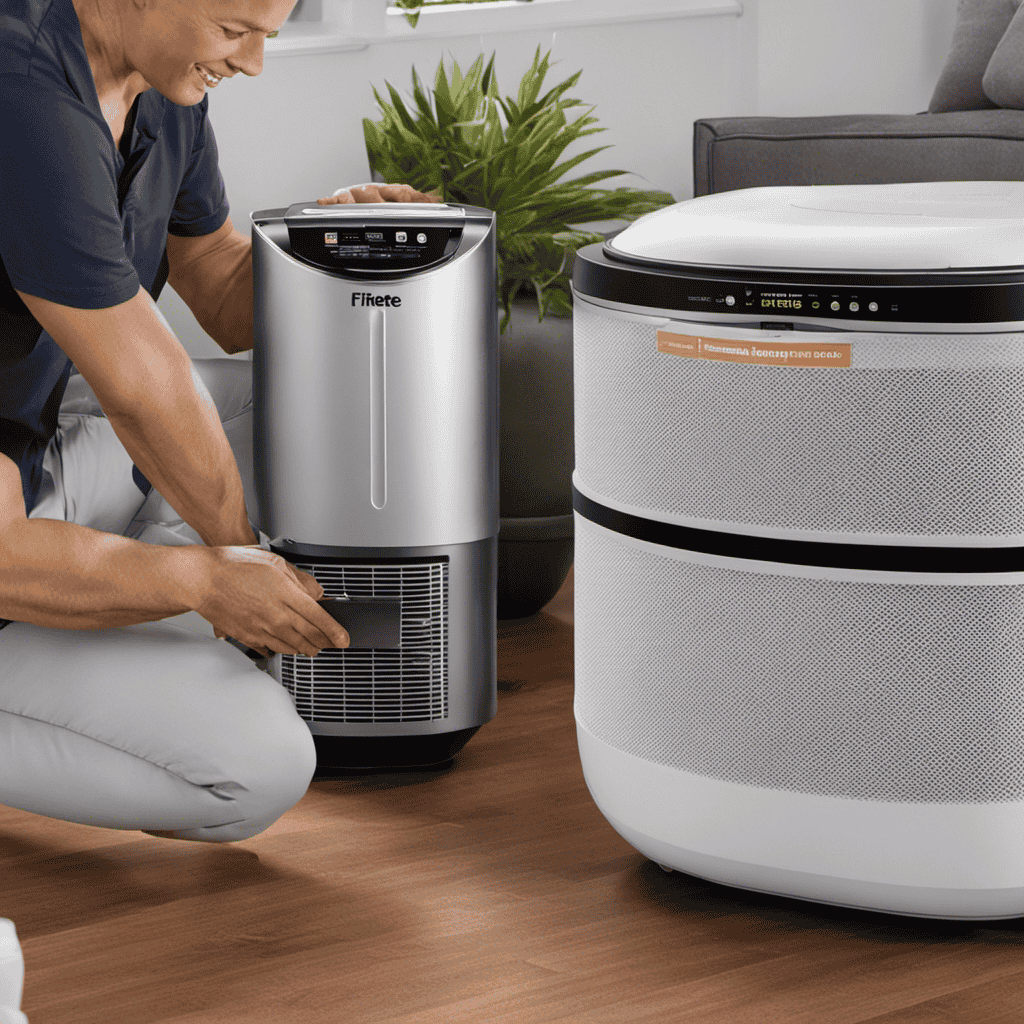
Clean or Replace Filter
You can easily clean or replace the filter to turn off the red light on your Honeywell air purifier. The cleaning frequency of the filter depends on the air quality and usage of the purifier.
If the red light is on, indicating a dirty filter, it is recommended to clean it. To clean the filter, first, turn off and unplug the purifier. Remove the front grill and take out the filter. Gently vacuum the filter to remove dust and dirt.
If the filter is heavily soiled or damaged, it is best to replace it. Honeywell offers various filter replacement options, such as HEPA filters for allergens, carbon filters for odors, and pre-filters for larger particles.
Always follow the manufacturer’s instructions for proper installation of the new filter.
Reset Filter Indicator
The filter indicator can be reset by holding down the reset button for 5 seconds. This is a helpful troubleshooting step if you have already cleaned or replaced the filter on your Honeywell air purifier.
To reset the filter timer, locate the reset button on your device. It is usually found on the control panel or near the filter compartment. Press and hold the reset button for 5 seconds until the indicator light turns off.
This will reset the filter timer and clear the red light that indicates a need for filter maintenance. Remember to consult your user manual for specific instructions related to your Honeywell air purifier model.
Following these steps ensures optimal performance and clean air in your home.
Contact Customer Support
If you’re experiencing any issues with your air purifier, it’s best to contact customer support for assistance. They can provide you with the necessary troubleshooting tips and guidance to resolve the problem.
When it comes to air purifier maintenance, it’s important to regularly clean and replace the filters as recommended by the manufacturer. This helps ensure optimal performance and efficiency.
Additionally, make sure to keep the air purifier in a well-ventilated area and avoid placing it near any obstructions or sources of heat.
If you notice any unusual sounds, smells, or a persistent red light on your air purifier, it’s essential to reach out to customer support. They have the expertise to help diagnose the issue and provide appropriate solutions to get your air purifier working effectively again.

Humidifiers for Bedroom - GloryAir 2.38Gal/9L Top Fill Cool Mist Humidifier for Large Room 500ft² 120H Last with Auto Mode 7-Color Light Humidistat Aroma Box Quiet Humidifiers for Plants Baby & Adults
𝑺𝒖𝒑𝒆𝒓-𝒍𝒐𝒏𝒈 120𝑯 𝑹𝒖𝒏𝒕𝒊𝒎𝒆 & 𝑬𝒙𝒕𝒆𝒏𝒔𝒊𝒗𝒆 500 𝒔𝒒 𝒇𝒕 𝑪𝒐𝒗𝒆𝒓𝒂𝒈𝒆: Tired of constant refills? Features 3 adjustable mist levels...
As an affiliate, we earn on qualifying purchases.
Reset the Air Purifier
To reset the air purifier, simply press and hold the power button for 5 seconds. This will restart the system and clear any errors or issues that may be causing the red light to appear. If the red light continues to illuminate after resetting, it could indicate a more serious problem. Here are some troubleshooting tips to help resolve the issue:
| Problem | Solution |
|---|---|
| Red light won’t turn off | – Check the filter: Ensure the filter is clean and properly installed. |
| – Power cycle: Disconnect the power cord, wait 10 seconds, and then plug it back in. | |
| – Contact customer support: If the issue persists, reach out to Honeywell for further assistance. |

DREO HM735S 11L Smart Humidifier Large Room 700 ft², 100H Cool Mist Air Humidifiers for Bedroom, Top-Fill, Clean Tank Technology, 26dB, Auto Mode, Aroma Box, RGB, Remote & APP Control, Baby, White
100-𝙝𝙤𝙪𝙧 𝙍𝙪𝙣𝙩𝙞𝙢𝙚, 𝙇𝙖𝙨𝙩𝙞𝙣𝙜 𝘾𝙤𝙢𝙛𝙤𝙧𝙩: Enjoy uninterrupted comfort with our DREO air humidifier’s impressive 4-day runtime and 2.9-gallon tank....
As an affiliate, we earn on qualifying purchases.
Clean the Air Purifier Sensors
Make sure you regularly clean the sensors of your air purifier to ensure optimal performance. The sensors in your air purifier are responsible for detecting the air quality and adjusting the purifier settings accordingly. Neglecting to clean the sensors can result in decreased efficiency and potential malfunctions.
Here are three key steps to clean the sensors effectively:
- Refer to the user manual to locate the sensors in your specific air purifier model.
- Use a soft, lint-free cloth or a cotton swab lightly dampened with water or isopropyl alcohol to gently wipe the sensors.
- Be cautious not to apply excessive pressure or use abrasive cleaners, as this may damage the sensor components.
Following a regular cleaning schedule for your air purifier sensors can help prevent common issues such as inaccurate readings or the purifier not functioning properly. Once you have cleaned the sensors, it’s important to verify the power source to ensure the air purifier is receiving sufficient electricity.
Verify the Power Source
Check the power source to ensure your air purifier is receiving sufficient electricity. Begin by examining the power cord for any signs of damage or fraying. If you notice any issues, it’s crucial to replace the cord immediately to prevent potential electrical hazards.
Next, inspect the power outlet where the air purifier is connected. Ensure that the outlet is functioning correctly by plugging in another device to test it. If the outlet is not supplying power, try resetting the circuit breaker or replacing the fuse.
Additionally, ensure that the power outlet is not overloaded with other devices, as this can lead to inadequate power supply.
Troubleshoot the Air Purifier
Ensuring that the power source is adequate is essential for troubleshooting your air purifier. Here are three common air purifier problems you may encounter and how to troubleshoot them:
-
No Power: If your air purifier isn’t turning on, check if it’s properly plugged into a working outlet. Test the outlet with another device to confirm it’s functioning. If the outlet is fine, inspect the power cord for any damage. Replace it if necessary.
-
Weak Airflow: If you notice reduced airflow, check if the filters are dirty or clogged. Clean or replace them according to the manufacturer’s instructions. Also, make sure the air intake and outlet vents are clear of any obstructions.
-
Strange Odors: If your air purifier is emitting unusual odors, it may indicate a problem with the filters. Clean or replace them as needed. Additionally, check for any mold or mildew growth inside the unit and clean it thoroughly.
Update the Firmware (If Applicable
If the firmware on your air purifier is outdated, you’ll need to download and install the latest version. Updating the firmware is an important step in troubleshooting any issues you may be experiencing with your air purifier. To update the firmware, follow these steps:
| Step | Action |
|---|---|
| 1 | Visit the manufacturer’s website |
| 2 | Go to the support or downloads section |
| 3 | Locate the firmware update for your specific model |
| 4 | Download the firmware file to your computer |
| 5 | Follow the manufacturer’s instructions to install the update |
Updating the firmware can fix bugs, improve performance, and add new features to your air purifier. It’s essential to ensure that you have the latest firmware installed to optimize the functionality of your device. If you encounter any issues during the update process, refer to the manufacturer’s troubleshooting guide or contact their customer support for assistance.
Contact Honeywell Customer Support
After attempting to update the firmware on your Honeywell air purifier and still facing the issue of the red light, it’s time to reach out to Honeywell customer service for assistance.
Here are some troubleshooting tips to help you in your conversation with them:
-
Provide detailed information: When contacting Honeywell customer service, be prepared to provide specific details about your air purifier model, the firmware version you attempted to update, and any error messages or indicators you encountered.
-
Follow their guidance: Honeywell customer service representatives are trained to troubleshoot and provide solutions for their products. Listen carefully to their instructions and follow their guidance step by step.
-
Be patient and persistent: Resolving technical issues may require some back-and-forth communication with customer service. Stay patient and persistent in your efforts to find a solution.
By following these troubleshooting tips, you can work with Honeywell customer service to address the red light issue on your air purifier. However, if the problem persists, it may be time to consider professional maintenance.
Now, let’s move on to the next section where we discuss the importance of professional maintenance for your Honeywell air purifier.
Consider Professional Maintenance
When it comes to maintaining your Honeywell air purifier, considering professional maintenance can help ensure optimal performance and longevity.
Professional maintenance involves a thorough inspection and cleaning of the unit, as well as addressing any underlying issues that may be causing the red light to appear.
Troubleshooting tips can also be provided to help you identify and resolve common problems on your own.
Professional technicians have the expertise and knowledge to handle complex issues and can provide you with personalized recommendations based on your specific needs.
Regular professional maintenance can help extend the lifespan of your air purifier and ensure that it continues to effectively remove airborne pollutants from your environment.
Don’t hesitate to reach out to a certified Honeywell technician for professional maintenance and troubleshooting support.
Preventing Future Red Light Issues
To prevent future issues, you should regularly clean and replace the filters in your air purifier. This is an important part of preventive maintenance that will ensure optimal performance and longevity of your device.
Here are three troubleshooting tips to help you maintain your air purifier:
-
Clean the pre-filter: The pre-filter is the first line of defense against larger particles and should be cleaned every month. Simply remove it from the purifier and wash it with warm water and mild detergent. Allow it to air dry completely before reinstalling.
-
Replace the HEPA filter: The HEPA filter captures microscopic particles and should be replaced every 6-12 months, depending on usage. Refer to the manufacturer’s instructions for guidance on proper replacement.
-
Check the carbon filter: The carbon filter helps remove odors and should be replaced every 3-6 months. Inspect it regularly and replace it if it appears worn or dirty.
Frequently Asked Questions
How Do I Know if My Honeywell Air Purifier Has a Red Light Indicator?
To determine if my Honeywell air purifier has a red light indicator, I would first check the user manual for any mention of it. If not, I would inspect the control panel for any illuminated red lights.
Can I Turn off the Red Light Indicator Without Resetting the Entire Air Purifier?
To turn off the red light indicator on my Honeywell Air Purifier without resetting the entire device, I need to troubleshoot the issue. It’s important to follow the user manual for specific instructions.
What Should I Do if Cleaning the Air Purifier Sensors Doesn’t Turn off the Red Light?
If cleaning the air purifier sensors doesn’t turn off the red light on my Honeywell Air Purifier, I can try alternative solutions such as checking the filter, resetting the device, or contacting customer support for troubleshooting tips.
Are There Any Specific Power Sources That the Honeywell Air Purifier Requires?
Well, when it comes to the specific power sources for the Honeywell Air Purifier, it’s pretty straightforward. You just need to plug it into a standard electrical outlet and you’re good to go. No fancy power requirements here!
How Often Should I Update the Firmware on My Honeywell Air Purifier?
I update my Honeywell air purifier’s firmware regularly to ensure it’s running efficiently. To update the firmware, follow the instructions in the user manual. Updating the firmware improves performance and adds new features.
Conclusion
In conclusion, after following the steps mentioned above, you should be able to turn off the red light on your Honeywell air purifier and ensure its optimal performance.
By understanding the meaning of the red light indicator, checking the filter status, resetting the air purifier, cleaning the sensors, verifying the power source, updating the firmware, and seeking customer support or professional maintenance if needed, you can resolve the issue efficiently.
Remember, a well-functioning air purifier not only improves the air quality but also brings a breath of fresh air into your home, providing a haven of tranquility amidst the chaos of everyday life.