I’ve always been on the hunt for ways to improve the air quality in my home. That’s why I’m excited to share with you my findings on how to put filters in the Huntington Air Purifier.
This research-based article will guide you through the step-by-step process of understanding the filter types, removing the old filter, and installing the new one.
Say goodbye to stale air and hello to a breath of fresh, clean air in your home. Let’s get started!
Key Takeaways
- Different filters capture and remove pollutants like dust, pollen, pet dander, and smoke particles.
- Regular filter maintenance is crucial for optimal performance.
- Proper filter placement is crucial for optimal performance.
- Resetting the filter indicator ensures optimal functioning of the air purifier.
Top picks for "huntington purifier filter"
Open Amazon search results for this keyword.
As an affiliate, we earn on qualifying purchases.
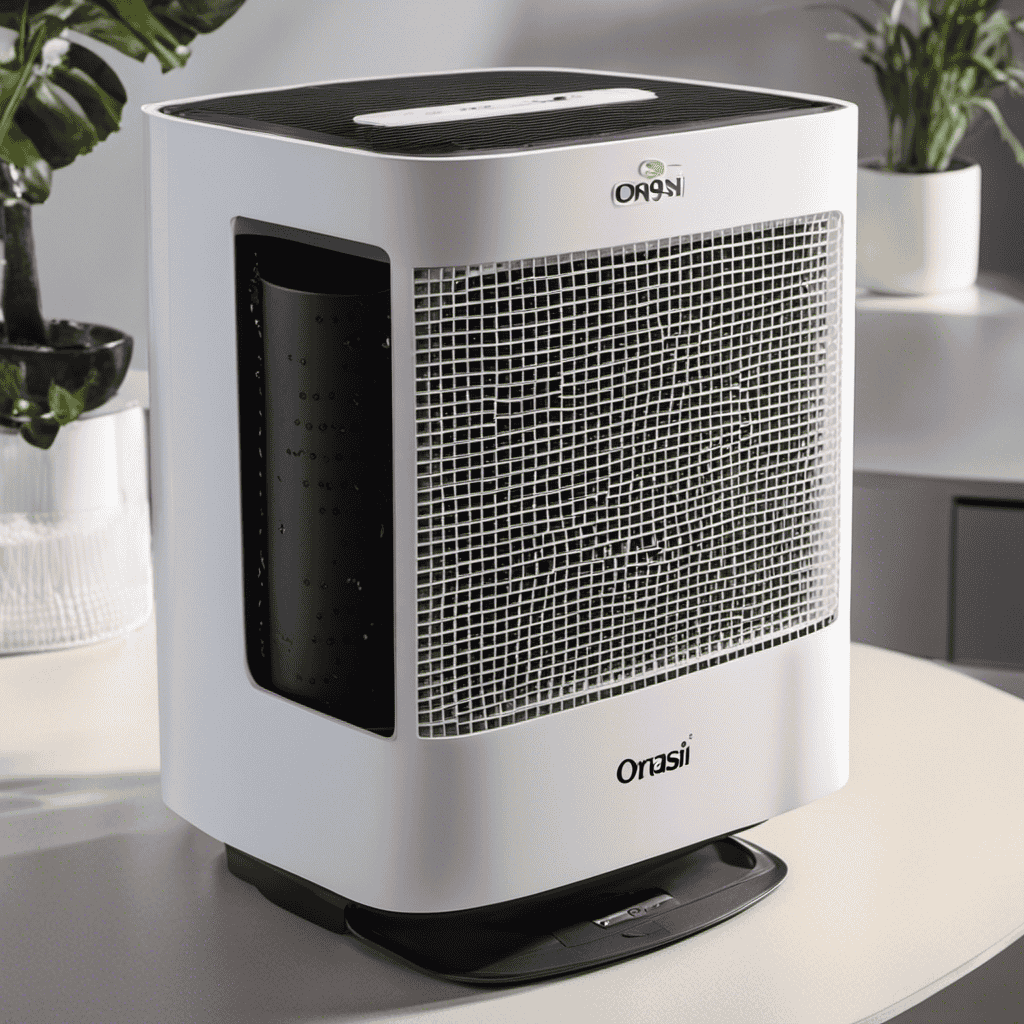
Step 1: Understanding the Filter Types
The first step in understanding the filter types for the Huntington air purifier is to familiarize yourself with their different functions and features.
Filter maintenance is an essential aspect of keeping your air purifier working efficiently. The filters in the Huntington air purifier are designed to capture and remove various pollutants from the air, such as dust, pollen, pet dander, and smoke particles.
Regularly cleaning or replacing the filters is crucial to ensure optimal performance and filter efficiency. Different filter types have different lifespans and require different maintenance schedules. Some filters may need to be cleaned or replaced every few months, while others can last up to a year.
Understanding the maintenance requirements of each filter type will help you keep your Huntington air purifier running smoothly and effectively.
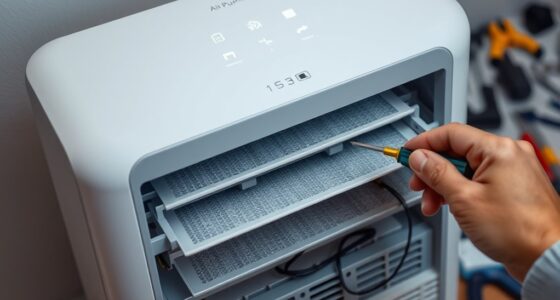
Step 2: Removing the Old Filter
First, you’ll want to carefully take out the old filter from your Huntington air purifier. When it comes to filter removal techniques, there are a few things you should keep in mind to ensure a smooth process.
Start by locating the filter compartment, usually located at the back or side of the purifier. Once you’ve located it, gently open the compartment using the designated latch or button. In some cases, you may need to unscrew the compartment cover.
Next, carefully remove the old filter by pulling it straight out. Be cautious not to forcefully yank it out, as this can damage the purifier. If you encounter any resistance, check for any additional latches or screws that may be securing the filter in place.
Troubleshooting common filter removal issues involves checking for any obstructions or debris that may be blocking the filter’s removal. Additionally, if the filter seems stuck, try applying gentle pressure or wiggling it slightly to loosen it before attempting to remove it again.
Step 3: Cleaning the Air Purifier
Once you’ve removed the old filter, you’ll want to start cleaning the air purifier. Proper maintenance of your air purifier is crucial to ensure its optimal performance and longevity. Cleaning the air purifier involves removing dust and debris that may have accumulated on the surface and inside the unit. To effectively clean your air purifier, follow these filter cleaning techniques:
| Step | Technique |
|---|---|
| Step 1 | Unplug the air purifier |
| Step 2 | Remove the front cover |
| Step 3 | Gently wipe the surface |
| Step 4 | Vacuum the interior |
Step 4: Installing the New Filter
When it comes to installing a new filter in your air purifier, there are a few key points to consider.
First, proper filter placement is crucial for optimal performance. You’ll want to make sure the filter is securely and correctly positioned within the purifier to ensure that it effectively captures pollutants.
Additionally, filter size considerations are important to ensure compatibility with your specific air purifier model.
Proper Filter Placement
To properly place the filters in your Huntington air purifier, make sure you align the arrows on the filters with the corresponding arrows on the purifier. This is an important step in filter maintenance to ensure optimal performance and clean air in your home.
One of the most common filter placement mistakes is not aligning the arrows correctly, which can lead to reduced airflow and decreased efficiency of the air purifier. When the arrows are properly aligned, the filters fit securely in the purifier and create a tight seal, preventing air from bypassing the filters and allowing contaminants to circulate in the room.
Filter Size Considerations
Make sure you choose the correct size filters for your air purifier, as using filters that are too small or too big can compromise the effectiveness of the device.
When it comes to maintaining filter efficiency, selecting the right filter size is crucial. The filter size directly affects the air purifier’s ability to effectively capture and remove pollutants from the air.
A filter that is too small may not cover the entire intake area, allowing contaminants to bypass the filter and circulate back into the room. On the other hand, a filter that is too big can restrict airflow and put unnecessary strain on the air purifier’s motor.
To ensure optimal performance, refer to the manufacturer’s recommendations or consult the user manual for the appropriate filter size for your specific air purifier model.
Filter Replacement Frequency
The frequency of replacing filters in an air purifier depends on the manufacturer’s recommendations and the specific model you have. To ensure optimal performance and maintain clean indoor air, it is essential to follow proper filter maintenance practices.
Here are some factors to consider when determining the filter replacement frequency:
-
Manufacturer’s recommendations:
-
Each air purifier brand has its own guidelines for filter replacement. These recommendations are based on factors such as filter material, usage, and air quality conditions.
-
Some manufacturers provide filter life indicators or reminders to make it easier for users to know when it’s time for a replacement.
-
Specific model features:
-
Different air purifier models have varying filtration capacities and airflow rates. Models designed for larger spaces or with high levels of air pollution may require more frequent filter replacements.
To extend the lifespan of your filters and optimize their efficiency, proper maintenance techniques such as regular cleaning and vacuuming are crucial. Additionally, avoiding exposure to excessive humidity or moisture can prevent mold growth and prolong filter life.
Step 5: Securing the Filter in Place
Once you’ve inserted the filters, you’ll need to secure them in place. Proper filter maintenance is essential for optimal performance of your air purifier.
To ensure the filters stay in place and function effectively, follow these steps.
Firstly, check if there are any latches or locking mechanisms provided by the manufacturer. These will help secure the filters firmly. If not, consider using adhesive strips or tape to hold the filters in position. Make sure to apply the adhesive evenly across the edges to prevent any gaps.
Troubleshooting air purifier issues often involves checking if the filters are securely fastened. Loose filters can lead to air leakage, reducing the unit’s efficiency.
Step 6: Resetting the Filter Indicator
Resetting the filter indicator is an important step in maintaining the efficiency of your air purifier.
This indicator is designed to alert you when it’s time to replace the filter, ensuring that your air purifier continues to effectively remove pollutants from your indoor air.
Resetting Filter Indicator
To reset the filter indicator on the Huntington air purifier, simply hold down the power button for 10 seconds. This action will clear the indicator and allow you to continue using the air purifier without any interruption.
It is important to regularly reset the filter indicator to ensure that the air purifier is functioning optimally and that the filters are being properly maintained. Neglecting to reset the indicator can lead to inaccurate readings and potentially compromise the efficiency of the air purifier.
By resetting the filter indicator, you are taking a proactive approach to filter maintenance and troubleshooting. This simple step can help prolong the lifespan of your air purifier and ensure that it continues to deliver clean and fresh air to your living space.
Now that you know how to reset the filter indicator, let’s explore why this action is necessary and why it should not be overlooked.
Why Reset Filter Indicator?
Why it’s important for you to reset the filter indicator on your Huntington air purifier is because it ensures that the device is functioning optimally and maintains the efficiency of the air purification process.
Regular filter maintenance is crucial for several reasons. Firstly, over time, the filters in your air purifier become clogged with dust, pollen, and other contaminants. This can significantly reduce the effectiveness of the purifier in removing these particles from the air.
By resetting the filter indicator regularly, you are reminded to replace the filters when needed, ensuring that your air purifier continues to provide clean and fresh air. Additionally, a clogged filter can put extra strain on the purifier’s motor, potentially reducing its lifespan.
Therefore, proper filter maintenance is essential for the longevity and performance of your Huntington air purifier.
Now that you understand the importance of filter maintenance, let’s move on to step 7: enjoying clean and fresh air.
Step 7: Enjoying Clean and Fresh Air
Now that you have successfully put in the filters, you can sit back and enjoy the clean and fresh air from your Huntington air purifier. The benefits of air purification are numerous and significant. Not only does it remove harmful pollutants from the air, but it also helps to reduce allergies, asthma symptoms, and other respiratory issues.
To ensure that your air purifier continues to work effectively, it is important to follow some maintenance tips. Here are two sub-lists to help you with this:
Maintenance Tips:
- Regularly clean or replace the filters to maintain optimal air quality.
- Keep the air purifier in a well-ventilated area to allow for proper air circulation.
Additional Tips:
- Vacuum and dust your home regularly to reduce the amount of airborne particles.
- Avoid smoking indoors or using harsh chemicals that can pollute the air.
Frequently Asked Questions
How Often Should I Replace the Filters in My Huntington Air Purifier?
I replace the filters in my Huntington air purifier regularly to maintain its effectiveness. Cleaning the filters is essential to remove pollutants and improve air quality. Regularly replacing filters ensures optimal performance and reduces the risk of allergens and particles circulating in the air.
Can I Use Filters From Other Brands in My Huntington Air Purifier?
No, it is not recommended to use filters from other brands in your Huntington Air Purifier. Using filters from the same brand ensures proper air purifier maintenance and maximizes the benefits of filtration.
Are the Filters Washable or Reusable?
The filters in the Huntington Air Purifier are not washable or reusable. This means they need to be replaced regularly. However, using washable filters can have benefits like saving money and reducing waste.
How Do I Know When It’s Time to Clean the Air Purifier Itself?
When it’s time to clean my air purifier, I look for signs of dirt and dust buildup, like reduced air flow and a musty smell. To properly clean it, I follow the manufacturer’s instructions.
Is It Necessary to Reset the Filter Indicator After Installing a New Filter?
No, it is not necessary to reset the filter indicator after installing a new filter. However, resetting the indicator ensures accurate monitoring of filter life, which is crucial for maintaining the benefits of using an air purifier.
Conclusion
In conclusion, the process of putting filters in a Huntington air purifier is straightforward and easy to follow.
By understanding the different filter types and properly removing the old filter, you can ensure efficient cleaning of the air in your space.
Cleaning the air purifier and installing the new filter will guarantee that you enjoy clean and fresh air.
Don’t forget to secure the filter in place and reset the filter indicator for optimal performance.
With this simple process, you’ll experience air quality that is out of this world.