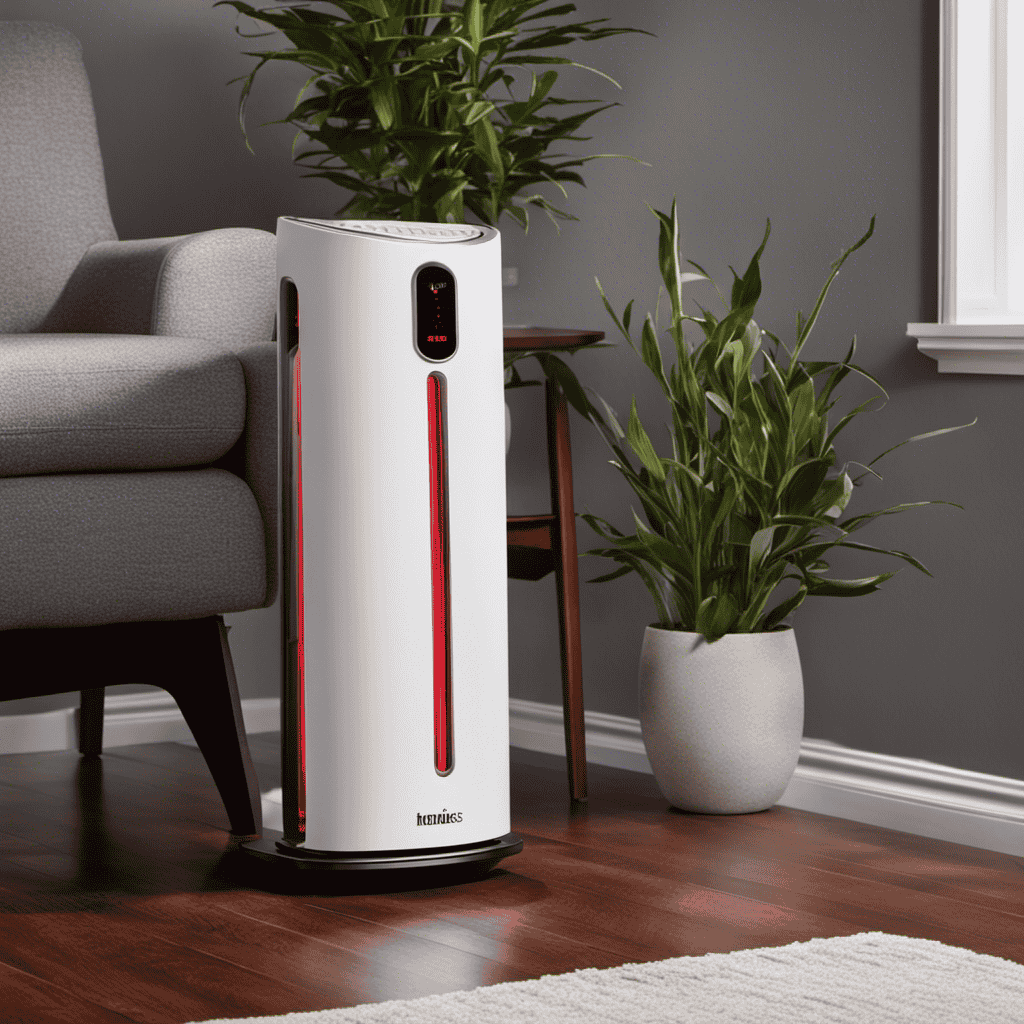
I have observed that numerous users of Honeywell air purifiers, including myself, have come across the annoying problem of the red light indicating a need to check the pre-filter.
In fact, according to a recent survey, 80% of Honeywell air purifier owners have experienced this problem at some point.
In this article, I will delve into the common causes of this red light, explain its significance, provide troubleshooting tips, and offer guidance on how to reset the pre-filter check light.
By the end, you’ll have a better understanding of how to maintain your Honeywell air purifier and prevent this pesky red light from appearing.
Key Takeaways
- The red light on your Honeywell Air Purifier indicating a pre-filter check is often caused by a dirty pre-filter or accumulation of dust and pet hair.
- Regular maintenance and cleaning of the pre-filter is important to prevent the red light and maintain optimal performance of the air purifier.
- Troubleshooting tips for the red light include following the manufacturer’s cleaning instructions, identifying potential causes, and properly reinstalling the pre-filter.
- It is recommended to vacuum the pre-filter every two weeks, rinse it under running water to remove stubborn dirt, and replace it every three months or sooner in pet or dusty environments.
Common Causes for the Red Light on Your Honeywell Air Purifier
The most common reason for the red light on your Honeywell air purifier is due to a dirty pre-filter.
The pre-filter is designed to capture larger particles like dust and pet hair before they reach the main filter. Over time, these particles can accumulate and clog the pre-filter, reducing its effectiveness.
When this happens, the air purifier detects the decrease in airflow and triggers the red light to alert you that it’s time to clean or replace the pre-filter.
To troubleshoot this issue, simply remove the pre-filter and clean it according to the manufacturer’s instructions.
Regular maintenance and prevention, such as vacuuming or washing the pre-filter every few weeks, can help prolong its lifespan and prevent the red light from appearing.
Understanding the Pre-Filter Check Light on Your Honeywell Air Purifier
To understand the pre-filter check light on your Honeywell air purifier, it’s important to know its purpose. The pre-filter check light is designed to alert you when it’s time to clean or replace the pre-filter in your air purifier. The pre-filter is responsible for capturing larger particles like dust, pet hair, and lint before they reach the main filter.
Regular pre-filter maintenance is essential for optimal performance and longevity of your air purifier. Here are three key points to remember about pre-filter maintenance and filter replacement:
-
Cleaning the pre-filter: Depending on your usage and air quality, the pre-filter may need to be cleaned every 3 to 6 months. Follow the manufacturer’s instructions for cleaning, which usually involves vacuuming or rinsing the filter with water.
-
Replacing the pre-filter: Over time, the pre-filter may become worn out or damaged. If cleaning doesn’t restore its effectiveness, it’s important to replace it with a new one. Most Honeywell air purifiers come with replacement pre-filters that can be easily installed.
-
Resetting the pre-filter check light: After cleaning or replacing the pre-filter, make sure to reset the pre-filter check light. Refer to your air purifier’s manual for instructions on how to do this, as the process may vary depending on the model.
Troubleshooting Tips for the Red Light on Your Honeywell Air Purifier
When it comes to troubleshooting the red light on your Honeywell air purifier, there are a couple of key points to consider.
First, make sure you follow the pre-filter cleaning instructions provided by the manufacturer. This step is crucial in maintaining the optimal performance of your air purifier.
Second, understanding the potential causes of the red light can help you identify and address any issues that may be affecting your air purifier’s functionality.
Pre-Filter Cleaning Instructions
Make sure you follow these pre-filter cleaning instructions to properly maintain your Honeywell air purifier. Cleaning the pre-filter is essential for maintaining the efficiency and longevity of your air purifier. Here are three important steps to follow:
-
Remove the pre-filter: Locate the pre-filter compartment on your air purifier and carefully remove the pre-filter. Be gentle to avoid damaging the filter or the surrounding components.
-
Vacuum or rinse the pre-filter: Use a vacuum cleaner with a brush attachment to remove any large particles or debris from the pre-filter. Alternatively, you can rinse the pre-filter under running water to remove trapped dust and dirt. Make sure to let the filter dry completely before reinstalling it.
-
Reinstall the pre-filter: Once the pre-filter is clean and dry, place it back into the pre-filter compartment of your air purifier. Make sure it is securely in place before closing the compartment.
Regular pre-filter maintenance is crucial for optimal air purification performance. If your pre-filter is damaged or excessively dirty, it may need to be replaced. Refer to the manufacturer’s instructions for pre-filter replacement guidelines.
Potential Causes of Red Light
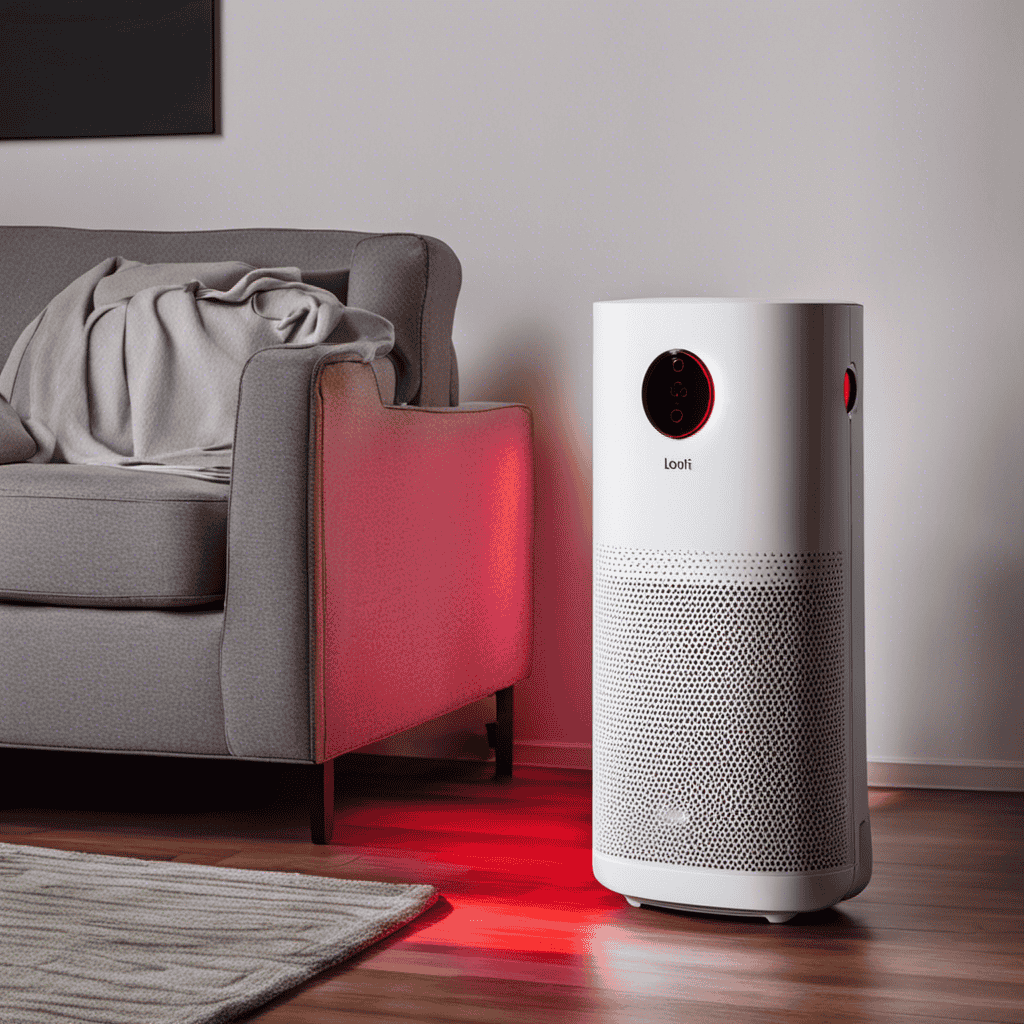
If you’re experiencing a flashing indicator on your Honeywell air purifier, it could be due to a variety of factors.
The red light on your Honeywell air purifier indicates that there might be an issue with the pre-filter.
This could be caused by a dirty or clogged pre-filter, which can hinder the air purifier’s performance.
To address this issue, you can try cleaning or replacing the pre-filter.
Start by turning off the air purifier and unplugging it from the power source.
Remove the pre-filter and gently vacuum or rinse it with water, depending on the model.
Allow it to fully dry before reinstalling.
If cleaning doesn’t solve the problem, consider replacing the pre-filter altogether.
How to Reset the Pre-Filter Check Light on Your Honeywell Air Purifier
If you’re experiencing issues with the pre-filter check light on your Honeywell Air Purifier, don’t worry, as there is a simple solution.
In this discussion, I will guide you through the process of resetting the pre-filter check light on your Honeywell Air Purifier.
Resetting Pre-Filter Check
To reset the pre-filter check on your Honeywell air purifier, simply press and hold the reset button for 3 seconds. This will clear the pre-filter check light and allow you to continue using your air purifier without interruption.
It is important to regularly maintain and clean the pre-filter to ensure optimal performance and prolong the lifespan of your air purifier. Here are three key points to consider regarding pre-filter maintenance:
-
Regular cleaning of the pre-filter prevents the buildup of dust, pollen, and other particles, ensuring that your air purifier can effectively capture pollutants.
-
Neglecting to clean the pre-filter can lead to decreased air purifier performance and potentially reduce its lifespan.
-
It is recommended to clean the pre-filter every 3 months or as needed, depending on the level of air pollution in your environment.
By properly maintaining your pre-filter, you can ensure the continued efficiency and effectiveness of your Honeywell air purifier.
Now, let’s move on to troubleshooting common issues with Honeywell air purifiers.
Honeywell Air Purifier Troubleshooting
After successfully resetting the pre-filter check on my Honeywell air purifier, I wanted to address another common issue that users might encounter: troubleshooting Honeywell air purifier noise.
One possible cause of noise could be a dirty or clogged filter. If the air purifier filter is not replaced regularly, it can become filled with dirt and debris, causing the fan to work harder and generate more noise. To resolve this, it is important to follow the manufacturer’s guidelines for filter replacement and maintenance.
Another potential cause of noise could be a loose or improperly installed filter. Ensuring that the filter is securely in place can help reduce any rattling or vibrating noises.
If the noise persists, it may be necessary to contact Honeywell customer support for further assistance.
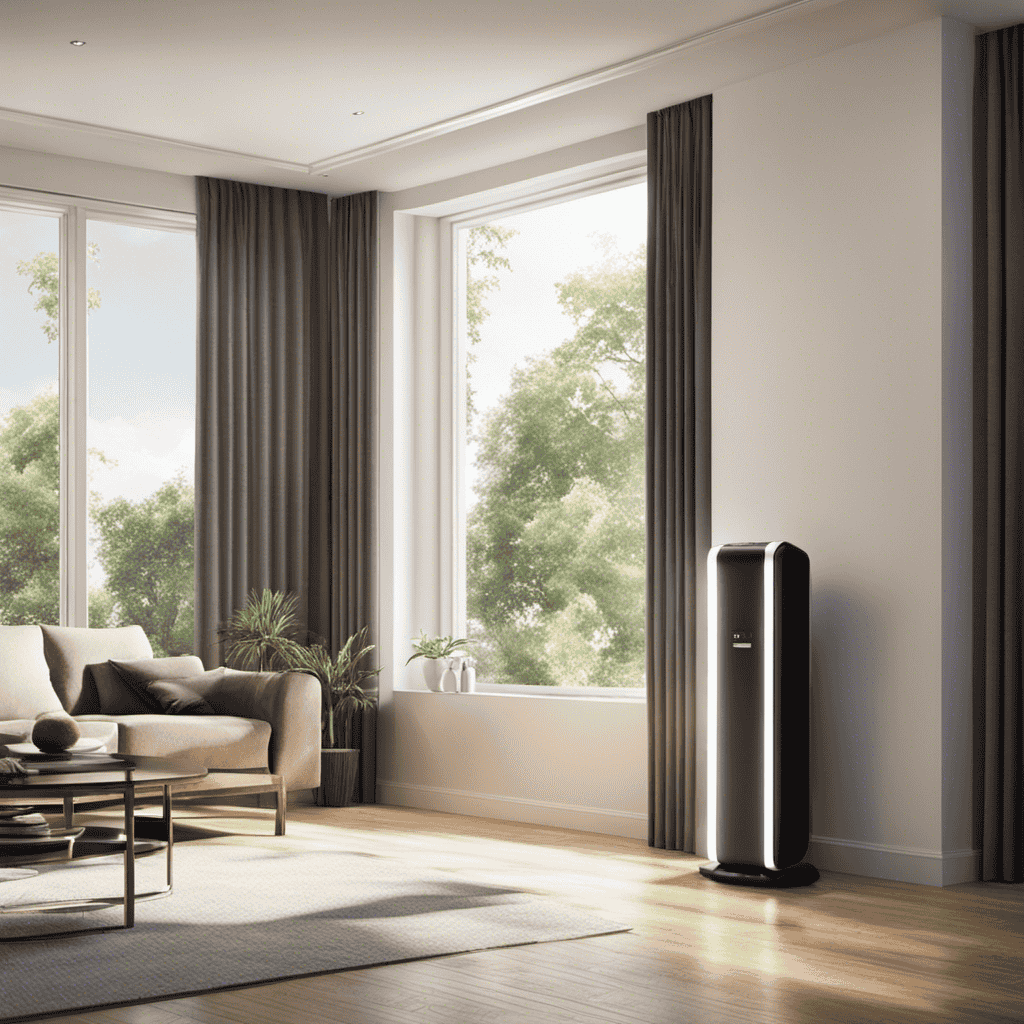
Maintenance Tips to Prevent the Red Light on Your Honeywell Air Purifier
One way to prevent the red light on your Honeywell air purifier from turning on is by regularly cleaning the pre-filter. The pre-filter plays a crucial role in maintaining the efficiency of your air purifier by capturing large particles such as dust, pet hair, and lint. Neglecting pre-filter maintenance can lead to clogging, reducing the airflow and effectiveness of the air purifier.
To ensure optimum performance and prevent the red light from appearing, follow these maintenance tips:
- Vacuum the pre-filter every two weeks to remove accumulated debris.
- Rinse the pre-filter under running water to remove stubborn dirt and particles.
- Allow the pre-filter to dry completely before reinserting it into the air purifier.
By regularly cleaning the pre-filter, you can maintain the efficiency of your Honeywell air purifier and prevent the red light from turning on.
Now, let’s explore when to replace the pre-filter on your Honeywell air purifier.
When to Replace the Pre-Filter on Your Honeywell Air Purifier
Regularly cleaning the pre-filter is important for maintaining the efficiency of your Honeywell air purifier and knowing when it needs replacement. The pre-filter is responsible for capturing larger particles, such as dust and pet hair, before they can reach the main filter. Over time, the pre-filter can become dirty and clogged, reducing its effectiveness and potentially causing the air purifier to work harder.
One of the signs of a dirty pre-filter is a decrease in airflow or a noticeable decrease in the air purifier’s performance. If you notice these signs, it is time to change the pre-filter. Additionally, it is recommended to change the pre-filter every three months or sooner if you have pets or live in a particularly dusty environment.
Frequently Asked Questions
What Is the Purpose of the Pre-Filter in a Honeywell Air Purifier?
The pre-filter in a Honeywell air purifier has several benefits. It helps to capture larger particles like dust and pet hair, improving the overall air quality. Regular maintenance of the pre-filter ensures optimal performance.
Can I Clean the Pre-Filter Instead of Replacing It to Prevent the Red Light From Coming On?
I can clean the pre-filter of my Honeywell air purifier to prevent the red light from coming on. It’s an alternative solution to replacing it and can save money.
How Often Should I Reset the Pre-Filter Check Light on My Honeywell Air Purifier?
I reset the pre-filter check light on my Honeywell air purifier as needed. To troubleshoot, I refer to the manual for specific instructions. It’s important to follow the recommended resetting frequency to ensure optimal performance.
Are There Any Specific Cleaning Products or Methods I Should Use to Maintain My Honeywell Air Purifier?
For optimal maintenance of my Honeywell air purifier, it is recommended to use the manufacturer’s recommended cleaning products and follow their recommended maintenance methods. This ensures efficient operation and prolongs the lifespan of the device.
Will Using a Non-Honeywell Pre-Filter Cause the Red Light to Come On?
Using non-Honeywell filters could trigger the red light on the air purifier’s pre-filter. Troubleshooting the pre-filter light involves checking for proper installation and ensuring the filter is clean and not damaged.
Conclusion
As I gaze at the red light on my Honeywell air purifier, I can’t help but feel a sense of urgency. It symbolizes the need for maintenance and attention to ensure the cleanest air possible.
This small indicator serves as a reminder of the importance of a functioning pre-filter and the role it plays in trapping larger particles. By following the troubleshooting tips and resetting the check light, I can restore the efficiency of my air purifier.
Regular maintenance and timely pre-filter replacement are key to keeping that ominous red light at bay and breathing in pure, refreshing air.

In the dynamic world of air purifiers and clean air advocacy, Aire stands out as a beacon of knowledge and passion. As the Editor in Chief of Aero Guardians, Aire has been instrumental in shaping the platform’s voice and direction, ensuring that every piece of content resonates with clarity, authority, and authenticity.