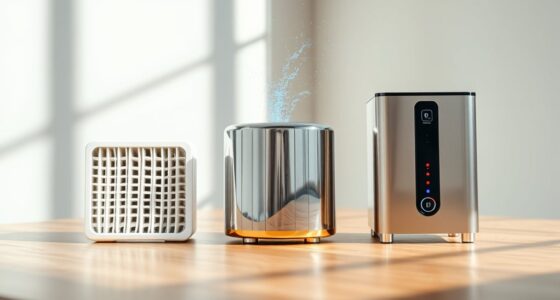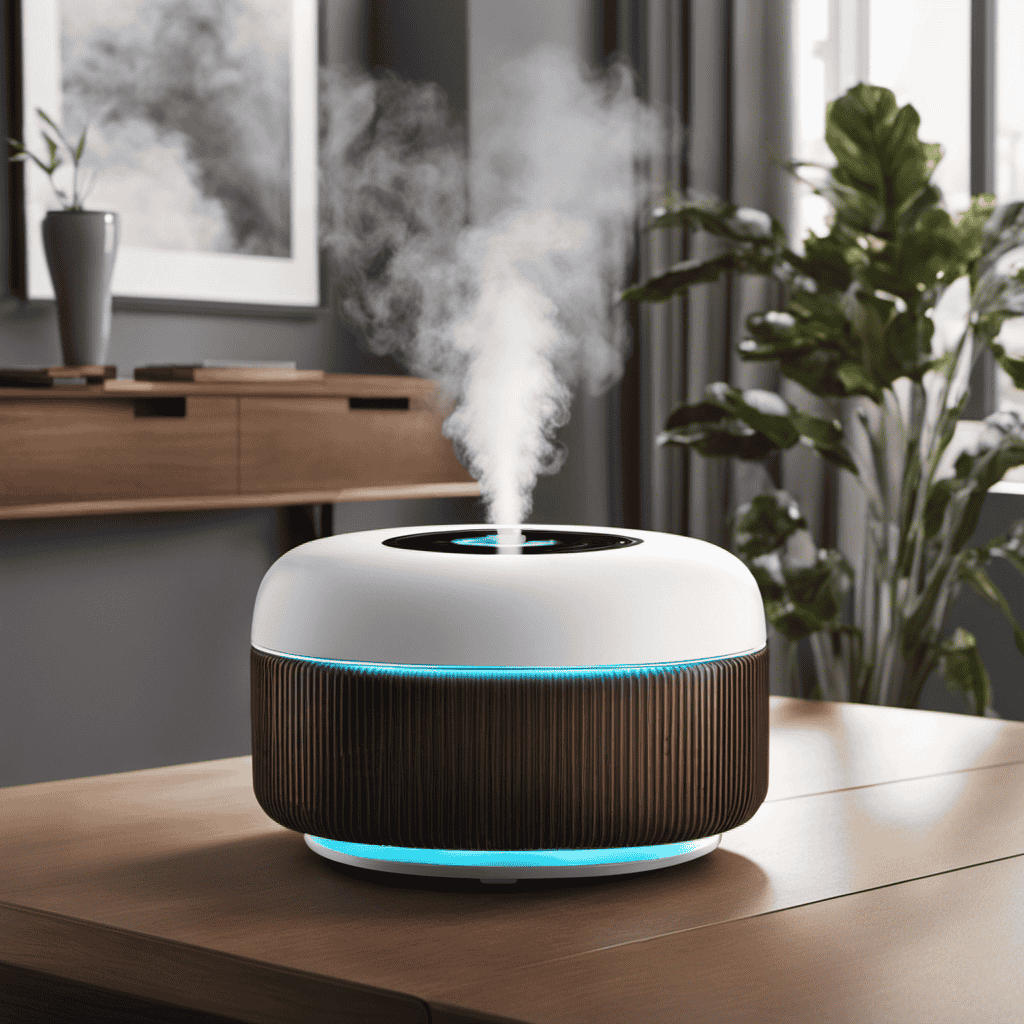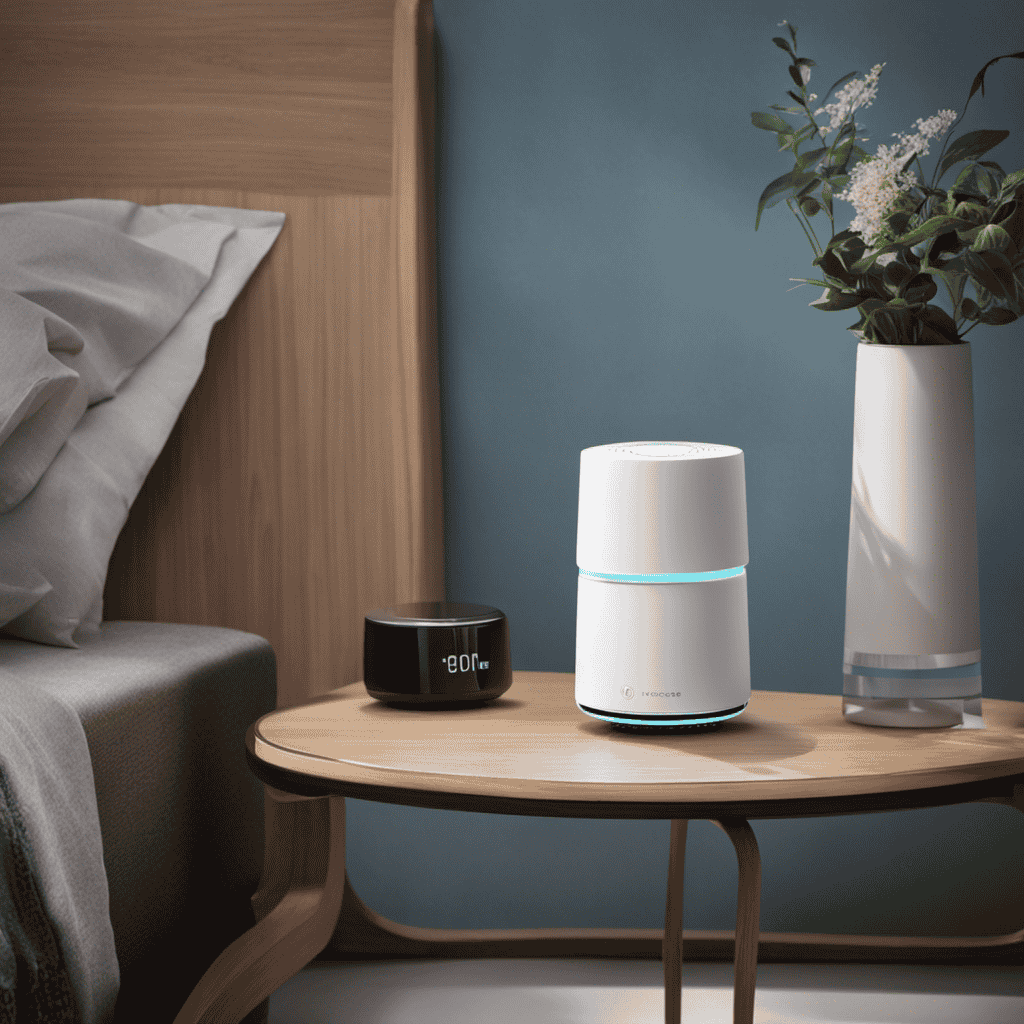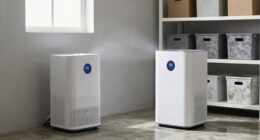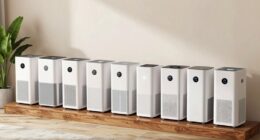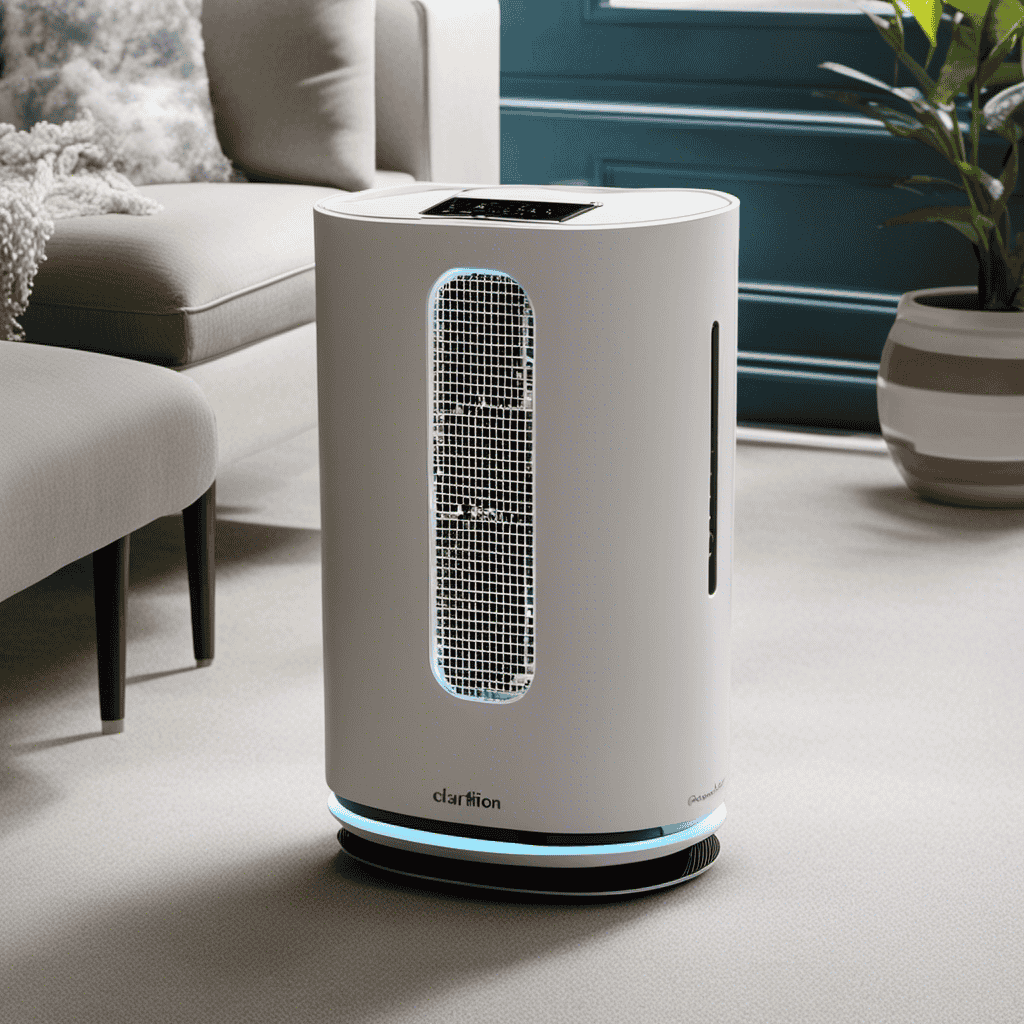
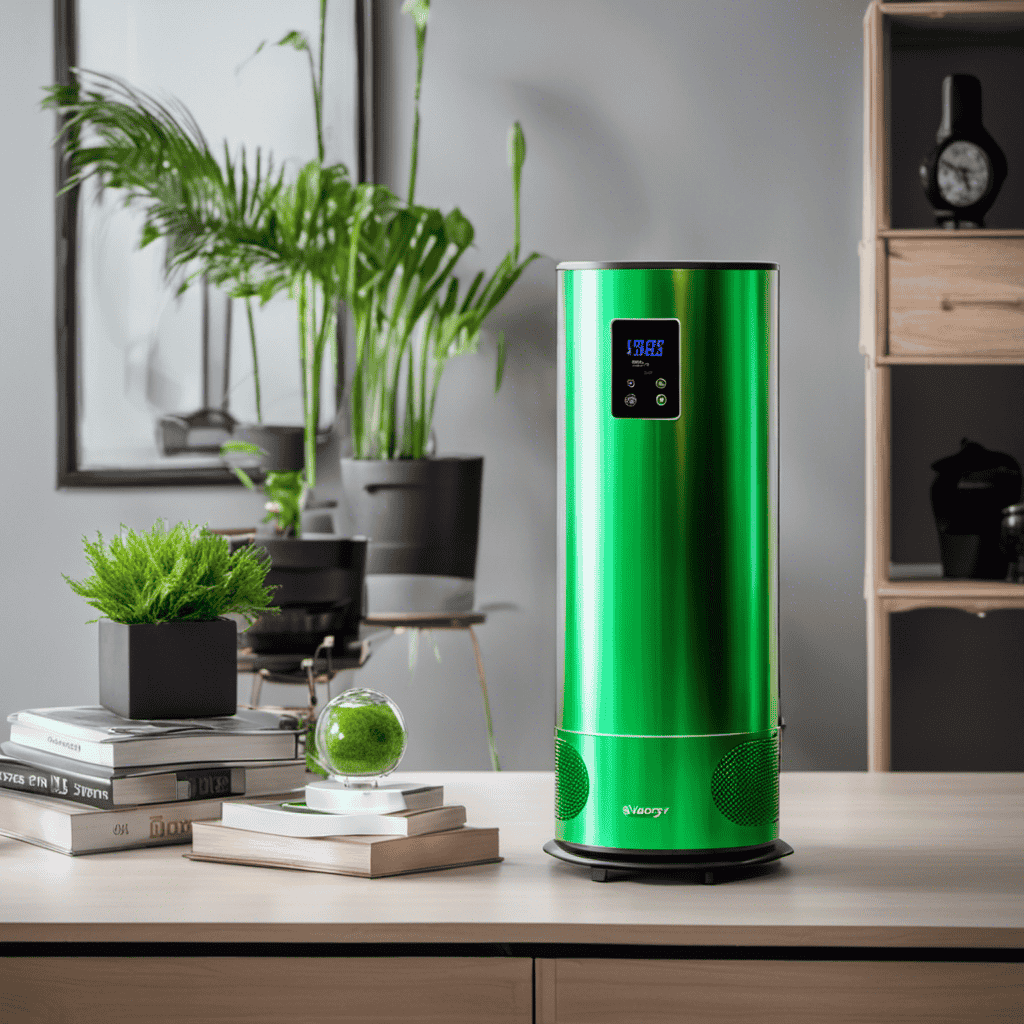
I have found the secret to maintaining clean and fresh air in my home with the Clarifion Air Purifier.
But here’s the catch – regular cleaning is essential to maintain its peak performance.
In this article, I’ll guide you through the step-by-step process of cleaning your Clarifion Air Purifier.
From removing the outer cover to cleaning and maintaining it, I’ll provide you with all the necessary tools and tips to ensure your air purifier works efficiently.
Get ready to breathe in pure, pollutant-free air!
Key Takeaways
- Regular cleaning is essential for maintaining optimal performance of the Clarifion Air Purifier.
- Thorough cleaning involves disassembling the purifier, removing dust from internal components, and reassembling it.
- Cleaning specific components such as filters, fan blades, ionization needle, collection plates, and blades is important for maintaining performance.
- Proper maintenance and cleaning of the purifier can improve air quality, extend its lifespan, reduce energy consumption, and provide health benefits.
Understanding the Cleaning Process
Understanding the cleaning process is essential when it comes to maintaining your Clarifion air purifier. To ensure optimal performance, it is important to regularly clean your device. There are both quick cleaning techniques and recommended cleaning techniques that you can use.
For quick cleaning, start by turning off the unit and unplugging it from the power source. Use a soft, dry cloth to gently wipe down the exterior of the purifier. Be careful not to use any abrasive cleaners or solvents, as they could damage the device. Additionally, make sure to clean the collection plates regularly to remove any dust or particles that may have accumulated.
For a more thorough cleaning, it is recommended to disassemble the purifier according to the manufacturer’s instructions. This will allow you to access the internal components and clean them more effectively. Use a soft brush or vacuum cleaner with a brush attachment to remove any dust or debris from the collection plates, ionization wires, and other parts. Finally, reassemble the purifier and plug it back in.
Tools Required for Cleaning the Clarifion Air Purifier
When it comes to cleaning my Clarifion air purifier, there are three key points to consider: essential cleaning tools, proper maintenance equipment, and quick cleaning techniques.
First and foremost, I make sure to have a microfiber cloth, a soft brush, and a vacuum cleaner with a brush attachment on hand. These tools help me remove dust and debris from the purifier’s exterior and interior components effectively.
Additionally, I always ensure that I have a can of compressed air and a bottle of mild detergent for more thorough cleaning. To maintain my air purifier’s performance, I regularly clean or replace the filters as recommended by the manufacturer.
Lastly, I have developed some quick cleaning techniques that allow me to keep my Clarifion air purifier in top shape without spending too much time. These techniques include wiping the exterior with a microfiber cloth daily and vacuuming the filters weekly to remove any accumulated dirt.
Essential Cleaning Tools
To clean your Clarifion air purifier, you’ll need a few essential tools. Regular cleaning is important to maintain the optimal performance of your air purifier. Dust and debris can accumulate over time, reducing its efficiency. Cleaning the purifier on a regular basis ensures that it continues to effectively remove pollutants from the air. The optimal cleaning frequency depends on factors such as the air quality in your area and the level of usage. Here is a list of essential tools you’ll need for cleaning your Clarifion air purifier:
| Tools | Quantity | Purpose |
|---|---|---|
| Microfiber cloth | 2 | Wiping down the exterior and interior |
| Soft brush | 1 | Removing dust from filters and vents |
| Vacuum cleaner | 1 | Sucking up loose debris and particles |
| Mild detergent | 1 | Cleaning dirty filters and parts |
| Compressed air | 1 | Blowing out dust from hard-to-reach areas |
Make sure to clean your Clarifion air purifier regularly to maintain its performance and effectiveness. Now, let’s move on to the next section about the proper maintenance equipment.
Proper Maintenance Equipment
If you want to properly maintain your air purifier, you’ll need the right maintenance equipment. Here are some essential tools you’ll need for effective maintenance:
- Microfiber cloth: Helps in gently wiping the exterior surfaces of the air purifier, removing dust and dirt without scratching.
- Soft-bristle brush: Ideal for cleaning the air intake vents and removing debris that may accumulate over time.
- Compressed air canister: Useful for blowing away dust from hard-to-reach areas, such as the fan blades or inside the filters.
- Vacuum cleaner with a brush attachment: Helps in deep cleaning the pre-filters and removing larger particles stuck to the surface.
- Mild detergent or cleaning solution: Used for cleaning removable parts, like the filters or the collection plates, to ensure they are thoroughly cleaned and free from contaminants.
Quick Cleaning Techniques
One way to quickly maintain your air purifier is by using a microfiber cloth to wipe away dust and dirt from the exterior surfaces. This simple technique can help keep your air purifier functioning effectively and looking clean. However, understanding maintenance and proper cleaning techniques goes beyond just wiping the exterior. To ensure optimal performance, it is important to regularly clean the filters and other internal components. This can be done by following the manufacturer’s instructions and using the appropriate cleaning methods. Additionally, it is recommended to replace the filters as needed to maintain the air purifier’s efficiency. By taking the time to properly clean and maintain your air purifier, you can enjoy cleaner and healthier air in your home.
| Cleaning Technique | Benefits |
|---|---|
| Wiping with a microfiber cloth | Removes dust and dirt from exterior surfaces |
| Cleaning filters regularly | Improves air purifier’s performance |
| Replacing filters as needed | Maintains air purifier’s efficiency |
Step 1: Turn Off and Unplug the Air Purifier
First, make sure you turn off and unplug the Clarifion air purifier. Proper cleaning techniques are essential to maintain the optimal performance of your air purifier. Regular maintenance not only ensures that your purifier is effectively removing pollutants from the air but also extends its lifespan.
Here are the benefits of regular maintenance:
-
Improved Indoor Air Quality: Regular cleaning removes accumulated dust, pet dander, and other allergens, improving the air quality in your home.
-
Enhanced Efficiency: Cleaning the filters and removing debris allows the air purifier to work more efficiently, ensuring maximum airflow and filtration.
-
Prolonged Lifespan: Regular maintenance prevents the buildup of dirt and dust, which can damage the internal components and reduce the lifespan of your air purifier.
-
Cost Savings: By maintaining your air purifier, you can avoid costly repairs or replacements in the long run.
-
Health Benefits: Clean air reduces the risk of respiratory issues, allergies, and other health problems associated with poor indoor air quality.
Step 2: Remove the Outer Cover
When it comes to cleaning the inner components of an air purifier, it is important to follow a thorough and research-based approach. This includes removing any accumulated dust or debris from the filters, as well as cleaning the fan blades and other internal parts.
Additionally, it is crucial to consider the frequency of cover cleaning, as this can impact the overall efficiency and performance of the air purifier.
Regular maintenance and cleaning of both the inner components and the outer cover are essential for ensuring that the air purifier functions optimally and provides clean and fresh air.
Inner Components Cleaning
To clean the inner components of your Clarifion air purifier, start by unplugging it from the power source. Proper cleaning techniques are crucial for maintaining the effectiveness of your air purifier. Here are some effective cleaning methods to ensure optimal performance:
-
Gently remove the filters and wash them with mild soap and water. Rinse thoroughly and allow them to air dry completely before reinstalling.
-
Use a soft brush or vacuum cleaner to remove dust and debris from the fan blades and other interior surfaces.
-
Wipe the exterior of the purifier with a damp cloth to remove any dirt or fingerprints.
-
Pay special attention to the air intake and outlet vents, cleaning them with a soft brush or vacuum attachment.
-
Regularly clean or replace the pre-filter to prevent clogging and prolong the life of the main filters.
Following these cleaning techniques will help maintain the efficiency and longevity of your Clarifion air purifier, ensuring clean and fresh air in your space.
Frequency of Cover Cleaning?
After thoroughly cleaning the inner components of your Clarifion air purifier, it’s important to address the outer cover as well.
The frequency at which you should clean the cover depends on various factors, such as the environment in which the purifier is placed and the level of pollutants it is exposed to. In general, it is recommended to clean the outer cover of your Clarifion air purifier every two to three months to maintain optimal performance.
To determine if your purifier’s outer cover needs cleaning, there are a few signs to look out for. One common indication is the presence of visible dust or debris on the cover. Additionally, if you notice a decrease in air flow or a reduction in the purifier’s efficiency, it may be a sign that the cover needs cleaning.
Transitioning into the next section, step 3 involves thoroughly cleaning the outer cover to ensure the longevity and effectiveness of your Clarifion air purifier.
Step 3: Clean the Outer Cover
First, remove the outer cover of the Clarifion air purifier to begin the cleaning process. This step is crucial for maintaining the efficiency and longevity of your air purifier. Cleaning the outer cover not only improves the aesthetics but also ensures that the device functions optimally.
Here are some cleaning techniques for the cover:
- Use a soft, lint-free cloth to wipe away any dust or dirt from the surface.
- For stubborn stains, dampen the cloth with mild soapy water and gently scrub the affected areas.
- Avoid using harsh chemicals or abrasive cleaners, as they may damage the cover.
- Dry the cover thoroughly before reattaching it to the purifier.
- Regularly inspect the cover for any signs of damage or wear and replace if necessary.
Step 4: Clean the Ionization Needle
When it comes to maintaining an ionization air purifier, one of the key areas to focus on is the cleaning of the ionization needle. The frequency of needle cleaning is an important factor to consider, as it directly affects the performance and efficiency of the purifier.
Recommended cleaning techniques, such as using a soft brush or compressed air, should be followed to ensure proper maintenance of the needle and prevent any buildup that could hinder its functionality.
Needle Cleaning Frequency
To maintain optimal performance, you should regularly clean the needles on your Clarifion air purifier. Cleaning the needles helps to remove any dirt, dust, or debris that may have accumulated over time, ensuring that the air purifier functions effectively.
Here are some needle cleaning techniques to consider:
- Gently wipe the needles with a soft cloth or cotton swab.
- Use a mild cleaning solution, such as a mixture of water and vinegar, to remove any stubborn residue.
- Avoid using abrasive materials, as they can damage the needles.
- Clean the needles at least once a month to prevent buildup.
- Regular cleaning helps prolong the needle lifespan and ensures that your air purifier continues to provide clean and fresh air.
Recommended Cleaning Techniques
Regularly wiping the needles with a soft cloth or cotton swab helps remove dirt and debris to maintain optimal performance. Understanding maintenance and employing effective cleaning techniques are crucial for keeping your Clarifion air purifier in top shape.
To begin, make sure the purifier is turned off and unplugged. Gently clean the needles by wiping them with a soft cloth or cotton swab. Be sure to remove any visible dirt or debris that may have accumulated. For stubborn dirt, you can dampen the cloth or cotton swab with a mild cleaning solution, such as diluted dish soap or isopropyl alcohol. However, avoid using abrasive cleaners or excessive moisture, as this can damage the needles.
Once the cleaning is complete, allow the needles to dry thoroughly before reassembling the purifier. By following these effective cleaning techniques, you can ensure that your Clarifion air purifier continues to function optimally and provide you with clean, fresh air.
Importance of Needle Maintenance
Maintaining the needles is essential for optimal performance and ensuring that your air remains clean and fresh. Regular needle maintenance not only extends the lifespan of your air purifier but also provides several benefits that contribute to a healthier home environment.
Here are some key reasons why needle maintenance should be a priority:
-
Improved air quality: Clean needles effectively capture and remove airborne pollutants, such as dust, pollen, and pet dander, ensuring that the air you breathe is cleaner and healthier.
-
Enhanced performance: Regular cleaning prevents needle clogging, allowing the air purifier to work at its full capacity and maintain optimal airflow.
-
Energy efficiency: Clean needles reduce the strain on the air purifier’s motor, resulting in lower energy consumption and cost savings.
-
Prolonged lifespan: Proper maintenance extends the lifespan of the air purifier, saving you money in the long run.
-
Health benefits: By removing pollutants from the air, clean needles can help reduce allergy symptoms, asthma attacks, and other respiratory issues.
Step 5: Clean the Collection Plates
First, make sure you turn off the Clarifion air purifier before cleaning the collection plates. Cleaning the collection plates is an important part of maintaining the effectiveness of your air purifier. Over time, dust and particles can accumulate on the plates, reducing their ability to capture pollutants from the air. To clean the collection plates, follow these simple steps:
- Remove the collection plates from the air purifier.
- Rinse the plates under running water to remove any loose debris.
- Use a mild detergent or a vinegar solution to clean the plates thoroughly.
- Gently scrub the plates with a soft brush or sponge.
- Rinse the plates again to remove any cleaning residue.
- Allow the plates to air dry completely before reinserting them into the air purifier.
Regular cleaning of the collection plates will ensure that your Clarifion air purifier continues to provide you with clean and fresh air. Refer to the table below for a quick overview of the cleaning techniques and plate maintenance.
| Cleaning Techniques | Plate Maintenance |
|---|---|
| Rinse under water | Regular cleaning |
| Use mild detergent | Air dry |
| Scrub gently | Reinsert plates |
Remember to clean the collection plates regularly to maintain the efficiency of your Clarifion air purifier.
Step 6: Clean the Fan Blades
To ensure optimal performance, make sure you turn off the air purifier before cleaning the fan blades. Cleaning the fan blades of your air purifier is an important step in maintaining its efficiency and prolonging its lifespan.
Here are some cleaning tips for fan maintenance:
- Gently remove the fan blades from the air purifier.
- Use a soft, dry cloth or brush to remove any dust or debris from the blades.
- If necessary, dampen the cloth with a mild cleaning solution or water to remove stubborn dirt.
- Make sure the blades are completely dry before reattaching them to the air purifier.
- Regularly clean the fan blades to prevent the buildup of dirt and maintain optimal airflow.
Step 7: Clean the Air Inlet and Outlet Grills
Make sure you turn off the device before cleaning the air inlet and outlet grills. Cleaning these grills is an essential step in maintaining the efficiency of your Clarifion air purifier.
To clean them effectively, start by using a soft brush or a vacuum cleaner with a brush attachment to remove any dust or debris. Be thorough and make sure to cover all areas of the grills. For stubborn dirt, you can use a damp cloth or sponge with mild soap and water. Gently wipe the grills, being careful not to apply too much pressure.
Once cleaned, dry the grills thoroughly before reattaching them to the device. Cleaning the air inlet and outlet grills ensures that the air purifier can function optimally and provide you with clean and fresh air.
Now, let’s move on to step 8: cleaning the filter.
Step 8: Clean the Filter
Now that we have cleaned the air inlet and outlet grills, it’s time to move on to the next step: cleaning the filter.
Maintaining a clean filter is crucial for the effective functioning of the Clarifion air purifier.
To clean the filter, follow these simple cleaning techniques:
- Turn off the air purifier and unplug it from the power source.
- Carefully remove the filter from the purifier unit.
- Gently brush off any visible dust or debris from the filter surface.
- Rinse the filter under lukewarm water to remove stubborn dirt.
- Allow the filter to air dry completely before reinstalling it into the purifier.
Proper filter maintenance ensures that the Clarifion air purifier continues to provide you with clean and fresh air, free from allergens and pollutants.
Regularly cleaning the filter will prolong its lifespan and maintain the purifier’s efficiency.
Step 9: Reassemble the Air Purifier
Once you have finished drying the filter, it’s time to reassemble the air purifier. Reassembly is a crucial step to ensure that your air purifier functions properly.
To start, refer to the user manual to identify the correct position and orientation of each component. One helpful tip is to lay out all the parts in the order you removed them, making it easier to remember their placement.
Pay close attention to any clips, hooks, or clasps that secure the components together. Common reassembly problems include misalignment of the filter or not properly securing the cover. Double-check each connection and make sure everything fits snugly.
Once you are confident that all the components are correctly reassembled, proceed to the next step: plug in and turn on the air purifier.
Step 10: Plug in and Turn On the Air Purifier
To activate your air purifier, simply locate the power cord and plug it into an electrical outlet. Once it’s powered on, you can enjoy the benefits of clean and purified air in your home.
Regular cleaning of your air purifier is crucial to maintain its efficiency and effectiveness. Here are some key reasons why regular cleaning is important:
-
Improved Air Quality: Regular cleaning helps remove dust, allergens, and pollutants from the air, ensuring cleaner and healthier air for you and your family.
-
Extended Lifespan: Cleaning your air purifier regularly can help prolong its lifespan, saving you money in the long run.
-
Optimal Performance: A clean air purifier functions at its best, providing maximum filtration and purification.
-
Reduced Maintenance: Regular cleaning reduces the need for extensive maintenance and repairs.
-
Health Benefits: Clean air promotes better respiratory health, reduces allergies, and improves overall well-being.
Maintenance Tips for Keeping Your Clarifion Air Purifier Clean
Regular maintenance is essential for keeping your Clarifion air purifier operating at its best. Understanding the maintenance and cleaning techniques will ensure that your air purifier continues to provide you with clean and fresh air.
To maintain your Clarifion air purifier, start by regularly cleaning the filters. Gently remove the filters from the purifier and use a vacuum cleaner or soft brush to remove any dust or debris. If the filters are heavily soiled, you can wash them with mild soap and water, making sure to thoroughly dry them before reinserting.
Additionally, it is important to clean the exterior of the purifier regularly. Simply wipe it down with a damp cloth to remove any dirt or fingerprints.
Frequency of Cleaning the Clarifion Air Purifier
When it comes to maintaining the optimal performance of my Clarifion Air Purifier, understanding the frequency of cleaning is crucial.
Factors such as the level of air pollution in my area, the number of people in my household, and the presence of pets can all affect how often I need to clean my purifier.
Optimal Cleaning Schedule
The optimal cleaning schedule for the Clarifion air purifier is twice a month. Regular cleaning is essential for maintaining the efficiency and effectiveness of the purifier. Here are some optimal cleaning techniques and the benefits of regular cleaning:
- Use a soft, damp cloth to wipe down the exterior of the purifier.
- Remove the collection plates and wash them with warm soapy water. Rinse them thoroughly and let them dry completely before reinserting them.
- Clean the ionization wires by gently brushing them with a soft-bristled brush or using compressed air.
- Vacuum the surrounding area to eliminate dust and debris that may have accumulated.
- Replace the filters as recommended by the manufacturer to ensure maximum performance.
Regular cleaning not only helps to maintain the purifier’s functionality but also improves indoor air quality by removing pollutants and allergens. It prolongs the lifespan of the purifier and ensures that it continues to provide clean and fresh air for you and your family.
Factors Affecting Cleaning Frequency
In order to determine the factors that affect the cleaning frequency of the Clarifion air purifier, it is important to consider a few key factors.
Firstly, the environment in which the air purifier is placed plays a significant role. If the air purifier is placed in a highly polluted area or in a space with high levels of dust, pet dander, or allergens, it may require more frequent cleaning.
Additionally, the usage of the air purifier also affects the cleaning frequency. If it is used in a space with heavy foot traffic or in a household with pets, it may accumulate more dirt and debris, necessitating more frequent cleaning.
Lastly, the manufacturer’s recommendations should also be taken into account. They provide guidelines on how often the air purifier should be cleaned to maintain optimal performance. Recommended cleaning techniques typically involve wiping the exterior surfaces with a damp cloth and cleaning or replacing the filters as needed.
Signs of Dirty Purifier
One way to tell if your air purifier needs cleaning is if it’s emitting a strange odor. A foul smell coming from your purifier can indicate that there is a build-up of dirt, dust, or other pollutants that need to be removed.
It is important to clean your air purifier regularly to ensure it is functioning effectively and providing the desired health benefits. Here are some warning signs that your air purifier may need cleaning:
- Decreased airflow or weak suction
- Visible dust or dirt accumulation on the filter
- Increased allergy or asthma symptoms
- Unusual noise or rattling
- Reduced effectiveness in removing odors or pollutants from the air
These signs indicate that your air purifier is dirty and requires cleaning to maintain optimal performance and improve indoor air quality.
Now, let’s move on to troubleshooting common cleaning issues.
Troubleshooting Common Cleaning Issues
If you’re having trouble cleaning your Clarifion air purifier, try checking the power source and ensuring it is properly connected. This is one of the most common cleaning mistakes that users make. A faulty power connection can prevent the purifier from functioning properly, and it may seem like there is an issue with the cleaning process.
To troubleshoot this, start by unplugging the purifier and plugging it back in, making sure it is securely connected. If the power source is not the problem, there are other troubleshooting techniques you can try.
One common issue is not cleaning the filters regularly. Over time, the filters can become clogged with dirt and debris, reducing the efficiency of the purifier. It is important to clean or replace the filters as recommended by the manufacturer to maintain optimal performance.
Additionally, make sure to clean the exterior of the purifier regularly to prevent dust buildup.
What Are the Best Methods for Cleaning an Air Purifier?
When it comes to cleaning Coway air purifier, the best methods involve regularly wiping down the exterior with a damp cloth and detergent, vacuuming the pre-filter, and replacing the carbon and HEPA filters as recommended by the manufacturer. This ensures optimal performance and prolongs the life of the air purifier.
Frequently Asked Questions
Can I Use Any Cleaning Solution to Clean the Outer Cover of the Clarifion Air Purifier?
I wouldn’t recommend using any cleaning solution on the outer cover of the Clarifion Air Purifier. It’s best to follow the manufacturer’s instructions for cleaning or consider alternative methods that won’t damage the purifier.
How Often Should I Clean the Ionization Needle of the Air Purifier?
I clean the ionization needle of my air purifier regularly to ensure its proper functioning. It is recommended to clean the needle every 2-4 weeks, using a soft cloth or brush to remove any dust or debris.
Is It Necessary to Clean the Collection Plates if They Appear to Be Clean?
No, it is not necessary to clean the collection plates if they appear to be clean. However, it is safe and recommended to periodically clean them using the manufacturer’s recommended cleaning methods to ensure optimal performance of the air purifier.
Can I Clean the Fan Blades With a Damp Cloth?
Yes, you can clean the fan blades with a damp cloth. However, it’s important to follow proper cleaning methods to avoid damaging the blades. Regularly cleaning the fan blades helps maintain optimal performance and air quality.
What Should I Do if My Clarifion Air Purifier Is Not Working Properly After Cleaning?
If my Clarifion Air Purifier is not working properly after cleaning, I would try troubleshooting tips like checking the power source, ensuring proper filter placement, and avoiding common cleaning mistakes like using harsh chemicals.
Conclusion
In conclusion, maintaining a clean Clarifion Air Purifier is crucial for optimal performance and longevity. By following the step-by-step cleaning process and using the necessary tools, you can easily remove dirt and dust from the outer cover.
Remember to regularly clean the purifier to prevent any buildup that may hinder its effectiveness. Additionally, adhering to the maintenance tips and troubleshooting any cleaning issues will ensure that your Clarifion Air Purifier continues to provide you with clean and fresh air.
So, go ahead and give your air purifier the cleaning it deserves for a healthier living environment.