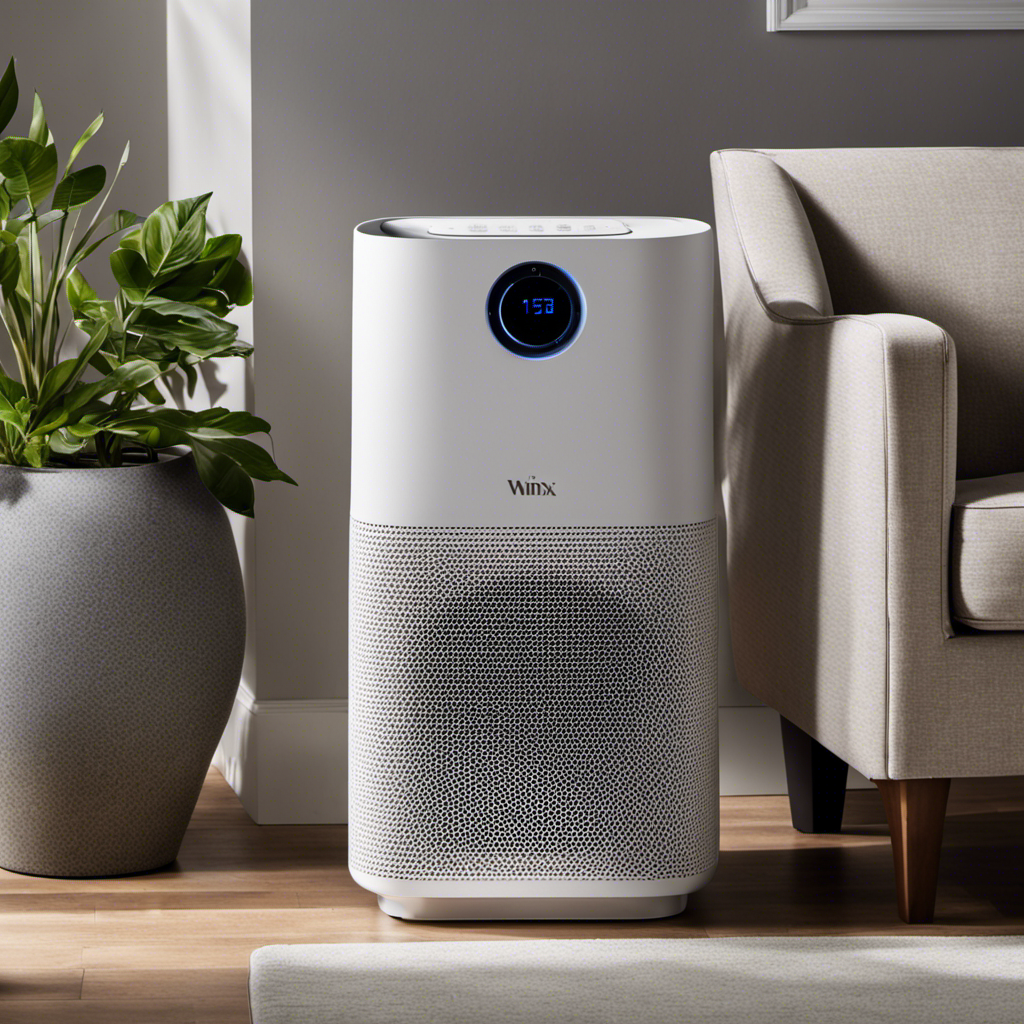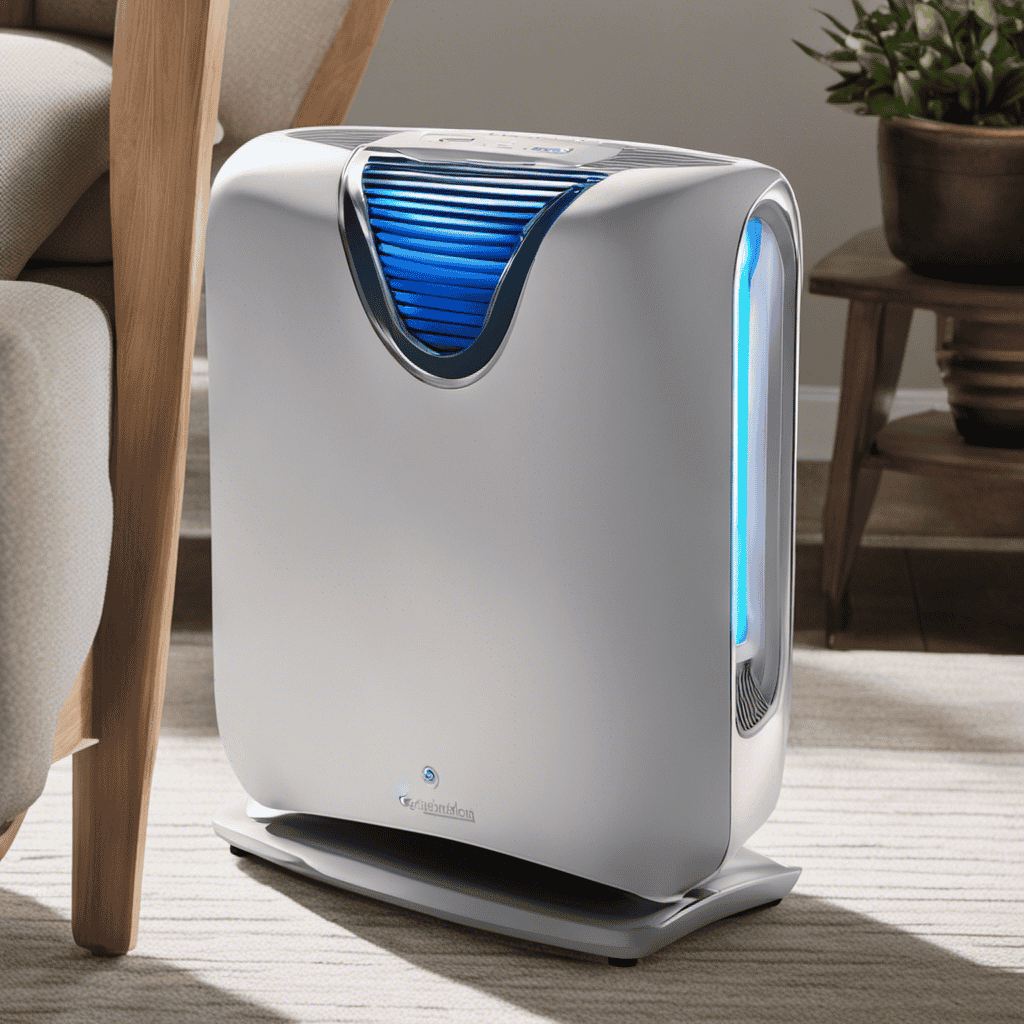
While cleaning my Germ Guardian GG1000 air purifier, I am reminded of the significance of upkeeping a clean and healthy living space.
In this article, I will share with you the step-by-step process to effectively clean and maintain your Germ Guardian GG1000 unit. By following these simple instructions, you can ensure that your air purifier continues to provide you with fresh and purified air, free from harmful pollutants and allergens.
Let’s dive in and discover how to keep our air purifier in tip-top shape!
Key Takeaways
- Prioritize safety precautions such as wearing gloves and a mask, and powering off and removing the power supply cord before cleaning the Germ Guardian GG1000.
- Clean the unit once every two weeks using a soft cloth or sponge, mild detergent, and warm water, while avoiding abrasive materials or harsh chemicals.
- Pay special attention to cleaning the pre-filter to maintain the effectiveness of the air purifier, remove large particles and debris from the air, and extend the lifespan of the unit.
- When cleaning the different filters, gently vacuum the HEPA filter, tap the activated carbon filter on a hard surface, and regularly clean the UV-C bulb for optimal performance.
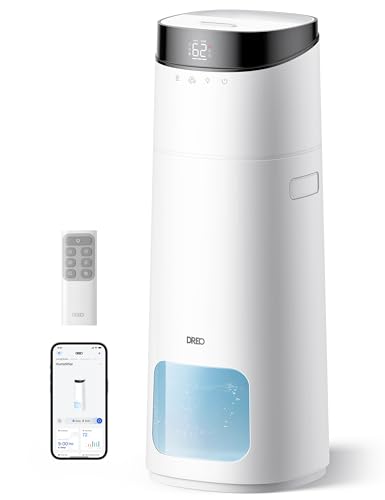
DREO 16L Smart Humidifier Large Room 1000 ft², 130H Cool Mist Air Humidifiers for Bedroom Plants Baby, Top Fill, Remote/Touch/Voice & APP Control, Clean Tank Technology, 30dB, RGB Light, HM755S White
130 𝙃𝙤𝙪𝙧𝙨 𝙐𝙡𝙩𝙧𝙖-𝙇𝙤𝙣𝙜 𝙍𝙪𝙣𝙩𝙞𝙢𝙚: The 16L DREO humidifiers for bedroom provides up to 130 hours of continuous humidification...
As an affiliate, we earn on qualifying purchases.
Step 1: Gathering the Necessary Cleaning Supplies
To start cleaning your Germ Guardian air purifier, you’ll need to gather the necessary cleaning supplies. First, make sure you have a soft cloth or sponge, mild detergent, and warm water. These items will help you effectively clean the unit without causing any damage.
When choosing your cleaning method, it’s important to avoid using abrasive materials or harsh chemicals that could harm the purifier’s filters or electronic components. Instead, opt for a gentle approach with a mild detergent solution. This will ensure that you can effectively remove any dust, dirt, or other particles that have accumulated on the surface of the purifier.
Remember to unplug the unit before you begin cleaning and always follow the manufacturer’s instructions for the best results.
DREO 6L Humidifiers for Bedroom, Smart Warm & Cool Mist for Large Room, 60Hr Quiet Runtime for Baby, Plant, Humidity Sensor, Indicator Light, 12H Timer, Google/Alexa, HM713S
𝙎𝙪𝙥𝙚𝙧 𝙁𝙖𝙨𝙩, 𝙄𝙣𝙨𝙩𝙖𝙣𝙩 𝙒𝙖𝙧𝙢 𝙈𝙞𝙨𝙩: The humidifiers for bedroom creates a comforting, 133°F smart warm and cool mist...
As an affiliate, we earn on qualifying purchases.
Step 2: Powering off and Unplugging the Germ Guardian GG1000
When it comes to cleaning the Germ Guardian GG1000, it is crucial to prioritize safety precautions to avoid any accidents or damage.
One important step is to power off the device and remove the power supply cord before starting the cleaning process. This ensures that there is no risk of electric shock or damage to the unit while handling it.
Safety Precautions While Cleaning
Make sure you wear gloves and a mask while cleaning the Germ Guardian air purifier GG1000 unit to ensure your safety. Cleaning the unit requires following proper safety measures and using the right cleaning techniques. Here are some important points to keep in mind:
-
Safety Measures:
-
Turn off and unplug the unit before cleaning to avoid any electrical accidents.
-
Place the unit on a stable surface to prevent it from falling or tipping over.
-
Keep cleaning products and water away from the electrical components to avoid damage or electric shocks.
-
Cleaning Techniques:
-
Use a soft cloth or sponge dampened with mild soap and water to clean the exterior of the unit.
-
For the filter, gently remove it from the unit and follow the manufacturer’s instructions for cleaning or replacing it.
-
Avoid using harsh chemicals or abrasive materials that can damage the unit’s surface or filter.
Removing Power Supply Cord
Before removing the power supply cord, ensure that the unit is turned off and unplugged to prevent any electrical accidents. Cleaning and maintaining your Germ Guardian Air Purifier GG1000 is essential to keep it running efficiently and effectively. Regular cleaning not only improves the air quality in your home but also prolongs the lifespan of the unit. Here are some cleaning instructions and maintenance tips to help you keep your air purifier in top condition:
| Cleaning Instructions | Maintenance Tips |
|---|---|
| Clean the filter | Replace filters regularly to ensure optimal performance |
| Wipe the exterior | Check the power cord for any damages or fraying |
| Vacuum the intake grill | Keep the unit in a well-ventilated area to prevent overheating |
| Clean the UV-C light | Schedule regular maintenance checks with a qualified technician |
| Empty and clean the water tank (if applicable) | Store the unit in a clean and dry place when not in use |

Humidifiers for Bedroom - GloryAir 2.38Gal/9L Top Fill Cool Mist Humidifier for Large Room 500ft² 120H Last with Auto Mode 7-Color Light Humidistat Aroma Box Quiet Humidifiers for Plants Baby & Adults
𝑺𝒖𝒑𝒆𝒓-𝒍𝒐𝒏𝒈 120𝑯 𝑹𝒖𝒏𝒕𝒊𝒎𝒆 & 𝑬𝒙𝒕𝒆𝒏𝒔𝒊𝒗𝒆 500 𝒔𝒒 𝒇𝒕 𝑪𝒐𝒗𝒆𝒓𝒂𝒈𝒆: Tired of constant refills? Features 3 adjustable mist levels...
As an affiliate, we earn on qualifying purchases.
Step 3: Removing and Cleaning the Pre-Filter
When it comes to maintaining the pre-filter of your Germ Guardian GG1000 air purifier, there are a few key tips to keep in mind.
Firstly, regular maintenance is essential to ensure optimal performance and longevity of the filter.
Secondly, the frequency of cleaning will depend on factors such as the air quality in your environment and the level of contaminants present.
Lastly, the effectiveness of the pre-filter plays a crucial role in capturing larger particles like dust, pet hair, and lint, preventing them from clogging the main filter and improving overall air purification efficiency.
Pre-Filter Maintenance Tips
To keep your Germ Guardian air purifier running smoothly, you should regularly clean the pre-filter. The pre-filter plays a crucial role in trapping larger particles like dust, pet hair, and lint, preventing them from clogging the main filter.
Here are some cleaning techniques and maintenance tips for your pre-filter:
-
Vacuuming: Use a handheld vacuum or a brush attachment to gently remove the accumulated dirt and debris from the pre-filter. Be careful not to apply too much pressure to avoid damaging the filter.
-
Washing: If your pre-filter is washable, you can rinse it under running water or soak it in a mixture of mild detergent and water. Allow it to dry completely before reinstalling.
-
Replacement: Depending on the model, the pre-filter may need to be replaced periodically. Refer to the user manual or manufacturer’s instructions for guidance.
By following these cleaning techniques and maintaining your pre-filter properly, you can ensure optimal performance and longevity for your Germ Guardian air purifier.
Now let’s move on to the next section to learn about the recommended cleaning frequency for your air purifier.
Cleaning Frequency Recommendations
Now that we’ve discussed some pre-filter maintenance tips, let’s move on to the next important aspect of keeping your Germ Guardian Air Purifier GG1000 clean – the cleaning frequency recommendations. Regular cleaning is crucial to ensure optimal performance and longevity of your air purifier.
To maintain a clean and healthy environment, it is recommended to clean the unit at least once every two weeks. This includes cleaning the pre-filter, the HEPA filter, and the UV-C light bulb. By following a consistent cleaning schedule, you can effectively remove dust, allergens, and other airborne particles from your indoor air.
The benefits of regular cleaning are numerous. Cleaning your Germ Guardian Air Purifier GG1000 regularly helps to maintain its efficiency and effectiveness in capturing and eliminating harmful pollutants. It also prevents the buildup of dirt and debris, which can obstruct the airflow and reduce the unit’s performance.
Additionally, regular cleaning helps to reduce the risk of mold and bacteria growth, ensuring a healthier breathing environment for you and your family.
Effectiveness of Pre-Filter
Regularly cleaning the pre-filter helps maintain its effectiveness at capturing and eliminating harmful pollutants in the air. The pre-filter is the first line of defense in an air purifier, designed to trap larger particles such as dust, pet dander, and pollen.
Here are some benefits of using a pre-filter and keeping it clean:
-
Improved air quality: A clean pre-filter ensures that airborne particles are effectively captured, preventing them from circulating in your living space.
-
Extended lifespan of the main filter: By trapping larger particles, the pre-filter helps to reduce the workload on the main filter, prolonging its lifespan and reducing the need for frequent filter replacements.
-
Energy efficiency: When the pre-filter is clean, the air purifier can operate more efficiently, leading to lower energy consumption and cost savings.
Regularly cleaning your pre-filter is essential to maintain its effectiveness and reap the numerous benefits of using a pre-filter in your air purifier.

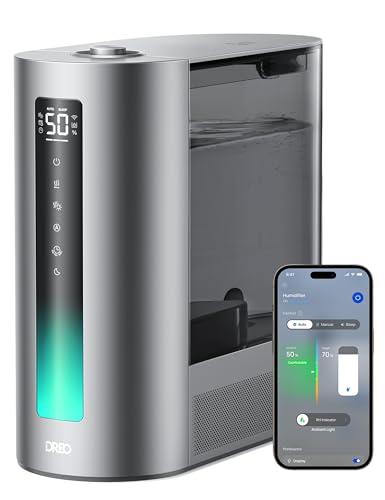
DREO HM735S 11L Smart Humidifier Large Room 700 ft², 100H Cool Mist Air Humidifiers for Bedroom, Top-Fill, Clean Tank Technology, 26dB, Auto Mode, Aroma Box, RGB, Remote & APP Control, Baby, White
100-𝙝𝙤𝙪𝙧 𝙍𝙪𝙣𝙩𝙞𝙢𝙚, 𝙇𝙖𝙨𝙩𝙞𝙣𝙜 𝘾𝙤𝙢𝙛𝙤𝙧𝙩: Enjoy uninterrupted comfort with our DREO air humidifier’s impressive 4-day runtime and 2.9-gallon tank....
As an affiliate, we earn on qualifying purchases.
Step 4: Cleaning the HEPA Filter
After removing the HEPA filter from the Germ Guardian air purifier GG1000, gently vacuum any loose debris. This step is crucial in maintaining the performance and longevity of your air purifier.
By regularly cleaning your HEPA filter, you can extend its lifespan and ensure that it continues to effectively remove airborne particles and allergens from your indoor environment. Vacuuming the filter helps to remove dust, pet hair, and other debris that may have accumulated over time.
It is important to be gentle while vacuuming to avoid damaging the delicate filter fibers. By incorporating this simple maintenance step into your routine, you can maximize the effectiveness of your air purifier and save money on frequent filter replacements.
Step 5: Cleaning the Activated Carbon Filter
To clean the activated carbon filter, gently tap it on a hard surface to remove any loose particles. This step is crucial for maintaining the efficiency of the Germ Guardian GG1000 air purifier.
Here are some additional tips for cleaning the air purifier filters:
-
Vacuum the filter: Use a vacuum cleaner with a brush attachment to remove any dust and debris from the surface of the filter. This will help prolong its lifespan and maintain its performance.
-
Wash with water: If the filter is washable, follow the manufacturer’s instructions to clean it. Typically, you will need to rinse it under running water and allow it to air dry completely before reinstalling.
-
Replace if necessary: If the filter is not washable or shows signs of damage or wear, it’s best to replace it with a new one. Regularly replacing the filters ensures that your air purifier continues to effectively remove pollutants from the air.
Step 6: Cleaning the UV-C Bulb
Make sure you unplug the device before handling the UV-C bulb.
UV-C bulb maintenance is an essential part of keeping your Germ Guardian Air Purifier GG1000 functioning effectively.
Regular cleaning of the UV-C bulb is important to ensure its optimal performance in killing germs and bacteria.
To clean the UV-C bulb, first, remove the bulb from the device by carefully twisting it counterclockwise.
Use a soft, dry cloth to gently wipe the surface of the bulb.
Avoid using any liquid cleaners or abrasive materials as they can damage the bulb.
Once the bulb is clean, carefully reinsert it into the device and twist it clockwise to secure it in place.
Regular UV-C bulb cleaning will help maintain the efficiency and effectiveness of your air purifier, ensuring a healthy and clean environment in your home.
Step 7: Reassembling and Restarting the Germ Guardian GG1000
Now that the UV-C bulb has been cleaned and reinserted, it’s time to reassemble and restart the Germ Guardian GG1000. Here are some tips for reassembling the unit:
- Make sure all the parts are clean and dry before putting them back together.
- Start by placing the cleaned UV-C bulb back into its slot, ensuring that it is securely in place.
- Next, attach the filter back onto the unit by aligning the tabs and gently pushing it into position.
- Finally, secure the cover by aligning the tabs and snapping it back into place.
Once the unit is reassembled, follow these instructions to restart it:
- Plug the unit back into a power source.
- Press the power button to turn it on.
- Adjust the fan speed and set the desired timer if applicable.
Now you can enjoy clean and fresh air with your Germ Guardian GG1000!
Conclusion
In conclusion, cleaning the Germ Guardian GG1000 is a simple yet essential task to maintain its efficiency and prolong its lifespan.
By following the step-by-step guide, you can ensure that all the filters and UV-C bulb are thoroughly cleaned, allowing the air purifier to continue providing you with clean and fresh air.
As you reassemble the unit and restart it, you’ll have peace of mind knowing that you’ve taken the necessary steps to keep your indoor air quality at its best.