I have always regarded my Germguardian Air Purifier as a dependable protector, constantly working to maintain clean and fresh air in my home.
But even the best guardians need a little maintenance from time to time. That’s why I’m here to guide you through the process of replacing the UV light in your Germguardian Air Purifier.
In this article, I’ll walk you through the steps, share common mistakes to avoid, and offer tips for maintaining the efficiency of your purifier’s UV light.
Let’s keep our guardians shining bright!
Key Takeaways
- UV light is crucial for maintaining the effectiveness of the Germguardian Air Purifier
- Replacing the UV light ensures clean and healthy air by eliminating germs, bacteria, and viruses
- Follow the step-by-step guide to properly replace the UV light in your Germguardian Air Purifier
- To maintain the efficiency of the UV light, regularly clean the unit, avoid touching the light directly, and keep the purifier in a well-ventilated area.

Gartful 25“x17”x0.03“ Silicone Mats for Kitchen Counter, Large Silicone Countertop Protector, Nonskid Heat Resistant Desk Saver Pad, Multipurpose Mat, Placemat, Dark Gray
Size :Sized at 25"x 17"x 0.03"(Length x Width x Thickness), large enough to protect your counter top, it...
As an affiliate, we earn on qualifying purchases.
The Importance of Replacing the UV Light in Your Germguardian Air Purifier
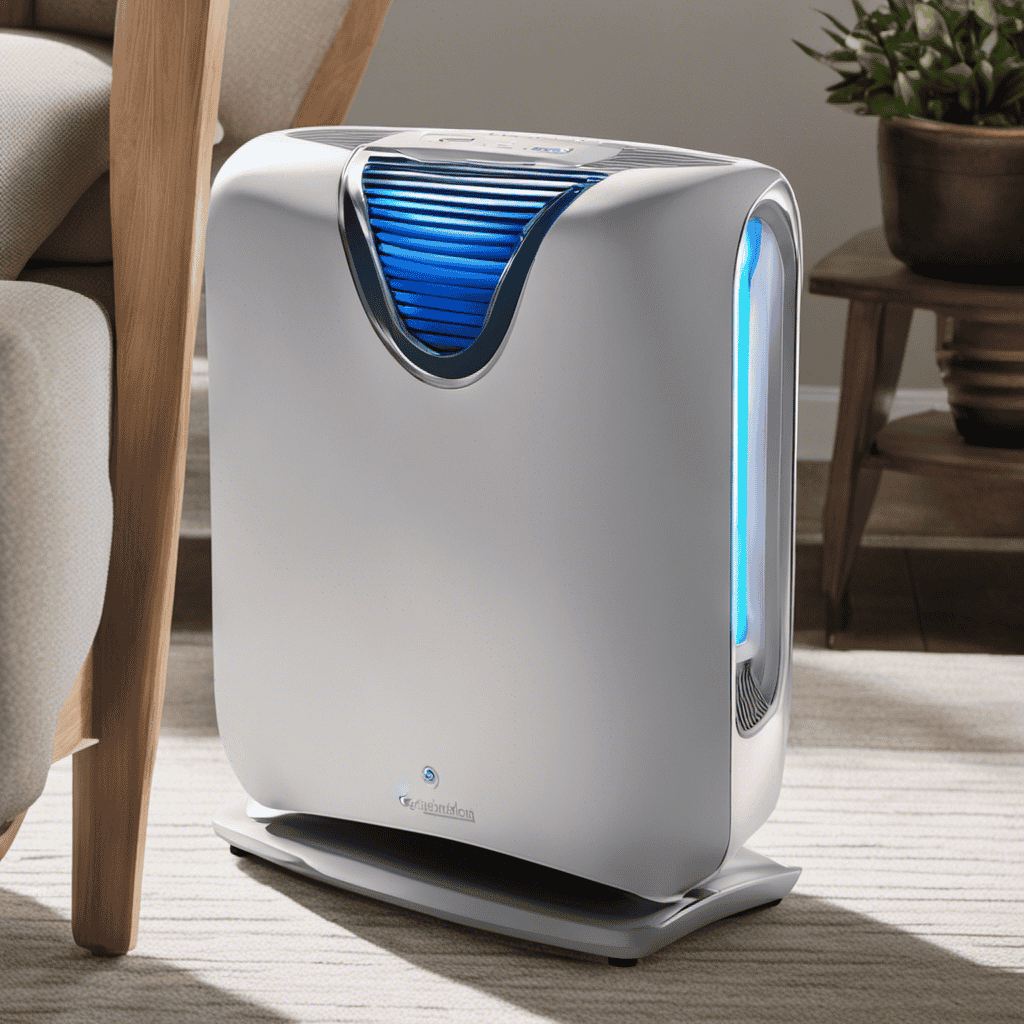
Replacing the UV light in your Germguardian air purifier is crucial for maintaining its effectiveness. The UV light is a key component of the purifier as it helps eliminate airborne germs, bacteria, and viruses.
By using a Germguardian air purifier with UV light, you can enjoy the benefits of cleaner, healthier air in your home. However, it is important to note that the UV light has a limited lifespan and will eventually need to be replaced.
To extend the lifespan of the UV light in your Germguardian air purifier, it is recommended to clean the purifier regularly, as dust and debris can hinder its performance. Additionally, keeping the purifier in a well-ventilated area and away from direct sunlight can help prolong the life of the UV light.

Non-slip Silicone Pastry Mat Extra Large with Measurements 36''By 24'' for Baking Mat, Counter/Dough Rolling/Oven Liner/Fondant/Pie Crust(Red)
Premium Safe Silicone:We attach great importance to the health of our customers.So we offer the premium food grade...
As an affiliate, we earn on qualifying purchases.
Understanding the UV Light Replacement Process for Germguardian Air Purifiers
To understand how to swap out the UV light in your germguardian air purifier, follow these simple steps:
- Turn off the air purifier and unplug it from the power source.
- Locate the UV light compartment on your germguardian air purifier.
- Gently remove the UV light bulb from its socket by twisting it counterclockwise.
The UV light in your germguardian air purifier has a limited lifespan. Over time, it becomes less effective at killing airborne germs and bacteria. Replacing the UV light ensures that your air purifier continues to provide you with clean and healthy air.
UV light technology has numerous benefits in air purifiers, including:
-
Killing bacteria and viruses: UV light destroys the DNA structure of microorganisms, preventing them from reproducing and spreading.
-
Eliminating odors: UV light helps to break down odor-causing molecules, leaving your air smelling fresh and clean.
-
Improving overall air quality: By neutralizing harmful particles, the UV light helps to create a healthier environment for you and your family.

48” x 24”Silicone mat, Large Silicone Heat-Resistant mat, Kitchen countertop Non-Slip mat, Craft Table placemat.(Translucent)
【Food Grade】: These large silicone mats are made of food grade silicone, can contact food, and are child...
As an affiliate, we earn on qualifying purchases.
Step-by-Step Guide to Replacing the UV Light in Your Germguardian Air Purifier
First, make sure your GermGuardian air purifier is turned off and unplugged from the power source.
Replacing the UV light in your GermGuardian air purifier is a simple process that can improve the performance and effectiveness of your purifier. The UV light plays a crucial role in eliminating airborne germs and bacteria, making it an essential component of your air purifier.
To replace the UV light, locate the UV light compartment, usually positioned at the top or back of the unit. Gently remove the old UV light by twisting it counterclockwise, then insert the new UV light by twisting it clockwise.
Once the new UV light is securely in place, plug in and turn on your GermGuardian air purifier to enjoy its benefits.
Now, let’s discuss some common mistakes to avoid when replacing the UV light in your GermGuardian air purifier.

49.2" x 15.7" Large Silicone Mat for Kitchen Counter Protector, Cuttable Silicon Countertop Protector Mat Heat Resistant Mats for Countertop, Cut to Fit Placemat Ship Roll by Foepoge, Black
Extra Long Size: The size of the large silicone mat is 49.2 inches by 15.7 inches (125x40cm), which...
As an affiliate, we earn on qualifying purchases.
Common Mistakes to Avoid When Replacing the UV Light in Your Germguardian Air Purifier
When you’re ready to install the new UV light, be careful not to overtighten it as this can damage the unit. Here are some common mistakes to avoid and troubleshooting tips to ensure a successful replacement:
-
Not turning off the power: Always make sure to unplug the air purifier before attempting any maintenance to avoid electrical shock.
-
Ignoring the manufacturer’s instructions: Each model may have specific steps for replacing the UV light. Read the user manual carefully to ensure proper installation.
-
Forgetting to clean the unit: Before replacing the UV light, clean the air purifier thoroughly to remove any dust or debris that may have accumulated.
Tips and Tricks for Maintaining the Efficiency of Your Germguardian Air Purifier’s UV Light
Remember, regularly cleaning the unit and removing any dust or debris will help maintain the efficiency of your UV light. In addition to that, here are some tips for extending the lifespan of your Germguardian air purifier’s UV light:
-
Avoid touching the UV light directly with your fingers, as the oils from your skin can reduce its effectiveness. Instead, use a clean cloth or gloves when handling the light.
-
Check the UV light regularly for any signs of damage or discoloration. If you notice any issues, replace the light immediately to ensure optimal performance.
-
Keep the air purifier in a well-ventilated area to prevent overheating. Excessive heat can shorten the lifespan of the UV light.
-
If you encounter any issues with your Germguardian air purifier’s UV light, refer to the troubleshooting table below for common problems and solutions:
| Problem | Solution |
|---|---|
| UV light not turning on | Check power source and replace light if needed |
| Weak or dim UV light | Clean the light and replace if necessary |
| Flickering UV light | Check for loose connections and tighten if needed |
Frequently Asked Questions
How Often Should the UV Light in a Germguardian Air Purifier Be Replaced?
I replace the UV light in my Germguardian air purifier every 6-12 months. It’s important to maintain its effectiveness. You can buy replacement UV lights for Germguardian air purifiers online or at select retailers.
Can I Use Any Brand of UV Light Replacement for My Germguardian Air Purifier?
Yes, you can use different brands of UV light replacements for your Germguardian air purifier. However, it’s important to check for compatibility, effectiveness, warranty, and lifespan to ensure optimal performance.
Is It Necessary to Turn off the Germguardian Air Purifier Before Replacing the UV Light?
No, it’s not necessary to turn off the Germguardian air purifier before replacing the UV light. However, it’s important to follow the manufacturer’s instructions on how to properly clean the UV light.
What Are the Signs That Indicate the UV Light in a Germguardian Air Purifier Needs to Be Replaced?
When the UV light in my Germguardian air purifier needs replacing, signs like reduced effectiveness and a blinking indicator light appear. I turn off the purifier before replacing the light, following the cleaning instructions and using compatible replacement brands.
Are There Any Specific Cleaning Instructions for the UV Light in a Germguardian Air Purifier?
Yes, there are specific cleaning instructions for the UV light in a Germguardian air purifier. It is not recommended to clean the UV light with water, as it may damage the unit.
Conclusion
In conclusion, replacing the UV light in your Germguardian Air Purifier is a crucial maintenance task that shouldn’t be overlooked.
By following the step-by-step guide and avoiding common mistakes, you can ensure the efficiency of your air purifier.
Remember, just like a well-maintained car engine, a properly functioning UV light is the key to keeping your indoor air clean and free from harmful bacteria and viruses.
So, let’s shed some light on the importance of UV light replacement and enjoy fresher, healthier air in our homes.