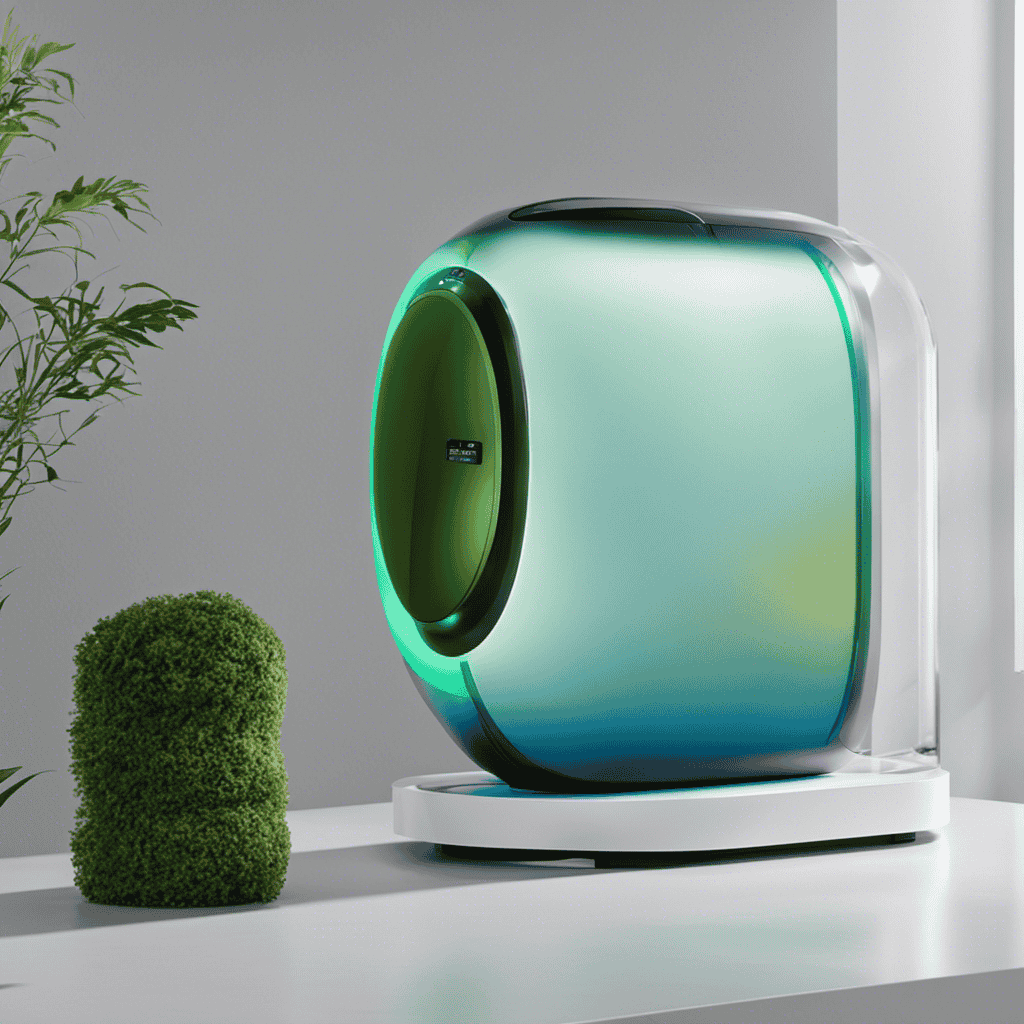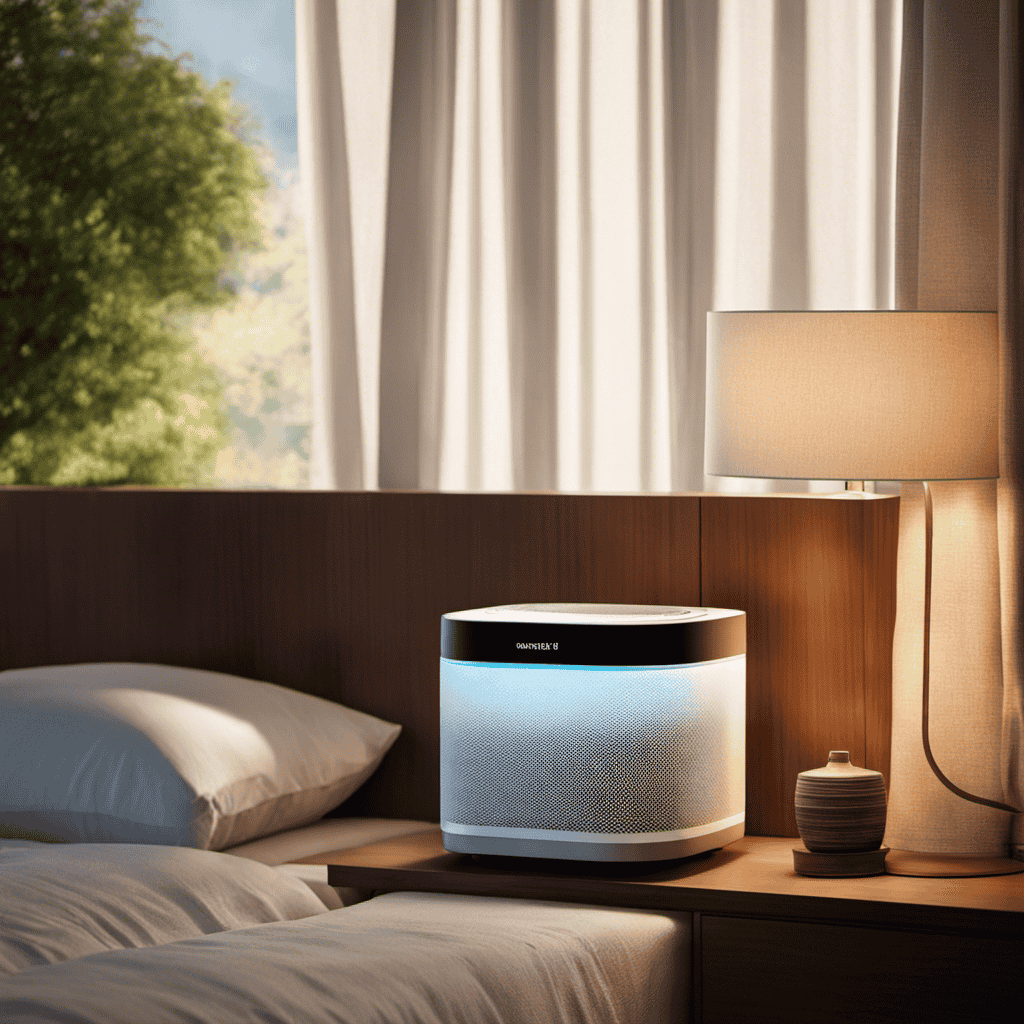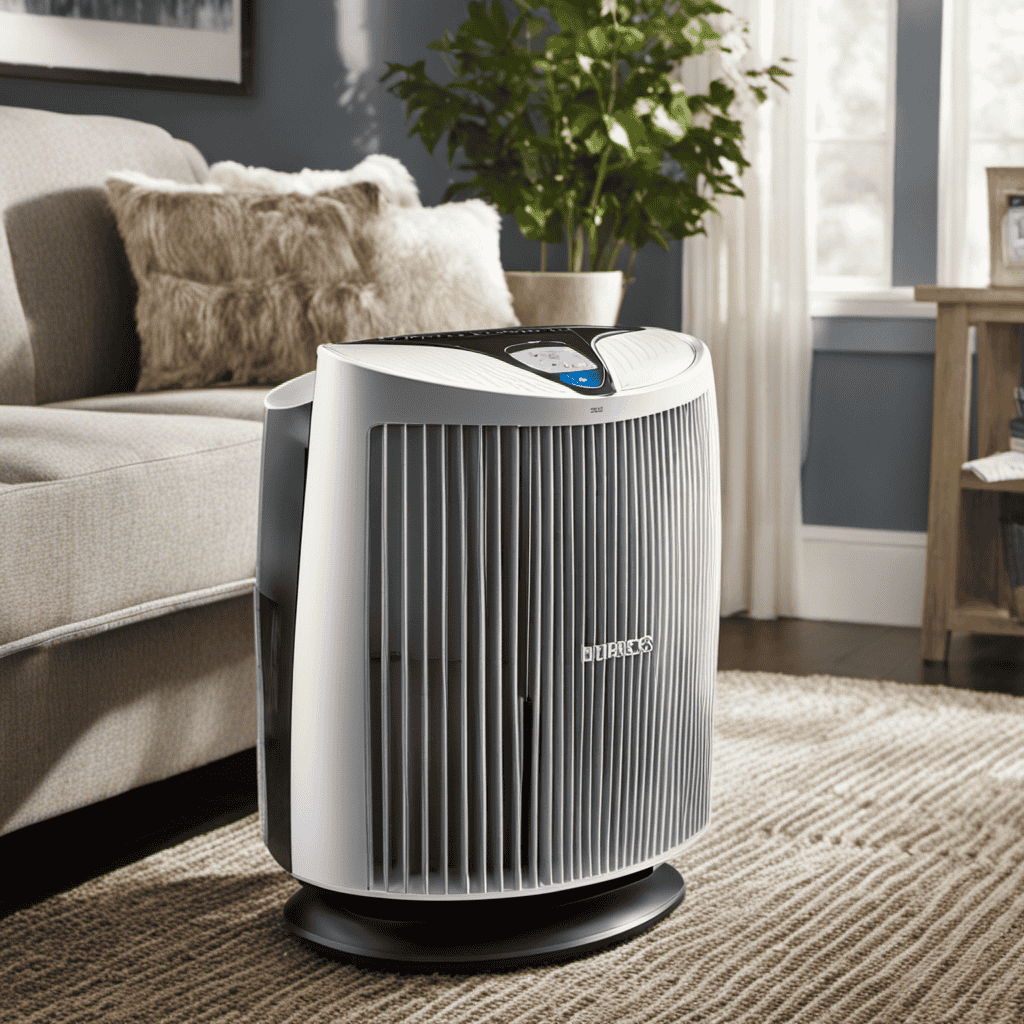
I’ve always been worried about the air quality in my home, so when I bought the Homedics® Airmaster™ Air Purifier, I was ecstatic.
But it didn’t take long for me to realize that I needed to keep it clean to ensure it was working at its best.
That’s why I decided to write this article on how to clean the Homedics® Airmaster™ Air Purifier.
So, if you’re wondering how to keep your air purifier in top shape, keep reading because I’ve got all the tips and tricks you need.
Key Takeaways
- Unplug the air purifier before cleaning
- Clean the filter regularly by vacuuming or rinsing it under running water
- Regularly clean the air intake vents to maintain optimal performance
- Use mild soap and water for cleaning the exterior of the air purifier
Top picks for "homedic airmaster purifier"
Open Amazon search results for this keyword.
As an affiliate, we earn on qualifying purchases.
Understanding the Cleaning Process
Cleaning the Homedics® Airmaster™ air purifier is a simple process that involves understanding how to effectively clean each component. Understanding the importance of proper cleaning techniques and methods is key to maintaining the performance and longevity of the air purifier.
To start, it is crucial to unplug the unit before cleaning to ensure safety. The first step is to remove the front grille and wash it with mild soap and water. The filter should also be cleaned regularly by gently vacuuming or rinsing it under running water. It is important to let the filter dry completely before reinserting it into the unit.
Additionally, wiping down the exterior of the air purifier with a soft, damp cloth can help remove dust and dirt. By following these cleaning techniques and methods, you can ensure that your Homedics® Airmaster™ air purifier continues to provide clean and fresh air for your home.
Gather the Necessary Tools and Materials
First, you’ll need to gather all the tools and materials necessary for the task at hand. To clean your Homedics® Airmaster™ air purifier, you will need a soft cloth or sponge, mild soap or detergent, and clean water.
Understanding the cleaning process is essential to ensure proper maintenance of your air purifier. It is recommended to clean the filters every three to six months, or as needed, depending on the air quality and usage. This helps maintain optimal performance and prolongs the life of the filters. Regular cleaning also ensures that the air purifier is effectively removing pollutants from the air.
Once you have gathered all the necessary tools and materials, you can proceed with turning off and unplugging the air purifier for safety purposes.
Turn Off and Unplug the Air Purifier
Before proceeding with the maintenance, make sure to turn off and unplug the air purifier for safety. Cleaning your HoMedics® Airmaster™ air purifier is essential to keep it functioning effectively.
Here are some cleaning precautions and troubleshooting tips to follow:
-
Avoid using harsh chemicals or abrasive materials when cleaning the air purifier. Instead, use a soft damp cloth and mild detergent to gently wipe the exterior and interior surfaces.
-
Take extra care not to wet the control panel or electrical components while cleaning. Moisture can damage the purifier and pose a safety risk.
-
Regularly clean the air intake vents to prevent the accumulation of dust and debris. This will ensure optimum performance and prolong the lifespan of your purifier.
-
If you encounter any issues with your air purifier, refer to the troubleshooting section in the user manual or contact customer support for assistance.
Now that we have covered the cleaning precautions and troubleshooting tips, let’s move on to the next step: removing and cleaning the pre-filter.
Remove and Clean the Pre-Filter
When it comes to maintaining your air purifier, pre-filter maintenance is an important aspect to consider.
In this discussion, we will delve into pre-filter maintenance tips, the benefits of regular cleaning, and cleaning frequency guidelines.
Pre-Filter Maintenance Tips
To maintain the pre-filter of your Homedics® Airmaster™ air purifier, you should regularly vacuum it to remove the accumulated dust and debris. This will help ensure that your air purifier continues to function effectively and efficiently.
In addition to vacuuming, there are other maintenance tips you can follow to keep your pre-filter in good condition:
-
Check the pre-filter regularly for any signs of damage or wear. If you notice any tears or holes, it may be time to replace the pre-filter.
-
If the pre-filter is not too dirty, you can also try washing it with mild soap and water. Make sure to let it dry completely before reinstalling it in your air purifier.
-
Consider using a pre-filter replacement schedule to keep track of when it’s time to replace the pre-filter. This will help ensure that your air purifier continues to provide clean and fresh air.
-
Keep the area around your air purifier clean to prevent any additional dust or debris from entering the pre-filter. Regularly dusting and vacuuming the surrounding area will help maintain the cleanliness of your air purifier and prolong the lifespan of the pre-filter.
Benefits of Regular Cleaning
Regularly cleaning your pre-filter helps increase the efficiency and effectiveness of your air purifier. By removing the accumulated dust, pet dander, and other particles, the pre-filter allows the air purifier to work more efficiently, ensuring cleaner and fresher air in your home.
In addition to improving its performance, regular cleaning also helps prolong the lifespan of your air purifier. When the pre-filter is clogged with dirt, it puts extra strain on the motor, potentially leading to premature wear and tear. By cleaning the pre-filter regularly, you can prevent this and ensure that your air purifier lasts for a longer time.
Now that you understand the benefits of regular cleaning, let’s move on to the next section: cleaning frequency guidelines.
Cleaning Frequency Guidelines
Cleaning your pre-filter at least once every three months is recommended to maintain optimal performance of your air purifier. Regular cleaning is important to ensure that your air purifier continues to effectively remove airborne particles and maintain clean air in your home.
Here are some cleaning frequency guidelines to keep in mind:
-
Pre-Filter: Clean the pre-filter every three months or more frequently if you have pets or live in a dusty environment. This will prevent the buildup of debris and allow the air purifier to function efficiently.
-
Carbon Filter: Replace the carbon filter every six to twelve months, depending on usage. This will help eliminate odors and harmful gases from the air.
-
HEPA Filter: Replace the HEPA filter every twelve to eighteen months, or as recommended by the manufacturer. This will ensure the removal of allergens and other microscopic particles.
-
Exterior Cleaning: Wipe down the exterior of the air purifier regularly to remove dust and maintain its appearance.
Clean the HEPA Filter
Make sure you’re using a soft brush attachment when vacuuming the HEPA filter to avoid damaging it.
HEPA filter maintenance is crucial for prolonging the filter’s lifespan and ensuring optimal air purification.
To clean the HEPA filter, start by turning off the air purifier and unplugging it from the power source. Carefully remove the filter from the unit, following the manufacturer’s instructions.
Take the soft brush attachment and gently vacuum the filter to remove any trapped dust and debris. Avoid using excessive force or aggressive cleaning methods, as this can damage the delicate filter fibers.
Once the filter is clean, reinsert it back into the air purifier and secure it properly.
Regularly cleaning the HEPA filter will help maintain its effectiveness and extend its lifespan, ensuring that your air purifier continues to provide clean and fresh air for a long time.
Clean the Carbon Filter
When it comes to maintaining your air purifier’s filters, there are a few tips to keep in mind.
Firstly, it’s important to regularly check and clean your filters to ensure optimal performance.
Secondly, the frequency of cleaning will depend on factors such as the level of air pollution in your area and the usage of your air purifier.
Lastly, following the manufacturer’s guidelines for cleaning and replacing filters is crucial to extending the lifespan of your air purifier and maintaining its effectiveness.
Filter Maintenance Tips
To maintain your air purifier’s filters, it’s important to regularly replace them as recommended by the manufacturer. This will prevent clogging and extend the filter lifespan. Here are some tips to help you maintain your air purifier’s filters:
-
Check the filter indicator: Most air purifiers have a filter indicator that notifies you when it’s time to replace the filter. Pay attention to this indicator and replace the filter accordingly.
-
Vacuum the pre-filter: The pre-filter captures larger particles and can be vacuumed to remove dust and debris. This will help prevent clogging and prolong the life of the main filter.
-
Clean the HEPA filter: If your air purifier has a HEPA filter, it’s important to clean it regularly. Follow the manufacturer’s instructions on how to clean the filter effectively.
-
Keep the air purifier in a clean environment: Avoid placing your air purifier in dusty or dirty areas. This will help reduce the amount of debris that enters the filters and ultimately extend their lifespan.
Cleaning Frequency Guidelines
You should regularly check the filter indicator to determine how often you need to replace the filters.
Cleaning the air purifier is an essential part of proper maintenance.
To ensure optimal performance, it is recommended to clean the filters every 3-6 months, depending on the usage and air quality.
Start by turning off the air purifier and unplugging it from the power source.
Remove the front grille and take out the filters.
Gently vacuum or brush away any visible dust or debris.
For a more thorough clean, you can wash the filters with mild soap and water, ensuring they are completely dry before reinstalling.
Regular cleaning not only improves the air purifier’s efficiency but also prolongs the lifespan of the filters, ensuring cleaner and healthier air in your home.
Cleaning the Exterior of the Air Purifier
It’s important to regularly wipe down the exterior of the air purifier to keep it clean and free from dust. Here are some cleaning tips and best practices to follow:
-
Use a soft, lint-free cloth: Avoid using abrasive materials that could scratch the surface of the air purifier. A soft cloth will effectively remove dust and debris without causing any damage.
-
Use mild soap and water: To clean stubborn stains or dirt, mix a small amount of mild soap with water. Dampen the cloth with the solution and gently wipe the exterior of the air purifier. Make sure to wring out the cloth well to avoid excess moisture.
-
Avoid using harsh chemicals: Harsh chemicals can damage the finish of the air purifier and may even affect its performance. Stick to mild cleaning solutions to ensure the longevity of your device.
-
Regular cleaning schedule: Set a regular cleaning schedule for your air purifier to maintain its efficiency. Cleaning the exterior once a week or as needed will help keep it looking and functioning its best.
Reassembling the Filters and Putting Everything Back Together
Now that the exterior of the air purifier is clean, it’s time to reassemble the filters and put everything back together.
Here are some tips to help you with this process.
First, make sure you have cleaned and dried the filters thoroughly.
Then, carefully place the filters back into their designated slots, ensuring they are properly aligned.
Next, reattach any clips or fasteners that hold the filters in place.
Finally, replace the front cover and secure it tightly.
If you encounter any issues during this process, such as difficulty fitting the filters or problems with the cover, refer to the user manual for troubleshooting guidance.
Once everything is reassembled correctly, you can move on to establishing a regular maintenance and cleaning schedule.
Regular Maintenance and Cleaning Schedule
After reassembling the filters and putting everything back together, it’s important to establish a regular maintenance and cleaning schedule. Maintaining the cleanliness of your Homedics® Airmaster™ air purifier is crucial for optimal performance and air quality.
Here are four key points to consider when creating your maintenance and cleaning schedule:
-
Filter Replacement: Regularly check and replace the filters according to the manufacturer’s instructions. This ensures that your air purifier is effectively removing pollutants from the air.
-
Dusting: Dust the exterior of the unit regularly with a soft, dry cloth to prevent dust buildup and maintain its appearance.
-
Cleaning the Housing: Clean the housing of the air purifier using a mild detergent and a damp cloth. Be sure to unplug the unit before cleaning and avoid using harsh chemicals.
-
Schedule: Set a regular schedule for maintenance tasks, such as filter replacement and cleaning, to ensure that your air purifier operates at its best and provides clean, fresh air throughout your home.
Frequently Asked Questions
How Often Should I Clean the Air Purifier’s Exterior?
I clean the air purifier’s exterior every few weeks to ensure proper maintenance and extend its lifespan. I use a soft cloth and brush to effectively remove dust and debris, keeping it clean and functioning efficiently.
Can I Use Any Cleaning Solution to Clean the Filters?
I wouldn’t recommend using any cleaning solution on the filters. It’s best to follow the manufacturer’s instructions for cleaning the filters, as they may provide specific guidelines and best practices for maintaining the air purifier’s performance.
Can I Wash the Filters in a Dishwasher?
Can I machine wash the filters? Should I soak the filters before washing? Well, when it comes to cleaning the filters, it’s important to follow the manufacturer’s instructions to ensure proper maintenance and longevity of the product.
How Long Does It Take for the Filters to Dry After Cleaning?
After cleaning the filters of an air purifier, it is important to properly dry them. Here are some tips for effective cleaning and drying: allow the filters to air dry completely before re-installing them in the purifier.
Do I Need to Replace the Filters After a Certain Number of Cleanings?
I typically replace the filters after a certain number of cleanings. The cleaning frequency depends on factors like air quality and usage. It’s important to follow the manufacturer’s recommendations for optimal performance and air purification.
Conclusion
In conclusion, cleaning the Homedics® Airmaster™ air purifier is a straightforward process that requires a few simple steps.
By gathering the necessary tools and materials, turning off and unplugging the device, and carefully removing and cleaning the filters, you can ensure that your air purifier is functioning at its best.
Don’t forget to clean the exterior of the purifier as well.
By following a regular maintenance and cleaning schedule, you can enjoy cleaner, fresher air in your home for years to come.
So go ahead, take a deep breath and start cleaning!