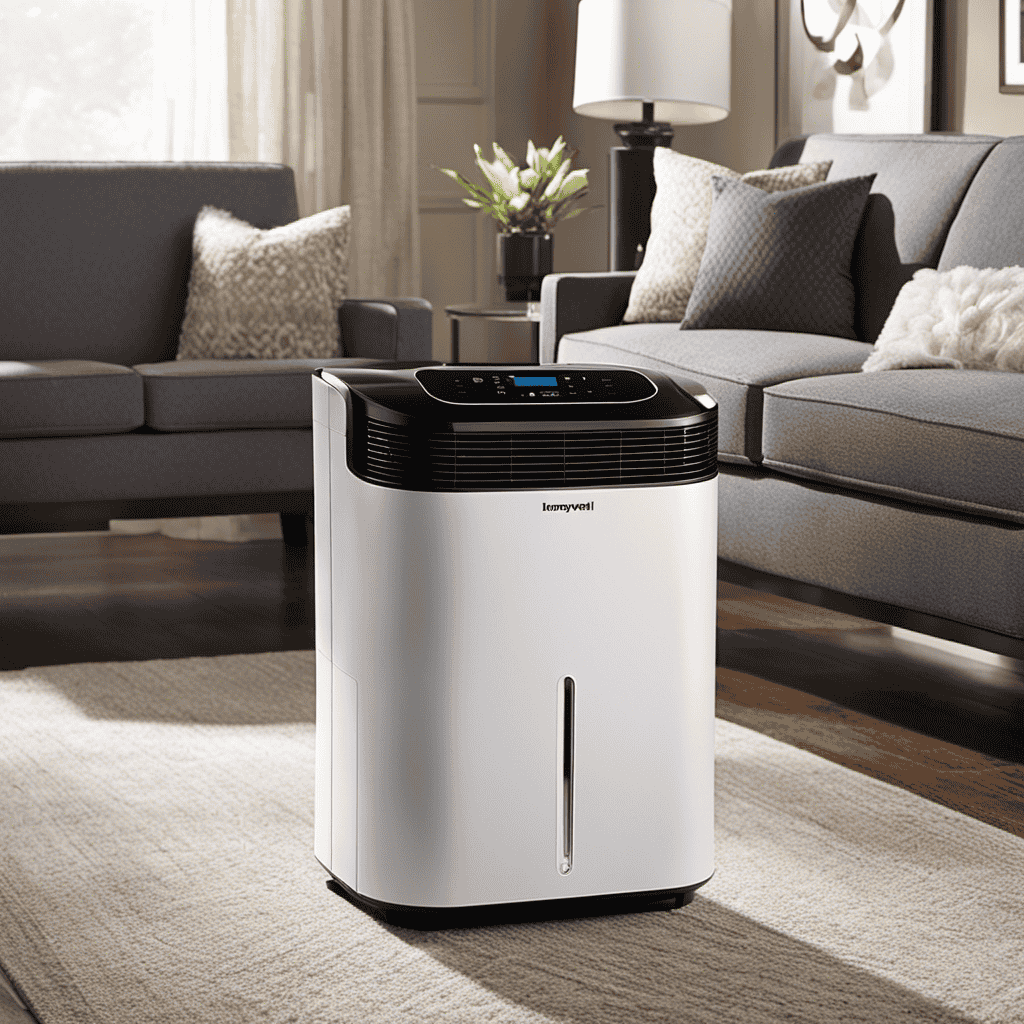
As a dedicated user of the Honeywell Air Purifier 16200, I recognize the significance of keeping a clean and effective filter. This detailed guide will lead you through the process of filter removal, equipping you with necessary tools and pointing out common errors to steer clear of.
By following these instructions, you’ll not only prolong the lifespan of your air purifier but also create a healthier environment for you and your loved ones.
So let’s delve into the world of filter maintenance and discover the benefits of a well-maintained Honeywell air purifier.
Key Takeaways
- Regular filter maintenance is important for optimal performance of the Honeywell Air Purifier 16200.
- Having the right tools and following the instructions simplifies the filter removal process.
- Common mistakes to avoid during filter removal include rushing the process and using excessive force.
- Genuine Honeywell replacement filters offer exceptional filtration results and longevity.
Top picks for "honeywell purifier remove"
Open Amazon search results for this keyword.
As an affiliate, we earn on qualifying purchases.
The Importance of Regular Filter Maintenance
Regularly maintaining your air purifier’s filter is important for ensuring its optimal performance. As an air purification expert, I cannot stress enough the importance of regular maintenance. Clean filters play a vital role in the efficiency and effectiveness of your air purifier.
When filters become clogged with dust, allergens, and pollutants, they can no longer effectively trap these particles from the air. This not only decreases the air purifier’s ability to clean the air but also puts a strain on the motor, reducing its lifespan.
On the other hand, clean filters provide numerous benefits. They improve indoor air quality, reduce allergy symptoms, and create a healthier living environment. Regularly maintaining your air purifier’s filter will not only prolong its lifespan but also ensure that you and your family breathe clean and fresh air every day.
Tools Needed for Filter Removal
When it comes to removing filters, having the right tools is essential. In order to simplify the filter removal process, there are a few key tools that I highly recommend.
These tools not only make the task easier, but they also help to prevent any damage to the filter or the surrounding components.
Essential Removal Tools
To remove the filter from your Honeywell air purifier 16200, you’ll need a few essential tools. First, make sure you have a screwdriver with a Phillips head, as this will be necessary to remove the screws that hold the filter in place.
Additionally, a pair of gloves is recommended to protect your hands from any dust or debris that may be on the filter. Once you have these tools ready, you can proceed with the step-by-step guide for filter removal.
It’s important to follow these instructions carefully to ensure a successful and efficient removal process. By having the right tools on hand and following the proper steps, you’ll be able to remove the filter from your Honeywell air purifier 16200 with ease.
Simplified Filter Removal
Make sure you have the necessary tools, such as a screwdriver and gloves, to simplify the removal process of the filter from your Honeywell air purifier 16200.
Here are some quick removal tips to help you with the process:
- Be gentle: Handle the filter with care to avoid any damage.
- Follow the instructions: Refer to the user manual for specific instructions on how to remove the filter.
- Turn off the purifier: Before removing the filter, make sure to turn off the purifier and unplug it from the power source.
- Clean the surrounding area: Before removing the filter, clean the area around it to prevent any dust or debris from getting inside the purifier.
By following these tips, you can simplify the removal process and ensure that your air purifier functions optimally.
Now, let’s move on to the step-by-step guide to removing the filter.
Step-by-Step Guide to Removing the Filter
First, you’ll want to unplug the Honeywell air purifier 16200 before removing the filter.
To remove the filter, you will need a few tools: a Phillips screwdriver, a clean cloth, and a replacement filter. Here are the step-by-step instructions for removing the filter:
- Locate the filter compartment on the back of the air purifier.
- Use the Phillips screwdriver to remove the screws securing the compartment cover.
- Carefully remove the cover and set it aside.
- Take out the old filter and dispose of it properly.
- Use a clean cloth to wipe away any dust or debris from the filter compartment.
- Insert the new filter into the compartment, making sure it fits securely.
- Replace the compartment cover and tighten the screws.
- Plug the air purifier back in and enjoy clean, fresh air.
Common Mistakes to Avoid During Filter Removal
When removing the filter, be sure to handle it carefully to avoid damaging it. Here are some common mistakes to avoid during the filter removal process:
-
Rushing the process: Take your time when removing the filter to ensure you do it correctly and without causing any damage.
-
Using excessive force: The filter should come out easily with a gentle pull. Avoid using excessive force, as it can lead to tearing or bending the filter.
-
Neglecting to clean the surrounding area: Before removing the filter, make sure to clean the surrounding area to prevent any debris or dust from falling onto the filter or getting into the air purifier.
-
Forgetting to turn off the air purifier: Always remember to turn off the air purifier before removing the filter to avoid any potential accidents or damage to the unit.
Understanding the Filter Replacement Schedule
Understanding the filter replacement schedule is important to ensure that your air purifier continues to effectively clean the air in your home.
There are different filter types that may need replacement at different frequencies, depending on the specific model of your air purifier and the quality of your indoor air.
The most common filter types include pre-filters, HEPA filters, and activated carbon filters.
Pre-filters are designed to capture larger particles like dust and pet dander, and they typically need to be replaced every three months.
HEPA filters are responsible for trapping smaller particles like pollen and mold spores, and they usually need to be replaced every 12 months.
Activated carbon filters help to remove odors and chemicals, and they typically need to be replaced every three to six months.
It is important to consult the user manual or contact the manufacturer to determine the specific filter replacement frequency for your air purifier model.
Tips for Properly Cleaning the Removed Filter
To properly clean the removed filter, make sure to gently shake off any loose debris and then use a soft brush or vacuum attachment to remove any remaining dirt and dust. Cleaning the filter regularly is essential for maintaining the efficiency of your Honeywell air purifier 16200.
Here are some recommended proper cleaning techniques and cleaning products to keep your air purifier running smoothly:
-
Microfiber cloth: Use a microfiber cloth to wipe down the surface of the filter. This will help remove any trapped particles and keep the filter clean.
-
Mild detergent: If the filter is heavily soiled, you can mix a small amount of mild detergent with warm water and gently scrub the filter. Rinse thoroughly and let it dry completely before reinstalling.
-
Compressed air: Use compressed air to blow out any stubborn dirt or dust from the filter. Make sure to hold the canister upright and use short bursts of air to avoid damaging the filter.
-
Filter cleaner spray: There are specific filter cleaner sprays available in the market that are designed to effectively clean air purifier filters. Follow the instructions on the product for the best results.
Troubleshooting Filter Removal Issues
Now that you know how to properly clean the removed filter, let’s talk about troubleshooting filter removal issues.
Sometimes, installing a new filter can be a bit tricky, but with a little troubleshooting, it can easily be resolved.
One common issue is difficulty in removing the old filter. If you’re having trouble, make sure to follow the manufacturer’s instructions carefully. Check for any obstructions or debris that might be preventing the filter from sliding out smoothly. Gently wiggle the filter back and forth while pulling it out to help loosen it.
Another common problem is accidentally installing the filter backwards. This can reduce the effectiveness of your air purifier. To avoid this, always double-check the airflow direction indicated on the filter and make sure it matches the direction shown in the purifier.
Extending the Lifespan of Your Honeywell Air Purifier Filter
If you want to extend the lifespan of your Honeywell air purifier filter, be sure to regularly clean it according to the manufacturer’s instructions. Cleaning your filter is essential for maintaining the efficiency of your air purifier and ensuring that it continues to improve the air quality in your home.
Here are four important reasons why cleaning your Honeywell air purifier filter is crucial:
-
Increased Efficiency: Regular cleaning removes dust, pet dander, and other pollutants that can clog the filter, allowing your air purifier to operate at its highest efficiency.
-
Improved Air Quality: A clean filter ensures that your air purifier can effectively capture and trap airborne contaminants, such as allergens and pollutants, resulting in cleaner and fresher air.
-
Longer Lifespan: Cleaning your filter prevents the accumulation of debris that can cause the filter to deteriorate or become less effective over time, prolonging its lifespan.
-
Cost Savings: By regularly cleaning your filter, you can prevent the need for frequent filter replacements, saving you money in the long run.
Benefits of Using Genuine Honeywell Replacement Filters
When it comes to the quality and performance of an air purifier, the effectiveness of the filter is crucial. Genuine Honeywell replacement filters are backed by extensive research and testing, providing proof of their effectiveness in capturing and removing airborne particles.
Not only do these filters deliver exceptional filtration results, but they also possess a remarkable longevity and durability, ensuring they can effectively purify the air in your home for an extended period.
Additionally, Honeywell offers a warranty and guarantee on their filters, providing peace of mind and assurance that you are investing in a reliable and trustworthy product.
Filter Effectiveness Proof
The filter’s effectiveness can be easily proven by testing the air quality before and after using the Honeywell air purifier 16200. When you see the drastic improvement in air quality, it’s hard not to appreciate the proof of efficiency that the filter provides.
Here are some benefits of clean air that you’ll experience with this purifier:
-
Improved Respiratory Health: Breathing in clean air allows your lungs to function optimally, reducing the risk of respiratory issues.
-
Reduced Allergens: The filter captures allergens like pollen, dust mites, and pet dander, providing relief to allergy sufferers.
-
Elimination of Odors: Unpleasant odors from cooking, pets, or smoke are effectively removed, leaving your home smelling fresh.
-
Enhanced Sleep Quality: Cleaner air promotes better sleep, as it reduces irritants that can disrupt your sleep patterns.
Longevity and Durability
Investing in the Honeywell air purifier 16200 ensures that you’ll enjoy the longevity and durability of a reliable product. This air purifier is designed to provide exceptional performance and maintain its effectiveness over time.
With proper maintenance and care, you can extend its lifespan and keep it running optimally. Regularly cleaning the pre-filter and replacing the HEPA filter when needed is essential to maintain the purifier’s efficiency. The pre-filter can be vacuumed or washed, while the HEPA filter should be replaced every 6-12 months, depending on usage.
Additionally, it’s important to keep the exterior of the purifier clean by wiping it with a soft cloth. By following these simple steps, you can ensure that your Honeywell air purifier 16200 continues to deliver clean and fresh air for years to come.
Warranty and Guarantee
With proper care and maintenance, you can ensure your Honeywell air purifier 16200 remains covered by the warranty and guarantee. It’s important to understand the warranty coverage and return policy to make the most of your investment. Here are some key points to consider:
-
The warranty coverage: Honeywell offers a limited warranty on the air purifier 16200, which covers any defects in materials or workmanship. This warranty typically lasts for a specified period, usually one year, from the date of purchase.
-
Return policy: If you encounter any issues with your air purifier within the warranty period, you can contact Honeywell’s customer support for assistance. They will guide you through the return process and provide you with a replacement or repair, depending on the nature of the problem.
-
Proper care and maintenance: To ensure your warranty remains valid, it’s crucial to follow the recommended care and maintenance instructions provided by Honeywell. This includes regularly cleaning the air purifier, replacing the filters as per the manufacturer’s guidelines, and avoiding any modifications or repairs by unauthorized personnel.
-
Register your product: It’s highly recommended to register your Honeywell air purifier 16200 after purchase. This helps Honeywell keep track of your warranty coverage and ensures a smoother process in case you need to make a warranty claim.
Frequently Asked Questions About Honeywell Air Purifier Filter Removal
Are you wondering how to remove the filter from your Honeywell air purifier 16200? Well, you’ve come to the right place. Cleaning or replacing the filter in your air purifier is a crucial step in maintaining its performance and efficiency. Here are some frequently asked questions about Honeywell air purifier filter removal:
| Question | Answer |
|---|---|
| How often should I clean or replace the filter? | It is recommended to clean or replace the filter every 3 months, or more frequently if you have pets or live in a highly polluted area. |
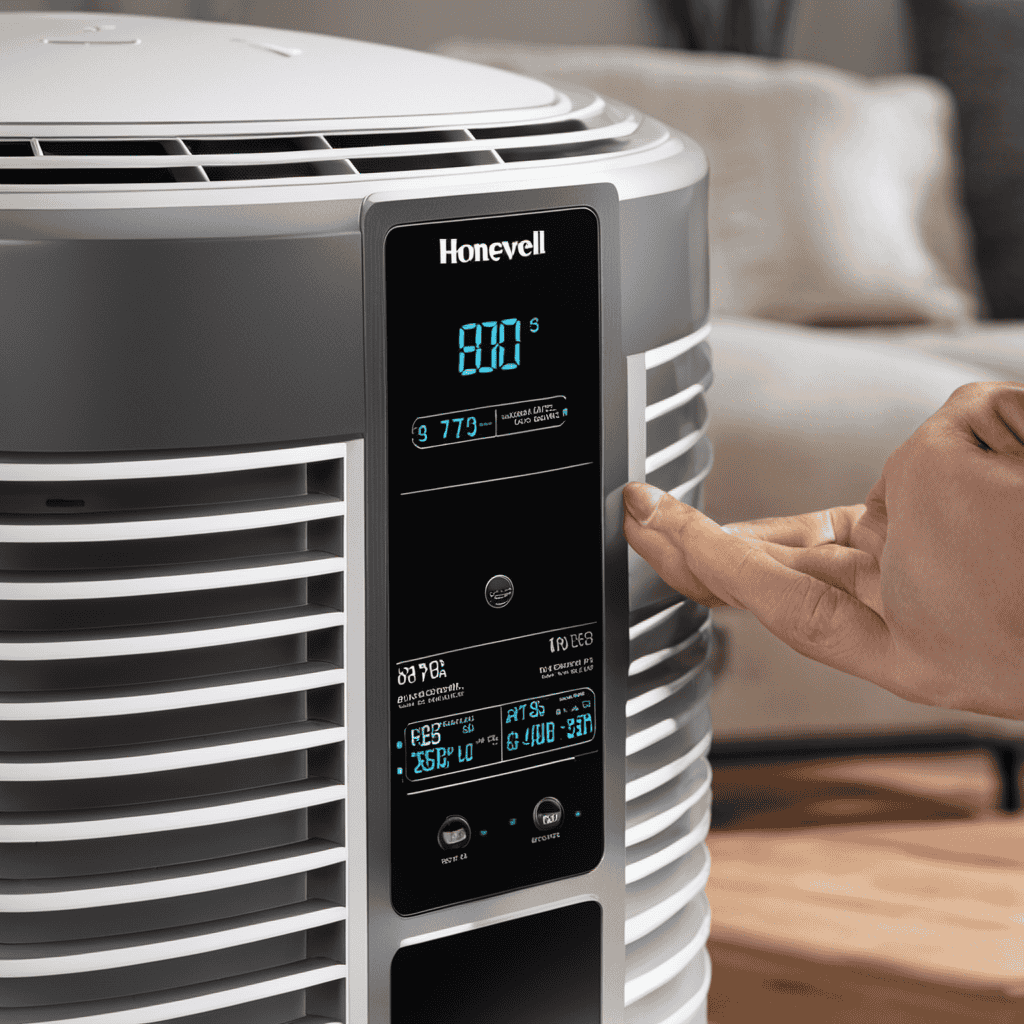
| How do I remove the filter? | To remove the filter, simply open the front cover of the air purifier, locate the filter compartment, and gently pull out the filter. |
| Can I wash the filter? | No, the filter is not washable. It is recommended to replace it with a new one. |
| Where can I buy replacement filters? | Replacement filters can be purchased from authorized Honeywell retailers or online. |
| Do I need to turn off the air purifier before removing the filter? | Yes, it is recommended to turn off and unplug the air purifier before removing or replacing the filter to prevent any accidents or damage. |
Conclusion
In conclusion, maintaining and regularly removing the filter in your Honeywell air purifier is vital for ensuring optimal performance and clean air in your home.
By following the step-by-step guide and avoiding common mistakes, you can easily remove the filter and replace it according to the recommended schedule.
Remember, extending the lifespan of your filter is not only cost-effective but also contributes to a healthier living environment.
By using genuine Honeywell replacement filters, you can enjoy the full benefits of improved air quality and peace of mind.
So, take the necessary steps to keep your air purifier running smoothly and breathe easy.