I have always had difficulty maintaining clean and fresh air in my home, particularly during the winter months when my heating system runs constantly. This is why I opted to incorporate an air purifier into my heating system, and I must say, it has made a significant difference.
In this article, I’ll walk you through the process of choosing the right air purifier, understanding the installation process, and maintaining the integration between your air purifier and heating system.
Get ready to breathe easy!
Key Takeaways
- Consider factors such as home size and specific pollutants when choosing the right air purifier for your heating system.
- Confirm compatibility with your heating system and gather necessary tools and materials before starting the installation process.
- Clean or replace air filters, check ductwork for leaks or obstructions, and ensure enough space for the air purifier and ventilation.
- Follow manufacturer’s instructions for secure installation, connect the air purifier to a power source, and regularly test and maintain the integration for optimal performance.
Choosing the Right Air Purifier for Your Heating System
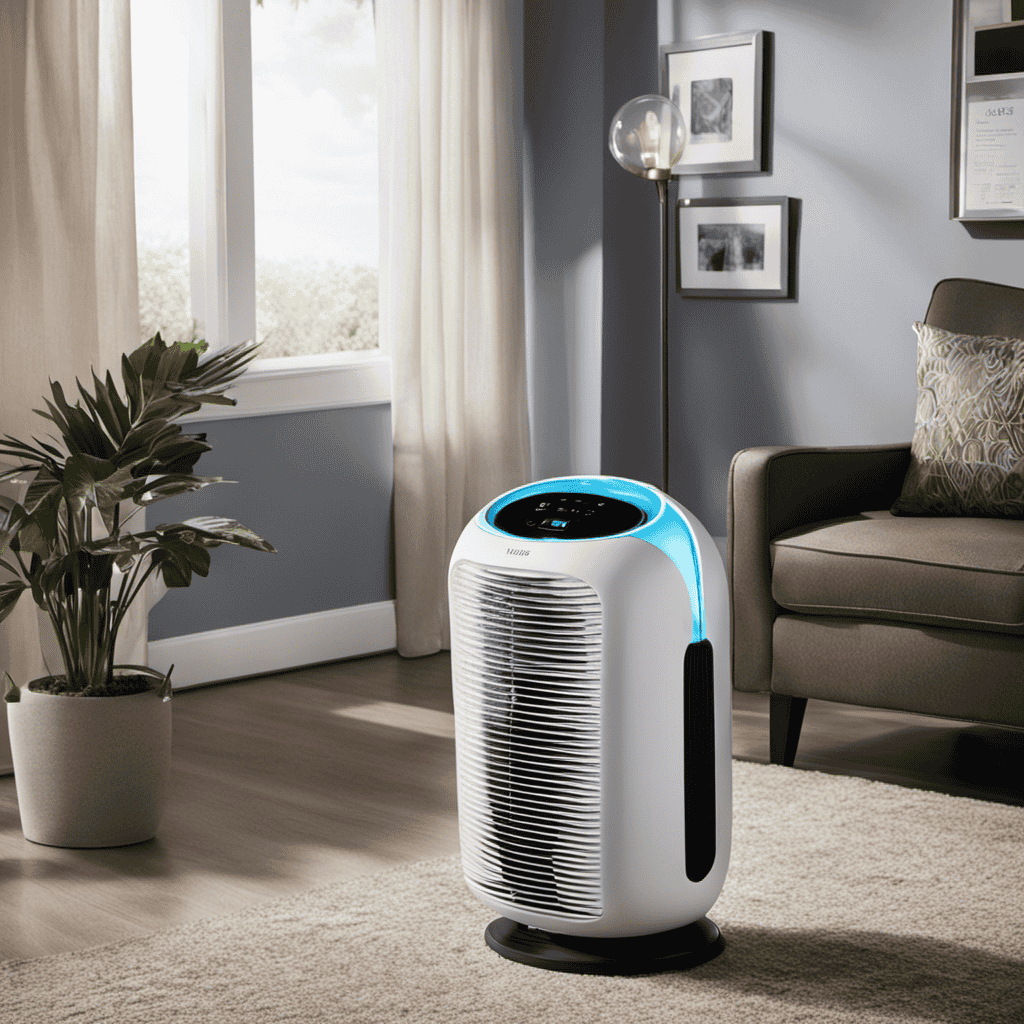
When choosing the right air purifier for your heating system, it’s important to consider factors such as the size of your home and the specific pollutants you want to target. Air purifiers offer numerous benefits, including improved indoor air quality and reduced allergy symptoms.
To ensure optimal performance, regular air purifier maintenance is crucial. This includes cleaning or replacing filters, checking the fan and motor, and removing any accumulated dust or debris. By properly maintaining your air purifier, you can extend its lifespan and maximize its efficiency in removing airborne contaminants.
It’s also important to regularly monitor the air quality in your home and adjust the settings on your air purifier accordingly. Overall, selecting the right air purifier and maintaining it properly will help ensure clean and healthy air in your home.
Understanding the Installation Process
To understand how to install the air purifier to your heating system, you’ll need to familiarize yourself with the installation process.
First, ensure that the air purifier is compatible with your heating system. This can typically be determined by checking the manufacturer’s specifications or consulting with a professional.
Once you have confirmed compatibility, gather the necessary tools and materials, including screws, brackets, and duct tape.
Begin by turning off the power to your heating system.
Next, locate a suitable location for the air purifier within the ductwork. Use the brackets and screws to securely attach the air purifier to the duct.
Finally, seal any gaps with duct tape to prevent air leakage.
Adding an air purifier to your heating system can provide numerous benefits, such as improved indoor air quality and reduced allergens and pollutants.
Gathering the Necessary Tools and Materials
To gather the necessary tools and materials for the installation process, you’ll need to make sure you have screws, brackets, and duct tape on hand. These items are crucial for a successful installation.
Here are some other tools and materials you will need:
- Screwdriver: Used to secure the brackets and screws into place.
- Measuring tape: Essential for accurately measuring the dimensions of your heating system.
- Drill: Required to create holes for the screws and brackets.
- Level: Ensures that the air purifier is installed straight and level.
When working with any electrical equipment, it is important to take safety precautions. Make sure to turn off the power to your heating system before starting the installation process.
Additionally, always refer to the manufacturer’s instructions for specific safety guidelines and troubleshooting tips. By following these steps, you can ensure a safe and effective installation of your air purifier to your heating system.
Preparing Your Heating System for the Air Purifier
Before starting the installation, ensure that your heating system is properly prepared for the air purifier. This step is crucial to maximize the benefits of air purifiers and improve indoor air quality.
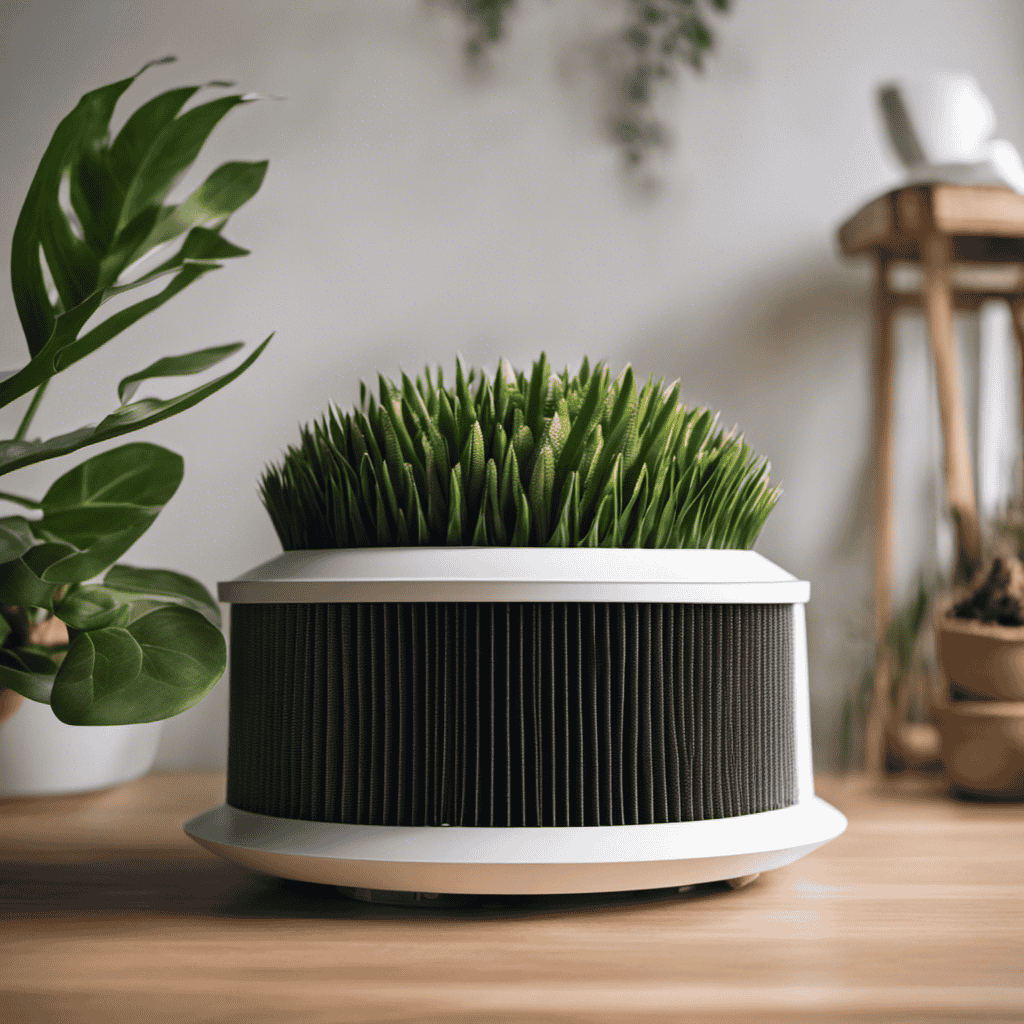
First, clean or replace the air filters in your heating system to ensure maximum airflow.
Next, check the ductwork for any leaks or obstructions that may hinder the air purifier’s effectiveness. Seal any leaks and remove any debris or blockages.
Additionally, make sure there is enough space near the heating system to accommodate the air purifier and its required ventilation.
Finally, consider installing a bypass damper to allow the air purifier to work independently of the heating system.
Installing the Air Purifier to Your Heating System
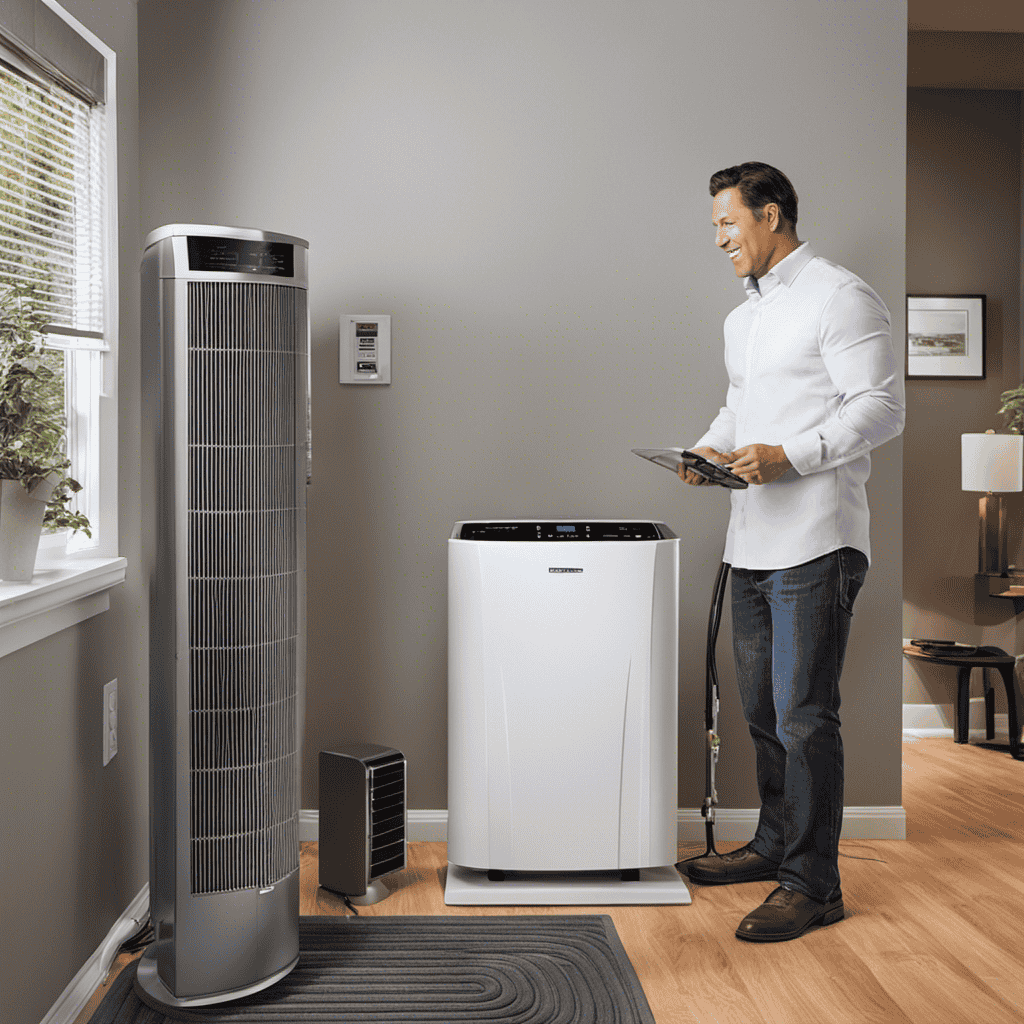
Once you’ve cleaned the air filters and checked for leaks, it’s time to install the air purifier to your heating system. This step is crucial to ensure that the air purifier effectively cleans the air circulating in your home. Here are some key points to consider during the installation process:
-
Heating system compatibility: Before installing the air purifier, make sure it is compatible with your heating system. Check the manufacturer’s specifications and guidelines to ensure a proper fit.
-
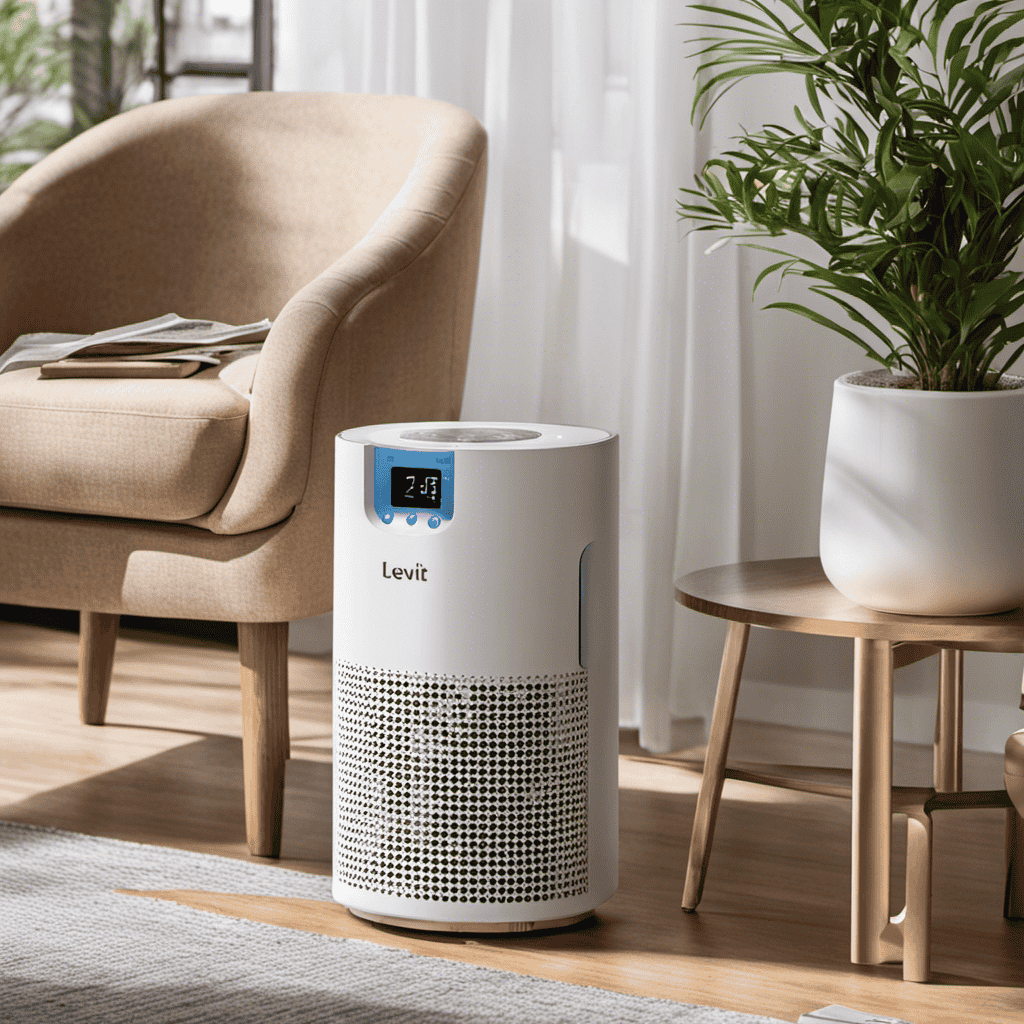
Proper placement: Find an appropriate location to install the air purifier. It should be positioned near the air intake or return duct to maximize its efficiency.
-
Secure installation: Follow the manufacturer’s instructions to securely install the air purifier to your heating system. This will prevent any vibrations or movements that may affect its performance.
-
Electrical connections: Connect the air purifier to a power source, making sure to follow electrical safety guidelines.
Integrating an air purifier with your heating system offers several benefits, including improved indoor air quality, reduced allergens, and enhanced overall comfort. By seamlessly integrating the air purifier into your heating system, you can enjoy cleaner and healthier air throughout your home.
Now that you have successfully installed the air purifier to your heating system, it’s time to move on to the next step: testing and maintaining your air purifier-heating system integration.
Testing and Maintaining Your Air Purifier-Heating System Integration
Now that you have successfully installed the air purifier to your heating system, it is important to regularly test and maintain the integration to ensure optimal performance. Here are some maintenance tips and a troubleshooting guide to help you keep your air purifier-heating system running smoothly.
-
Regularly check and clean the air filters of the air purifier to remove any dust or debris that may have accumulated.
-
Inspect the air ducts and vents for any obstructions or blockages. Clear any debris or dust that may be hindering the airflow.
-
Test the air purifier-heating system integration by turning on the heating system and observing the air purifier’s performance. Ensure that the air purifier is effectively removing airborne contaminants.
-
If you notice any issues with the integration, such as reduced airflow or strange odors, refer to the troubleshooting guide provided by the manufacturer. Follow the recommended steps to identify and resolve the problem.
Conclusion
In conclusion, integrating an air purifier into your heating system is a great way to improve the air quality in your home. By choosing the right air purifier, understanding the installation process, and properly maintaining the system, you can enjoy cleaner and healthier air all year round.
Did you know that according to the Environmental Protection Agency (EPA), indoor air pollution can be 2 to 5 times higher than outdoor air pollution? This statistic highlights the importance of taking steps to purify the air in your home and protect your health.