Like a fresh breath of clean air, changing the pre filter on your Honeywell Air Purifier can bring new life to your indoor environment.
In this guide, I will walk you through the step-by-step process of removing and replacing the pre filter, ensuring your air purifier operates at its optimal level.
With just a few tools and materials, you’ll be on your way to cleaner, healthier air in no time.
Let’s dive in and get started!
Key Takeaways
- The pre filter is important in trapping larger particles before they reach the main HEPA filter.
- Regular cleaning or replacement of the pre filter is necessary for optimal performance.
- The pre filter acts as the first line of defense and captures dust, pet hair, and lint.
- Regularly replacing the pre filter ensures that the air purifier functions effectively and maintains clean air in the home.
2Pack 400LED Smart Color Changing Fall String Lights | 164FT App Controlled Orange Lights, Waterproof RGB LED String Lights with Remote & Timer, Music Sync Multiple Modes Indoor Outdoor for Fall Decor
RGB String Lights with 16 Million Colors | The smart LED color changing string lights can display up...
As an affiliate, we earn on qualifying purchases.
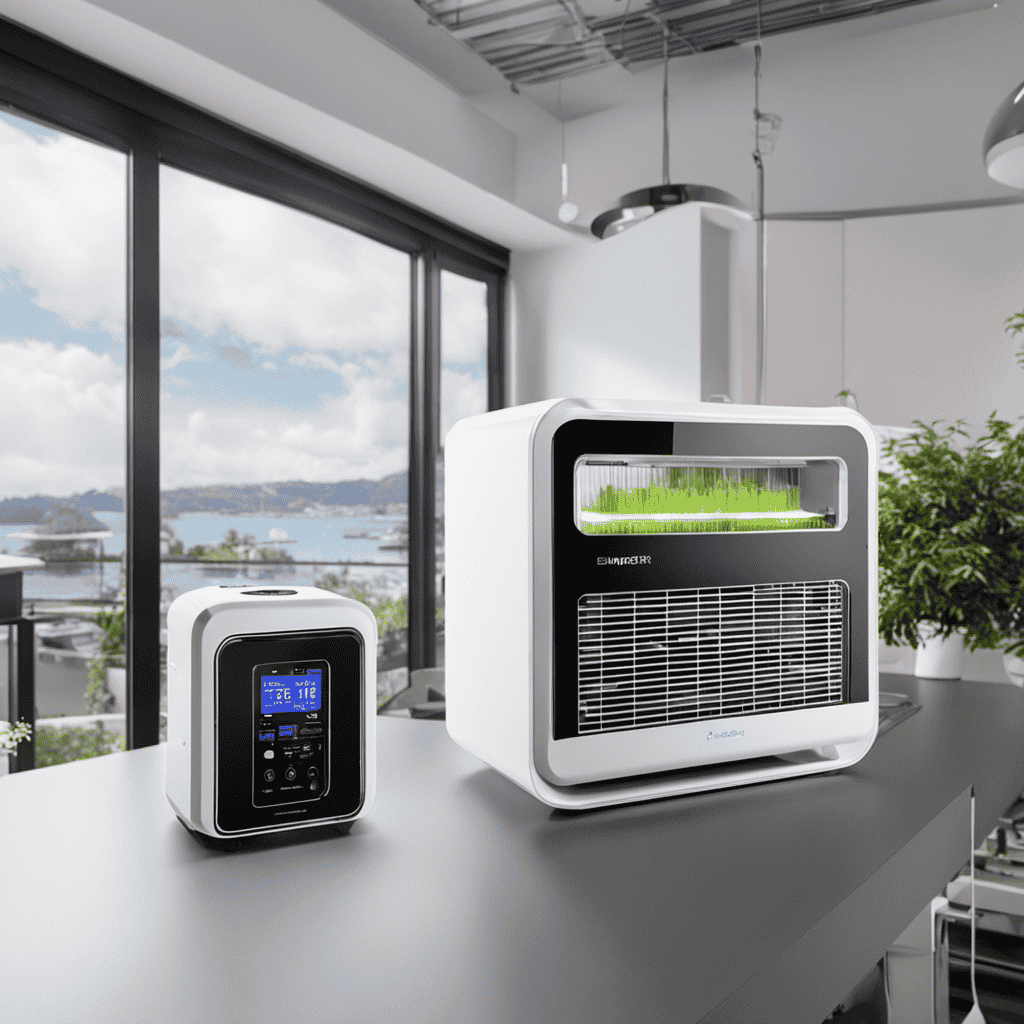
Understanding the Pre Filter in Your Honeywell Air Purifier
The pre filter in your Honeywell air purifier helps to trap larger particles before they reach the main HEPA filter. This is important because it allows the HEPA filter to focus on capturing smaller particles like dust, pollen, and pet dander, which can be more harmful to your health.
The pre filter benefits your air purifier by extending the life of the main filter and improving its overall performance. To ensure that the pre filter continues to work effectively, it is important to clean it regularly. You can clean the pre filter by gently vacuuming it or rinsing it under running water. Make sure to let it dry completely before reinserting it into the air purifier.
Regularly cleaning the pre filter will help maintain the efficiency and effectiveness of your Honeywell air purifier.

ReyeeInc Solar 4th of July String Lights, 100 Stars and 39.4FT Outdoor Waterproof Patriotic Lights, Solar Battery Operated Fourth of July Lights for Golf Cart, Camping, Outside Decorations
Show Your Patriotism: ReyeeInc red white and blue outdoor lights are a stunning and patriotic addition to Memorial...
As an affiliate, we earn on qualifying purchases.
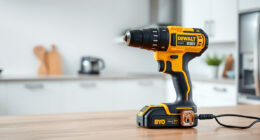
Tools and Materials Needed for Changing the Pre Filter
When it comes to changing the pre-filter in your Honeywell air purifier, there are a few key tools and materials that you will need. These include a screwdriver, a replacement pre-filter, and a clean, dry cloth.
To replace the pre-filter, start by turning off the air purifier and unplugging it from the power source. Then, locate the pre-filter compartment and remove the screws using a screwdriver.
Required Tools for Pre-Filter
To change the pre-filter on your Honeywell air purifier, you’ll need a screwdriver and a clean cloth.
Pre-filter maintenance is an important part of ensuring the effectiveness of your air purifier. The pre-filter acts as the first line of defense, capturing larger particles like dust, pet hair, and lint. Over time, the pre-filter can become clogged with these particles, reducing its lifespan and efficiency.
Regularly cleaning or replacing the pre-filter is necessary to maintain optimal performance. It is recommended to clean the pre-filter every three months or when it appears dirty. However, the lifespan of the pre-filter will vary depending on the air quality in your home.
Now, let’s move on to the pre-filter replacement instructions to properly maintain your Honeywell air purifier.
Pre-Filter Replacement Instructions
Before replacing the pre-filter, gather the required tools and ensure you have a clean cloth and screwdriver on hand. The pre-filter is an essential part of maintaining the efficiency and lifespan of your Honeywell air purifier. Regular pre-filter maintenance is necessary to keep the air purifier functioning optimally. Over time, the pre-filter accumulates dust, pet dander, and other airborne particles, reducing its effectiveness. It is recommended to replace the pre-filter every three months, or more frequently if you have pets or allergies. To replace the pre-filter, follow these simple steps:
- Turn off the air purifier and unplug it from the power source.
- Locate the pre-filter compartment, usually located at the front or back of the unit.
- Use a screwdriver to remove the screws securing the pre-filter cover.
- Carefully remove the old pre-filter and discard it.
- Take the new pre-filter and insert it into the compartment, making sure it fits snugly.
- Replace the pre-filter cover and secure it with the screws.
- Wipe down the exterior of the air purifier with a clean cloth to remove any dust or debris.
- Plug the air purifier back in and turn it on.
By following these instructions and regularly replacing the pre-filter, you can ensure the longevity and effectiveness of your Honeywell air purifier.
| Step | Instructions |
|---|---|
| 1 | Turn off the air purifier and unplug it from the power source. |
| 2 | Locate the pre-filter compartment, usually located at the front or back of the unit. |
| 3 | Use a screwdriver to remove the screws securing the pre-filter cover. |
| 4 | Carefully remove the old pre-filter and discard it. |
| 5 | Take the new pre-filter and insert it into the compartment, making sure it fits snugly. |
| 6 | Replace the pre-filter cover and secure it with the screws. |
| 7 | Wipe down the exterior of the air purifier with a clean cloth to remove any dust or debris. |
| 8 | Plug the air purifier back in and turn it on. |
Importance of Regular Replacement
Regularly replacing the pre-filter ensures that your air purifier continues to function effectively and maintain clean air in your home. The importance of regular maintenance cannot be overstated when it comes to ensuring the longevity of your air purifier and the benefits of clean air.
Over time, the pre-filter becomes clogged with dust, pollen, and other airborne particles, reducing its efficiency in capturing pollutants. By replacing the pre-filter on a regular basis, you ensure that your air purifier is able to effectively remove these particles from the air, improving the overall air quality in your home.
Regular maintenance not only extends the lifespan of your air purifier but also helps to maintain its performance and ensure that you and your family are breathing in clean, healthy air.
With that in mind, let’s move on to the step-by-step guide to removing the old pre-filter.

LAMPHOME 100 LED Red White and Blue Lights, 4th of July Decorations String Lights Plug in Indoor Outdoor, 16 Modes Waterproof Patriotic Light for Independence Day Holiday Memorial Day Party Decor
Patriotic Red, White & Blue String Lights: Features a premium 32.5ft white wire with 100 vibrant red, white,...
As an affiliate, we earn on qualifying purchases.
Step-by-Step Guide to Removing the Old Pre Filter
When it comes to proper pre-filter disposal, it’s important to handle it with care to avoid any potential contamination.
I will guide you through the steps to safely remove and dispose of the old pre-filter.
Once the old filter is taken care of, I will explain how to install the new filter correctly to ensure optimal performance of your air purifier.
Proper Pre Filter Disposal
To properly dispose of your pre filter, you can simply remove it from the air purifier and place it in a trash bag. However, it’s important to note that pre filters are not recyclable due to the materials they are made of.
When disposing of your pre filter, please follow these guidelines:
- Ensure that the pre filter is completely dry before placing it in the trash bag.
- Seal the trash bag tightly to prevent any dust or particles from escaping.
- Dispose of the sealed trash bag in your regular household waste bin.
By following these steps, you can safely and responsibly dispose of your pre filter.
Now, let’s move on to the next section and learn how to install the new filter for your Honeywell air purifier.
Installing the New Filter
Now that we have properly disposed of the old pre filter, it’s time to install the new one. Pre filter maintenance is crucial for the proper functioning of your Honeywell air purifier. Neglecting this step can lead to common pre filter problems such as reduced air flow and decreased efficiency.
To ensure a smooth installation process, follow these steps:
- Open the air purifier’s front panel by pressing the release button.
- Locate the pre filter compartment, usually at the bottom of the unit.
- Remove the old pre filter by gently pulling it out.
- Insert the new pre filter, making sure it fits securely.
- Close the front panel, ensuring it clicks into place.

JMEXSUSS 4th of July Decorations Red White and Blue Lights, 33ft 100 LED String Light Indoor Plug-in, 8 Modes Patriotic 4th of July Lights for Indoor Outdoor Independence Day American Flag Holiday
【Delicate and Bright 4th of July Decorations Lights】 This 4th of July Lights must be your best highlights...
As an affiliate, we earn on qualifying purchases.
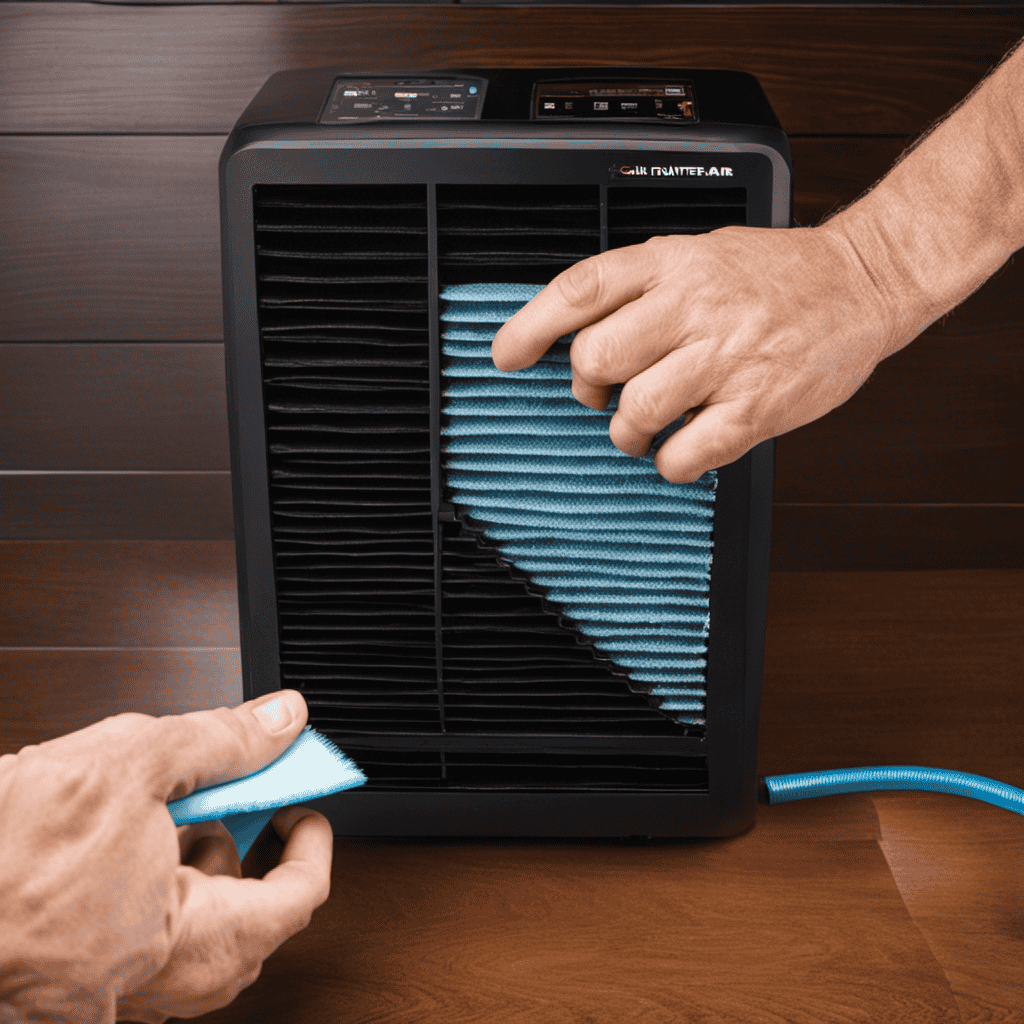
Proper Cleaning and Maintenance of the Pre Filter
Properly cleaning and maintaining the pre-filter is crucial for the longevity of your Honeywell air purifier. Neglecting this important step can lead to reduced performance and potentially damage the unit. Here are some cleaning techniques to keep your pre-filter in optimal condition:
-
Vacuuming: Use a vacuum cleaner with a brush attachment to remove loose dirt and debris from the pre-filter. This should be done every two weeks or as needed.
-
Rinsing: If the pre-filter is heavily soiled, it can be rinsed under running water to remove stubborn dirt. Make sure to let it air dry completely before reinstalling.
-
Replacing: Depending on the level of pollutants in your environment, the pre-filter may need to be replaced every three to six months. Follow the manufacturer’s instructions for proper replacement.
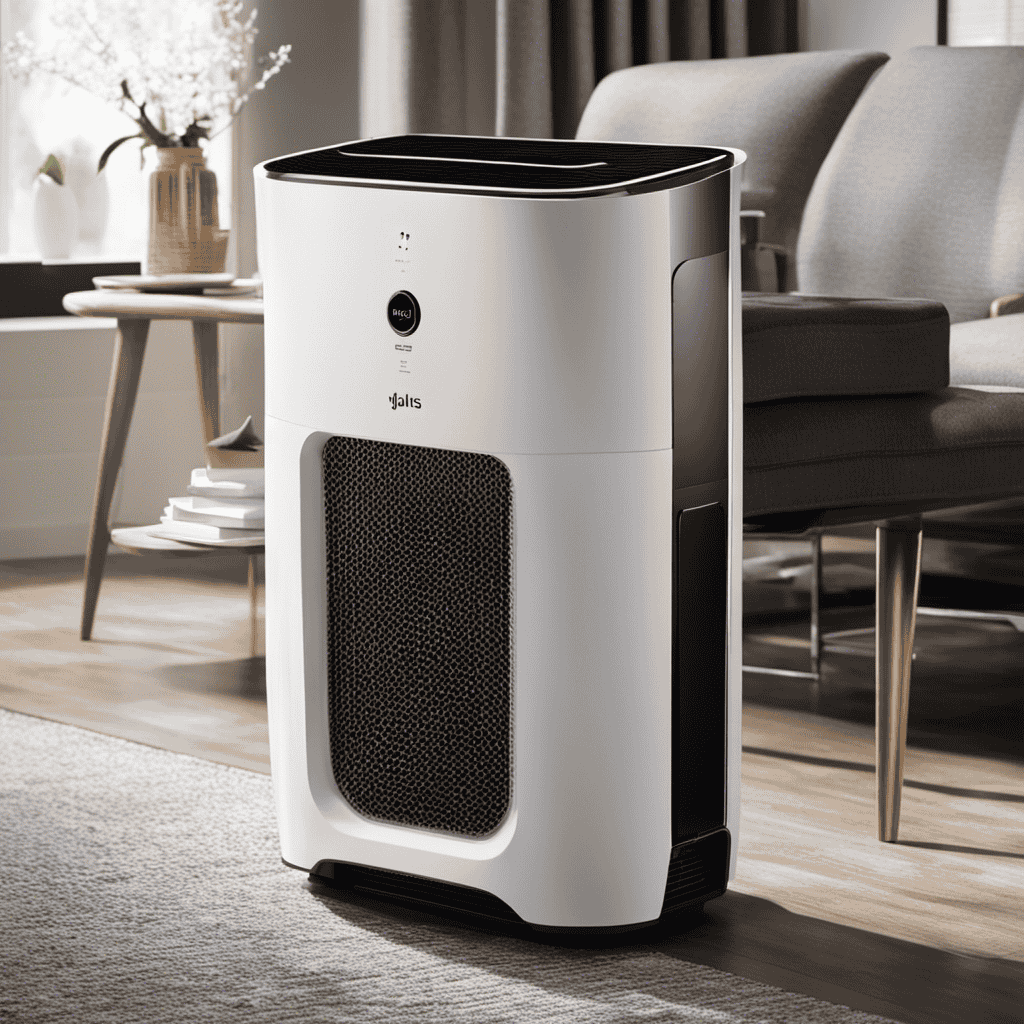
Selecting and Installing a New Pre Filter for Your Honeywell Air Purifier
When selecting and installing a new pre-filter, make sure you choose the correct size and model that is compatible with your Honeywell air purifier. Proper maintenance of your air purifier is crucial for ensuring the benefits of clean air in your home. A clean pre-filter helps to capture larger particles like dust, pet dander, and pollen, preventing them from clogging the main filter and reducing its efficiency. To help you choose the right pre-filter for your Honeywell air purifier, refer to the table below:
| Model | Compatible with |
|---|---|
| A | HPA100, HPA200 |
| B | HPA300 |
| C | HPA500 |
| D | HPA600 |
| E | HPA900 |
Testing and Verifying the Functionality of the New Pre Filter
To ensure the new pre-filter is working properly, you can test its functionality by checking if it effectively captures larger particles like dust, pet dander, and pollen. Here are some troubleshooting tips to help you verify the performance of your new pre-filter:
- Observe the air purifier’s performance over a few days to see if there is a noticeable reduction in dust accumulation on surfaces.
- Use a handheld air quality monitor to measure the level of particulate matter in the air before and after installing the new pre-filter.
- Inspect the pre-filter regularly for any visible buildup of particles. If it appears dirty or clogged, it may be time to replace it.
A clean pre-filter offers several benefits, including:
- Improved air quality by capturing larger particles before they reach the main filter.
- Extending the lifespan of the main filter by reducing its workload.
- Enhancing the overall efficiency and performance of your air purifier.
Tips and Troubleshooting for Changing the Pre Filter on Your Honeywell Air Purifier
Make sure you regularly inspect the pre-filter for any visible buildup of particles to ensure optimal performance. If you notice a significant amount of debris or dust on the pre-filter, it may be time to change it.
Changing the pre-filter on your Honeywell air purifier is a simple process that can help improve the overall efficiency of the unit. To begin, turn off the air purifier and unplug it from the power source. Locate the pre-filter compartment, typically located at the back or side of the unit. Open the compartment and carefully remove the old pre-filter. Replace it with a new pre-filter, making sure it fits securely in place. Close the compartment and plug the air purifier back in.
It is recommended to change the pre-filter every three months for optimal performance. By following these maintenance recommendations, you can ensure that your Honeywell air purifier continues to provide clean and fresh air for years to come.
Frequently Asked Questions
Can I Use a Generic Pre Filter Instead of the Specific Honeywell Pre Filter for My Air Purifier?
No, I cannot use a generic pre filter instead of the specific Honeywell pre filter for my air purifier. The Honeywell pre filter is designed to maximize effectiveness and provide the benefits of superior air filtration.
How Often Should I Change the Pre Filter in My Honeywell Air Purifier?
I change the pre filter in my Honeywell air purifier regularly to ensure optimal performance. Cleaning the pre filter is easy and necessary for maintaining clean air. Using a pre filter has many benefits.
Can I Wash and Reuse the Pre Filter Instead of Replacing It?
No, the pre filter on the Honeywell Air Purifier cannot be washed and reused. It is designed to be replaced regularly to maintain optimal performance and ensure the air purifier effectively filters out pollutants.
Are There Any Potential Health Risks Associated With Not Changing the Pre Filter Regularly?
Not changing the pre filter regularly on your Honeywell Air Purifier can pose potential health risks. It is crucial to understand the importance of regularly changing the pre filter to maintain optimal air quality and avoid any potential health issues.
Can I Still Use My Honeywell Air Purifier Without a Pre Filter?
Yes, you can still use your Honeywell air purifier without a pre filter, but it may not be as effective in removing larger particles from the air. Consider alternative options like cleaning the existing filter or troubleshooting tips for better performance.
Conclusion
In conclusion, changing the pre filter on your Honeywell air purifier is a simple yet crucial task for maintaining optimal air quality in your home.
With the proper tools and materials, you can easily remove the old pre filter and install a new one.
Remember to clean and maintain the pre filter regularly to prolong its lifespan.
Just like how a knight protects a castle from invaders, the pre filter acts as the first line of defense against pollutants, ensuring that you and your loved ones breathe clean and fresh air.
So, don’t overlook the importance of changing the pre filter and enjoy a healthier living environment.