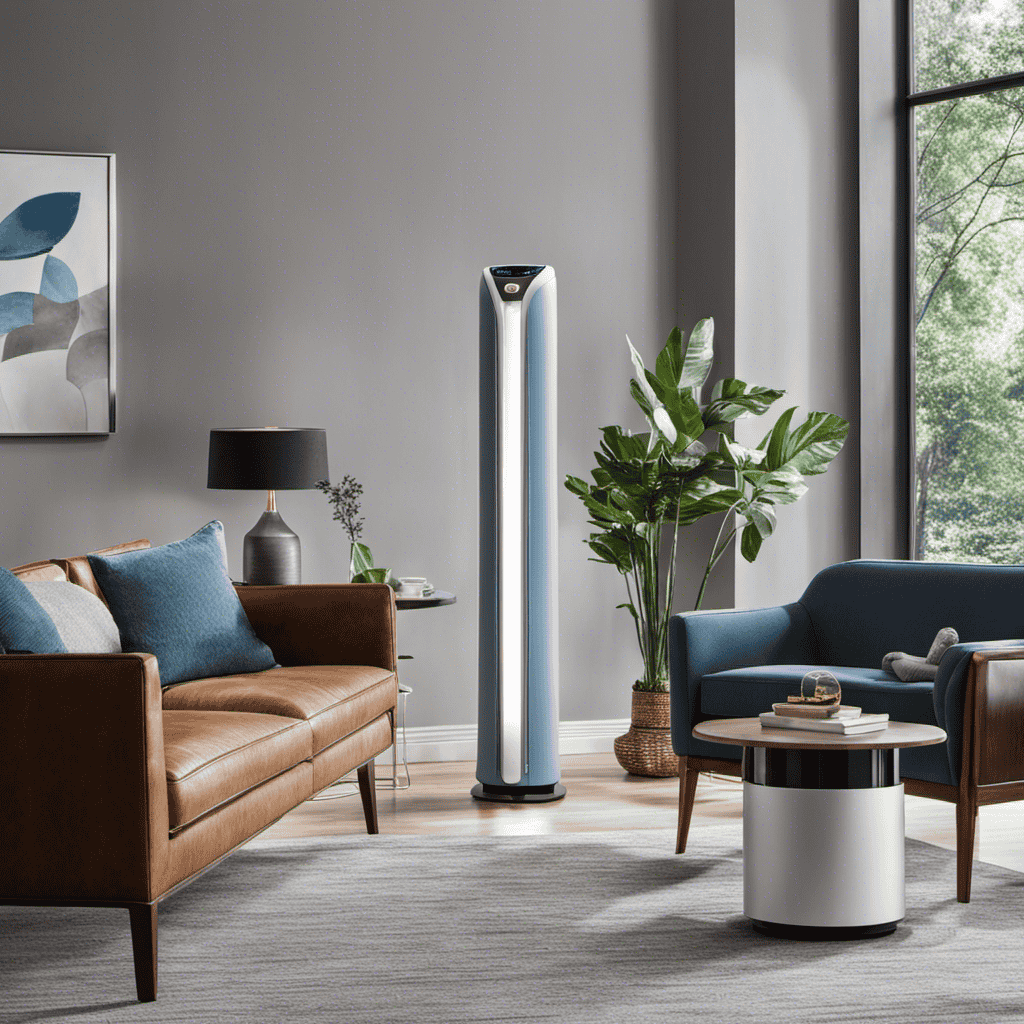
I have a secret to tell you: cleaning a Honeywell air purifier is simpler than you may realize.
In this article, I’ll guide you through the step-by-step process of keeping your air purifier in top-notch condition.
From removing the outer cover to cleaning the pre-filter, HEPA filter, air quality sensors, and even the ozone generator (if applicable), I’ll cover it all.
So, let’s dive in and learn how to clean your Honeywell air purifier like a pro.
Key Takeaways
- Honeywell offers a range of air purifier models, including the True HEPA Allergen Remover and the HPA300 True HEPA Air Purifier
- Honeywell air purifiers can capture up to 99.97% of airborne particles
- Cleaning the exterior surfaces, filters, fan blades, activated carbon filter, ionizer, UV lamp, and air intake vents is important for optimal performance
- Regular cleaning and maintenance, including replacing the HEPA filter every 12 to 18 months, is necessary for cleaner air and extended lifespan of the air purifier
Understanding the Honeywell Air Purifier
Understanding the Honeywell Air Purifier can help you effectively clean the air in your home. Honeywell offers a range of air purifier models, each designed to tackle common air pollutants and improve indoor air quality.
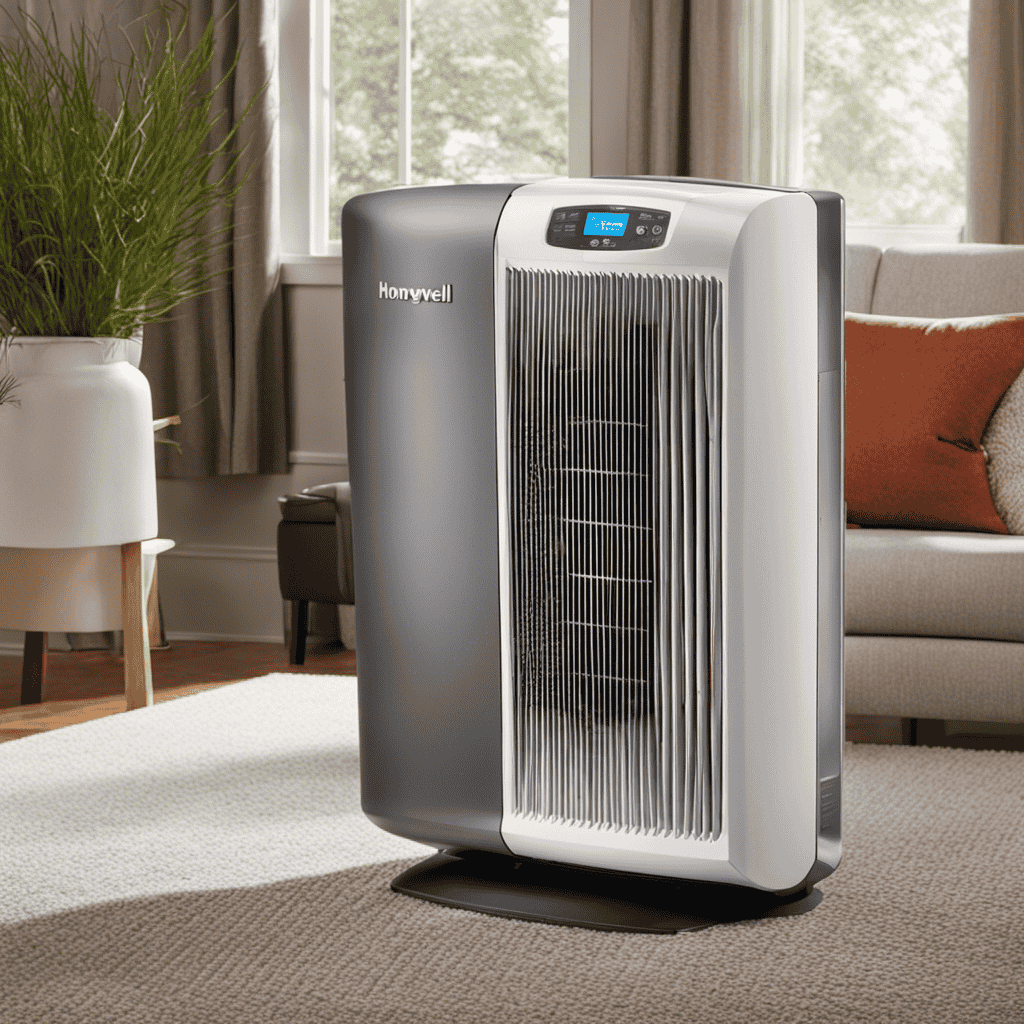
These models include the Honeywell True HEPA Allergen Remover, which is capable of capturing up to 99.97% of airborne particles as small as 0.3 microns, such as dust, pollen, pet dander, and mold spores.
Another popular model is the Honeywell HPA300 True HEPA Air Purifier, which covers larger rooms and has a turbo clean setting for maximum air purification.
In addition to these models, Honeywell also offers air purifiers with activated carbon filters to help remove odors and VOCs from the air.
Understanding the different Honeywell air purifier models and their capabilities can help you choose the right one for your specific needs and ensure cleaner, healthier air in your home.
Preparing for Cleaning
When it comes to preparing for cleaning my Honeywell air purifier, there are a few necessary cleaning tools that I always make sure to have on hand. These include a soft cloth or sponge, mild detergent or cleaning solution, and a vacuum cleaner with a brush attachment.
The steps to follow in cleaning my air purifier are straightforward and involve turning off and unplugging the unit, wiping down the exterior surfaces with a damp cloth, and removing and cleaning the filters according to the manufacturer’s instructions.
Necessary Cleaning Tools
To clean your Honeywell air purifier, you’ll need a few tools. Here are the necessary cleaning tools:
-
Soft cloth or microfiber cloth: This will be used to wipe down the exterior of the air purifier and remove any dust or dirt.
-
Vacuum cleaner with brush attachment: This will help you clean the pre-filter, which is responsible for trapping large particles like pet hair and dust.
-
Cleaning brush: This small brush will come in handy for cleaning the electronic components, such as the fan and sensors.
-
Mild soap or cleaning solution: You’ll need this to clean the filters, which can accumulate dust and debris over time.
It’s important to follow cleaning frequency guidelines provided by Honeywell to ensure optimal performance of your air purifier.
Now that we have the necessary tools, let’s move on to the steps to follow for cleaning your Honeywell air purifier.
Steps to Follow
Now that we have the necessary tools, let’s see how we can go about cleaning your Honeywell air purifier.
Cleaning your air purifier is essential to maintain its efficiency and prolong its lifespan. Here are some cleaning tips and troubleshooting common issues that you may encounter.
First, ensure that the power is turned off and unplug the unit. Start by removing the outer cover, which is usually held in place by screws or clips. Use a soft brush or vacuum cleaner to remove dust and debris from the outer cover and the air intake vents. Be careful not to damage any delicate parts.
Once the outer cover is clean, you can proceed to the next step of cleaning the filters.
Removing the Outer Cover
First, you’ll need to carefully remove the outer cover of the Honeywell air purifier. Here are the steps to follow:
- Unplug the air purifier from the power source to ensure safety.
- Locate the latches or screws that secure the outer cover in place.
- Use a screwdriver or your fingers to loosen and remove the latches or screws.
- Gently lift off the outer cover, taking care not to damage any internal components.
Cleaning the outer cover of your Honeywell air purifier is an essential maintenance task. By regularly removing and cleaning the outer cover, you can ensure that the air purifier functions optimally and efficiently. This cleaning technique helps to remove dust, pet hair, and other particles that may accumulate on the outer cover over time. Additionally, cleaning the outer cover improves the airflow and extends the lifespan of the air purifier.
Now that you have successfully removed the outer cover, let’s move on to the next step: cleaning the pre-filter.
Cleaning the Pre-Filter
Once the outer cover is removed, you’ll notice the pre-filter located inside the Honeywell air purifier. Cleaning the pre-filter is an essential part of the maintenance process to ensure optimal performance. The pre-filter captures larger particles such as dust, pet hair, and lint, preventing them from clogging the main HEPA filter.
To clean the pre-filter, follow these simple steps:
- Remove the pre-filter from the air purifier.
- Use a vacuum cleaner with a brush attachment to remove the loose debris from the pre-filter.
- Rinse the pre-filter under running water to remove any remaining dirt.
- Gently squeeze the pre-filter to remove excess water.
- Allow the pre-filter to air dry completely before reinserting it into the air purifier.
Regular pre-filter maintenance will prolong the lifespan of your Honeywell air purifier and ensure that it continues to effectively remove airborne pollutants from your indoor environment.
Cleaning the HEPA Filter
When it comes to maintaining the filters in your air purifier, there are a few important tips to keep in mind.
First, it’s crucial to follow the manufacturer’s guidelines for cleaning frequency to ensure optimal performance.
Additionally, knowing the proper cleaning techniques for each type of filter, such as gently vacuuming or washing, will help prolong their lifespan and effectiveness.
Filter Maintenance Tips
To maintain your Honeywell air purifier’s filters, you should regularly vacuum or brush off the pre-filter to remove dust and debris. Here are some filter maintenance tips to ensure optimal performance:
-
Filter Replacement: Check the manufacturer’s instructions for recommended filter replacement intervals. Replace the pre-filter and HEPA filter as needed to maintain clean air quality.
-
Cleaning Schedule: Set a regular cleaning schedule for your air purifier. This will help prevent a buildup of dust and maintain its efficiency.
-
Troubleshooting Tips: If you notice a decrease in airflow or strange odors, check the filters for dirt or damage. Clean or replace them if necessary. Also, make sure the air purifier is placed in an open area for optimal air circulation.
-
Professional Maintenance: Consider having your air purifier serviced by a professional technician annually. They can thoroughly clean the unit and inspect for any potential issues.
Cleaning Frequency Guidelines
Now that we’ve covered filter maintenance tips, let’s discuss the recommended cleaning schedule for your Honeywell air purifier.
Proper and regular cleaning is essential for maintaining optimal performance and prolonging the life of your device.
To keep your air purifier in top condition, it is recommended to clean the exterior housing and controls every two weeks. Use a soft, damp cloth to wipe away any dust or debris. Avoid using harsh chemicals or abrasive materials that may damage the surface.
Additionally, the pre-filter should be cleaned every three months or when visibly dirty. Gently vacuum or rinse the pre-filter under running water to remove trapped particles. Allow it to dry completely before reinstalling.
Remember to consult the user manual for specific instructions, as cleaning requirements may vary depending on the model.
Following these cleaning tips and recommended schedule will help ensure that your Honeywell air purifier continues to provide clean and fresh air for you and your family.
Proper Cleaning Techniques
You should use a soft, damp cloth to wipe away any dust or debris from the exterior housing and controls of your device.
Here are some cleaning techniques and troubleshooting tips to keep your Honeywell air purifier in top condition:
-
Clean the pre-filter regularly: Remove the pre-filter and gently vacuum it to remove larger debris. If necessary, rinse it with water and let it dry before reinstalling.
-
Replace the filters: Follow the manufacturer’s instructions on when to replace the filters. It’s usually recommended to replace them every 3-6 months for optimal performance.
-
Clean the fan blades: Use a soft brush or cloth to remove any dust or dirt from the fan blades. Be careful not to bend or damage them.
-
Check the power cord and connections: Ensure that the power cord is securely plugged in and there are no loose or damaged connections. This can help troubleshoot any power-related issues.
Cleaning the Activated Carbon Filter
Cleaning the activated carbon filter is essential for maintaining the effectiveness of your Honeywell air purifier. The carbon filter plays a crucial role in trapping odors, gases, and volatile organic compounds (VOCs) present in the air. To ensure its optimal performance, regular cleaning is necessary.
Start by turning off the air purifier and unplugging it from the power source. Carefully remove the carbon filter from the unit and gently vacuum it with a soft brush attachment to remove any loose debris. If the filter is heavily soiled, you can rinse it under running water, making sure to avoid using any harsh chemicals or detergents.
Allow the filter to dry completely before reinserting it into the air purifier. By following these proper cleaning techniques and incorporating regular carbon filter maintenance, you can ensure that your Honeywell air purifier continues to provide fresh and clean air.
Now, let’s move on to cleaning the ionizer.
Cleaning the Ionizer
Maintaining the ionizer in your air purifier is crucial for optimal performance and efficiency. Regular cleaning of the ionizer not only ensures that it functions properly, but also helps to extend its lifespan.
Ionizer Maintenance Tips
To keep the ionizer functioning properly, it’s important to regularly clean the collection blades. The ionizer cleaning methods are as follows:
- Turn off the ionizer and unplug it from the power source.
- Remove the front cover of the ionizer to access the collection blades.
- Gently wipe the collection blades with a soft, damp cloth to remove any dust or debris.
- Allow the collection blades to dry completely before reassembling the ionizer.
Regular cleaning of the ionizer offers several benefits, such as:
- Improved air quality: By removing the accumulated particles from the collection blades, the ionizer can effectively capture and remove airborne contaminants, improving the overall air quality.
- Enhanced performance: Clean collection blades ensure optimal ionization, allowing the ionizer to function at its best and provide maximum air purification.
- Extended lifespan: Regular maintenance prevents the buildup of dirt and dust, which can cause damage to the ionizer over time.
- Energy efficiency: A clean ionizer operates more efficiently, consuming less energy and reducing electricity costs.
Benefits of Regular Cleaning
By regularly keeping up with maintenance, you’ll experience cleaner air, improved performance, and a longer-lasting ionizer.
Regular maintenance is crucial for ensuring that your Honeywell air purifier operates at its best. One of the key benefits of regular maintenance is cleaner air. As you clean and replace filters, you remove dust, pollen, and other airborne particles, resulting in fresher and healthier air for you and your family to breathe.
In addition, regular maintenance also improves the performance of your air purifier. Clean filters and a well-maintained unit allow for efficient air circulation and more effective removal of pollutants.
Lastly, a clean and well-maintained ionizer will last longer. Cleaning routines, such as wiping down the unit and removing any accumulated dust or debris, help prevent mechanical issues and extend the lifespan of your air purifier.
Cleaning the UV Lamp
You’ll want to make sure you regularly clean the UV lamp in your Honeywell air purifier. The UV lamp plays a crucial role in eliminating harmful bacteria and viruses from the air.
Here are some techniques for proper UV lamp maintenance:
- Turn off the air purifier and unplug it from the power source before cleaning the UV lamp.
- Use a soft, lint-free cloth or cotton swab to gently wipe the surface of the lamp. Avoid using abrasive materials that could damage the lamp.
- If there is stubborn dirt or residue, you can dampen the cloth or cotton swab with a mild cleaning solution specifically designed for UV lamps.
- Allow the lamp to dry completely before reassembling and powering on the air purifier.
By regularly cleaning the UV lamp, you ensure its effectiveness in purifying the air.
Now, let’s move on to cleaning the fan blades for optimal performance.
Cleaning the Fan Blades
After cleaning the UV lamp, it’s important to clean the fan blades of your Honeywell air purifier. Over time, dust and debris can accumulate on the blades, reducing their efficiency and potentially causing the motor to work harder.
To clean the fan blades, start by unplugging the air purifier and removing the front grille. Use a soft brush or vacuum cleaner with a brush attachment to gently remove any loose dirt or dust from the blades.
For stubborn stains or buildup, dampen a cloth with warm water and a mild detergent. Carefully wipe the blades, being mindful not to get the motor wet. Once the blades are clean, allow them to dry completely before reassembling the air purifier.
Regularly cleaning the motor and removing stubborn stains will help to maintain the performance and longevity of your Honeywell air purifier.
Cleaning the Air Intake Vents
When it comes to maintaining optimal air quality in your home, one key aspect to consider is removing dust build-up from your air intake vents.
Over time, these vents can accumulate a significant amount of dust and debris, which can hinder the performance of your air purifier and affect the quality of the air you breathe.
Removing Dust Build-Up
To remove dust build-up, simply unplug the air purifier and gently wipe the exterior with a soft cloth. Proper cleaning techniques are essential for maintaining optimal air quality.
Here are four steps to effectively remove dust build-up from your Honeywell air purifier:
-
Unplug the air purifier: Ensure the device is not connected to any power source to prevent any electrical accidents.
-
Wipe the exterior: Use a soft, lint-free cloth to wipe away the dust from the surface of the air purifier. Avoid using harsh chemicals or abrasive materials that could damage the device.
-
Clean the air intake vents: Locate the intake vents and carefully remove any dust or debris using a vacuum cleaner or a soft brush attachment. This will help enhance the airflow and overall performance of the purifier.
-
Reassemble and plug in: Once the exterior and intake vents are clean, reassemble any parts that were removed and plug the air purifier back into a power source.
Maintaining Optimal Air Quality
Now that we have removed the dust build-up from the Honeywell air purifier, it’s important to maintain optimal air quality by ensuring the filter efficiency and preventing mold growth. Here are some key steps to follow:
-
Regularly clean or replace the filters: Check the manufacturer’s instructions for guidance on how often to clean or replace the filters. This will help maintain the air purifier’s efficiency in capturing airborne particles.
-
Keep the air purifier in a dry environment: Moisture can promote mold growth and reduce the effectiveness of the filters. Avoid placing the air purifier in damp areas and make sure the surrounding environment is well-ventilated.
-
Clean the air purifier’s exterior: Wipe down the exterior of the air purifier with a damp cloth to remove any dust or dirt that may have accumulated.
By following these steps, you can ensure that your Honeywell air purifier continues to provide clean and fresh air.
Now, let’s move on to cleaning the control panel.
Cleaning the Control Panel
You’ll need to start by unplugging the air purifier before cleaning the control panel. Cleaning the control panel is an essential part of maintaining your Honeywell air purifier and ensuring its optimal performance.
Here are the steps to clean the control panel:
-
Use a soft, lint-free cloth dampened with water or a mild cleaning solution to wipe the control panel gently. Avoid using abrasive cleaners or harsh chemicals as they can damage the panel.
-
Pay special attention to any buttons or knobs on the control panel. Use a soft brush or cotton swab dipped in the cleaning solution to remove any dirt or grime from these areas.
-
Dry the control panel thoroughly with a clean, dry cloth to prevent any moisture from entering the internal components of the air purifier.
-
Once the control panel is completely dry, plug the air purifier back in and resume normal operation.
Regular cleaning and control panel maintenance will ensure that your Honeywell air purifier continues to provide you with clean, fresh air.
Cleaning the Air Quality Sensors
Start by unplugging the device before cleaning the air quality sensors.
Cleaning the sensor cover is an important step in maintaining the optimal performance of your Honeywell air purifier.
To begin, locate the sensor cover on the device. Gently remove the cover by using a screwdriver or any other appropriate tool.
Once the cover is removed, carefully clean it using a soft cloth or sponge dampened with mild soap and water. Avoid using harsh chemicals or abrasive materials that could damage the cover.
After cleaning, ensure that the cover is completely dry before reinstalling it.
If you are experiencing sensor issues even after cleaning, try troubleshooting by resetting the device or contacting the manufacturer for further assistance.
Cleaning the Ozone Generator (If Applicable
To clean the ozone generator, gently remove the cover and wipe it down with a soft cloth or sponge dampened with mild soap and water. Here are the steps to follow:
-
Turn off the air purifier and unplug it from the power source to ensure safety while cleaning.
-
Carefully remove the cover of the ozone generator, taking note of any screws or clips that may need to be undone.
-
Use a soft cloth or sponge dampened with mild soap and water to wipe down the surface of the ozone generator. Be sure to clean all areas thoroughly, including any filters or vents.
-
Once you have finished cleaning, allow the ozone generator to dry completely before reassembling the air purifier.
It’s important to follow these safety precautions while cleaning the ozone generator to avoid any damage or injury.
Now, let’s move on to reassembling the air purifier.
Reassembling the Air Purifier
Now that you’ve finished cleaning the ozone generator, it’s time to carefully reassemble the cover and ensure all screws or clips are securely fastened.
When reassembling your air purifier, it’s important to follow a few tips to ensure proper functioning.
First, make sure to align the cover correctly with the unit, ensuring that all the tabs and slots fit together snugly.
Next, tighten the screws evenly, starting from one side and working your way to the other. This will prevent any gaps or misalignment.
If you encounter any issues during reassembly, such as difficulty fitting the cover or loose screws, double-check that all the components are clean and free of debris.
If problems persist, consult the user manual or contact customer support for further assistance.
Maintenance Tips for Longevity
For optimal performance and to extend the lifespan of your unit, it’s essential to regularly replace the filters in your air purifier. Neglecting this crucial maintenance task can lead to a decline in air quality and potential damage to the unit.
To ensure your air purifier continues to operate at its best, follow these maintenance tips:
-
Check the filter indicator: Most air purifiers come with a filter indicator that alerts you when it’s time for a replacement. Keep an eye on this indicator and replace the filters as recommended by the manufacturer.
-
Follow the manufacturer’s instructions: Each air purifier has specific instructions for filter replacement. Carefully read the user manual to understand the correct procedure and type of filters to use.
-
Clean the pre-filter: Some air purifiers have a pre-filter that traps larger particles. Regularly clean this filter to prevent clogging and ensure efficient functioning.
-
Troubleshoot common issues: If you notice a decrease in airflow or unusual noise, it could indicate a problem with the filters. Troubleshoot these issues by checking the filters for dirt or damage and replacing them if necessary.
Frequently Asked Questions
Is It Safe to Use Water to Clean the Honeywell Air Purifier?
It’s safe to use water to clean a Honeywell air purifier, but there are pros and cons. Water can effectively remove dirt and debris, but there’s a risk of damaging the electronic components. Alternatively, you can clean the purifier without water using a soft cloth and a vacuum.
Can I Use Any Cleaning Solution to Clean the Filters?
I wouldn’t recommend using any cleaning solution on the filters of a Honeywell Air Purifier. It’s best to follow the manufacturer’s instructions and use proper cleaning techniques to maintain optimal performance.
How Often Should I Clean the Fan Blades of the Air Purifier?
I clean the fan blades of my air purifier regularly to maintain its efficiency. It is important to follow proper cleaning techniques and do it at least once a month to ensure optimal performance.
Can I Clean the Control Panel With a Wet Cloth?
No, it is not recommended to clean the control panel with a wet cloth. To properly clean a Honeywell Air Purifier, refer to the cleaning tips and maintenance guide provided by the manufacturer.
Should I Clean the Air Quality Sensors Regularly?
Yes, it is important to clean the air quality sensors regularly as part of the maintenance schedule. Use a soft cloth lightly dampened with water to gently wipe the sensors clean.
Is There a Specific Way to Clean a Honeywell Air Purifier Compared to Other Models?
When cleaning Honeywell air purifier, follow the specific guidelines from the user manual. Using a soft, damp cloth, gently wipe the exterior of the purifier. For the inside, the filters may need to be replaced or vacuumed. Always unplug the unit before cleaning Honeywell air purifier to ensure safety.
Conclusion
In conclusion, cleaning a Honeywell air purifier is a straightforward process that can significantly improve the air quality in your home. By following the steps outlined in this article, you can ensure that your air purifier continues to function optimally and provide you with clean and fresh air.
Remember, just like with any appliance, regular maintenance is key to its longevity. So, don’t forget to clean the filters, sensors, and outer cover regularly to keep your air purifier in top shape.
As the saying goes, "A breath of fresh air is worth its weight in gold."
