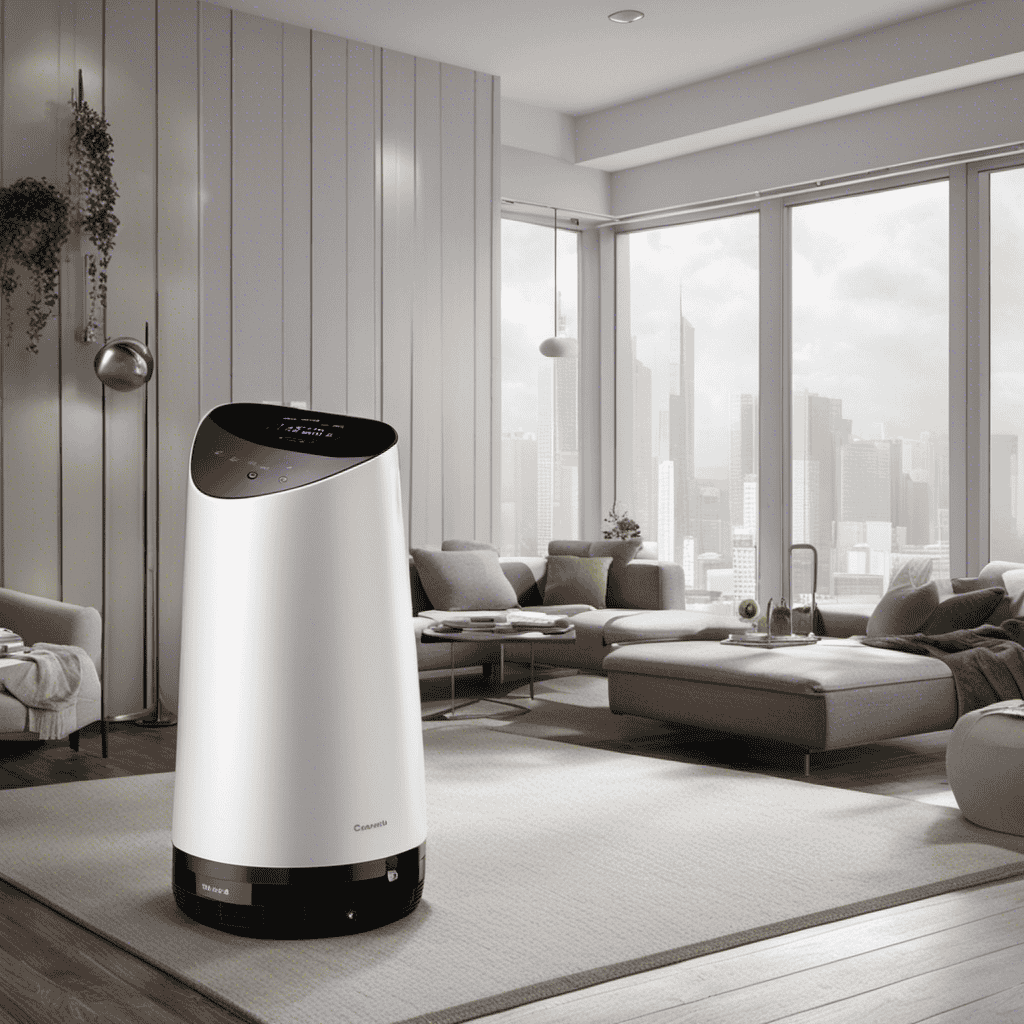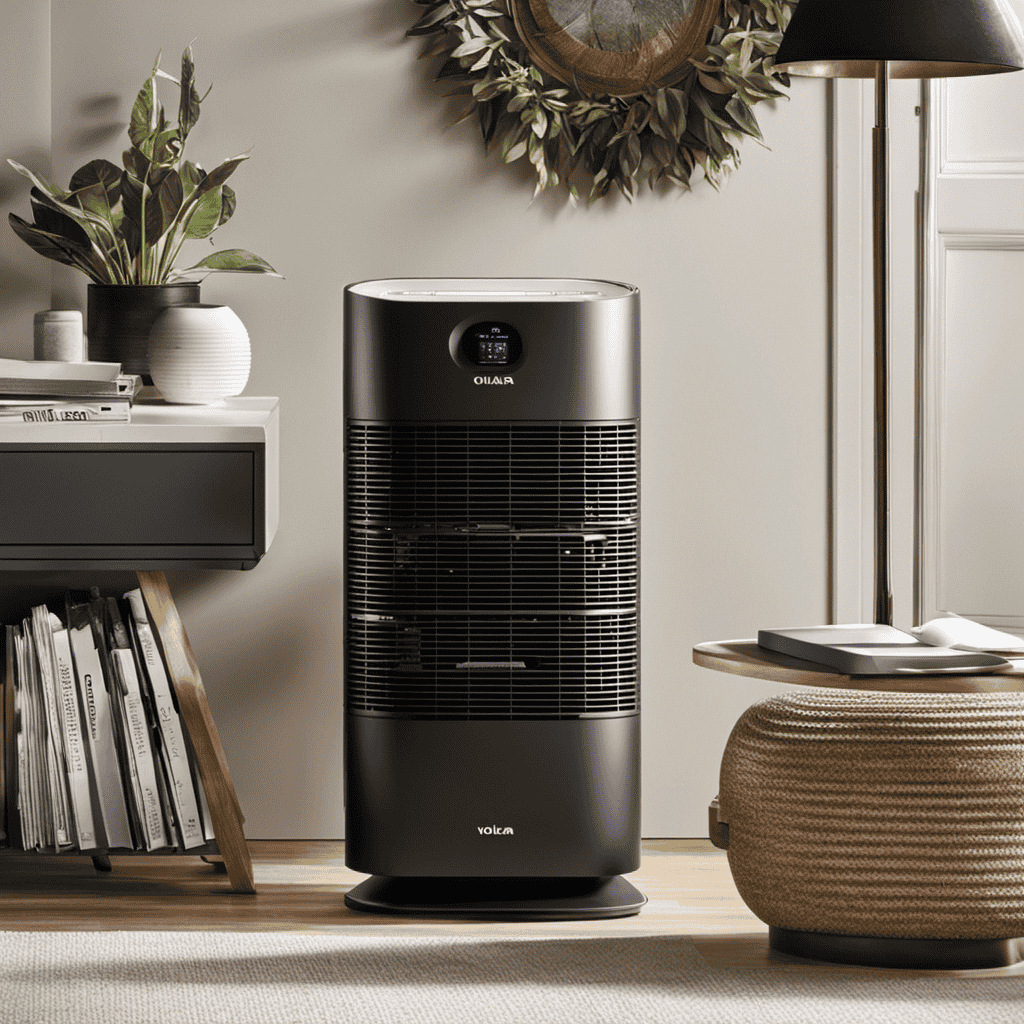
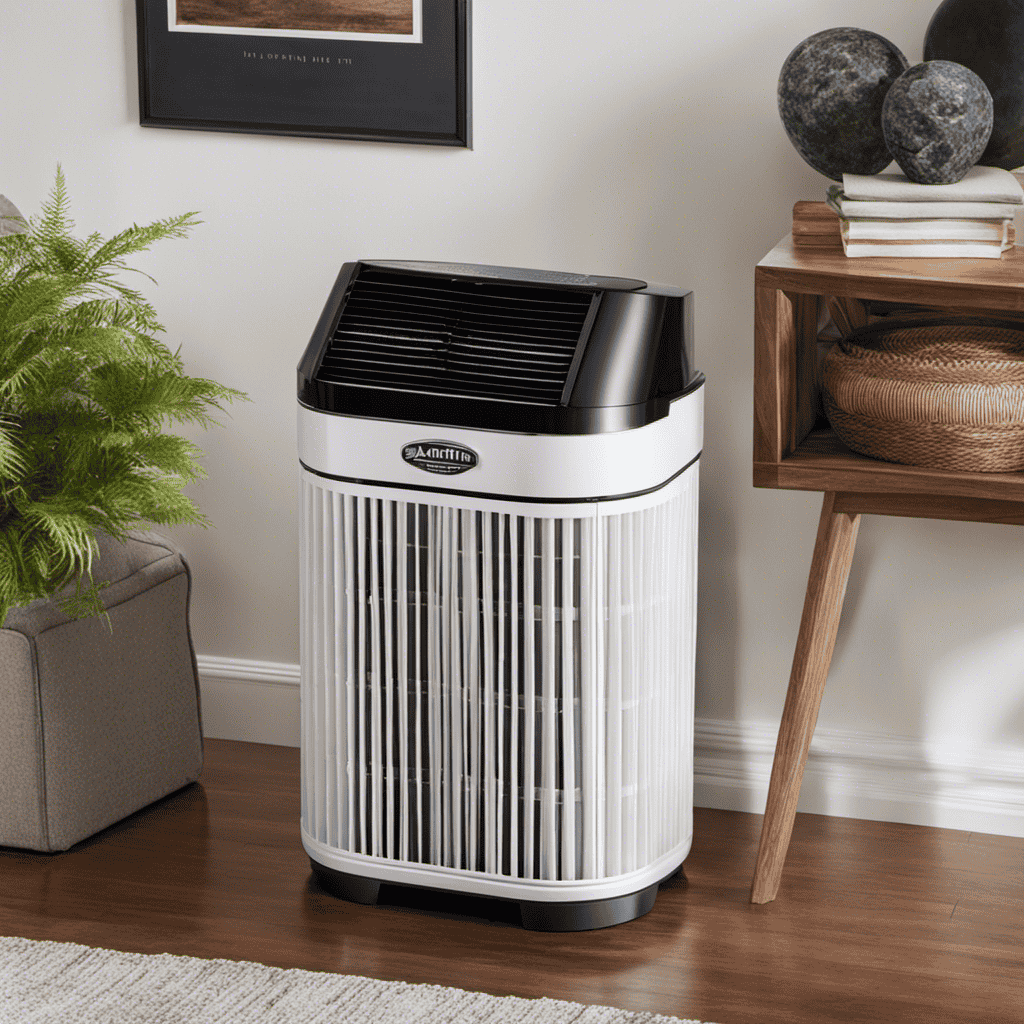
As a proud owner of a Vollara air purifier, I understand the importance of keeping it clean for optimal performance.
In this article, I will guide you through the step-by-step process of cleaning your Vollara air purifier, ensuring that you effectively remove dirt, dust, and allergens from your home.
From understanding the components to maintaining the ionization plates, I’ll provide detailed instructions to help you keep your air purifier in top shape.
Let’s dive in and make your air purifier shine like new!
Key Takeaways
- Proper storage and maintenance of components like filters, front cover, and air intake vents is important for efficiency and longevity of Vollara air purifiers.
- Regular cleaning and replacement of filters is necessary to maintain air purification performance and prevent clogging.
- Noisy operation may be caused by loose parts or a malfunctioning fan, which can be resolved through troubleshooting and cleaning or replacing parts.
- Safety precautions should be taken, such as wearing gloves and ventilating the area, and the device should be unplugged and turned off before cleaning to prevent electrical hazards.

DEWALT Drill Bit Set, 3-Flats Shank,14-Piece, 135 Degree Split Point, for Plastic, Wood and Metal (DWA1184)
135 Degree Split point tip design to help reduce walking
As an affiliate, we earn on qualifying purchases.
Understanding the Components of a Vollara Air Purifier
Before we dive into cleaning, let’s understand the components of a Vollara air purifier.
Proper storage of a Vollara air purifier is essential to maintain its efficiency and longevity. When not in use, it is recommended to store the purifier in a cool, dry place, away from direct sunlight and extreme temperatures. This helps prevent any damage to the internal components.
Now, let’s address some common troubleshooting issues with Vollara air purifiers.
One of the most common issues is a decrease in air purification performance. This could be due to a clogged filter, which can be resolved by cleaning or replacing it.
Another issue is a noisy operation, which can be caused by loose parts or a malfunctioning fan. Tightening the screws or contacting customer support can help resolve this problem.

DEWALT 20V MAX Cordless Drill Driver Set, Electric Drill, Brushless 1/2 In 2 Speed, 2.0 Ah Battery and Charger Included, LED Light (DCD777D1)
DEWALT Power drill brushless motor delivers more run time over brushed
As an affiliate, we earn on qualifying purchases.
Preparing for the Cleaning Process
Before starting the cleaning process, it’s important to gather all the necessary cleaning supplies. These supplies may include a vacuum cleaner, microfiber cloths, all-purpose cleaner, glass cleaner, and gloves.
Once the supplies are ready, it’s essential to follow the cleaning steps explained in order to ensure a thorough and effective cleaning.
Additionally, it’s crucial to take safety precautions such as wearing gloves and ventilating the area to minimize exposure to cleaning chemicals and maintain a safe environment.
Cleaning Supplies Needed
To clean your Vollara air purifier, you’ll need a few supplies.
The first essential item is a soft cloth or microfiber cloth to wipe down the exterior of the purifier. This will help remove any dust or dirt that has accumulated on the surface.
Next, you’ll need a vacuum cleaner with a brush attachment. This will be used to clean the air intake vents and remove any dust or debris that may have built up inside the purifier.
Additionally, a small brush, such as a toothbrush, can be used to clean hard-to-reach areas.
Lastly, you’ll need mild soap and water to clean the filters. It’s important to follow the manufacturer’s instructions for cleaning techniques and to maintain a regular maintenance schedule to ensure optimal performance of your Vollara air purifier.
Cleaning Steps Explained
Start by unplugging the device and ensuring that it’s turned off.
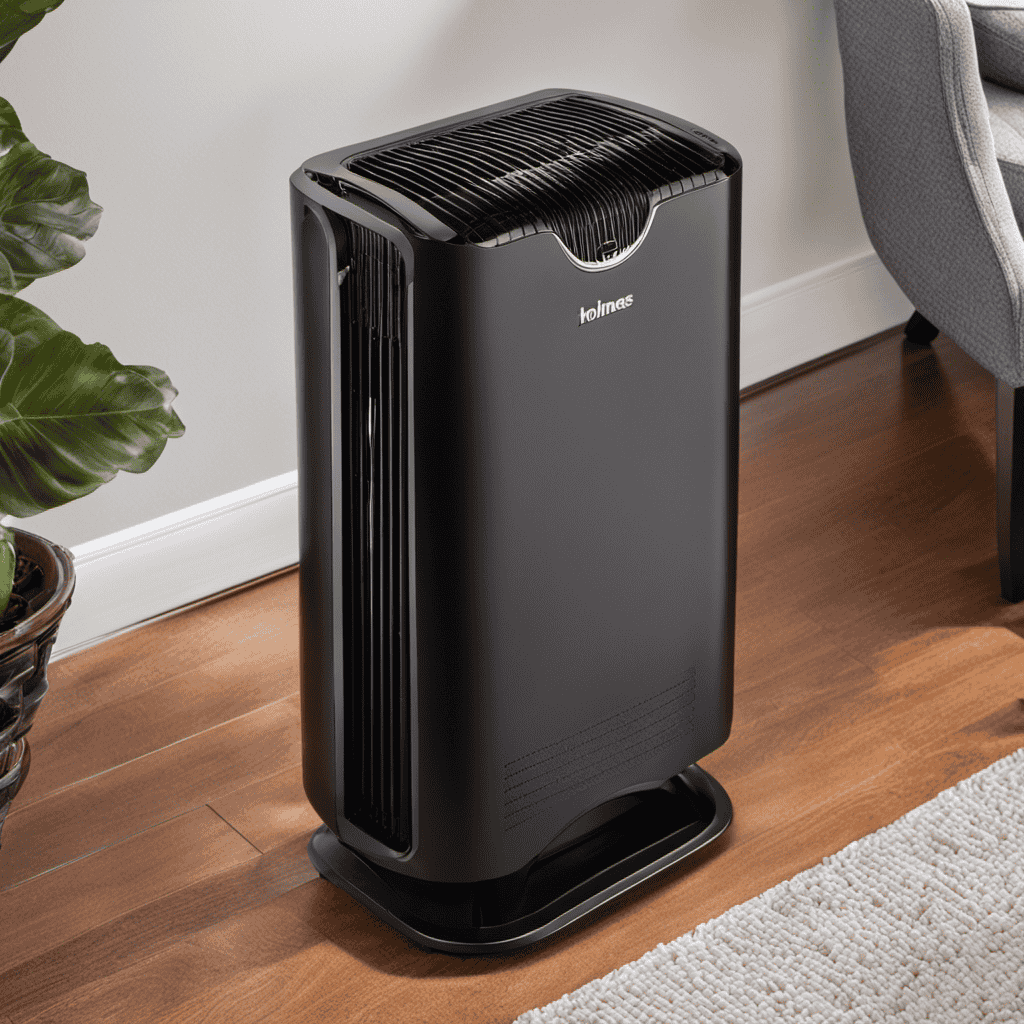
Cleaning the Vollara air purifier is an essential task to maintain its efficiency and functionality.
To begin, remove the front cover by gently pulling it away from the unit.
Use a soft, damp cloth to wipe the front cover, making sure to remove any dust or debris.
Next, clean the pre-filter by rinsing it under running water and allowing it to air dry completely.
For the main HEPA filter, gently vacuum it to remove any loose particles. If the filter is heavily soiled, it may need to be replaced.
Finally, reassemble the unit and plug it back in.
Safety Precautions to Take
Make sure that the device is unplugged and turned off, as it is important to take safety precautions when cleaning. This will prevent any potential damage and help avoid electrical hazards.
Before starting the cleaning process, it is crucial to ensure that the power source is completely disconnected. This will safeguard you from any accidental shocks or short circuits.
Additionally, it is recommended to wear protective gloves to protect your hands from any chemicals or dirt that may be present during the cleaning.
Once you have taken these safety measures, you can proceed with confidence to the next step: removing and cleaning the filters.

DEWALT 20V MAX 5 Ah Lithium Ion Battery 2-Pack (DCB205-2)
Reliable runtime. DeWalt 20v Max XR battery: take on tough jobs with DEWALT replacement batteries that deliver a...
As an affiliate, we earn on qualifying purchases.
Removing and Cleaning the Filters
When it comes to removing and cleaning the filters of a Vollara air purifier, there are a few key points to consider.
Firstly, understanding the types of filters used in the purifier is essential for proper maintenance.
Secondly, following a regular maintenance schedule is crucial for ensuring the longevity and effectiveness of the filters.
Lastly, learning and implementing the correct cleaning techniques will help in maintaining the filters’ optimal performance and prolong their lifespan.
Types of Filters
To understand the types of filters in your Vollara air purifier, first, you should check the manufacturer’s specifications.
The Vollara air purifier typically comes with multiple filters to ensure efficient air purification. The most common filters are the pre-filter, carbon filter, and HEPA filter.
The pre-filter helps to capture larger particles like dust and pet hair, extending the life of the other filters.
The carbon filter helps to remove odors and harmful gases from the air.
The HEPA filter is designed to capture small particles, such as allergens, mold spores, and bacteria.
It is important to regularly check and replace these filters to maintain the optimal performance of your air purifier. Follow the manufacturer’s instructions for filter replacement and maintenance to ensure clean and healthy air in your home.
Maintenance Schedule
In my experience with air purifiers, I’ve learned that proper maintenance is essential for optimal performance. Here are some common maintenance mistakes to avoid when troubleshooting your Vollara air purifier:
-
Neglecting to change the filters regularly: Filters play a crucial role in trapping airborne particles. Failing to replace them as recommended can reduce the purifier’s efficiency.
-
Overlooking the pre-filter: The pre-filter is the first line of defense against larger particles. Forgetting to clean or replace it can lead to clogging and decreased airflow.
-
Ignoring the air intake vents: Dust and debris can accumulate on the air intake vents, hindering the purifier’s performance. Regularly cleaning these vents will ensure proper airflow.
-
Skipping the cleaning of internal components: Over time, dust and pollutants can build up on the internal components of the purifier. Neglecting their cleaning can affect the purifier’s overall functionality.
By avoiding these common maintenance mistakes, you can ensure that your Vollara air purifier continues to provide clean and healthy air.
Now, let’s move on to the next section and explore some effective cleaning techniques.
Cleaning Techniques
Make sure you regularly wipe down the exterior surfaces of the device to remove any dust or dirt that may have accumulated. This will help maintain the cleanliness and efficiency of your Vollara air purifier.
In addition to regular wiping, there are a few cleaning tips and best practices that you can follow to ensure optimal performance. Here are some techniques to keep in mind:
-
Cleaning the Pre-Filter: This is the first line of defense in capturing larger particles. Remove the pre-filter and gently vacuum or rinse it under running water. Let it dry completely before reattaching.
-
Cleaning the HEPA Filter: The HEPA filter is responsible for capturing smaller particles. Check the manufacturer’s instructions for guidance on cleaning or replacing the filter. Some models may require vacuuming or rinsing, while others may need to be replaced entirely.
-
Cleaning the Ionizer Plates: If your Vollara air purifier has ionizer plates, they should be cleaned regularly to remove any buildup. Follow the manufacturer’s instructions for proper cleaning techniques.

Rubbermaid Brilliance 16-Cup Airtight Food Storage Container with Lid Clear/Grey - optimal for pantry organization flour sugar and food storage
Modular Design: Rubbermaid Storage Containers are compact and stackable, optimizing your kitchen storage space.
As an affiliate, we earn on qualifying purchases.
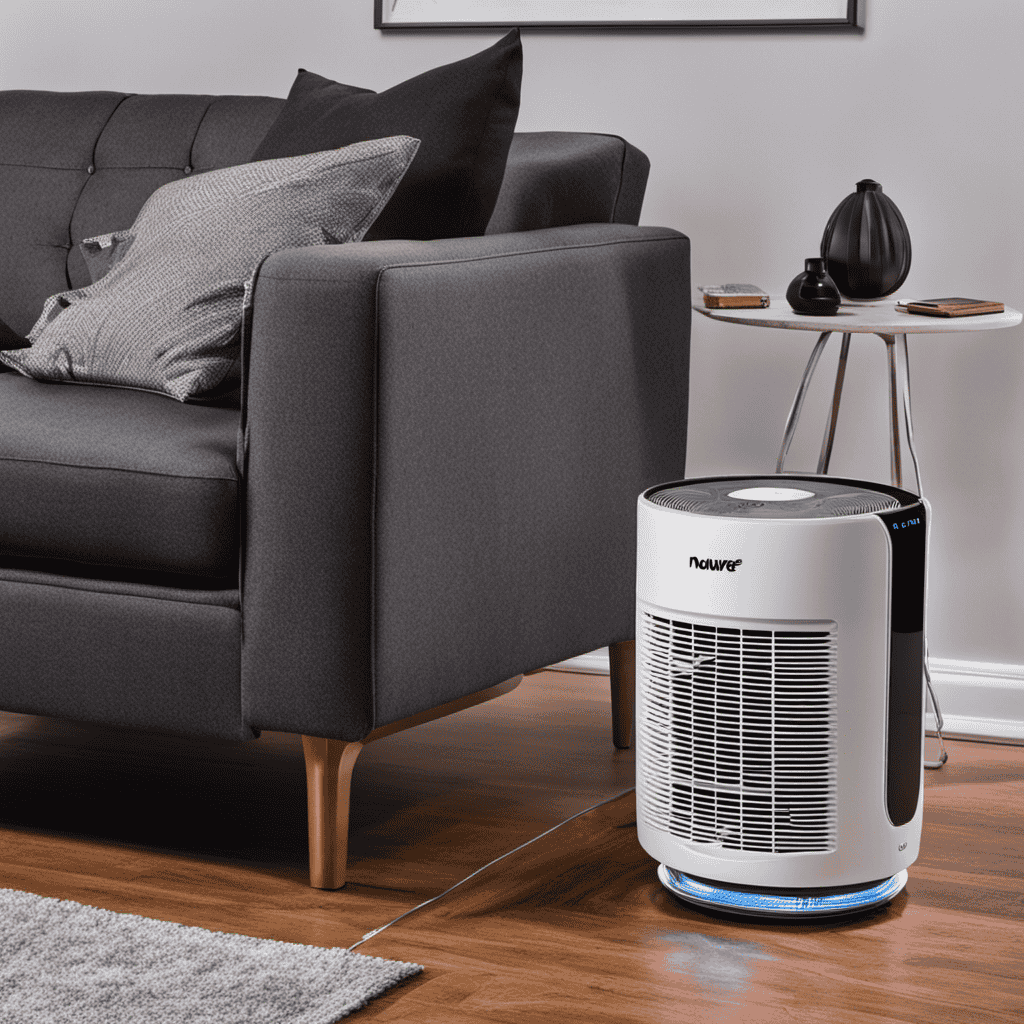
Cleaning the Exterior of the Air Purifier
You’ll want to wipe down the exterior of the air purifier with a damp cloth to remove any dust or dirt that may have accumulated. Here are the steps to follow for cleaning the exterior of your Vollara air purifier:
- Start by unplugging the purifier from the power source to ensure safety.
- Take a soft, damp cloth and gently wipe the surface of the purifier. Make sure to clean all sides, including the top and bottom.
- Pay special attention to the air intake and outlet vents, as these areas tend to collect more dust. Use a cotton swab or a small brush to remove any stubborn dirt.
- Once you have wiped down the entire exterior, allow the purifier to air dry completely before plugging it back in.
Cleaning the exterior is an important step in maintaining your air purifier’s performance and preventing dust buildup.
Now, let’s move on to cleaning the fan and ventilation system.
Cleaning the Fan and Ventilation System
To properly maintain your air purifier, it’s important to regularly clean the fan and ventilation system. This ensures that the air flows smoothly and efficiently through the purifier, allowing it to effectively remove impurities from the air. Cleaning the fan and ventilation system is relatively simple and can be done using a soft brush or cloth to gently remove any dust or debris. It’s also important to clean the pre-filter regularly, as it helps to trap larger particles before they reach the main filter. Troubleshooting common cleaning issues may include checking for any clogs or blockages in the ventilation system, ensuring that the fan is functioning properly, and replacing the pre-filter if it becomes excessively dirty or damaged.
| Cleaning Tips | Description |
|---|---|
| Use a soft brush or cloth | Gently remove dust and debris |
| Clean the pre-filter | Traps larger particles |
| Check for clogs or blockages | Ensure proper airflow |
| Replace pre-filter if necessary | Excessively dirty or damaged |
Maintaining the Ionization Plates
If your ionization plates are not regularly maintained, they may become dirty and less effective at removing impurities from the air. To ensure optimal performance and longevity of your Vollara air purifier, here are some key steps to maintain and troubleshoot the ionization plates:
-
Regular cleaning: Gently remove the plates from the unit and wipe them with a soft cloth or sponge. Avoid using harsh chemicals or abrasive materials that could damage the plates.
-
Deep cleaning: For stubborn buildup, soak the plates in warm, soapy water for 15-20 minutes. Rinse thoroughly and allow them to air dry before reinstalling.
-
Inspection: Check for any signs of physical damage or corrosion on the plates. Replace them if necessary to maintain the effectiveness of the purifier.
-
Testing: If you notice a decrease in air purification performance, conduct a test by temporarily removing the ionization plates. If the air quality improves, it may indicate that the plates need to be cleaned or replaced.
Putting Everything Back Together and Testing the Air Purifier
Once all the parts are reassembled, make sure to plug in the power cord and turn on the air purifier to test its functionality.
Before doing so, it’s important to ensure that the filters have been properly replaced. Start by checking if the filters are securely in place and positioned correctly.
It’s also crucial to troubleshoot any common issues that may arise during testing. If the air purifier doesn’t turn on, make sure the power cord is securely plugged in and that the outlet is working.
If the air purifier is running but there is no air flow, check if the filters are clogged or if there is any obstruction in the air intake.
Frequently Asked Questions
How Often Should the Vollara Air Purifier Be Cleaned?
I clean my Vollara Air Purifier every 3 months. To properly clean it, I remove the filters and wash them with mild soap and water. I also wipe down the unit with a damp cloth.
Can I Use Household Cleaning Products to Clean the Exterior of the Air Purifier?
I wouldn’t recommend using household cleaning products on the exterior of the Vollara Air Purifier. It’s best to stick to alternatives like mild soap and water to ensure proper cleaning without damaging the unit.
Is It Necessary to Clean the Fan and Ventilation System Regularly?
Cleaning the fan and ventilation system of a Vollara Air Purifier regularly is necessary. It helps maintain optimal performance by removing dust and debris, ensuring clean air circulation, and prolonging the lifespan of the purifier.
Can I Clean the Ionization Plates With Water?
Yes, you can clean the ionization plates of a Vollara Air Purifier with water. It is important to regularly clean and maintain the plates to ensure the effectiveness of the air purifier.
How Can I Tell if the Air Purifier Is Working Properly After Cleaning It?
After cleaning my air purifier, I test its effectiveness by checking for signs of a malfunction. I look for a decrease in air quality, unusual noises, or a lack of airflow.
Conclusion
In conclusion, cleaning your Vollara air purifier is an essential task to ensure its optimal performance and longevity. By understanding the components and following the proper cleaning steps, you can maintain a clean and healthy environment in your home.
Regularly cleaning the filters, exterior, fan, ventilation system, and ionization plates will remove dust, allergens, and pollutants, allowing the air purifier to function effectively.
So, don’t overlook the importance of cleaning your Vollara air purifier and enjoy the benefits of fresh and purified air in your living space.