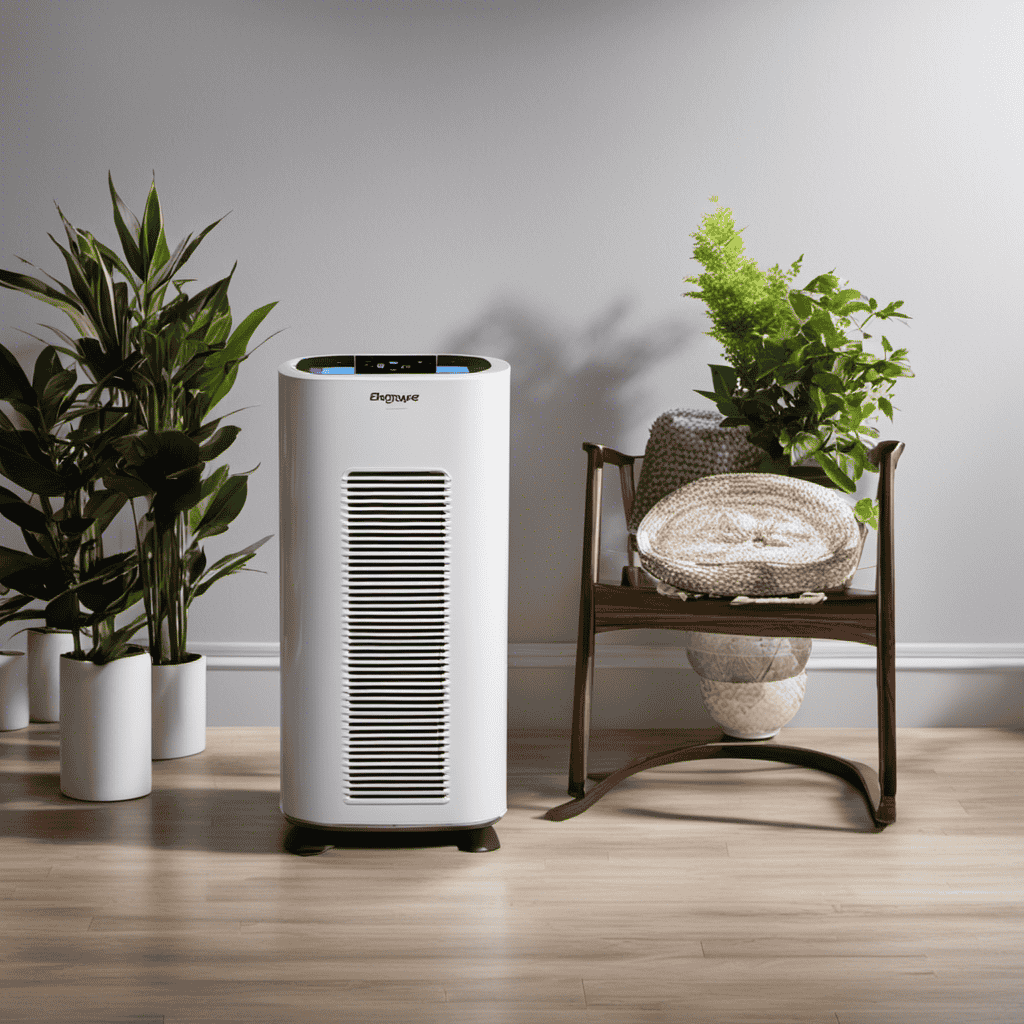
Hey there! So you’ve got yourself a Rainmate air purifier, huh? Well, let me tell you, keeping it clean is essential for optimal performance.
In this article, I’m going to show you step by step how to give your Rainmate a thorough cleaning. From gathering the necessary supplies to reassembling and testing it, I’ve got you covered.
So grab your cleaning gear and let’s get started on making your Rainmate shine like new!
Key Takeaways
- Gather the necessary cleaning supplies and unplug the unit before starting the maintenance process.
- Remove and clean the water basin using mild detergent and warm water, ensuring it is completely dry before reattaching it.
- Clean the fan and motor regularly using a soft brush or vacuum cleaner, and make sure the motor is completely dry before reassembling.
- Reassemble the Rainmate Air Purifier by carefully placing the fan and motor back into their original positions, securing all connections, and sliding the front cover back into place.
Step 1: Gathering the Necessary Cleaning Supplies
Before you begin cleaning the Rainmate air purifier, make sure you have all the necessary cleaning supplies.
The cleaning process for the Rainmate air purifier requires a few specific tools to ensure a thorough and efficient cleaning. First, gather a soft cloth or sponge, mild detergent, and warm water. These items will help remove any dirt or debris that has accumulated on the unit.
Additionally, you will need a clean, dry cloth to dry the purifier after cleaning. Remember to unplug the unit before starting the maintenance process to avoid any accidents.
Step 2: Turning off and Unplugging the Rainmate Air Purifier
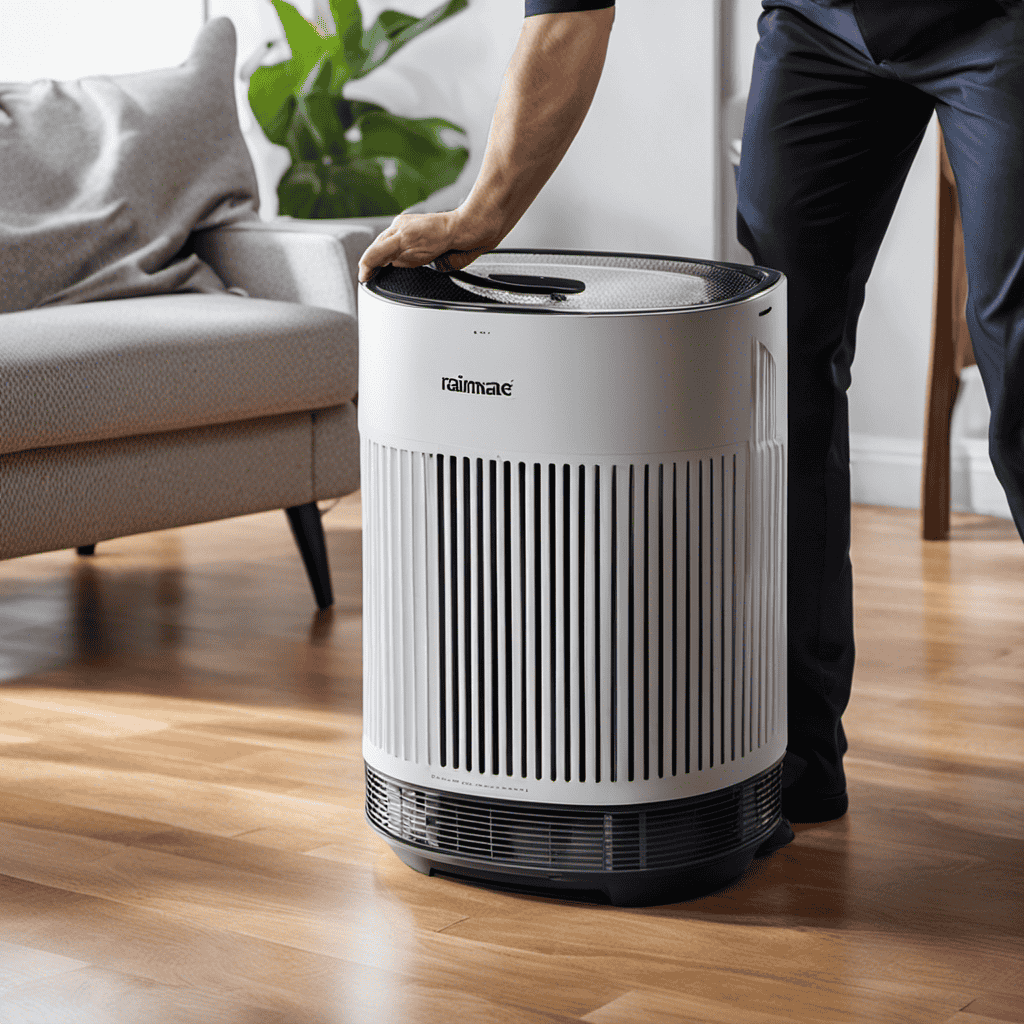
To turn off and unplug the Rainmate air purifier, simply press the power button and detach the cord. Before doing so, observe some safety precautions. Make sure the unit is not near any water source and that your hands are dry to prevent electric shock. Once you’ve taken the necessary precautions, press the power button to turn off the purifier. Then, unplug the cord from the power outlet. By following these steps, you can ensure a safe and hassle-free experience.
Now that the Rainmate air purifier is turned off and unplugged, we can move on to the next step: removing and cleaning the water basin.
Step 3: Removing and Cleaning the Water Basin
You’ll want to start by disconnecting the water basin from the main unit.
To clean the water basin of your Rainmate air purifier, follow these maintenance instructions:
- Use a mild detergent and warm water to clean the basin thoroughly.
- Rinse the basin with clean water to remove any soap residue.
- Wipe the basin dry with a clean cloth to prevent water spots.
- Make sure the basin is completely dry before reattaching it to the main unit.
These cleaning tips will ensure that your Rainmate air purifier continues to function effectively.
Regular maintenance and cleaning of the water basin will help remove impurities from the air and maintain the overall performance of your purifier.
Remember to follow these steps regularly to keep your Rainmate air purifier in top condition.
Step 4: Cleaning the Rainmate Air Purifier Fan and Motor
Now that you’ve disconnected the water basin, it’s time to focus on cleaning the fan and motor of your Rainmate.
Cleaning the Rainmate fan is essential for maintaining its optimal performance. Begin by removing the front cover of the Rainmate unit. Use a soft brush or a vacuum cleaner with a brush attachment to gently remove any dust or debris from the fan blades. Be careful not to damage the blades in the process.
Next, clean the Rainmate motor by using a damp cloth or a soft brush to carefully remove any dirt or dust that may have accumulated. Ensure that the motor is completely dry before reassembling the unit.
Regularly cleaning the fan and motor of your Rainmate will help prolong its lifespan and ensure clean, fresh air in your home.
Step 5: Reassembling and Testing the Rainmate Air Purifier
After removing the front cover and cleaning the fan and motor, it’s time to reassemble and test your Rainmate.
Begin by carefully placing the fan and motor back into their original positions. Make sure all the connections are secure and properly aligned.
Next, reattach the front cover by gently sliding it back into place until it clicks into position.
Once reassembled, plug in the Rainmate and turn it on. Listen for any unusual noises or vibrations, as this could indicate a problem with the reassembling process.
Observe the airflow and check if it is consistent and strong.
Finally, let the Rainmate run for a few minutes to ensure that it is functioning properly.
If everything looks and sounds good, congratulations! Your Rainmate is now ready to purify the air in your space.
Frequently Asked Questions
How Often Should I Clean My Rainmate Air Purifier?
I clean my Rainmate air purifier about once a month. Regular cleaning helps maintain its effectiveness in filtering out pollutants and allergens. It’s important to clean the air filters to ensure optimal performance and reap the benefits of using an air purifier.
Can I Use Regular Tap Water to Fill the Water Basin?
Yes, you can use regular tap water to fill the water basin of the Rainmate air purifier. However, it is recommended to use clean, filtered water for better air quality and to prevent mineral buildup.
Can I Use a Vacuum Cleaner to Clean the Fan and Motor of the Rainmate Air Purifier?
Yes, a vacuum cleaner can be used for maintenance of the Rainmate air purifier’s fan and motor. However, it is important to follow the manufacturer’s instructions and consider alternative cleaning methods for thorough maintenance.
How Long Does It Take for the Rainmate Air Purifier to Dry After Cleaning?
After cleaning the Rainmate air purifier, it is important to allow it to dry completely before using it again. The drying time can vary, but typically it takes a few hours to overnight.
Are There Any Specific Cleaning Products That I Should Avoid Using on the Rainmate Air Purifier?
I avoid using harsh chemicals on my Rainmate Air Purifier. Instead, I stick to gentle cleaning solutions like mild soap and water. Regular maintenance and proper cleaning will keep it running smoothly.
Conclusion
In conclusion, cleaning your Rainmate air purifier is an essential task that ensures optimal performance and longevity.
By following the steps outlined in this article, you can easily maintain a clean and efficient air purifier.
While some may argue that cleaning the purifier is time-consuming, the benefits of improved air quality far outweigh the minor inconvenience.
So, take the time to clean your Rainmate air purifier regularly and enjoy breathing in fresh, purified air.
