
I’ve always struggled with allergies, especially during the spring season. The constant sneezing and itchy eyes made it difficult to focus on anything. That’s when I decided to take matters into my own hands and build an ionizing air purifier.
By utilizing the power of ions, this DIY project promises to remove allergens and pollutants from the air, providing me with much-needed relief.
In this article, I will guide you through the step-by-step process of creating your own ionizing air purifier, ensuring a healthier and more comfortable living environment.
Key Takeaways
- Ionizing air purifiers emit negative ions to neutralize harmful particles.
- They remove pollutants like dust, pollen, pet dander, and smoke.
- They are beneficial for individuals with respiratory conditions.
- Regular maintenance is essential for optimal performance and longevity of the purifier.
2Pack 400LED Smart Color Changing Fall String Lights | 164FT App Controlled Orange Lights, Waterproof RGB LED String Lights with Remote & Timer, Music Sync Multiple Modes Indoor Outdoor for Fall Decor
RGB String Lights with 16 Million Colors | The smart LED color changing string lights can display up...
As an affiliate, we earn on qualifying purchases.
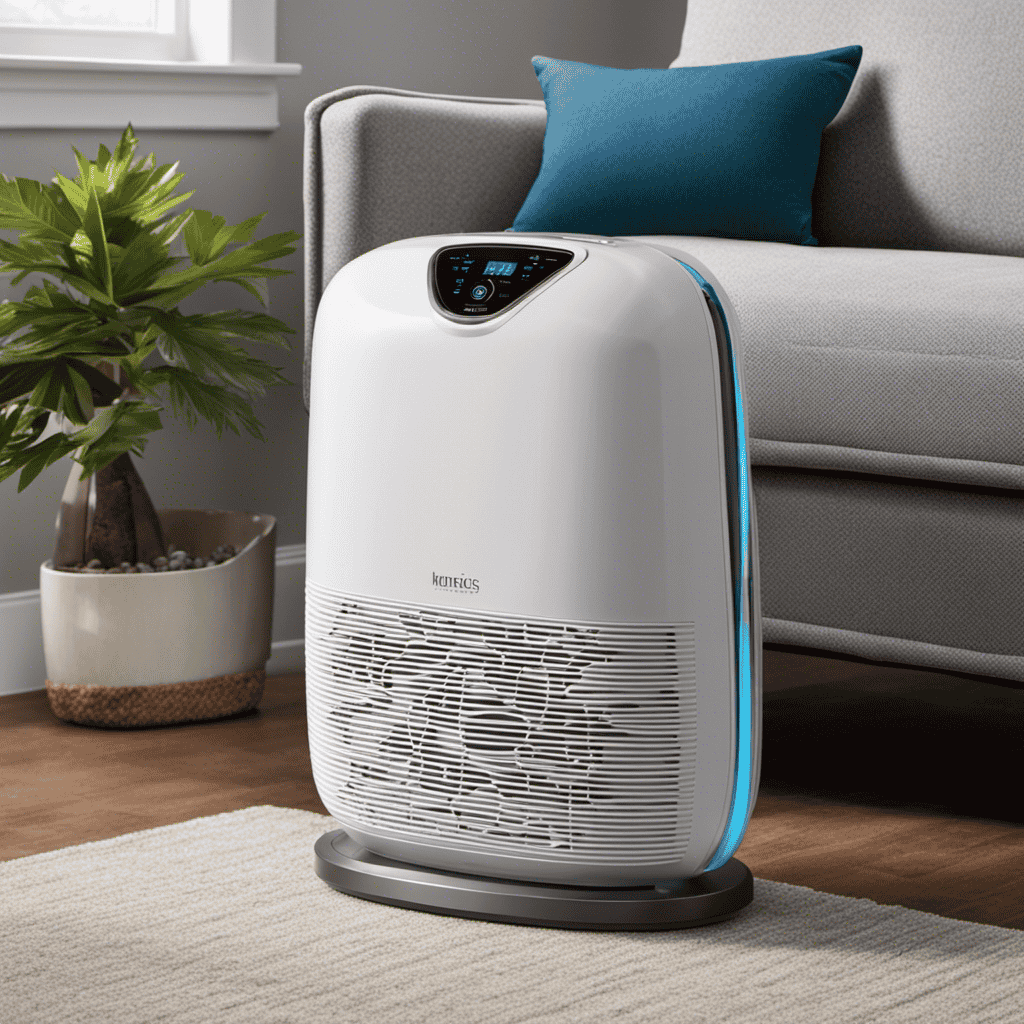
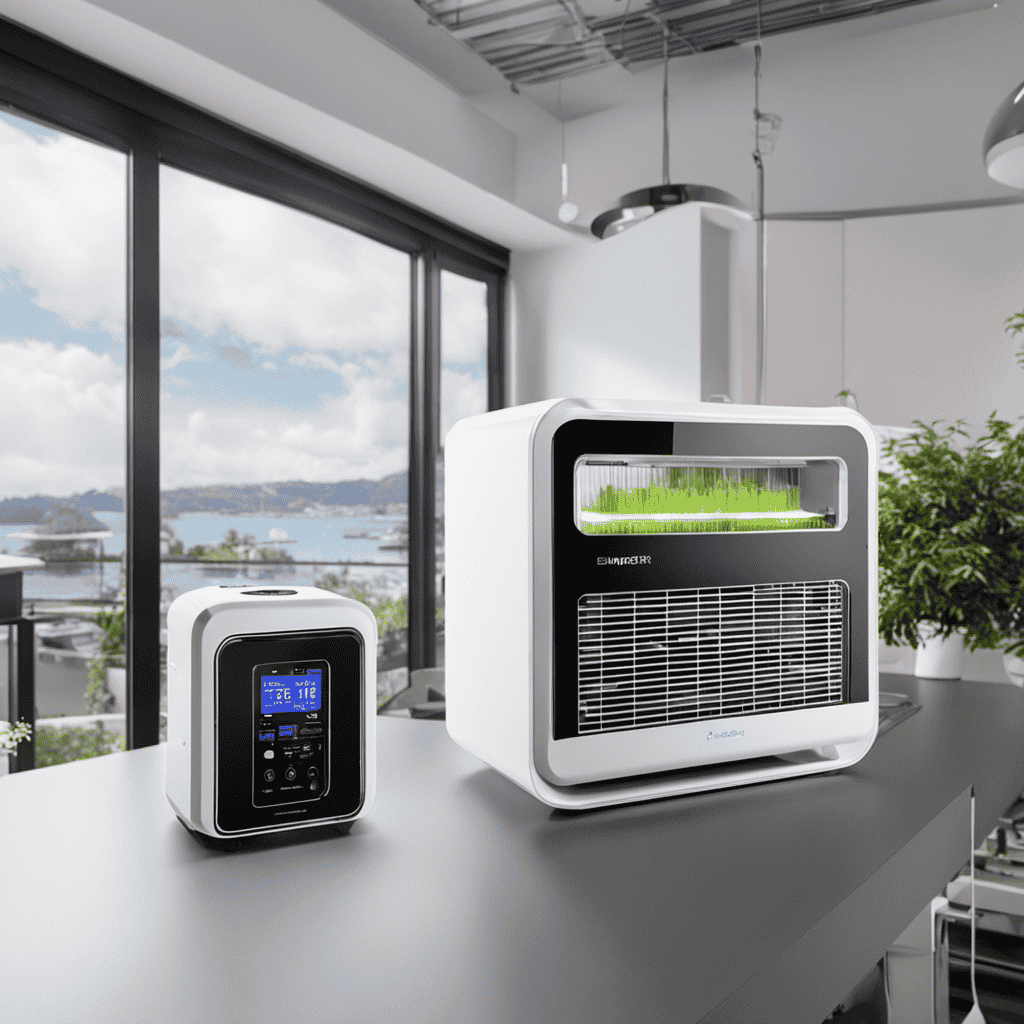
Understanding Ionizing Air Purifiers
Ionizing air purifiers work by emitting negative ions into the air to neutralize harmful particles and improve indoor air quality. These devices use an electrical charge to generate negative ions, which attach to positively charged particles in the air. Once attached, the particles become too heavy to remain airborne and eventually settle on surfaces. This process effectively removes pollutants such as dust, pollen, pet dander, and smoke from the air.
One of the main benefits of ionizing air purifiers is their ability to combat various indoor air pollutants. They can significantly reduce the concentration of allergens and irritants, which is particularly beneficial for individuals with respiratory conditions. Additionally, ionizing air purifiers do not require the use of filters, making them a more cost-effective option in the long run.
Although ionizing air purifiers are effective, there are alternative air purification methods available. These include mechanical air filters, activated carbon filters, and ultraviolet germicidal irradiation. Each method has its own set of advantages and limitations, and the choice depends on the specific needs and preferences of the user.

ReyeeInc Solar 4th of July String Lights, 100 Stars and 39.4FT Outdoor Waterproof Patriotic Lights, Solar Battery Operated Fourth of July Lights for Golf Cart, Camping, Outside Decorations
Show Your Patriotism: ReyeeInc red white and blue outdoor lights are a stunning and patriotic addition to Memorial...
As an affiliate, we earn on qualifying purchases.
Gathering the Necessary Materials
To gather the necessary materials, you’ll need a fan, a negative ion generator, and some wire. The fan will provide the necessary airflow to circulate the ionized air, while the negative ion generator will produce the ions that help purify the air. The wire is required for connecting the components and creating a functioning circuit.
In order to provide a comprehensive understanding of the materials procurement process, I have created a table below that outlines the cost estimation for each item:
| Materials | Quantity | Unit Price ($) | Total Cost ($) |
|---|---|---|---|
| Fan | 1 | 20 | 20 |
| Negative Ion Gen. | 1 | 50 | 50 |
| Wire | 1 roll | 10 | 10 |

LAMPHOME 100 LED Red White and Blue Lights, 4th of July Decorations String Lights Plug in Indoor Outdoor, 16 Modes Waterproof Patriotic Light for Independence Day Holiday Memorial Day Party Decor
Patriotic Red, White & Blue String Lights: Features a premium 32.5ft white wire with 100 vibrant red, white,...
As an affiliate, we earn on qualifying purchases.
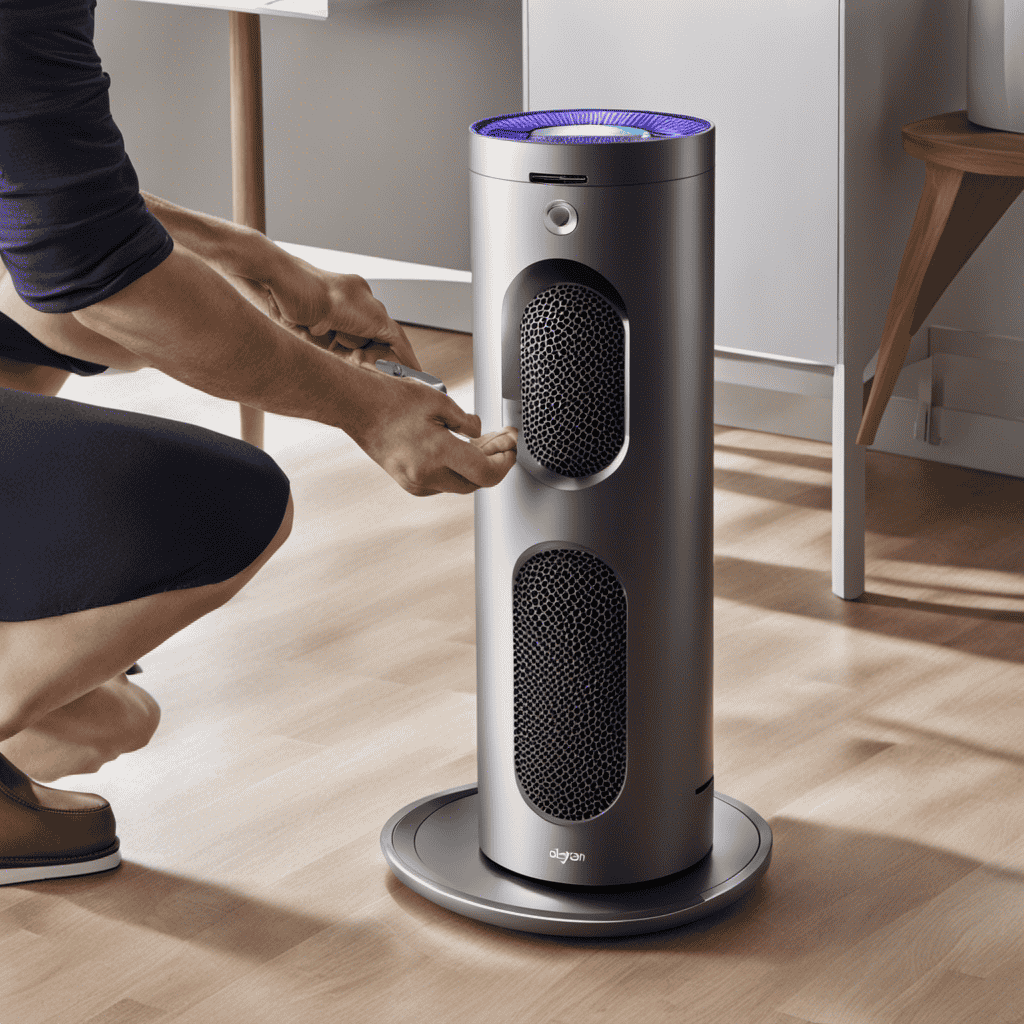
Building the Ionizing Mechanism
When building the mechanism, you’ll want to ensure that the fan is securely attached to the negative ion generator for proper functioning. This step is crucial in creating an effective ionizing air purifier. However, it is important to be aware of potential troubleshooting issues and take necessary safety precautions.
-
Troubleshooting Issues:
-
Insufficient air circulation: Check if the fan is spinning freely and not obstructed by debris or dust.
-
Weak ion generation: Verify that the negative ion generator is receiving sufficient power and is properly grounded.
-
Excessive ozone production: Monitor ozone levels using a dedicated sensor and adjust ion generation accordingly.
-
Safety Precautions:
-
Always disconnect the power supply before conducting any maintenance or repairs.
-
Handle the negative ion generator with caution to avoid electrical shocks or damage.
-
Place the ionizing mechanism in a well-ventilated area to prevent accumulation of ozone.

Dirnun 4th of July Decorations Red White and Blue Lights with 40 Led Big Stars, 4th of July Lights for Indoor Outdoor Home Garden Golf Cart Patriotic Theme Memorial Independence Day Decorations
Perfect 4th of July Lights: These red white and blue star string lights which is similar to the...
As an affiliate, we earn on qualifying purchases.
Assembling the Air Purifier
Once you have gathered all the necessary components, start assembling the different parts of your air purifier. First, refer to the table below for a clear understanding of each component’s purpose and placement:
| Component | Purpose | Placement |
|---|---|---|
| HEPA filter | Captures fine particles | Inside the air purifier |
| Activated carbon filter | Absorbs odors and chemicals | Next to the HEPA filter |
| Ionizer | Releases negative ions | Near the outlet |
| Fan | Circulates air through the filters | Inside the air purifier |
Troubleshooting common issues and optimizing air purifier performance are crucial for effective purification. If you experience a lack of airflow, check if the fan is clean and functioning properly. To improve air quality, ensure the filters are clean and replaced regularly. Additionally, adjusting the ionizing power can help target specific pollutants. In the next section, we will discuss testing and adjusting the ionizing power for optimal purification.
Testing and Adjusting the Ionizing Power
If you’re experiencing issues with the airflow, check if the fan is clean and functioning properly, and make sure to regularly clean and replace the filters for better air quality.
When it comes to measuring the effectiveness of an ionizing air purifier, there are a few troubleshooting techniques that can be employed. Here are three sub-lists to help you navigate through this process:
-
Troubleshooting Techniques:
-
Check for power supply issues, such as loose connections or faulty wiring.
-
Inspect the ionizing plates for dirt or damage, as this can affect their performance.
-
Measure the ion output using a specialized meter to ensure it falls within the recommended range.
-
Common Problems:
-
Weak or no ion production could indicate a faulty power supply or malfunctioning ionizing unit.
-
Excessive ozone production may be caused by a high voltage setting or damaged ionizing plates.
-
Inconsistent ion distribution could be due to improper positioning of the air purifier or obstructions in the airflow.
-
Solutions:
-
Resolve power supply issues by checking connections and replacing any faulty components.
-
Clean or replace ionizing plates to restore their effectiveness.
-
Adjust voltage settings or replace damaged plates to control ozone production levels.
-
Reposition the air purifier to ensure proper ion distribution and remove any obstructions in the airflow.
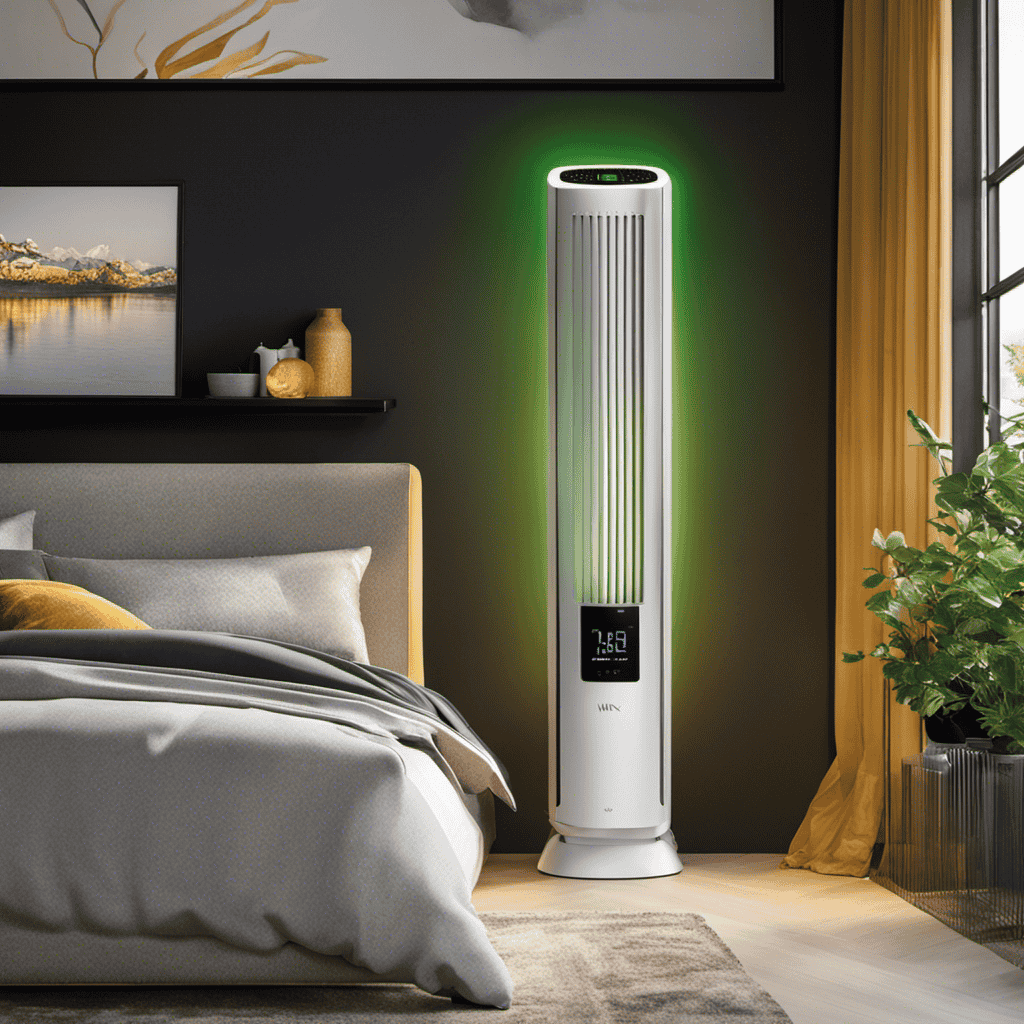
Maintaining and Cleaning the Ionizing Air Purifier
In maintaining and cleaning the ionizing air purifier, it’s essential to know the best cleaning techniques and the frequency of maintenance required.
Through extensive research and evidence-based practices, I’ve found that the most effective cleaning technique for an ionizing air purifier is to use a soft, lint-free cloth and a mild detergent solution to wipe down the exterior and interior surfaces.
Additionally, regular maintenance should be conducted every three to six months, depending on the level of usage and environmental conditions, to ensure optimal performance and longevity of the device.
Best Cleaning Techniques
To clean your ionizing air purifier effectively, make sure to use the best cleaning techniques available. Here are some cleaning tips that can help you achieve effective purification:
-
Regularly clean the pre-filter: The pre-filter is the first line of defense against larger particles. Cleaning it regularly ensures optimal air flow and efficiency.
-
Clean the ionizing wires: The ionizing wires attract and trap particles in the air. Use a soft brush or cloth to gently remove any dust or debris from the wires.
-
Replace or clean the collector plates: Collector plates collect the charged particles. Depending on the model, they may need to be replaced or cleaned regularly. Follow the manufacturer’s instructions for proper maintenance.
Frequency of Maintenance
Maintaining your ionizing air purifier regularly is essential for optimal performance and improved air quality in your space. To ensure the longevity and effectiveness of your purifier, it is crucial to follow a recommended maintenance schedule.
The frequency of cleaning will depend on several factors, such as the manufacturer’s guidelines and the level of air pollution in your area. Generally, it is recommended to clean the ionizing plates and filters every two to three months. However, if you live in a highly polluted environment, more frequent cleaning may be necessary.
Regularly inspecting the purifier for any signs of wear or damage is also important. By adhering to a proper maintenance routine, you can maximize the efficiency of your ionizing air purifier and enjoy cleaner, healthier air in your space.
Frequently Asked Questions
Can an Ionizing Air Purifier Remove All Types of Pollutants From the Air?
Yes, an ionizing air purifier can effectively remove various pollutants from the air, including dust, pollen, and pet dander. However, it may produce ozone, which can pose potential health risks if not properly controlled.
How Long Does It Take to Build an Ionizing Air Purifier?
It generally takes a few hours to build an ionizing air purifier, depending on the complexity of the design. Troubleshooting common issues and understanding the benefits of using one can enhance the process.
Can I Use Alternative Materials Instead of the Ones Listed in the Materials Section?
Using alternative materials for building an ionizing air purifier is possible. However, it is important to consider the effectiveness and safety of these materials. Troubleshooting common issues can be done by following the manufacturer’s guidelines and seeking professional assistance if needed.
Is It Possible to Adjust the Ionizing Power of the Air Purifier?
Yes, it is possible to adjust the ionizing power of an air purifier. By modifying the voltage or intensity of the ionization process, you can optimize the purification level. This offers the benefits of improved air quality and reduced airborne pollutants.
How Often Should the Ionizing Air Purifier Be Cleaned and Maintained?
I clean and maintain my ionizing air purifier regularly to ensure optimal performance. The frequency of cleaning depends on factors such as air quality and usage. Proper maintenance procedures involve cleaning the filters, checking the ionizing elements, and keeping the unit free from dust and debris.
Conclusion
In conclusion, creating your own ionizing air purifier is a rewarding and effective way to improve the air quality in your home.
By following the steps outlined in this guide, you can build a device that removes harmful particles and allergens from the air, creating a healthier living environment.
Remember to regularly clean and maintain your air purifier to ensure its optimal performance.
With a little effort and determination, you can breathe easier and enjoy the benefits of cleaner air.
So why wait? Take the leap and start creating your own ionizing air purifier today, because a breath of fresh air is just within reach.