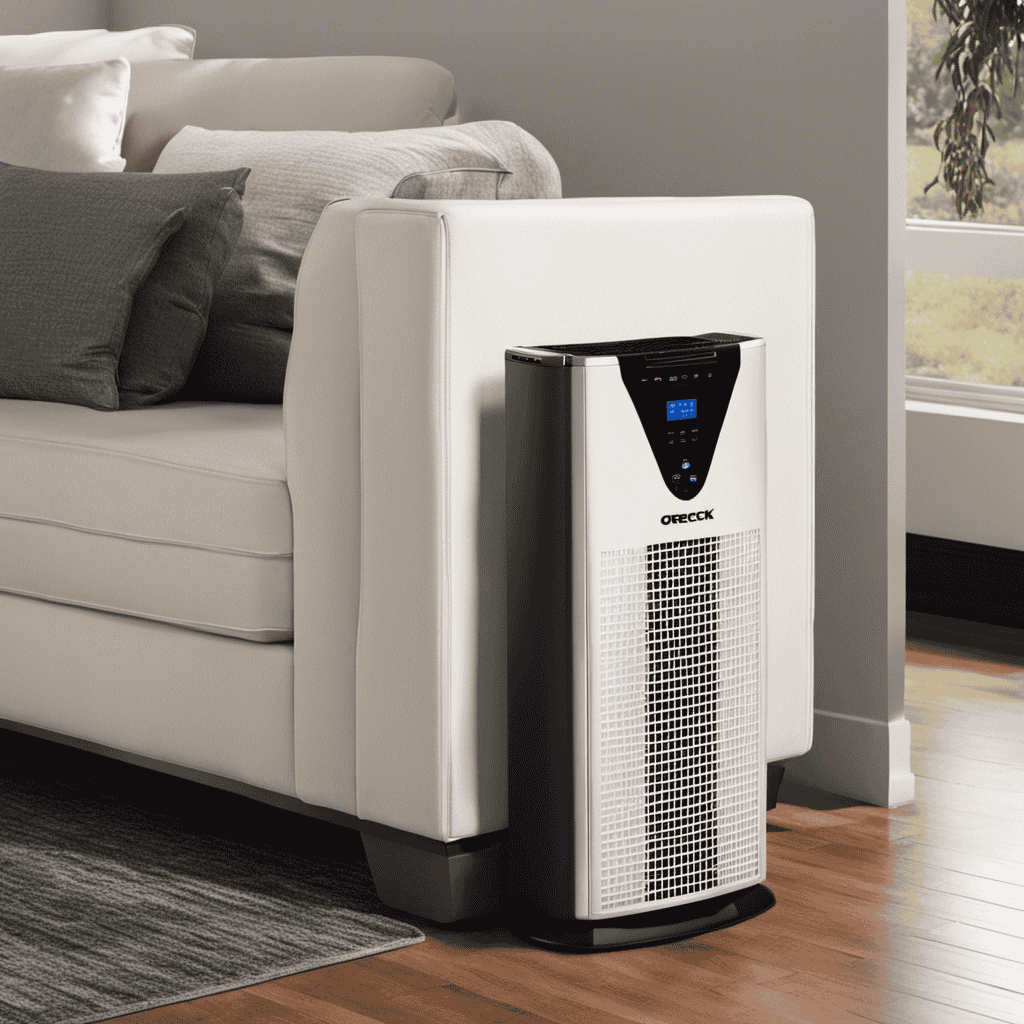
I possess some exclusive insights on the method to eliminate the filter from your Oreck XL Professional Air Purifier. Believe me, it’s simpler than it appears.
In just a few simple steps, I’ll walk you through the process of locating and opening the filter compartment, removing the pre-filter and main filter, and even cleaning the filter compartment itself.
By the time we’re done, you’ll be a pro at maintaining your air purifier for maximum effectiveness.
Let’s get started!
Key Takeaways
- Turn off the power and unplug the Oreck XL Professional Air Purifier before removing the filter.
- Locate and open the filter compartment by pressing and holding the latch, and pulling the compartment towards you.
- Remove the pre-filter by opening the compartment door and carefully detaching the pre-filter from its housing.
- Remove the main filter by lifting out the pre-filter and gently pulling out the main filter from its compartment.

DEWALT Drill Bit Set, 3-Flats Shank,14-Piece, 135 Degree Split Point, for Plastic, Wood and Metal (DWA1184)
135 Degree Split point tip design to help reduce walking
As an affiliate, we earn on qualifying purchases.
Preparing for Filter Removal
Before you can remove the filter, you’ll need to turn off the power to the Oreck XL Professional Air Purifier.
Preparing for filter replacement is crucial to ensure the effectiveness of your air purifier. Regular filter maintenance is of utmost importance to maintain clean and healthy air in your surroundings.
To get started, locate the power switch on the purifier and switch it off. This will prevent any accidents or damage during the filter removal process. It is also recommended to unplug the purifier from the power source for added safety.
By following these steps, you are taking the necessary precautions to ensure a smooth and successful filter replacement.
Now, let’s move on to locating the filter compartment.

DEWALT 20V MAX Cordless Drill Driver Set, Electric Drill, Brushless 1/2 In 2 Speed, 2.0 Ah Battery and Charger Included, LED Light (DCD777D1)
DEWALT Power drill brushless motor delivers more run time over brushed
As an affiliate, we earn on qualifying purchases.
Locating the Filter Compartment
To access the filter compartment, you’ll need to locate the latch on the side of the device. This latch is typically located towards the bottom of the air purifier and is designed to securely hold the filter compartment in place.
Once you have located the latch, follow these steps to open the filter compartment:
- Press the latch firmly and hold it in place.
- Gently pull the filter compartment towards you.
- Carefully remove the filter compartment from the purifier.
- Set the compartment aside for now.
Before proceeding to open the filter compartment, it’s important to ensure that the pre filter is cleaned properly. This can be done by gently vacuuming the pre filter or rinsing it under lukewarm water.
Troubleshooting filter compartment issues may include checking for any obstructions or debris that may be preventing it from opening smoothly.
Once the pre filter is cleaned and any issues are resolved, you can proceed to the next step of opening the filter compartment.

DEWALT 20V MAX* Dust Extractor, Brushless, Universal, Tool Only (DWH161B)
High mobility, compact and lightweight OSHA Table 1 Compliant solution. HEPA filter is included in the dust extractor.
As an affiliate, we earn on qualifying purchases.
Opening the Filter Compartment
Make sure you’ve properly cleaned the pre-filter before proceeding with the next step of opening the compartment.
To open the filter compartment on the Oreck XL Professional Air Purifier, follow these steps:
- Turn off the air purifier and unplug it from the power source.
- Locate the filter compartment on the back or side of the unit.
- Look for the latch or release button on the compartment door.
- Press the latch or release button to unlock the door.
- Gently pull open the compartment door to reveal the filters.
Once you have successfully opened the filter compartment, you can troubleshoot common issues and maintain the air purifier’s performance by inspecting the filters for dirt and debris. If the filters are dirty, replace them according to the manufacturer’s instructions.
Regularly cleaning and replacing the filters will help ensure that your air purifier continues to effectively remove airborne pollutants and allergens from your indoor environment.

Fein Turbo I HEPA Pro Set Wet/Dry Dust Extractor - 5.8-Gallon Capacity, 151 CFM Suction, Anti-Static System, Quiet 66 dB Operation, Includes HEPA Filter and Accessories - 92037060990
Compact Yet Powerful - With 151 CFM suction and 98" of water lift, this 5.8-gallon wet/dry dust extractor...
As an affiliate, we earn on qualifying purchases.
Removing the Pre-Filter
Once you’ve successfully opened the compartment door, you can easily detach the pre-filter for cleaning. The pre-filter is an essential component of the Oreck XL Professional Air Purifier, as it captures larger particles before they reach the main filter.
To properly disassemble the purifier and clean the pre-filter, follow these steps:
- Locate the pre-filter compartment, usually located at the front or top of the purifier.
- Gently pull open the compartment door, ensuring not to force it.
- Locate the pre-filter, which is usually a mesh or foam material.
- Carefully detach the pre-filter from its housing by pulling it straight out.
Cleaning the pre-filter is crucial for maintaining the efficiency of the air purifier. Once you’ve successfully removed the pre-filter, you can proceed to the next step of removing the main filter.
Removing the Main Filter
When taking out the main filter, you’ll notice it is typically located right behind the pre-filter. The main filter is crucial for maintaining the efficiency of your Oreck XL Professional Air Purifier.
To prevent filter damage and ensure optimal performance, it is important to handle the main filter with care. Start by removing the front grille of the air purifier and then carefully lift out the pre-filter.
Next, locate the main filter and gently pull it out from its designated compartment. Be mindful of any clips or tabs that may be securing the filter in place. By removing the main filter correctly, you can prolong its lifespan and continue to enjoy clean air in your space.
Now, let’s move on to the next step: cleaning the filter compartment.
Cleaning the Filter Compartment
To properly clean the filter compartment, you’ll need to first unplug the device and remove the front grille. Cleaning the filter compartment is an essential part of maintaining your Oreck XL Professional Air Purifier.
Here are some cleaning techniques and maintenance tips to keep your air purifier running efficiently:
- Use a soft, dry cloth to wipe down the inside of the filter compartment.
- If there are stubborn stains or dirt, you can use a mild soap and water solution to gently clean the compartment.
- Make sure to thoroughly dry the compartment before inserting the filter back in.
- It is recommended to clean the filter compartment every 3-6 months or as needed, depending on the level of dust and debris in your environment.
Replacing the Pre-Filter
Now that we have cleaned the filter compartment, let’s move on to replacing the pre-filter in the Oreck XL Professional Air Purifier. Maintaining the air purifier is crucial for optimal performance and clean air quality.
To replace the pre-filter, follow these steps:
| Step | Action |
|---|---|
| 1. | Turn off the air purifier and unplug it from the power source. |
| 2. | Locate the pre-filter compartment, usually at the back or side of the unit. |
| 3. | Open the compartment door or remove the cover to access the pre-filter. |
| 4. | Carefully remove the old pre-filter, making sure to dispose of it properly. |
| 5. | Take the new pre-filter and insert it securely into the compartment. |
| 6. | Close the compartment door or replace the cover. |
| 7. | Plug in the air purifier and turn it back on. |
Replacing the Main Filter
It’s important to regularly replace the main filter to maintain the optimal performance of your Oreck XL Professional Air Purifier. Here are the steps to replace the main filter:
- Turn off the air purifier and unplug it from the power source.
- Locate the filter compartment on the back of the unit.
- Open the compartment door by pressing the release button or sliding it open, depending on the model.
- Carefully remove the old filter from the compartment, making sure not to damage it.
- Install the replacement filter by placing it securely in the compartment, following the instructions provided.
- Close the compartment door and ensure that it is securely latched.
- Plug in the air purifier and turn it on to test the new filter.
Once you have successfully replaced the main filter, you can proceed to securing the filter compartment.
Securing the Filter Compartment
Once you’ve successfully replaced the main filter, make sure to securely latch the compartment door. Properly sealing the filter compartment is crucial to ensure optimal performance of your Oreck XL Professional Air Purifier.
A properly sealed compartment prevents air leakage and ensures that all air passes through the filter, maximizing its effectiveness in removing pollutants from the air.
To troubleshoot filter compartment issues, start by checking if the compartment door is securely latched. If the door is not closing properly, inspect for any obstructions or debris that may be preventing a tight seal. Additionally, ensure that the filter is correctly positioned and aligned within the compartment.
Conclusion
So there you have it, a step-by-step guide on how to remove the filter for the Oreck XL Professional Air Purifier.
By following these instructions, you can easily maintain and clean your air purifier, ensuring that it functions at its best.
Now, some may argue that this process seems daunting and time-consuming. However, imagine the feeling of breathing in fresh, clean air without any dust or allergens. It’s worth the effort, isn’t it?
Take the time to properly care for your air purifier, and you’ll reap the benefits of improved air quality in your home.