Okay, everyone, let me give you the scoop on how to swap out the filter in your Blue Air Pro M Purifier. It’s super easy, you have my word.
Just follow these steps and you’ll be breathing clean air in no time.
First off, gather all the tools and materials you’ll need.
Then, shut down the purifier and locate the filter compartment.
Remove the old filter, prep the new one, and pop it in.
Finally, seal it all up, power on the purifier, and give it a test run.
Easy peasy, right?
Let’s get started.
Key Takeaways
- Gather all necessary tools and materials before starting the filter replacement process
- Handle the old and new filters with care to avoid damage
- Follow the manufacturer’s instructions for opening and closing the filter compartment
- Regularly clean and maintain the filter to ensure optimal performance and longevity
Step 1: Gather the Necessary Tools and Materials
First, make sure you have all the tools and materials you’ll need to replace the Blue Air Pro M purifier filter. Proper filter maintenance is essential for the optimal performance of your air purifier.
To ensure a successful filter replacement, gather the following items: a new Blue Air Pro M purifier filter, a screwdriver (if needed), and a clean, lint-free cloth.
Before starting the replacement process, it’s important to note a few filter replacement tips. Firstly, always refer to the manufacturer’s instructions for your specific model. Secondly, make sure to turn off and unplug the purifier before attempting to replace the filter. Lastly, handle the filter with care to avoid damaging it.
With these tools and tips in hand, you are ready to begin the filter replacement process.
Step 2: Turn off the Blue Air Pro M Purifier
Before proceeding with the replacement of the Blue Air Pro M Purifier filter, it’s crucial to power off the purifier.
To do so, simply switch off the device using the designated power button.
This step is essential to ensure safety and prevent any electrical mishaps during the filter replacement process.
Power off Purifier
To start, make sure to power off the purifier before replacing the Blue Air Pro M filter. Powering down the purifier is a crucial step to ensure safety and prevent any potential damage.
To shut off the device, locate the power button on the purifier’s control panel. Press and hold the power button until the purifier turns off completely.
Once powered down, you can proceed with replacing the blue air pro m filter. By following this procedure, you can ensure that the purifier is not running while you handle the filter, minimizing the risk of injury or damage.
Now that the purifier is powered off, let’s move on to the next step of switching off the device.
Switch off Device
Now that you’ve powered down, it’s time to switch off the device completely.
When it comes to filter maintenance and troubleshooting common issues with the Blue Air Pro M purifier, there are a few important steps to follow. Here’s what you need to do:
-
Unplug the device: Make sure the purifier is disconnected from the power source to avoid any electrical accidents.
-
Remove the filter cover: Locate the filter cover and carefully remove it to gain access to the filter.
-
Take out the old filter: Gently pull out the old filter from its housing and dispose of it properly.
-
Install the new filter: Place the new filter into the purifier, ensuring it is aligned correctly and securely in place.
Remember to consult the user manual for specific instructions on replacing the filter.
Turn off Air Purifier
Make sure you’ve powered down completely by turning off the air purifier. To properly replace the filter in your Blue Air Pro M purifier, it is essential to begin by shutting off the device. Locate the power button on the purifier and press it to turn off the unit. This step is crucial to ensure your safety and prevent any damage to the device during the filter replacement process.
Step 3: Open the Purifier and Locate the Filter Compartment
First, you’ll need to open the purifier and find the filter compartment. This step is crucial for proper filter maintenance and overall purifier maintenance.
Here are four important things to keep in mind during this process:
- Make sure to turn off the purifier and unplug it from the power source before attempting to open it.
- Locate the latch or release button on the purifier that opens the filter compartment. This may vary depending on the specific model.
- Gently press or slide the latch/button to open the compartment. Be cautious not to apply excessive force, as it may damage the purifier.
- Once the filter compartment is open, carefully remove the old filter and dispose of it properly, following local guidelines for waste disposal.
Remember to refer to the user manual or manufacturer’s instructions for specific details on opening the purifier and locating the filter compartment.
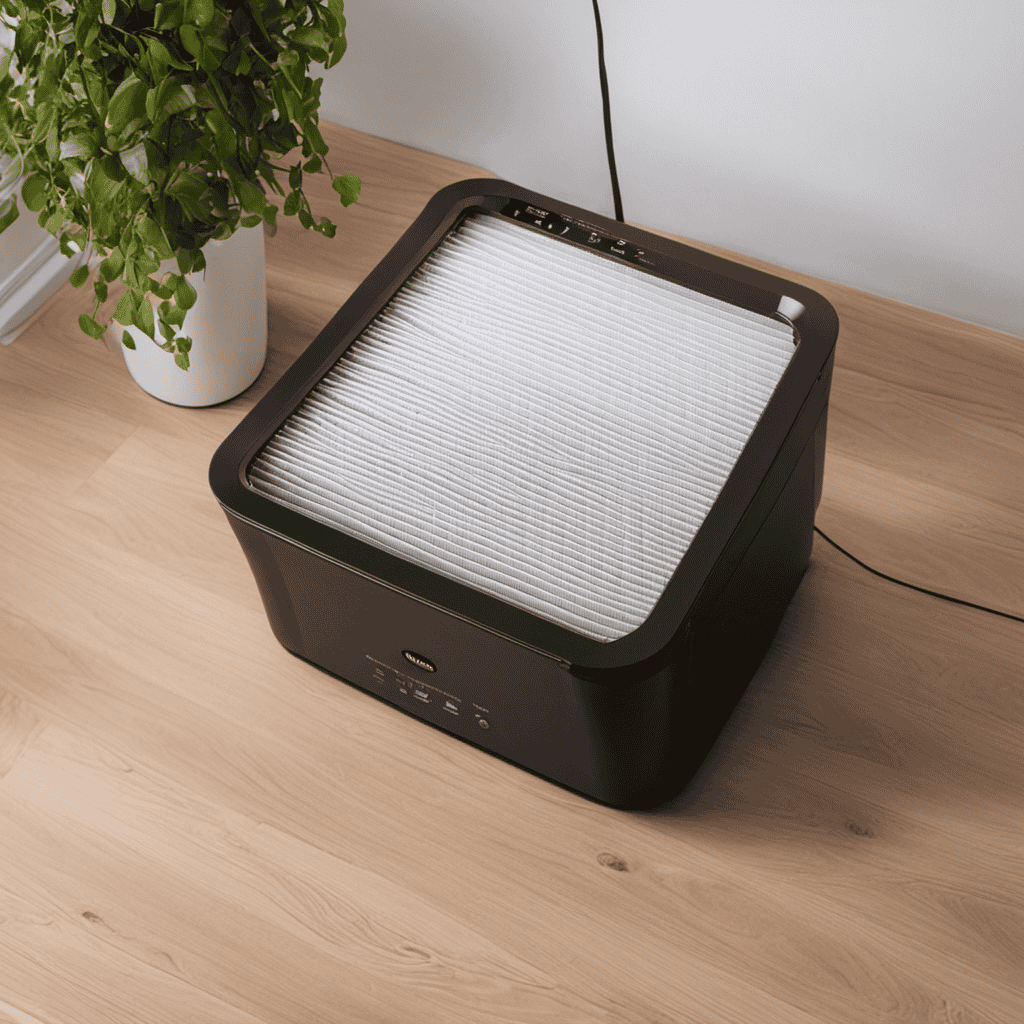
Step 4: Remove the Old Filter From the Compartment
After opening the purifier and locating the filter compartment, gently remove the old filter from the compartment. Proper disposal of the old filter is important to ensure the efficiency and longevity of your Blue Air Pro M purifier. Here are some maintenance tips for replacing the filter:
| Maintenance Tips |
|---|
| 1. Turn off the purifier and unplug it from the power source. |
| 2. Carefully remove the old filter from the compartment, making sure not to damage any surrounding parts. |
| 3. Dispose of the old filter in accordance with local regulations. Check with your local waste management facility for proper disposal methods. |
| 4. Before inserting the new filter, clean the filter compartment to remove any dust or debris. |
| 5. Install the new filter by following the manufacturer’s instructions, ensuring it is securely in place. |
Step 5: Prepare the New Filter for Installation
When it comes to the filter installation process, it’s important to handle the filter properly to ensure optimal performance.
This involves understanding the proper way to remove the old filter from the compartment and preparing the new filter for installation.
Additionally, it’s crucial to be prepared for filter replacement by having the necessary tools and materials ready, as well as following any specific instructions provided by the manufacturer.
Filter Installation Process
To begin, you’ll need to remove the old filter from your Blue Air Pro M purifier. Here are the steps to follow for the filter installation process:
-
First, make sure you have the correct replacement filter for your Blue Air Pro M purifier. Check the model number and compatibility to ensure a perfect fit.
-
Next, locate the filter compartment on your purifier. This is usually at the back or side of the unit.
-
Gently open the compartment by following the manufacturer’s instructions. Be careful not to force it open, as it may cause damage.
-
Once the compartment is open, carefully remove the old filter by pulling it straight out. Avoid touching the dirty parts of the filter to maintain hygiene.
Proper Filter Handling
After successfully installing the filter into the Blue Air Pro M purifier, it is crucial to understand proper filter maintenance, cleaning, and care. By following these guidelines, you can ensure optimal performance and longevity of your filter.
To assist you in this process, refer to the table below for a quick overview of the do’s and don’ts:
| Do’s | Don’ts |
|---|---|
| Regularly clean the filter | Use harsh chemicals |
| Use a soft brush or vacuum | Submerge the filter in water |
| Follow manufacturer’s instructions | Reuse a damaged filter |
| Replace the filter when necessary | Overload the purifier |
In addition to these tips, it is useful to troubleshoot common filter issues. If you notice reduced airflow or an increase in noise, check for any blockages or debris that may be hindering the filter’s efficiency. If the issue persists, contact Blue Air customer support for further assistance.
Now that you understand proper filter maintenance, let’s move on to the next section: preparing for replacement.
Preparing for Replacement
Before you can replace the filter in your Blue Air Pro M purifier, it is important to properly prepare for the replacement process. Here are some steps to help you get ready:
- Turn off the purifier and unplug it from the power source.
- Locate the filter compartment on the purifier and open it carefully.
- Take note of the filter type and size, as this information will be needed when purchasing a replacement.
- Check the filter maintenance instructions to determine the recommended lifespan of the current filter.
Properly preparing for the replacement ensures a smooth and efficient process. It is crucial to follow the manufacturer’s guidelines for filter maintenance to ensure optimal performance of your purifier.
Regularly replacing the filter is essential to maintain a clean and healthy indoor environment.
Step 6: Insert the New Filter Into the Compartment
Simply slide the new filter into the compartment of your Blue Air Pro M purifier. Ensure that the filter is properly aligned with the arrows on the sides of the compartment. Push it in firmly until you hear a click, indicating that it is securely in place.
Proper filter installation is crucial for the efficient operation of your purifier. If the filter is not inserted correctly, it may not filter the air effectively, leading to poor indoor air quality. Troubleshooting filter replacement issues can be avoided by following the manufacturer’s instructions carefully.
If you encounter any difficulties during the installation process, refer to the user manual or contact customer support for assistance. Taking the time to correctly install the new filter will help maintain clean and healthy air in your home or office.
Step 7: Close the Purifier and Turn It Back on
To complete the filter replacement process, you’ll need to close the purifier and then turn it back on. This step is crucial for proper filter installation and ensuring the purifier functions correctly.
Once the new filter is securely inserted into the compartment, follow these steps:
- Close the purifier by firmly pressing the front cover until it clicks into place.
- Ensure that all the latches on the sides are securely fastened.
- Plug the power cord back in and make sure the unit is properly connected to a power source.
- Turn the purifier back on by pressing the power button.
By following these steps, you can troubleshoot any issues that may arise during the filter replacement process.
Now, let’s move on to step 8 and test the purifier to ensure proper filter replacement.
Step 8: Test the Purifier and Ensure Proper Filter Replacement
Make sure you press the power button to test the purifier and ensure the filter has been properly replaced. This step is crucial to ensure the effectiveness of your Blue Air Pro M purifier.
After replacing the filter, power on the purifier and listen for any unusual noises or vibrations. Check the display panel to ensure that the filter replacement indicator has been reset and shows a clean filter status.
If you encounter any issues during this process, such as the purifier not turning on or the filter replacement indicator not resetting, troubleshooting may be required. Refer to the user manual for specific troubleshooting steps or contact Blue Air customer support for assistance.
Proper filter testing and troubleshooting are essential to maintaining the optimal performance of your purifier.
Frequently Asked Questions
How Often Should I Replace the Filter in My Blue Air Pro M Purifier?
I replace the filter in my Blue Air Pro M purifier every 6 months to ensure optimal performance. To extend the lifespan of the filter, regularly clean the pre-filter and be mindful of common signs of a dirty filter.
Can I Wash and Reuse the Old Filter?
No, you cannot reuse the old filter. It is not washable and should be replaced regularly for optimal performance. Cleaning the filter will not remove all the pollutants it has captured.
Where Can I Purchase Replacement Filters for My Blue Air Pro M Purifier?
I found the perfect spot to purchase replacement filters for my Blue Air Pro M purifier. They’re cost-effective and readily available. Now, I can keep my air clean without breaking the bank.
How Do I Know if the Filter Needs to Be Replaced?
To know if the filter needs replacing, check for reduced airflow, strange odors, or a decrease in air quality. Cleaning the filter properly and troubleshooting common filter issues can help maintain its effectiveness.
Are There Any Special Instructions for Disposing of the Old Filter?
When disposing of the old filter, it’s important to follow the proper disposal instructions. This ensures that any potentially harmful materials are handled correctly and safely. Always check for any special instructions provided by the manufacturer.
Conclusion
In conclusion, replacing the filter in a Blue Air Pro M Purifier is a simple and straightforward process. By following the step-by-step instructions provided, you can ensure that your purifier continues to function effectively in providing clean and fresh air.
While some may argue that replacing the filter is a time-consuming task, it is necessary for maintaining the purifier’s performance and ensuring the health and well-being of those using it.
Don’t let the potential time commitment deter you from properly caring for your purifier and reaping the benefits of clean air.