As an owner of the Oreck XL Professional Air Purifier, I understand the importance of keeping it clean and efficient. Cleaning this device is not only easy but also crucial for maintaining its optimal performance.
In this article, I will guide you through step-by-step instructions on how to clean your Oreck XL Professional Air Purifier. From gathering the necessary cleaning supplies to reassembling the device, I will provide you with a thorough and precise cleaning process.
So, let’s get started and ensure that your air purifier keeps providing you with fresh and clean air.
Key Takeaways
- The Oreck XL Professional Air Purifier is a popular choice for improving indoor air quality.
- It is capable of removing allergens, dust, pet dander, odors, and harmful pollutants from the air.
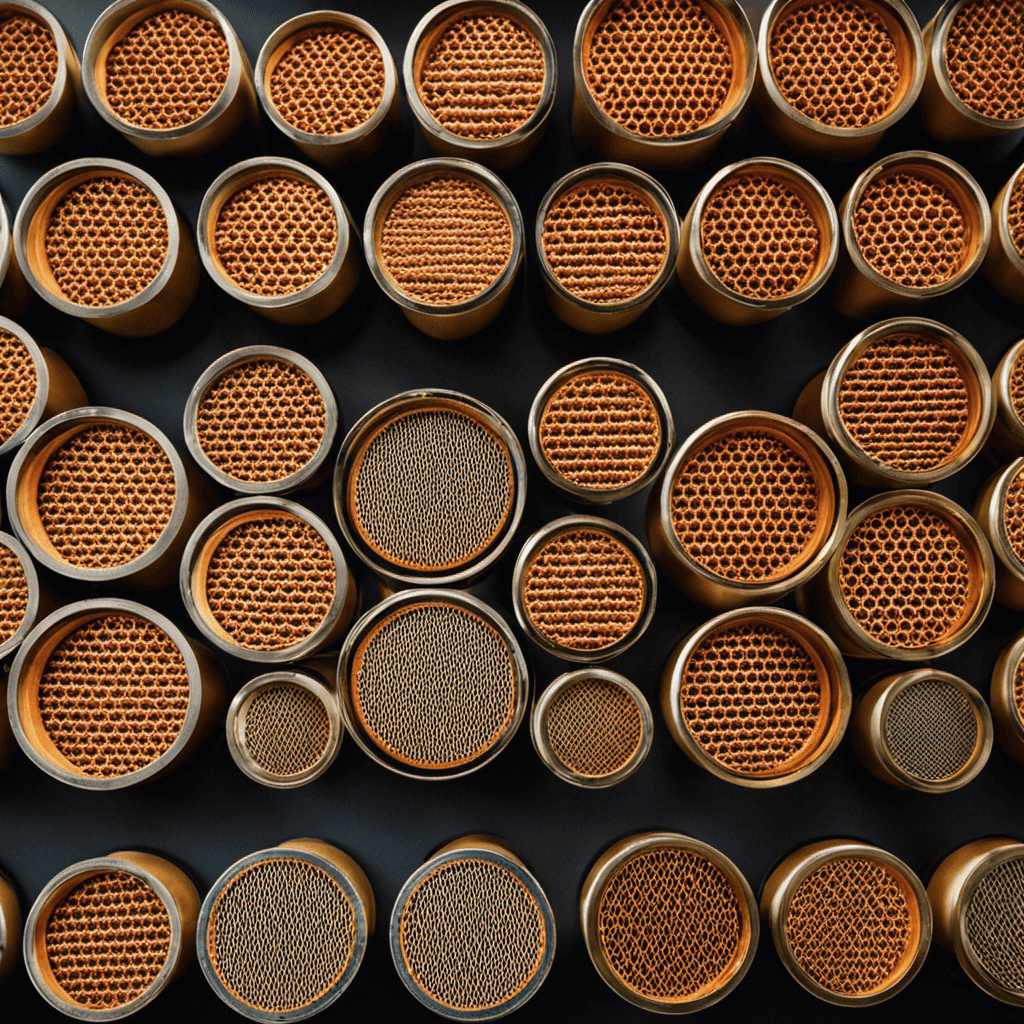
- The air purifier has a permanent filter that never needs to be replaced, capturing particles as small as 0.3 microns.
- The cleaning process involves powering off and unplugging the device, removing the front cover, cleaning the pre-filter, Truman Cell, odor absorber, and electronic collector cell, and then reassembling and testing the air purifier.
Understanding the Oreck Xl Professional Air Purifier
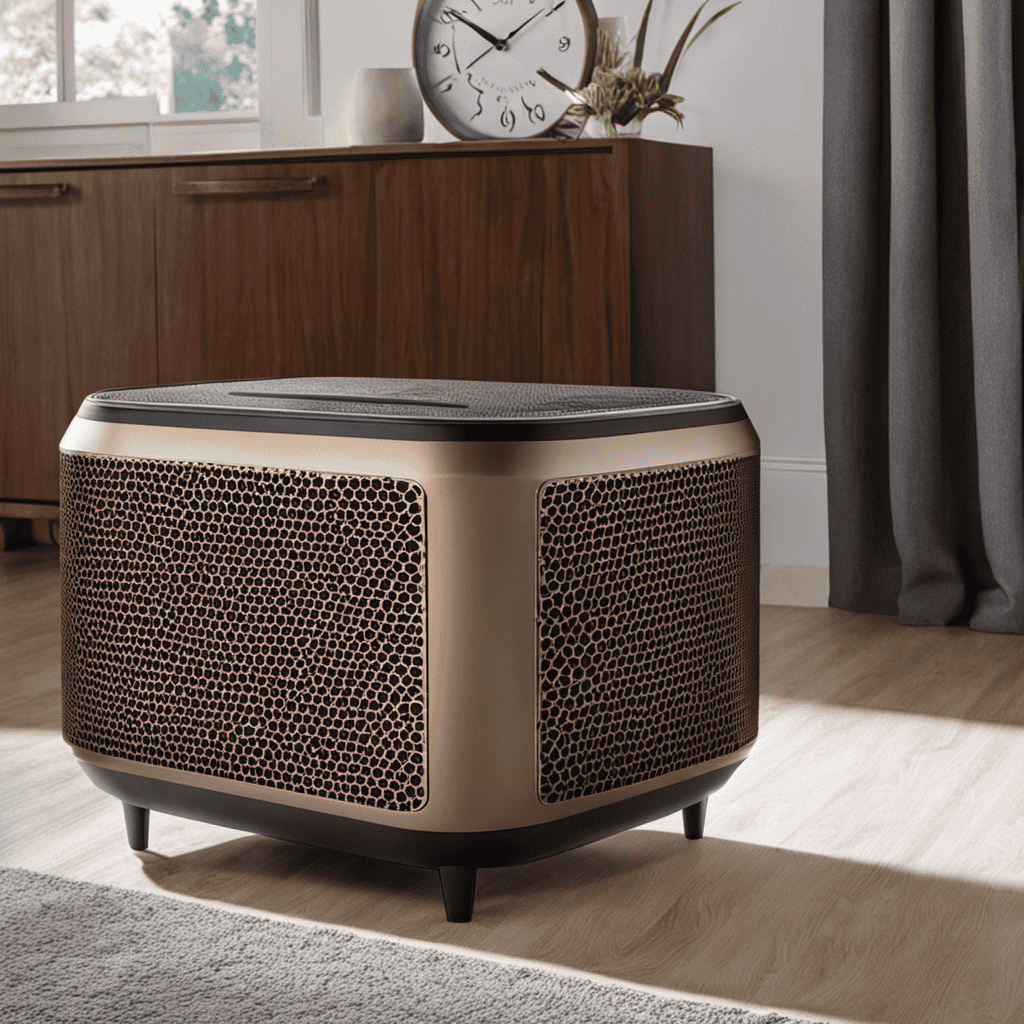
The Oreck XL Professional Air Purifier is a popular choice for improving indoor air quality. As an expert in air purifier maintenance, I can attest to the numerous benefits of using an air purifier like the Oreck XL.
This powerful machine not only removes allergens, dust, and pet dander from the air, but it also helps eliminate odors and harmful pollutants. With its advanced filtration system, it captures particles as small as 0.3 microns, ensuring cleaner and fresher air for you and your family.
The Oreck XL is also equipped with a permanent filter that never needs to be replaced, saving you time and money. Regularly cleaning and maintaining your Oreck XL will ensure optimal performance and extend its lifespan.
Gathering the Necessary Cleaning Supplies
To gather the necessary cleaning supplies for the Oreck XL Professional Air Purifier, start by checking if you have a microfiber cloth, a vacuum cleaner, and a small brush. These items are essential for effectively cleaning and maintaining your air purifier.
Once you have these tools, you can proceed to the next step, which is choosing the right cleaning solution for your purifier. There are several cleaning solution options available, such as mild soap and water, or a mixture of vinegar and water. It’s important to avoid using harsh chemicals or abrasive cleaners, as they can damage the sensitive parts of the purifier.
When cleaning, always be mindful of protecting the sensitive parts, such as the filters and electronic components.
Powering off and Unplugging the Air Purifier
First, make sure you power off and unplug your device before starting any maintenance or cleaning tasks. It is essential to follow this step to ensure your safety and avoid any potential damage to the air purifier.
To power down the Oreck XL Professional Air Purifier, locate the power button on the control panel or remote and press it to turn off the device. Once the device is powered down, unplug it from the electrical outlet. This will prevent any electrical accidents or malfunctions during the cleaning process.
Always remember to handle the air purifier with care and caution, especially when dealing with electrical components. Taking the time to power down and unplug the device is an important step in maintaining and cleaning your Oreck XL Professional Air Purifier effectively.
Removing the Front Cover of the Air Purifier
Before removing the front cover of your device, ensure that it is powered off and unplugged. This is an important safety precaution to prevent any accidents or damage during the disassembling process.
Once you have taken these necessary steps, you can proceed with removing the front cover of your Oreck XL Professional Air Purifier. To do this, locate the tabs or screws that hold the cover in place and carefully release them. Gently lift off the cover, being mindful of any delicate parts or wires that may be attached.
Now that the front cover is removed, you can access the internal components for a thorough cleaning process. Remember to follow the manufacturer’s instructions and guidelines to ensure proper cleaning and reassembly of your air purifier.
Cleaning the Pre-Filter
Once the front cover is removed, you can easily access and clean the pre-filter. Cleaning the pre-filter is essential for maintaining the performance of your Oreck XL Professional Air Purifier. Here’s how you can do it:
- Turn off the air purifier and unplug it from the power source.
- Remove the pre-filter from the unit by gently pulling it out.
- Use a soft brush or vacuum cleaner with a brush attachment to remove any visible dust or debris from the pre-filter.
- If the pre-filter is heavily soiled, you can wash it with mild soap and water. Make sure to rinse it thoroughly and let it dry completely before reinstalling it.
- Once the pre-filter is clean and dry, carefully place it back into the air purifier.
- Reattach the front cover and plug in the unit.
Regularly cleaning the pre-filter will ensure that your Oreck XL Professional Air Purifier continues to deliver clean and fresh air, maintaining optimal performance.
Cleaning the Truman Cell
To clean the Truman Cell, start by turning off and unplugging the unit.
Cleaning the Truman Cell is an essential part of maintaining the Oreck XL Professional Air Purifier. The Truman Cell is responsible for capturing large particles and contaminants in the air, ensuring cleaner and fresher air in your home.
To remove the Truman Cell, locate the release latch and gently pull it out. Once removed, carefully wash the Truman Cell using warm soapy water. Make sure to rinse it thoroughly and allow it to dry completely before reinserting it into the unit.
It is important to clean the Truman Cell regularly to maintain the effectiveness of the ozone generator and ensure optimal performance of your Oreck XL Professional Air Purifier.
Cleaning the Odor Absorber
When cleaning the odor absorber, you’ll want to remove it from the unit and gently wash it using warm soapy water. This will help to remove any dirt, dust, and odors that may have accumulated over time. Here are some tips to ensure a thorough cleaning and prevent future odors:
-
Removing and washing the odor absorber
-
Turn off and unplug the air purifier before removing the odor absorber.
-
Carefully detach the odor absorber from the unit.
-
Fill a basin or sink with warm soapy water.
-
Gently wash the odor absorber using a soft cloth or sponge.
-
Rinse it thoroughly to remove any soap residue and allow it to air dry completely.
-
Cleaning the HEPA filter
-
Check the manufacturer’s instructions for specific cleaning recommendations.
-
In general, HEPA filters should be replaced rather than cleaned.
-
If the filter is washable, follow the instructions for cleaning and drying it properly.
-
Regularly replacing the HEPA filter will ensure optimal air purification and prevent odors from circulating in your home.
Cleaning the Electronic Collector Cell
When it comes to cleaning the electronic collector cell of your Oreck XL Professional Air Purifier, it is important to follow proper cleaning techniques. This ensures that the collector cell is effectively cleaned without causing any damage to the unit.
Additionally, understanding the frequency of maintenance and how often the collector cell needs to be cleaned will help maintain optimal performance of the air purifier.
Lastly, troubleshooting common issues that may arise during the cleaning process can help identify and resolve any problems, ensuring that the air purifier continues to function effectively.
Proper Cleaning Techniques
Ensure that you’re using the right cleaning techniques for your Oreck XL Professional air purifier. Cleaning your air purifier properly is essential to maintain its effectiveness and prolong its lifespan. Here are some important tips to follow:
- Cleaning the Filters:
- Remove the filters from the unit and gently tap them to remove loose dirt and debris.
- Use a soft brush or vacuum cleaner with a brush attachment to remove stubborn dirt.
- Wash the filters with warm soapy water and rinse thoroughly.
- Allow the filters to air dry completely before reinstalling them.
Avoiding Common Mistakes:
- Never use harsh chemicals or abrasive materials to clean your air purifier.
- Do not immerse the unit in water or expose it to excessive moisture.
- Always follow the manufacturer’s instructions for cleaning and maintenance.
Frequency of Maintenance
To keep your air purifier running smoothly, it’s important to regularly maintain and clean the filters. The frequency of maintenance for your Oreck XL Professional air purifier depends on the level of pollutants in your environment.
In general, it is recommended to clean the filters every three to six months. However, if you live in an area with high levels of dust, smoke, or pet dander, more frequent cleaning may be necessary.
Regular cleaning of the filters offers numerous benefits. It ensures that the air purifier is functioning at its optimal level, effectively removing pollutants from the air. By cleaning the filters regularly, you can also prolong the lifespan of your air purifier, saving you money in the long run.
Don’t forget to consult the manufacturer’s instructions for specific maintenance guidelines.
Troubleshooting Common Issues
If your air purifier is not functioning properly, you may be able to troubleshoot and resolve common issues on your own. Here are some troubleshooting tips that can help you get your Oreck XL Professional air purifier back up and running:
-
Troubleshooting Error Codes:
-
Check the user manual for a list of error codes and their meanings.
-
If you encounter an error code, try resetting the unit by unplugging it for a few minutes and plugging it back in.
-
Troubleshooting Fan Noise:
-
Ensure that the fan blades are clean and free from debris.
-
Check for any loose screws or parts that may be causing the noise.
By following these troubleshooting steps, you can often resolve minor issues with your air purifier and avoid the need for professional repairs.
Now, let’s move on to the next section about cleaning the fan blades.
Cleaning the Fan Blades
Start by unplugging the air purifier to clean the fan blades. Cleaning the fan blades is an essential step in maintaining the efficiency and performance of your Oreck XL Professional Air Purifier. Over time, dust, dirt, and debris can accumulate on the fan blades, hindering airflow and reducing the purifier’s effectiveness.
To clean the fan blades, follow these simple steps:
- Remove the front grill of the air purifier.
- Use a soft brush or cloth to gently wipe away any visible dirt or dust from the fan blades.
- For a deeper clean, dampen a cloth with a mild soap and water solution and carefully wipe the blades.
- Once clean, allow the blades to dry completely before reassembling the purifier.
By regularly cleaning the fan blades and troubleshooting any issues with the fan motor, you can ensure that your Oreck XL Professional Air Purifier continues to provide clean and fresh air in your home.
Next, let’s move on to cleaning the ionizer.
Cleaning the Ionizer
When cleaning the ionizer, make sure to unplug the device and follow these steps to maintain its effectiveness.
-
Start by removing the ionizer plate from the air purifier. This is usually located at the top or bottom of the unit.
-
Use a soft brush or cloth to gently wipe away any dust or debris from the ionizer plate. Avoid using water or any liquid cleaners, as this may damage the plate.
-
Remember to clean the ionizer plate regularly to ensure optimal performance of your air purifier.
-
By cleaning the ionizer, you are removing harmful particles from the air, improving the overall air quality in your home.
Cleaning the ionizer is an important part of maintaining your air purifier.
Once the ionizer is clean, you can move on to cleaning the air intake vents to ensure that your air purifier continues to work efficiently and effectively.
Cleaning the Air Intake Vents
To maintain optimal performance, make sure you regularly clean the air intake vents by gently removing any dust or debris with a soft brush or cloth.
Cleaning the air intake vents is an essential step in maintaining the efficiency of your Oreck XL Professional air purifier. Over time, dust and debris can accumulate on the vents, hindering the airflow and reducing the purifier’s ability to clean the air effectively.
By cleaning the vents regularly, you can prevent dust build-up and ensure that your air purifier continues to work at its best.
Additionally, cleaning the air intake vents can also help prolong the lifespan of the filter, as it prevents larger particles from entering and clogging the filter.
Cleaning the Air Outlet Vents
Make sure you regularly remove any dust or debris from the air outlet vents to maintain optimal performance of your Oreck XL Professional air purifier. Cleaning the air outlet vents is essential in keeping your air purifier working efficiently.
Here are the steps to clean the air outlet vents:
- Turn off the air purifier and unplug it from the power source.
- Use a soft cloth or brush to gently wipe away any visible dust or debris from the vents.
- For a deeper clean, you can use a vacuum cleaner with a brush attachment to remove any stubborn dust particles.
- If the vents are particularly dirty, you can use a mixture of mild soap and water to clean them. Make sure to dry them thoroughly before plugging the air purifier back in.
- Lastly, don’t forget to clean the filter regularly to ensure the best air purifying performance.
Cleaning the Control Panel
Now that we’ve cleaned the air outlet vents of the Oreck XL Professional Air Purifier, let’s turn our attention to the control panel.
The control panel is an essential component of the air purifier, allowing us to adjust settings and monitor its performance. However, over time, dust and dirt can accumulate on the control panel, hindering its functionality.
To clean the control panel, start by unplugging the air purifier from the power source. Then, use a soft, lint-free cloth lightly dampened with water or a mild cleaning solution to gently wipe the control panel. Avoid using harsh chemicals or abrasive materials, as these can damage the panel.
Once cleaned, ensure the control panel is completely dry before reconnecting the air purifier to the power source.
If you’re experiencing any issues with the control panel, such as unresponsive buttons or error messages, consult the user manual for troubleshooting tips or contact Oreck customer support for further assistance.
Reassembling the Air Purifier
Once you’ve finished cleaning the control panel, it’s time to reassemble the air purifier. Reassembling the air purifier may seem daunting, but with the right techniques, it can be a breeze. Here are some steps to help you with the reassembly process:
-
Begin by referring to the user manual or online resources for detailed instructions specific to your model.
- Locate the corresponding parts and components that were removed during the cleaning process.
- Ensure that each part is clean and free from any dirt or debris.
-
Carefully follow the assembly instructions, making sure each piece is fitted correctly.
- Double-check the alignment of the parts and ensure they are securely connected.
- Pay attention to any connectors, screws, or clips that may be needed for proper attachment.
Troubleshooting reassembly:
- If you encounter any difficulties during the reassembly process, refer back to the manual or online resources for troubleshooting tips.
- Take your time and be patient, as rushing can lead to mistakes.
Testing the Air Purifier After Cleaning
To ensure the air purifier is working properly after cleaning, you should plug it in and turn it on to test its functionality. Testing the effectiveness of the air purifier is crucial to ensure that it is still able to clean the air effectively.
One way to measure air quality is by using an air quality monitor. These devices can detect and measure various pollutants in the air, such as dust, allergens, and volatile organic compounds (VOCs). By placing the monitor near the air purifier, you can compare the air quality before and after cleaning.
Another method is to observe the air purifier’s performance. Check if the fan is running smoothly and if the air flow is strong. Additionally, you can also listen for any unusual noises or vibrations.
Frequently Asked Questions
Can the Oreck Xl Professional Air Purifier Be Cleaned With Water and Soap?
Yes, you can clean the Oreck XL Professional Air Purifier with water and soap. However, it’s important to follow the manufacturer’s instructions to ensure proper cleaning. Additionally, there are alternative cleaners available specifically designed for air purifiers.
How Often Should the Pre-Filter Be Replaced?
The pre-filter of the Oreck XL Professional Air Purifier should be replaced every 3-6 months, depending on usage. Regular maintenance, such as vacuuming or washing the pre-filter, can help prolong its lifespan and maintain optimal performance.
Can I Use a Vacuum Cleaner to Clean the Truman Cell?
Yes, you can use a vacuum cleaner to clean the truman cell of the Oreck XL Professional Air Purifier. It’s an effective way to remove dirt and debris from the cell, ensuring optimal performance.
Is It Safe to Clean the Fan Blades With a Damp Cloth?
Cleaning the fan blades of the Oreck Xl Professional Air Purifier with a damp cloth is safe and effective. However, there are alternative methods like using a soft brush or compressed air to remove dust and debris.
Can I Use Any Type of Cleaning Solution to Clean the Control Panel?
I can use various cleaning solutions to clean the control panel of my Oreck XL Professional Air Purifier. However, it’s important to choose a solution that is safe for electronics and follow the manufacturer’s guidelines to avoid damaging the device.
Conclusion
After following these simple steps, my Oreck XL Professional Air Purifier is now sparkling clean and ready to purify the air in my home.
The front cover has been removed and cleaned, the pre-filter has been washed, and the air outlet vents and control panel have been thoroughly wiped down.
As I reassemble the air purifier, I can already imagine the fresh, clean air it will provide for my family.
I’m confident that with regular cleaning, this Oreck XL Professional Air Purifier will continue to be a reliable and efficient addition to my home.

In the dynamic world of air purifiers and clean air advocacy, Aire stands out as a beacon of knowledge and passion. As the Editor in Chief of Aero Guardians, Aire has been instrumental in shaping the platform’s voice and direction, ensuring that every piece of content resonates with clarity, authority, and authenticity.