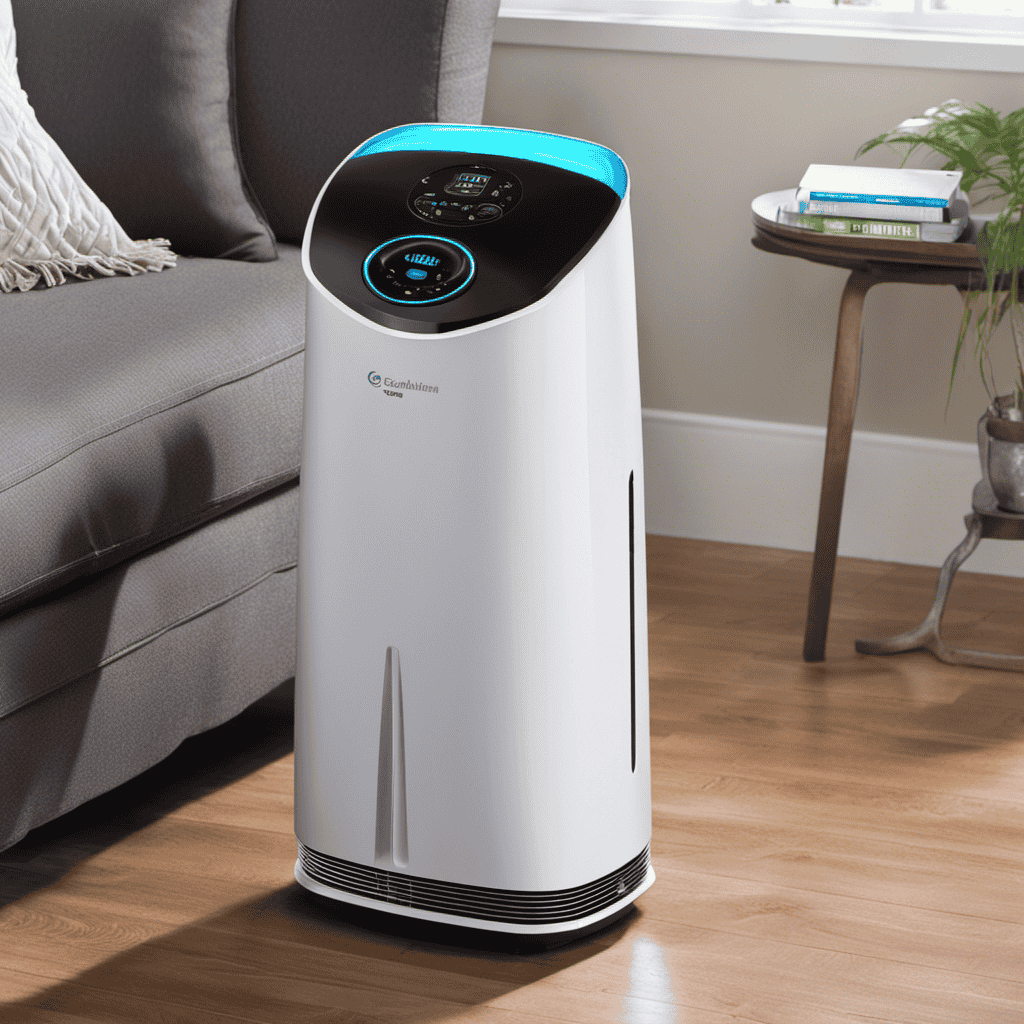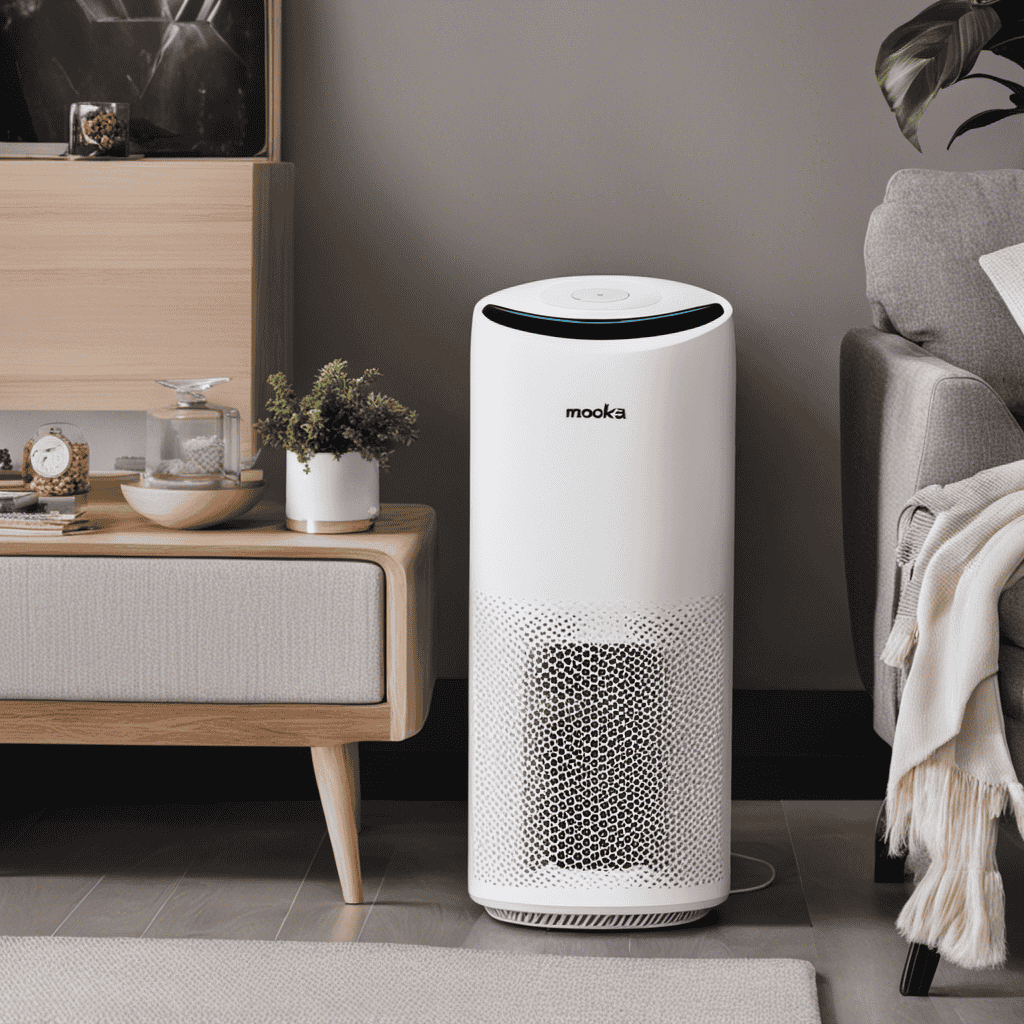
I remember the first time I realized how important it is to change the filter in my Mooka air purifier.
I had been suffering from allergies for weeks and couldn’t figure out why. Then, I discovered that my filter was clogged with dust and debris, rendering it ineffective.
This experience prompted me to learn how to properly replace the filter. In this article, I will guide you through the step-by-step process of changing the Mooka air purifier filter, ensuring that your air remains clean and allergen-free.
Key Takeaways
- Regular filter maintenance is crucial for maintaining the efficiency of your Mooka air purifier.
- Replacing the filter as recommended by the manufacturer can extend the lifespan of your air purifier.
- A clogged filter can lead to poor indoor air quality and health problems.
- Properly clean the new filter before installation.
Understanding the Importance of Filter Replacement
Understanding the importance of filter replacement is crucial for maintaining the efficiency of your Mooka air purifier. Regular filter maintenance is essential to ensure that your air purifier continues to provide you with clean and fresh air. By replacing the filter as recommended by the manufacturer, you can extend the lifespan of your air purifier and improve its performance.
Clean air is essential for our health and well-being. When the filter is clogged with dust, allergens, and pollutants, it can no longer effectively remove these harmful particles from the air. This can lead to poor indoor air quality, which can cause allergies, respiratory issues, and other health problems.
Gathering the Necessary Tools and Supplies
To get started, you’ll need a few tools and supplies for the task at hand.
When it comes to changing the Mooka air purifier filter, there are a few essential items you’ll need.
First, you’ll need a screwdriver to remove the screws that hold the filter compartment in place.
Next, you’ll need a new replacement filter that is compatible with your specific Mooka model. You can find these filters online on the Mooka website or from reputable retailers like Amazon or Best Buy. It’s important to purchase the correct filter to ensure proper functioning of your air purifier.
Additionally, you may want to have a clean cloth or brush on hand to wipe down the filter compartment and remove any dust or debris before installing the new filter.
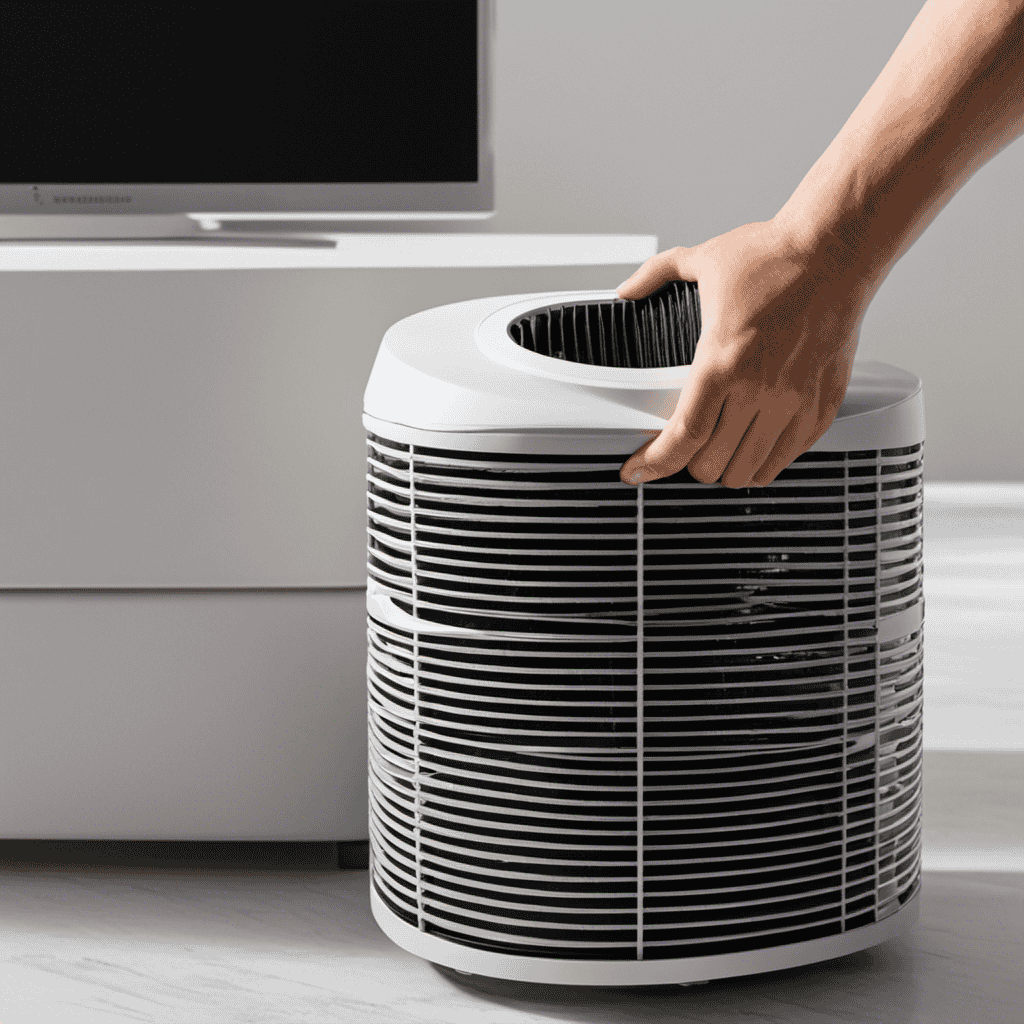
Step-by-Step Guide to Removing the Old Filter
When removing the old filter, you’ll need a screwdriver to unscrew the compartment. Here are some tips for cleaning air purifier filters and common signs of a dirty air purifier filter:
-
Decreased airflow: If you notice that the air purifier is not blowing air as strongly as before, it could be a sign that the filter is clogged with dirt and dust.
-
Increased dust buildup: A dirty filter may not effectively trap particles, causing more dust to accumulate on surfaces in your home.
-
Foul odor: If you start to notice unpleasant smells even with the air purifier running, it could indicate that the filter is dirty and unable to eliminate odors effectively.
-
Allergy symptoms: If you or your family members experience an increase in allergy symptoms such as sneezing, coughing, or watery eyes, it might be time to clean or replace the air purifier filter.
Regularly cleaning and maintaining your air purifier filter is essential for optimal performance and clean air in your home.
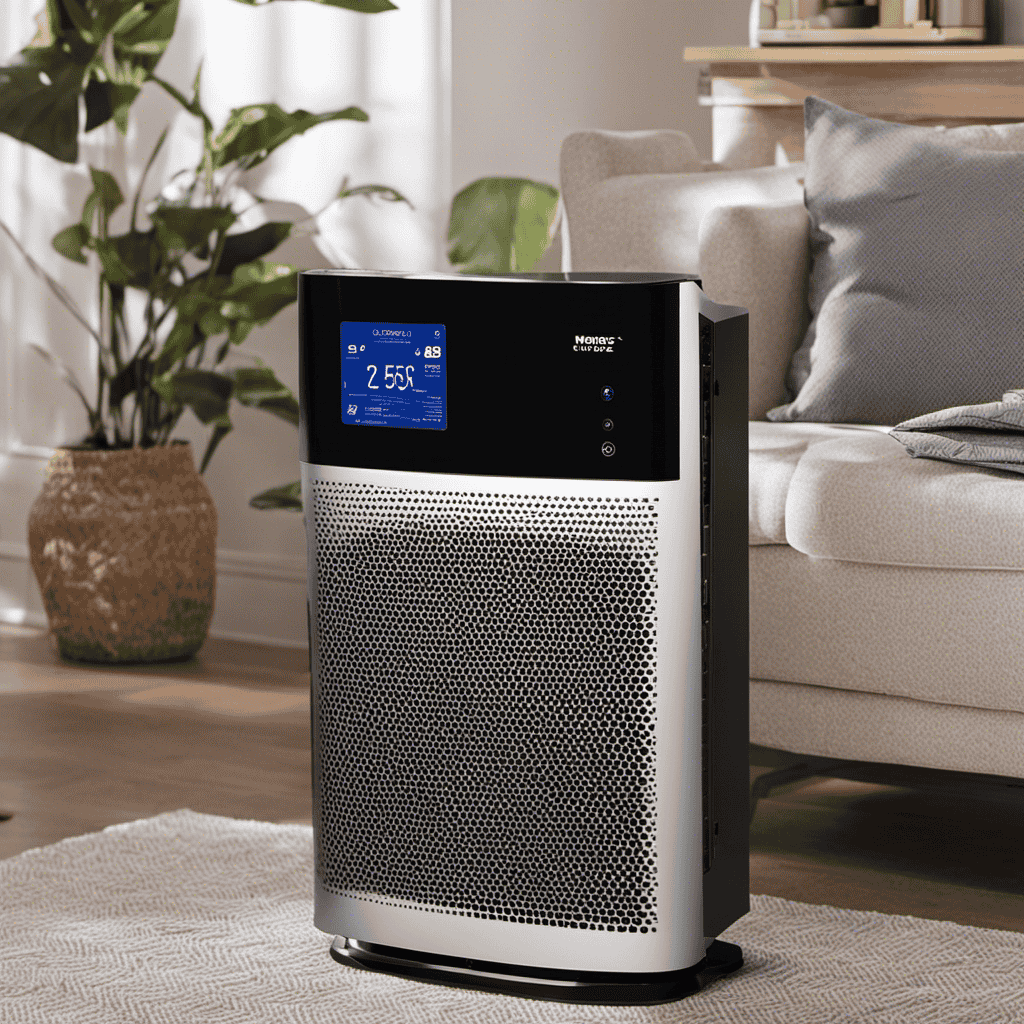
Installing the New Filter in Your Mooka Air Purifier
Once you’ve removed the old filter, it’s time to install the new one in your Mooka air purifier. Follow these steps to ensure a proper installation and maximize the efficiency of your purifier.
First, make sure to clean the filter properly before installing the new one. This will help remove any dust or debris that may have accumulated. Gently vacuum or rinse the filter according to the manufacturer’s instructions and allow it to dry completely.
Next, refer to the user manual to locate the filter compartment in your Mooka air purifier. Open the compartment and carefully insert the new filter, making sure it is securely in place.
If you encounter any issues during the installation process, refer to the troubleshooting section of the user manual. Common problems include difficulty inserting the filter or a loose fit. Double-check that you have the correct filter for your specific model and ensure it is aligned properly.
By following these steps and troubleshooting any issues that arise, you can successfully install the new filter in your Mooka air purifier and enjoy cleaner, fresher air in your home.
Now let’s move on to some tips for maintaining and extending the lifespan of your air purifier filter.
Tips for Maintaining and Extending the Lifespan of Your Air Purifier Filter
Now, let’s explore some handy tips on how to maintain and prolong the lifespan of your air purifier filter.
-
Clean regularly: Regularly cleaning your air purifier filter can help extend its lifespan. Use a soft brush or vacuum cleaner to remove dust and debris from the filter.
-
Follow manufacturer’s instructions: Every air purifier is different, so it’s important to read and follow the manufacturer’s instructions for cleaning and replacing the filter. This will ensure that you’re taking the correct steps to maintain your filter properly.
-
Avoid washing the filter: Washing the filter may seem like an easy way to clean it, but it can actually damage the filter and reduce its effectiveness. Instead, stick to dry cleaning methods recommended by the manufacturer.
-
Don’t wait too long to replace: While cleaning can help extend the lifespan of your filter, it’s important to know when it’s time to replace it. Waiting too long can lead to reduced air quality and an inefficient air purifier.
Conclusion
In conclusion, maintaining and replacing the filter in your Mooka Air Purifier is crucial for ensuring clean and fresh air in your home. By following the step-by-step guide and using the necessary tools and supplies, you can easily change the filter yourself.
Remember, a well-maintained filter not only improves the air quality but also extends the lifespan of your purifier. So, take charge of your indoor air quality and enjoy a healthier and more comfortable living space.
Breathe in the freshness, leave behind the impurities.

At Aero Guardians, where every piece of information aims to make the world a breath fresher, Samuela’s role as an author has been nothing short of transformative. With a penchant for weaving stories around the science of air purification, Samuela has enriched the platform with content that is both enlightening and captivating.