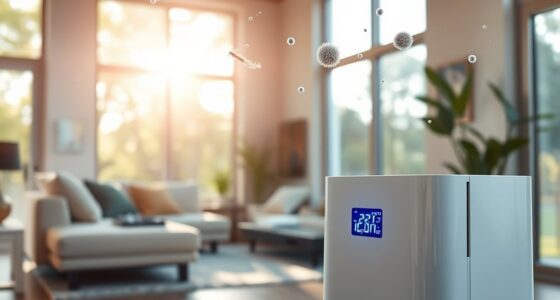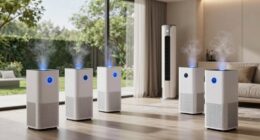
I have great news to share with you – the Germguardian Air Purifier has just been improved!
In this article, I’m going to show you how to add a filter to your Germguardian Air Purifier, step by step. By following these instructions, you’ll be able to improve the air quality in your home and breathe easier.
So, let’s get started and unlock the full potential of your Germguardian Air Purifier!
Key Takeaways
- Unboxing and assembling the Germguardian Air Purifier
- Identifying and choosing the right filter
- Removing and replacing the filter
- Preparing and installing the new filter
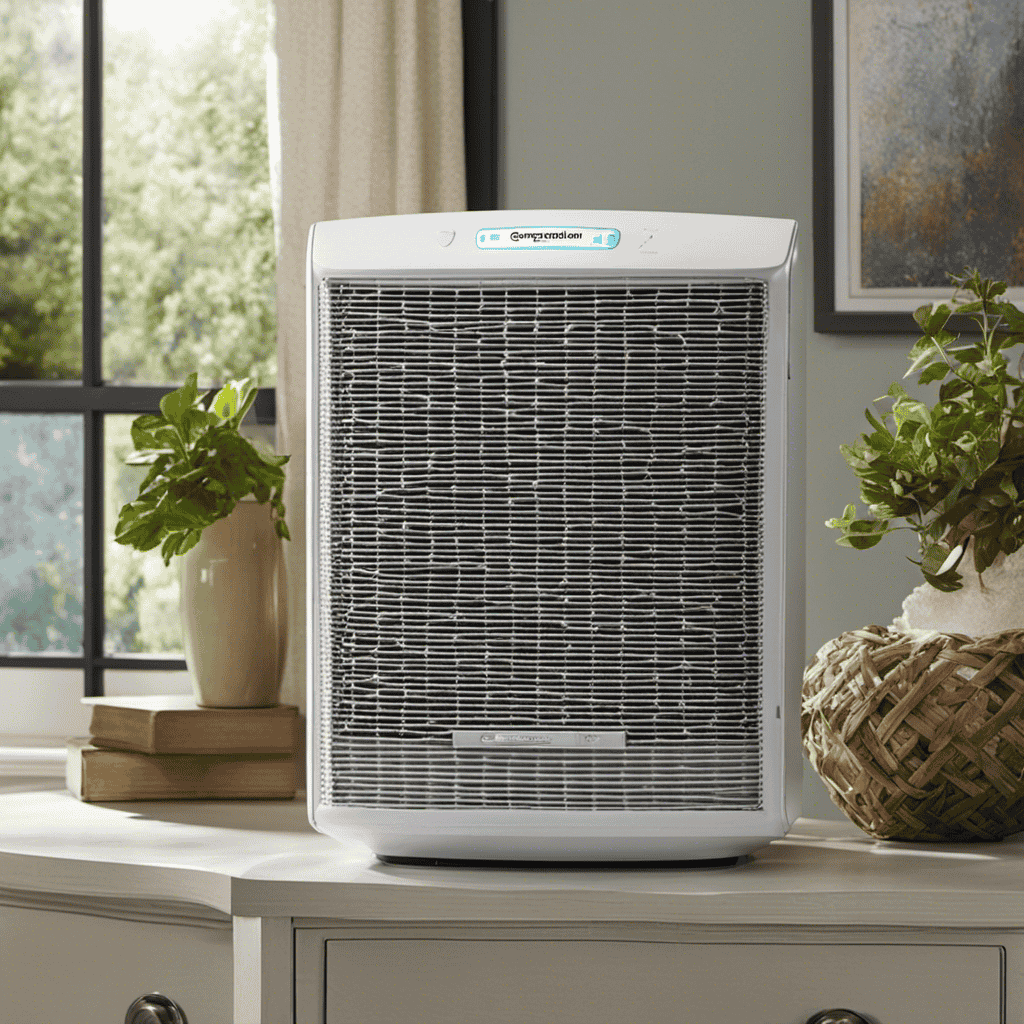
Step 1: Unboxing the Germguardian Air Purifier
The first step in setting up the Germguardian Air Purifier is unboxing it. To begin, carefully remove the purifier from its packaging, making sure not to damage any of the components.
Inside the box, you will find the main unit, filters, and an instruction manual. Before proceeding, it is important to thoroughly read the manual to familiarize yourself with the device and its features.
Once you have done this, you can start assembling the purifier by inserting the filters into their designated slots. Make sure to follow the instructions provided, as improper filter installation can affect the purifier’s performance.
If you encounter any difficulties during the unboxing process or have trouble assembling the filters, consult the troubleshooting section of the manual or contact customer support for assistance.
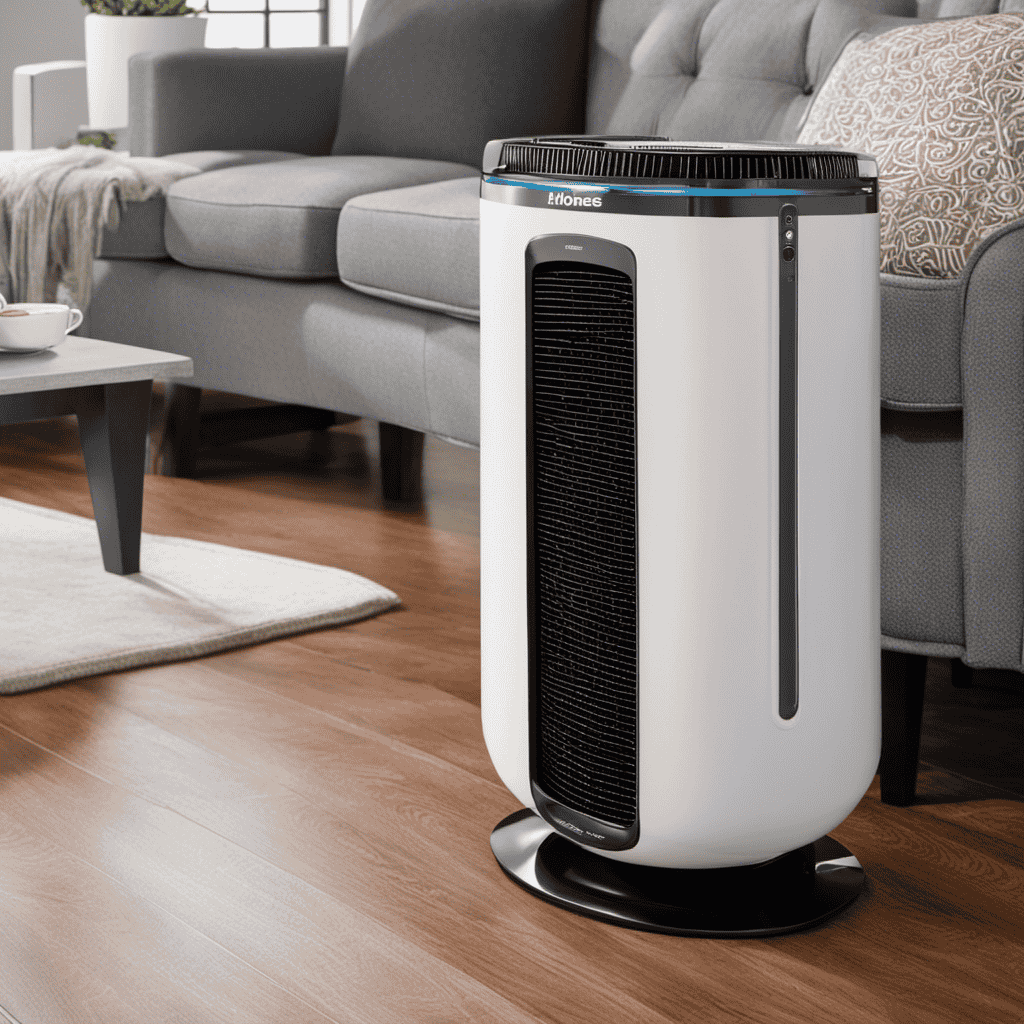
Step 2: Identifying the Filter Type for Your Germguardian Air Purifier
Next, you’ll want to figure out the type of filter for your germguardian air purifier. Proper filter replacement is crucial for maintaining the effectiveness of your air purifier and ensuring clean air in your space.
Here are some key points to consider when identifying the filter type and compatibility:
-
Check the model number of your germguardian air purifier. This information can usually be found on the unit itself or in the user manual.
-
Visit the manufacturer’s website or contact customer support to find the specific filter type recommended for your model.
-
Take note of the filter dimensions and specifications to ensure compatibility with your air purifier.
-
Consider the type of pollutants you want to target. Different filter types, such as HEPA or activated carbon filters, are designed to capture specific particles or odors.
-
Look for any additional features or technologies offered with certain filter options, such as antimicrobial treatment or UV-C light.
Step 3: Removing the Old Filter From Your Germguardian Air Purifier
To remove the old filter from your Germguardian air purifier, simply turn off the unit and unplug it from the power source.
Start by locating the filter compartment, usually found at the back or side of the device. Open the compartment by following the manufacturer’s instructions, which may involve sliding or lifting a cover.
Once the compartment is accessible, carefully remove the old filter by pulling it out or unscrewing it, depending on the model. Be cautious not to damage the filter or the surrounding components.
After removing the filter, dispose of it properly according to local regulations.
When it comes to replacing the filter, there are various options available, including HEPA filters, activated carbon filters, and antimicrobial filters. Choose a replacement filter that suits your specific air quality needs and follow the manufacturer’s instructions for installation.
Remember to regularly check and replace the air purifier filter to maintain optimal performance and clean indoor air quality.
Step 4: Preparing the New Filter for Installation
Proper filter installation and filter preparation techniques are crucial for ensuring the effective functioning of air purifiers.
When it comes to installing a new filter, it is important to follow the manufacturer’s instructions carefully to ensure a proper fit and seal.
Additionally, proper filter preparation techniques, such as removing any packaging or protective covers, can help optimize the filter’s performance and ensure the best possible air quality.
Proper Filter Installation
Make sure you’ve properly installed the filter in your germguardian air purifier. Proper filter installation is crucial for maintaining optimal air quality in your home. Here are some important points to remember:
- Check the filter maintenance instructions provided by the manufacturer.
- Ensure that the filter is clean and free from any debris before installing.
- Align the filter correctly with the designated slots in the air purifier.
- Securely close the filter compartment to prevent air leakage.
- Regularly check the filter lifespan and replace it as recommended to ensure maximum efficiency.
Proper filter installation is essential for the effective removal of pollutants and allergens from the air. By following these guidelines, you can ensure that your germguardian air purifier functions at its best, providing you with clean and healthy air to breathe.
Filter Preparation Techniques
Before installing, ensure the filter is clean and debris-free.
Proper maintenance of air purifier filters is crucial for optimal performance. Regular filter cleaning is essential to remove accumulated dust, pollen, and other particles, ensuring efficient air purification. The frequency of filter cleaning depends on factors such as indoor air quality and usage. It’s recommended to clean the filter every one to three months.
To clean the filter, gently vacuum or rinse it under running water. Allow the filter to dry completely before reinstalling.
However, it’s important to note that filters have a limited lifespan. Over time, they become less effective at capturing pollutants. It’s recommended to replace the filter every six to twelve months, depending on the manufacturer’s guidelines and the air quality in your environment.
Regular cleaning and timely replacement of filters will help maintain the performance and effectiveness of your air purifier.
Step 5: Installing the New Filter in Your Germguardian Air Purifier
When it comes to installing a new filter in your Germguardian Air Purifier, there are a few key points to keep in mind.
First, it’s important to follow proper filter installation tips to ensure that the filter functions effectively.
Second, proper filter alignment is crucial for optimal air purification.
And finally, securing the filter tightly is essential to prevent air leaks and maintain the efficiency of the purifier.
Filter Installation Tips
To properly install the filter, you’ll need to align the arrow on the filter with the arrow on the unit.
Here are some tips to help you with filter maintenance and extend its lifespan:
- Regularly check the filter for dirt and debris buildup.
- Clean the filter according to the manufacturer’s instructions.
- Replace the filter when it becomes visibly dirty or as recommended by the manufacturer.
- Avoid using the air purifier without a filter, as this can lead to reduced performance and decreased air quality.
- Keep track of the filter’s lifespan and replace it on time to ensure optimal air purification.
Proper filter maintenance is crucial for the effectiveness of your air purifier. By following these tips, you can ensure that your filter lasts longer and continues to provide clean and fresh air for your indoor environment.
Proper Filter Alignment
Make sure you align the arrows on the filter and unit to ensure proper filter installation. Proper filter alignment is crucial for the effective functioning of an air purifier. It helps to create a tight seal and prevents air leakage, ensuring that all the air passing through the unit is properly filtered. Common filter installation mistakes can lead to reduced filtration efficiency and compromised air quality.
To help you understand the importance of filter alignment and avoid common mistakes, here are some filter alignment techniques:
| Technique | Description | Benefits |
|---|---|---|
| Arrow Match | Align the arrows on the filter and the unit | Ensures proper sealing and filtration |
| Secure Fit | Ensure the filter is securely locked in place | Prevents air leakage and bypass |
| Visual Check | Verify that the filter is properly seated | Confirms correct installation |
Securing the Filter Tightly
Securing the filter tightly ensures proper filtration and prevents air leakage. It is crucial to maintain the filter’s integrity for optimal performance and air quality.
Here are some key points to consider for filter maintenance and replacement:
- Regularly inspect the filter for any signs of damage or clogging.
- Follow the manufacturer’s guidelines for filter replacement intervals.
- Use high-quality filters that are compatible with your germguardian air purifier model.
- Clean or replace the pre-filter if applicable, as it helps extend the lifespan of the main filter.
- Keep a record of filter replacement dates to stay on top of maintenance.
By following these steps, you can ensure that your germguardian air purifier functions effectively and efficiently.
Now, let’s move on to step 6: resetting the filter indicator on your germguardian air purifier.
Step 6: Resetting the Filter Indicator on Your Germguardian Air Purifier
After replacing the filter, you’ll need to reset the filter indicator on your Germguardian air purifier. Resetting the filter indicator is an important step to ensure the accurate monitoring of your filter’s lifespan.
To reset the filter indicator, locate the control panel on your Germguardian air purifier. Look for the ‘Reset’ button or indicator. Press and hold the ‘Reset’ button for a few seconds until the filter indicator light turns off or resets to zero.
If the filter indicator does not reset, it could indicate a potential issue with the air purifier or the filter itself. In such cases, it is recommended to consult the user manual or contact the manufacturer for troubleshooting assistance.
Properly resetting the filter indicator will help you keep track of when it’s time to replace the filter, ensuring that your Germguardian air purifier continues to effectively clean the air in your space.
Step 7: Testing the Functionality of Your Germguardian Air Purifier With the New Filter
After resetting the filter indicator on your Germguardian air purifier, the next step is to test the functionality of the device with the new filter. This ensures that the filter is properly installed and functioning efficiently. Here are some testing methods you can use:
-
Airflow Test: Place your hand in front of the air purifier’s outlet to feel the strength and consistency of the airflow.
-
Odor Test: Introduce a strong odor near the air purifier and observe if it effectively reduces the smell.
-
Particle Test: Use a particle counter or laser particle scanner to measure the number of particles in the air before and after running the purifier.
-
Allergen Test: If you have allergies, observe if your symptoms improve after using the air purifier.
-
Filter Efficiency: Refer to the product specifications to determine the filter efficiency and compare it to industry standards.
Step 8: Maintenance Tips for Your Germguardian Air Purifier With the New Filter
To keep your Germguardian air purifier running smoothly with the new filter, it’s important to follow these maintenance tips. Regular maintenance ensures optimal performance and extends the lifespan of your filter. Here is a simple maintenance schedule to follow:
| Maintenance Task | Frequency |
|---|---|
| Check filter lifespan | Every 3 months |
| Clean pre-filter | Every 2 weeks |
| Vacuum the unit | Every 2 months |
| Replace filter | As needed |
Checking the filter lifespan is crucial as it determines when to replace the filter. Cleaning the pre-filter every two weeks prevents clogging and improves air circulation. Vacuuming the unit every two months removes dust and debris, maintaining its efficiency. Finally, replacing the filter as needed ensures optimal air purification. By following this maintenance schedule, you can enjoy clean and fresh air in your home while maximizing the lifespan of your Germguardian air purifier filter.
Conclusion
In conclusion, maintaining a clean and healthy indoor air environment is crucial for our well-being. The Germguardian Air Purifier is a reliable and effective tool in achieving this goal.
By following the simple steps outlined in this article, you can easily replace the filter in your Germguardian Air Purifier.
Did you know that according to the Environmental Protection Agency (EPA), indoor air can be up to five times more polluted than outdoor air? This statistic emphasizes the importance of using air purifiers and regularly replacing filters to ensure clean and safe air for you and your family.