So you’ve got a Honey Well Air Purifier 120, and you want to keep those filters clean and working at their best? Well, you’ve come to the right place.
I’m here to guide you through the process of cleaning the filters in your air purifier, step by step. With my expertise as an air quality specialist, I’ll provide you with precise instructions, highlighting the importance of each cleaning process.
Get ready to enhance your air quality with some meticulous filter maintenance!
Key Takeaways
- The Honey Well Air Purifier 120 has four key filters: the pre-filter, HEPA filter, carbon filter, and UV-C filter.
- Regularly cleaning and maintaining the filters is important for optimal performance and longevity of the air purifier.
- The pre-filter captures large particles like dust and pet hair, while the HEPA filter traps tiny particles such as pollen, mold spores, and bacteria.
- When cleaning the filters, follow the manufacturer’s instructions and avoid using water or liquid cleaning agents on the HEPA filter.

DEWALT Drill Bit Set, 3-Flats Shank,14-Piece, 135 Degree Split Point, for Plastic, Wood and Metal (DWA1184)
135 Degree Split point tip design to help reduce walking
As an affiliate, we earn on qualifying purchases.
Understanding the Honey Well Air Purifier 120
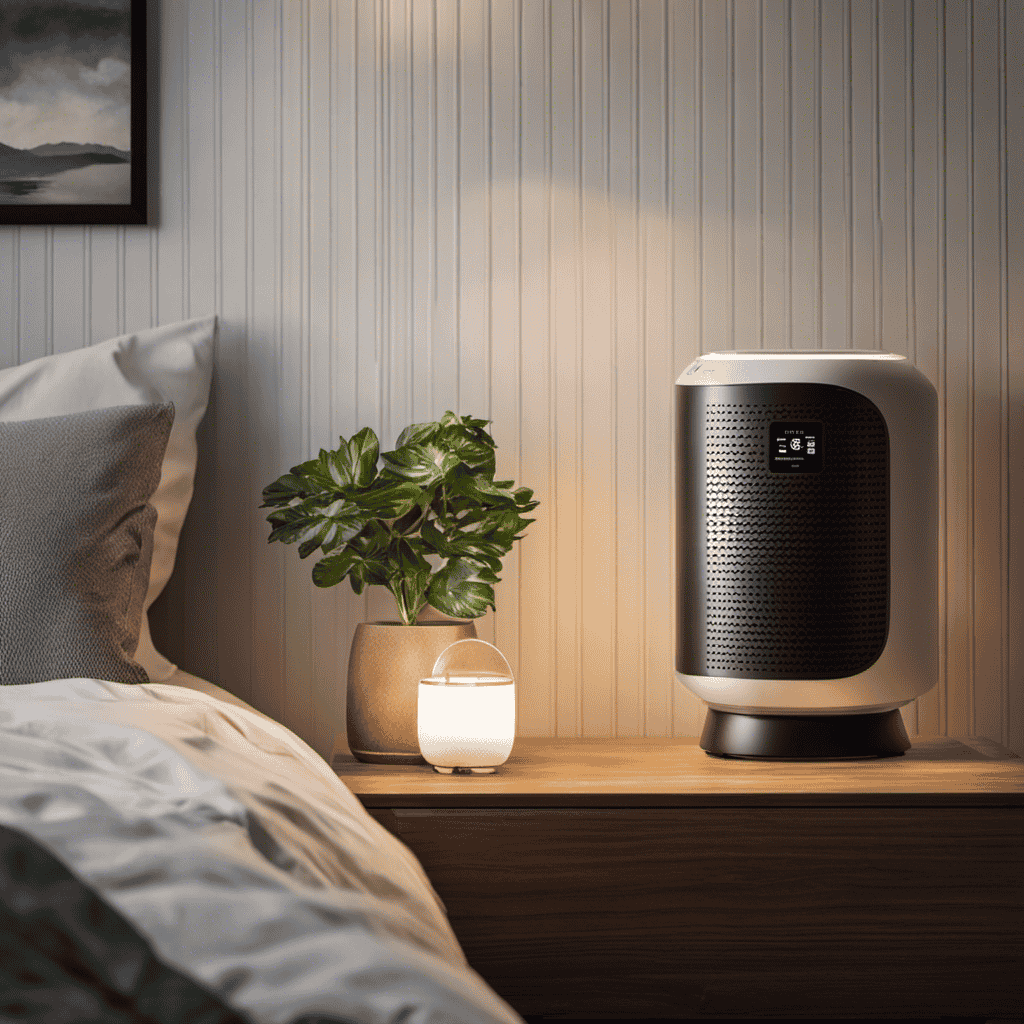
To understand the Honey Well Air Purifier 120, you should start by reading the user manual. This air purifier is equipped with advanced features and technology that can greatly improve the air quality in your home or office.
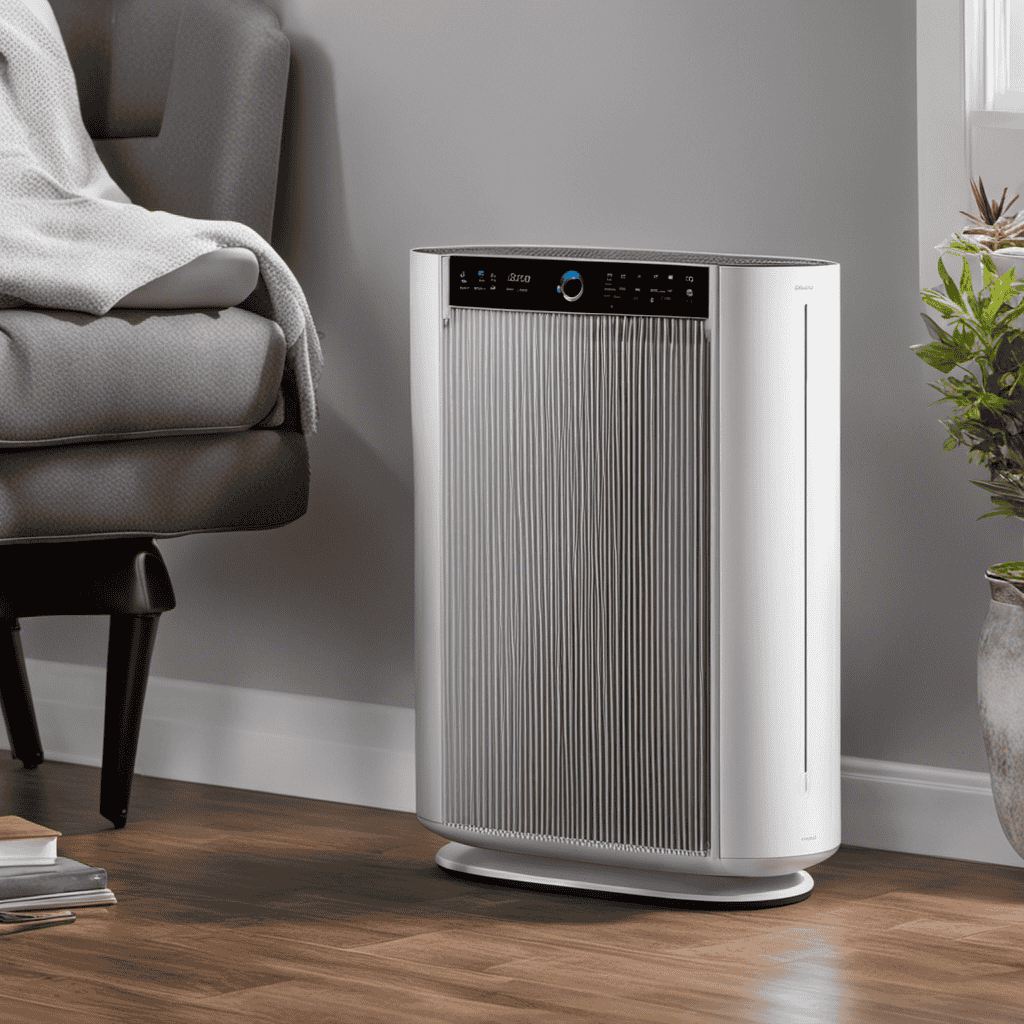
The Honey Well Air Purifier 120 offers a range of benefits, including the removal of airborne pollutants, allergens, and odors. It features a HEPA filter that captures particles as small as 0.3 microns, ensuring clean and fresh air.
To maximize the effectiveness of the purifier, it is important to regularly clean and maintain the filters. This involves removing the filters and gently vacuuming or rinsing them to remove any accumulated dust and debris.

DEWALT 20V MAX Cordless Drill Driver Set, Electric Drill, Brushless 1/2 In 2 Speed, 2.0 Ah Battery and Charger Included, LED Light (DCD777D1)
DEWALT Power drill brushless motor delivers more run time over brushed
As an affiliate, we earn on qualifying purchases.
Identifying the Different Filters in the Honey Well Air Purifier 120
The first step in identifying the different filters in the Honey Well Air Purifier 120 is by checking the user manual. As an air quality specialist, I understand the importance of knowing the specific filters used in an air purifier to ensure proper maintenance and cleaning.
Here are four key filters you may come across:
-
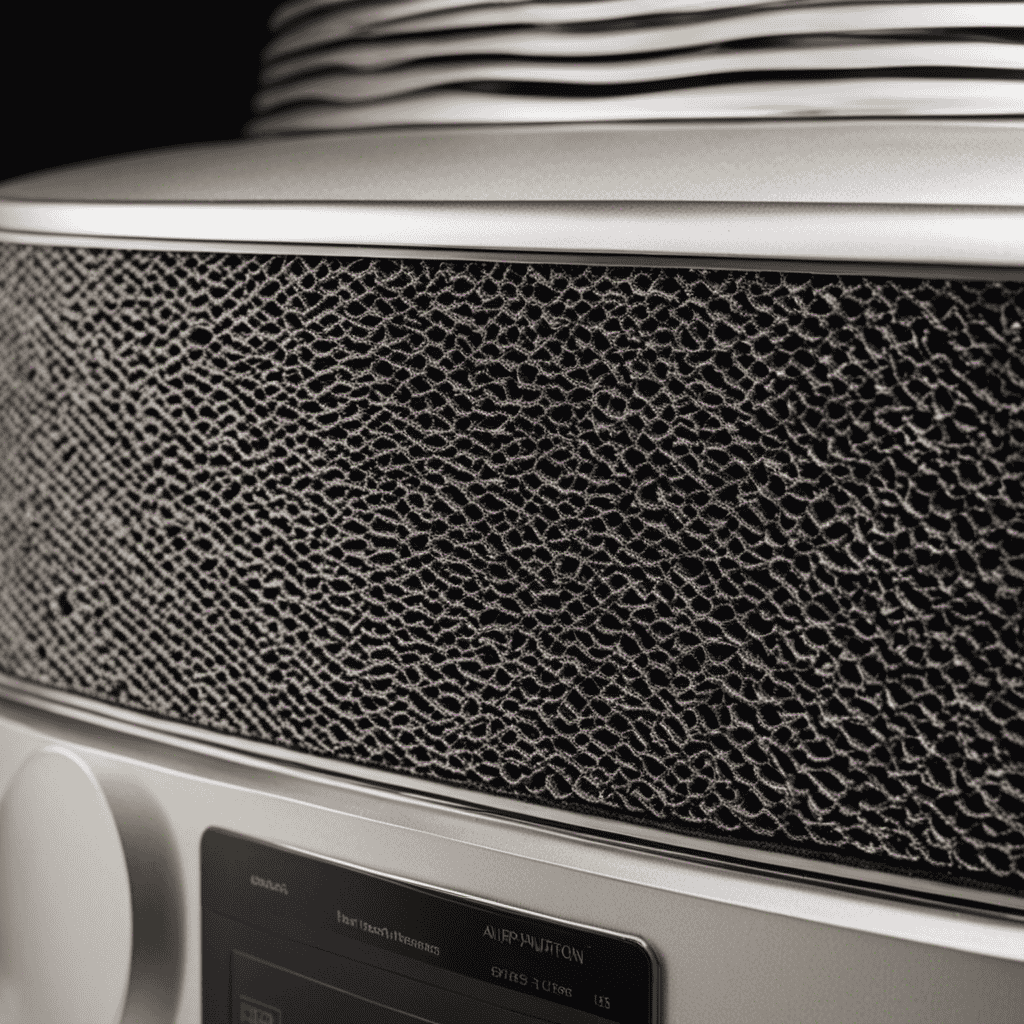
Pre-Filter: This initial filter captures large particles like dust and pet hair, preventing them from entering the main filters.
-
HEPA Filter: The High-Efficiency Particulate Air (HEPA) filter is designed to trap tiny particles, such as pollen, mold spores, and bacteria.
-
Carbon Filter: This filter is responsible for removing odors and absorbing harmful gases and chemicals.
-
UV-C Filter: Utilizing ultraviolet light, this filter eliminates germs and viruses.
Cleaning these filters is crucial for optimal performance. Follow the manufacturer’s instructions for each filter type. Regular cleaning or replacing ensures clean and healthy indoor air.

100FT|30M Misting Systems, Outdoor Water Misting Cooling System, for Backyard Mist Kit for Garden Greenhouse Fan Deck Umbrella Canopy Pool Porch Trampoline Sprinkler Park BBQ Party
【Misting Systems product details】Viridihome Misting Cooling System is packed in a colorful super strong gift box. The product...
As an affiliate, we earn on qualifying purchases.
Preparing the Air Purifier for Filter Cleaning
Before starting the process of preparing your air purifier for filter cleaning, it’s important to unplug the device from the power source. Proper air purifier maintenance is crucial for ensuring clean and healthy indoor air.
One important aspect of maintenance is regularly cleaning the filters. As an air quality specialist, I’ll guide you through the necessary steps to prepare your air purifier for filter cleaning.
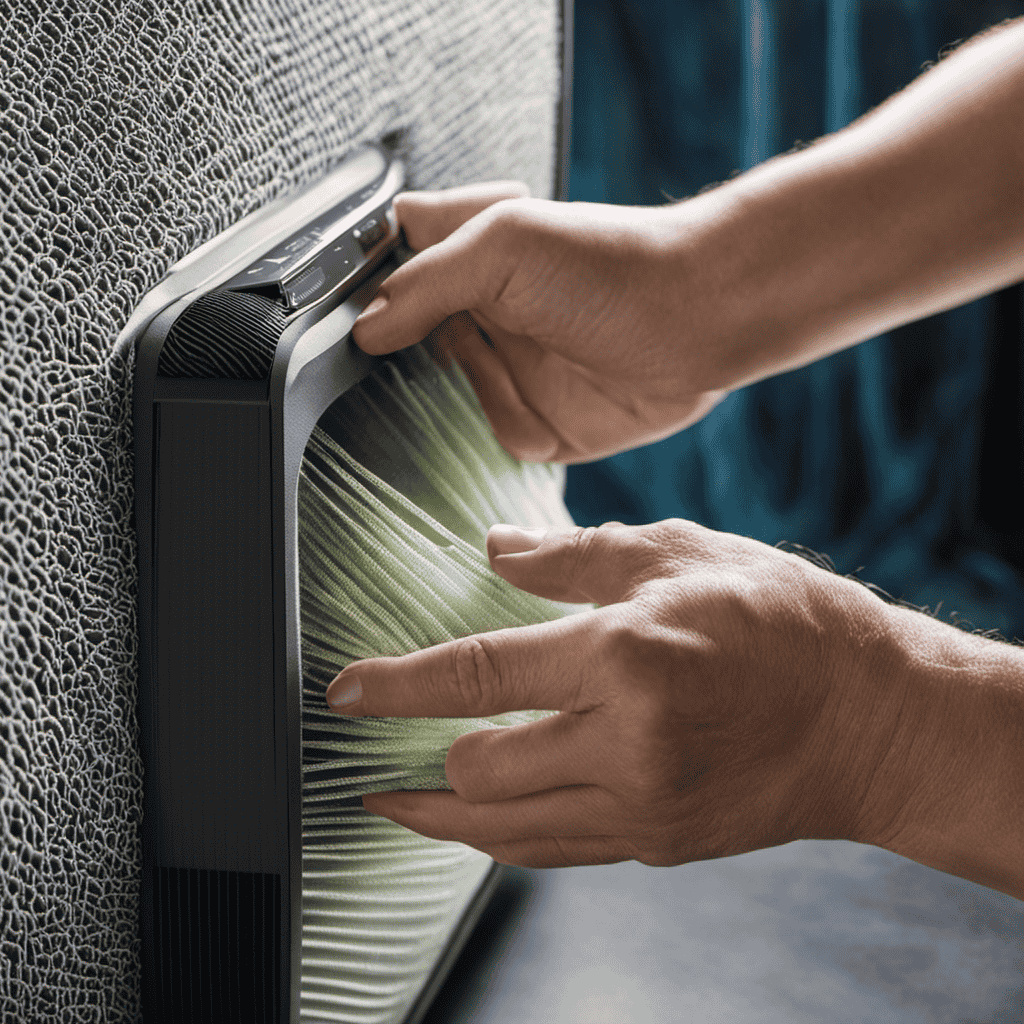
First, locate the filter compartment on your air purifier. Most models have a door or panel that can be easily opened. Once you have accessed the filter compartment, carefully remove the filters. Take note of the type and condition of each filter as you remove them.
Next, inspect the filters for any visible dirt, dust, or debris. If you notice a significant buildup, it’s time to clean them. Cleaning techniques may vary depending on the type of filters your air purifier uses. Refer to the manufacturer’s instructions for specific cleaning guidelines.
In conclusion, preparing your air purifier for filter cleaning is an essential step in maintaining good air quality. By following these steps and employing proper cleaning techniques, you can ensure that your air purifier continues to effectively remove pollutants and allergens from your indoor environment.
Regular filter cleaning will not only improve the performance of your air purifier but also prolong its lifespan.

MIXC Misters for Outside Patio, 75FT (23M) Misting Line+23 Mist Nozzles+3/4" Brass Adapter, Outdoor Misting Cooling System for Patio Backyard Garden Greenhouse Horse Corral
【Instant Cooling with Fine Mist – Stay Comfortable Outdoors】MIXC misters for outside patio provide a fine water mist...
As an affiliate, we earn on qualifying purchases.
Step-by-Step Guide to Cleaning the Pre-Filter
Once you’ve located the pre-filter compartment on your device, carefully remove the pre-filter to begin the cleaning process. Cleaning the pre-filter is an essential step in maintaining the air quality of your Honeywell Air Purifier 120.
Here is a step-by-step guide to help you clean the pre-filter effectively:
- Start by unplugging the air purifier and ensuring it is turned off.
- Gently remove the pre-filter from the compartment, being cautious not to damage the delicate filter material.
- Use a soft brush or vacuum cleaner with a brush attachment to remove any visible dust or debris from the pre-filter.
- If the pre-filter is heavily soiled, rinse it under running water. Avoid using any harsh chemicals or detergents, as they can damage the filter material.
Cleaning the pre-filter is of utmost importance as it ensures optimal performance and longevity of your air purifier. By following these cleaning techniques, you can maintain a clean and healthy indoor environment.
Deep Cleaning the HEPA Filter in the Honey Well Air Purifier 120
To properly maintain the air quality, it’s important to regularly deep clean the HEPA filter in the Honeywell Air Purifier 120. The HEPA filter plays a crucial role in capturing small particles and allergens to ensure clean and fresh air in your home or office.
Cleaning the HEPA filter is a simple task that requires attention to detail and following the right cleaning techniques. First, make sure to turn off the air purifier and unplug it from the power source.
Gently remove the HEPA filter from the unit and tap it lightly to remove any loose debris. Next, use a soft brush or vacuum cleaner with a brush attachment to remove any remaining dirt and dust. Avoid using water or any liquid cleaning agents, as this can damage the filter.
Once the filter is clean, place it back into the air purifier and ensure it is securely in place. Regular deep cleaning of the HEPA filter will help prolong its lifespan and maintain optimal air quality.
Remember to follow these maintenance tips for the best results.
Maintaining the Carbon Filter in the Honey Well Air Purifier 120
Now that we have thoroughly cleaned the HEPA filter in the Honeywell Air Purifier 120, it’s time to shift our focus towards maintaining the carbon filter.
Proper maintenance of the carbon filter is crucial for the overall performance and longevity of the air purifier. Here are the steps to effectively maintain the carbon filter:
-
Regular inspection: Check the carbon filter for any signs of wear, tear, or clogging. Replace it if necessary.
-
Vacuum cleaning: Gently vacuum the surface of the carbon filter to remove any loose particles or debris.
-
Deodorizing: If the carbon filter starts emitting odors, consider using a carbon filter deodorizer spray to refresh its effectiveness.
-
Replacement schedule: Follow the manufacturer’s recommendations for replacing the carbon filter. Typically, it is advised to replace it every 6 to 12 months, depending on usage and air quality.
Reassembling and Testing the Filters in the Honey Well Air Purifier 120
After thoroughly inspecting and cleaning the carbon filter, it’s important to reassemble and test the filters in the Honeywell Air Purifier 120. The reassembling process is crucial to ensure the effectiveness of the cleaned filters.
To reassemble the filters, follow these steps:
- Place the carbon filter back into its designated slot, making sure it is snugly fitted.
- Align the pre-filter with the slots provided and carefully insert it.
- Secure the front cover by sliding it back into place until it clicks.
Once the filters are reassembled, it’s time to test their effectiveness. Turn on the air purifier and observe the airflow and noise levels. If the filters were properly cleaned and reassembled, you should notice improved air quality and reduced noise. Additionally, check the indicator light to ensure it is functioning correctly.
Regularly testing the filters will help maintain their efficiency and prolong their lifespan. Remember, a well-maintained air purifier ensures cleaner and healthier air in your space.
Conclusion
In conclusion, maintaining the filters in your Honeywell Air Purifier 120 is essential for optimal air quality in your home. By following the step-by-step guide provided, you can ensure that your pre-filter, HEPA filter, and carbon filter are thoroughly cleaned and functioning effectively.
As an air quality specialist or HVAC technician, it is crucial to emphasize the importance of meticulousness in this process. By being precise and accurate in your cleaning methods, you can guarantee that your air purifier is performing at its best and providing you with clean and fresh air.
So, don’t forget to regularly clean and maintain your filters for a healthier living environment.
Rhetorical Device: As an air quality specialist or HVAC technician, it is our duty to breathe life into your clean air aspirations.