As a living air purifier owner, I recognize the significance of maintaining its cleanliness and optimal performance.
In this article, I will guide you through the step-by-step process of cleaning your air purifier, ensuring that it continues to provide you with fresh and clean air.
From understanding the components to handling the ionizer plates and cleaning the fan, you’ll have all the information you need to maintain a healthier living environment.
So let’s dive in and get your air purifier sparkling clean!
Key Takeaways
- Understanding the different technologies used in air purifiers is important for knowing their capabilities and limitations.
- Gather necessary cleaning supplies such as a soft cloth, mild soap, and water before starting the cleaning process.
- Take safety precautions by unplugging the device, using appropriate cleaning supplies, and following manufacturer’s instructions.
- Follow step-by-step cleaning instructions, including wiping the exterior, troubleshooting common issues, cleaning filters, and cleaning fan or motor areas.

DEWALT Drill Bit Set, 3-Flats Shank,14-Piece, 135 Degree Split Point, for Plastic, Wood and Metal (DWA1184)
135 Degree Split point tip design to help reduce walking
As an affiliate, we earn on qualifying purchases.
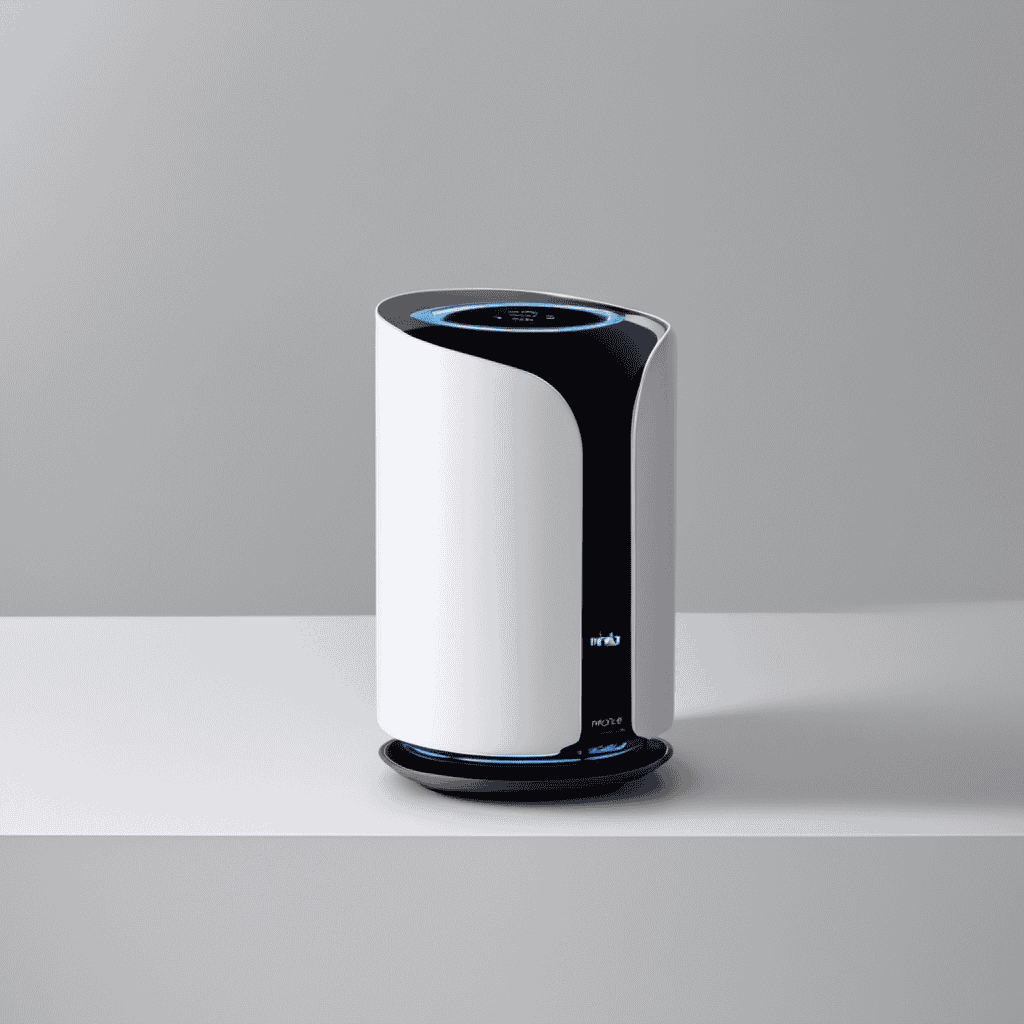
Understanding the Components of Your Living Air Purifier
Understanding the components of your living air purifier is essential for effective cleaning. By familiarizing yourself with the different parts of the device, you can better troubleshoot any common issues that may arise.
One important component to understand is the air purification technology used. Different models may utilize different technologies such as HEPA filters, activated carbon filters, or UV-C light. Knowing which technology is used in your air purifier will help you understand its capabilities and limitations.
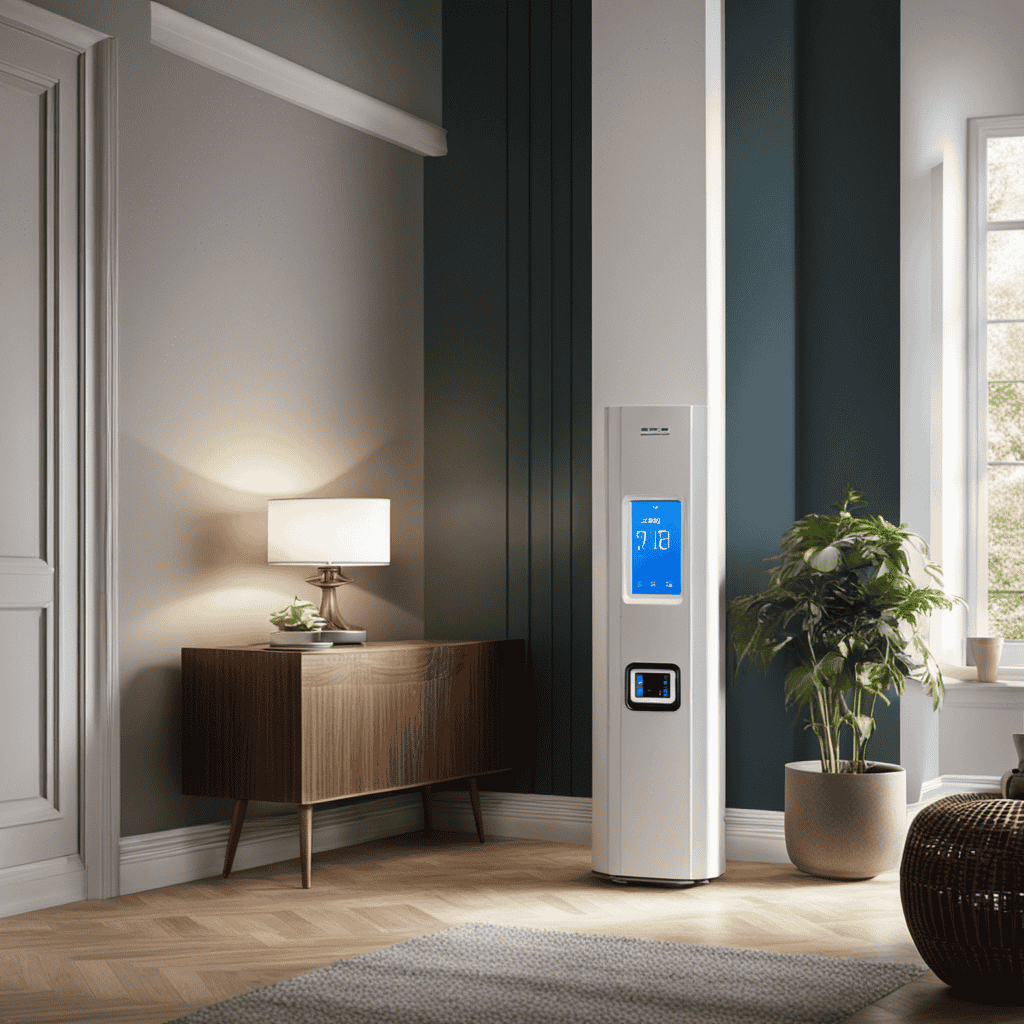
Additionally, understanding the various settings and controls on your device is crucial. This knowledge will allow you to adjust the fan speed, set timers, and activate special features like ionizers or air quality sensors.
Overall, a thorough understanding of your living air purifier’s components is vital for efficient cleaning and maintenance.

DEWALT 20V MAX Cordless Drill Driver Set, Electric Drill, Brushless 1/2 In 2 Speed, 2.0 Ah Battery and Charger Included, LED Light (DCD777D1)
DEWALT Power drill brushless motor delivers more run time over brushed
As an affiliate, we earn on qualifying purchases.
Preparing for the Cleaning Process
Before diving into the cleaning process, it’s important to gather the necessary cleaning supplies. This includes a soft cloth or sponge, mild soap or cleaning solution, and water.
As we proceed, it’s crucial to keep in mind safety precautions. This includes unplugging the device before cleaning and avoiding the use of harsh chemicals that can damage the purifier.
Once we have the supplies and safety measures in place, we can follow step-by-step cleaning instructions to ensure an effective and thorough cleaning of our living air purifier.
Necessary Cleaning Supplies
To clean your living air purifier, you’ll need a few necessary cleaning supplies. Here are the items you’ll need:
-
Microfiber cloth: This soft cloth is perfect for gently wiping down the exterior of your air purifier, removing dust, dirt, and fingerprints without scratching the surface.
-
Mild detergent: Mix a small amount of mild detergent with water to create a gentle cleaning solution. This solution can be used to clean the filters and remove any buildup of dust or debris.
-
Soft-bristle brush: A soft-bristle brush is essential for cleaning the vents and grills of your air purifier. It can effectively remove dust and pet hair that may have accumulated over time.
Safety Precautions
When cleaning your air purifier, it’s important to take safety precautions to protect yourself from any potential hazards.
There are a few key cleaning techniques to keep in mind. First, always make sure to unplug the air purifier before starting the cleaning process. This will prevent any electrical accidents or shocks.
Next, use a soft cloth or brush to gently wipe away any dust or debris from the exterior of the purifier. Be careful not to use any abrasive materials that could scratch or damage the surface.
When it comes to cleaning the filters, refer to the manufacturer’s instructions for specific guidance. Some filters may be washable, while others might need to be replaced. Regardless, always handle the filters with care and avoid inhaling any dust particles.
Step-By-Step Cleaning Instructions
Start by unplugging the device and using a soft cloth to wipe away any dust or debris from the exterior. It’s important to understand the different filter types in your air purifier to effectively clean it.
Here are some troubleshooting tips for common cleaning issues:
-
Clogged Filters: If you notice reduced airflow or a change in the purifier’s performance, it could be due to clogged filters. Remove the filters and gently tap them to dislodge any trapped particles. If they are heavily soiled, it might be time to replace them.
-
Foul Odors: If your air purifier emits unpleasant smells, it could be a sign that the filters are dirty or need to be replaced. Cleaning or replacing the filters should eliminate the odor.
-
Noisy Operation: Excessive noise can indicate a buildup of dirt and debris in the fan or motor. Carefully clean these areas using a soft brush or compressed air.

DEWALT 20V MAX 5 Ah Lithium Ion Battery 2-Pack (DCB205-2)
Reliable runtime. DeWalt 20v Max XR battery: take on tough jobs with DEWALT replacement batteries that deliver a...
As an affiliate, we earn on qualifying purchases.
Removing and Cleaning the Filters
When it comes to maintaining the filters in your air purifier, it is important to consider the frequency of filter maintenance. Regular cleaning is crucial to ensure the optimal performance of the filters and the effectiveness of the air purifier in removing pollutants from the air.
There are various cleaning methods available for different types of filters, and selecting the appropriate method is essential for achieving thorough and efficient cleaning.
Filter Maintenance Frequency
To maintain optimal performance, you should regularly check and replace the filters in your living air purifier. The frequency of filter maintenance depends on various factors, including the quality of the air in your environment and the manufacturer’s recommendations.
However, there are some signs that indicate it’s time to replace the filters:
-
Decreased Airflow: If you notice a decrease in the airflow from your air purifier, it may be a sign that the filters are clogged and need to be replaced.
-
Visible Dirt and Dust: Take a look at the filters and check for any visible dirt, dust, or debris. If you can see a significant amount of buildup, it’s time for a filter replacement.
-
Unpleasant Odors: If your air purifier starts emitting unpleasant odors, it could be due to dirty filters. Replacing them will help eliminate the odor and improve the overall air quality.
Regularly checking and replacing filters is crucial for maintaining the effectiveness of your living air purifier and ensuring clean and healthy air in your home.
Cleaning Methods for Filters
One way to maintain the effectiveness of your air purifier is by regularly checking and replacing the filters. The cleaning frequency of your air purifier filters may vary depending on factors such as the level of air pollution and the manufacturer’s guidelines. However, a general rule of thumb is to clean or replace the filters every 3 to 6 months. Cleaning solutions for air purifier filters can be as simple as using mild soap and water or vacuuming off the accumulated dust and debris. It’s important to follow the manufacturer’s instructions and recommendations when cleaning the filters to ensure optimal performance. By regularly cleaning and maintaining your air purifier filters, you can ensure that it continues to effectively remove pollutants from the air in your home or office.
| Cleaning Frequency | Cleaning Solutions |
|---|---|
| Every 3 months | Mild soap and water |
| Every 6 months | Vacuuming off dust and debris |
| As needed | Manufacturer-recommended cleaning solutions |
Importance of Regular Cleaning
Regularly cleaning and maintaining your air purifier filters is crucial for ensuring optimal performance and removing pollutants from your indoor environment. Here are three reasons why regular maintenance is important:
-
Improved Air Quality: Clean air filters can effectively capture and remove airborne particles such as dust, pollen, pet dander, and mold spores. By regularly cleaning your filters, you can ensure that your air purifier is working at its best and providing you with clean, fresh air.
-
Increased Lifespan: Regular maintenance can extend the lifespan of your air purifier. Dirty filters can strain the system and cause it to work harder, leading to potential breakdowns and costly repairs. By cleaning the filters, you can keep the air purifier running smoothly for longer.
-
Energy Efficiency: Clean filters allow the air purifier to operate more efficiently, which can result in lower energy consumption and reduced utility bills. Regularly cleaning the filters ensures that your air purifier is not using excess energy to push air through clogged filters.
Regular maintenance of your air purifier filters is essential for enjoying the benefits of clean air, improving air quality, extending the lifespan of your device, and promoting energy efficiency.

Rubbermaid Brilliance 16-Cup Airtight Food Storage Container with Lid Clear/Grey - optimal for pantry organization flour sugar and food storage
Modular Design: Rubbermaid Storage Containers are compact and stackable, optimizing your kitchen storage space.
As an affiliate, we earn on qualifying purchases.
Cleaning the Exterior of the Air Purifier
Before cleaning the exterior of the air purifier, make sure to unplug it from the power source.
Cleaning the buttons and control panel is an important step in maintaining the functionality of your air purifier. Use a damp cloth or sponge with mild soap to gently wipe down the buttons and control panel, being careful not to let any water seep inside.
To remove and clean the pre-filter, first, locate the filter compartment. Open it and carefully take out the pre-filter. Use a vacuum cleaner or a soft brush to remove dust and debris from the filter. If necessary, wash the filter with mild soap and water, then let it dry completely before placing it back into the air purifier.
Once the exterior is clean and the pre-filter is back in place, you can move on to handling and cleaning the ionizer plates for thorough maintenance.
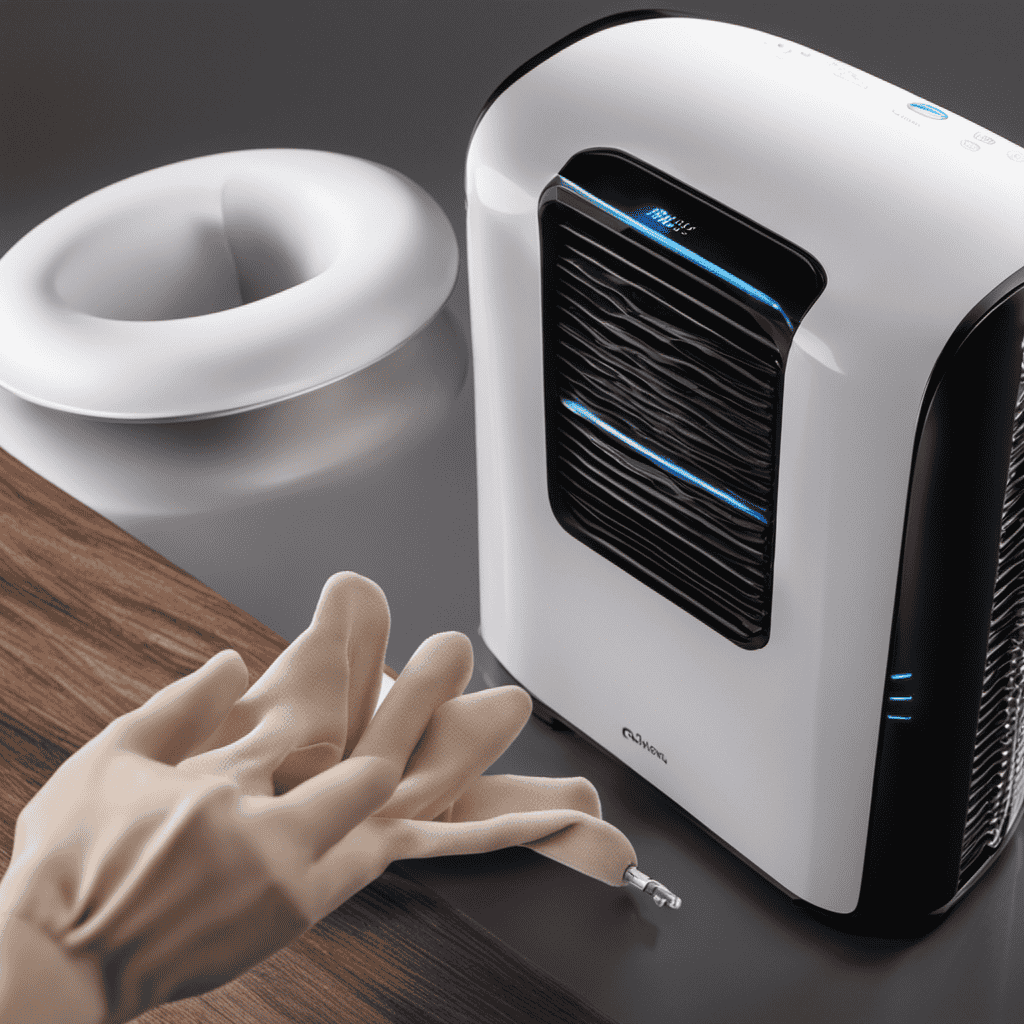
Handling and Cleaning the Ionizer Plates
To properly maintain your air purifier, start by handling and cleaning the ionizer plates. These plates are responsible for capturing and removing odors and pollutants from the air. Here are three steps to effectively clean the ionizer plates:
-
Turn off the air purifier and unplug it from the power source to ensure safety during the cleaning process.
-
Carefully remove the ionizer plates from the air purifier unit, following the manufacturer’s instructions.
-
Use a soft cloth or brush to gently wipe away any dust or debris on the plates. If necessary, you can also use a cleaning solution specifically designed for air purifiers to remove stubborn odors or stains.
Cleaning the Fan and Ventilation System
Now that we’ve covered cleaning the ionizer plates, let’s move on to the next step in cleaning your living air purifier: cleaning the fan and ventilation system. This is an important part of maintaining the efficiency and performance of your purifier.
To begin, make sure the purifier is turned off and unplugged before cleaning. Start by removing the front cover and carefully cleaning the fan blades using a soft brush or cloth. Be gentle to avoid damaging the blades.
Next, clean the ventilation system by using a vacuum cleaner with a brush attachment to remove any dust or debris that may have accumulated. Pay attention to the vents and air intake areas.
Finally, don’t forget to clean the control panel using a damp cloth. Be careful not to use excessive water or cleaning agents that could damage the electronics.
If you encounter any issues during cleaning or notice any unusual sounds or smells coming from your purifier, consult the user manual or contact the manufacturer for troubleshooting advice.
: Are the Cleaning Instructions for Living and Pure Enrichment Air Purifiers Similar?
Yes, the cleaning instructions for Living and Pure Enrichment air purifiers are similar. To clean a Pure Enrichment air purifier, simply unplug it and remove the front panel. Gently vacuum the filter and wipe the exterior with a damp cloth. For Living air purifiers, follow the same basic steps for cleaning.
Reassembling and Testing Your Cleaned Living Air Purifier
Once you have finished reassembling your cleaned purifier, make sure to test it by turning it on and checking for proper functionality. Testing the accuracy of your living air purifier is crucial to ensure that it is effectively removing pollutants from your indoor environment.
Here are some troubleshooting tips to help you test your purifier and ensure its accuracy:
-
Check the airflow: Feel the air coming out of the purifier. It should be strong and consistent. If the airflow is weak or inconsistent, there may be a blockage or a problem with the fan.
-
Measure the air quality: Use an air quality monitor to measure the pollutant levels before and after running the purifier. This will help you determine if the purifier is effectively reducing the pollutants in your space.
-
Listen for unusual noises: If you hear any strange sounds coming from the purifier, it could indicate a mechanical issue. A properly functioning purifier should operate quietly.
Frequently Asked Questions
What Are the Benefits of Using an Air Purifier?
The benefits of using an air purifier include cleaner and healthier indoor air, reduced allergens and pollutants, improved respiratory health, and a more comfortable living environment. It’s a worthwhile investment for maintaining overall well-being.
How Often Should I Clean My Air Purifier?
I clean my air purifier regularly to ensure it’s working efficiently. By following recommended cleaning methods and paying attention to signs like reduced airflow or a dirty filter, I keep my air purifier in top condition.
Can I Use Any Type of Cleaning Solution to Clean the Filters?
I wouldn’t recommend using any type of cleaning solution on the filters of your air purifier. It’s best to follow the manufacturer’s instructions for cleaning and consider alternative cleaning methods, such as vacuuming or gently washing with water.
Is It Safe to Clean the Ionizer Plates With Water?
Sure, it’s safe to clean the ionizer plates with water. However, it’s important to follow the manufacturer’s instructions and avoid using harsh chemicals or abrasive materials that could damage the plates.
How Long Does It Take for the Air Purifier to Start Working Effectively After Cleaning?
After cleaning the air purifier, it may take a couple of hours for it to start working effectively again. It’s important to follow the proper cleaning instructions and avoid common mistakes to ensure optimal performance.
Conclusion
In conclusion, cleaning your living air purifier is essential for maintaining its efficiency and ensuring the quality of the air you breathe.
Just like giving your car a regular tune-up, cleaning your air purifier is like giving your lungs a breath of fresh air.
By following the steps outlined in this guide, you can ensure that your air purifier continues to function effectively and provide you with clean and healthy air.
So go ahead, grab that cleaning cloth, and let your air purifier shine!