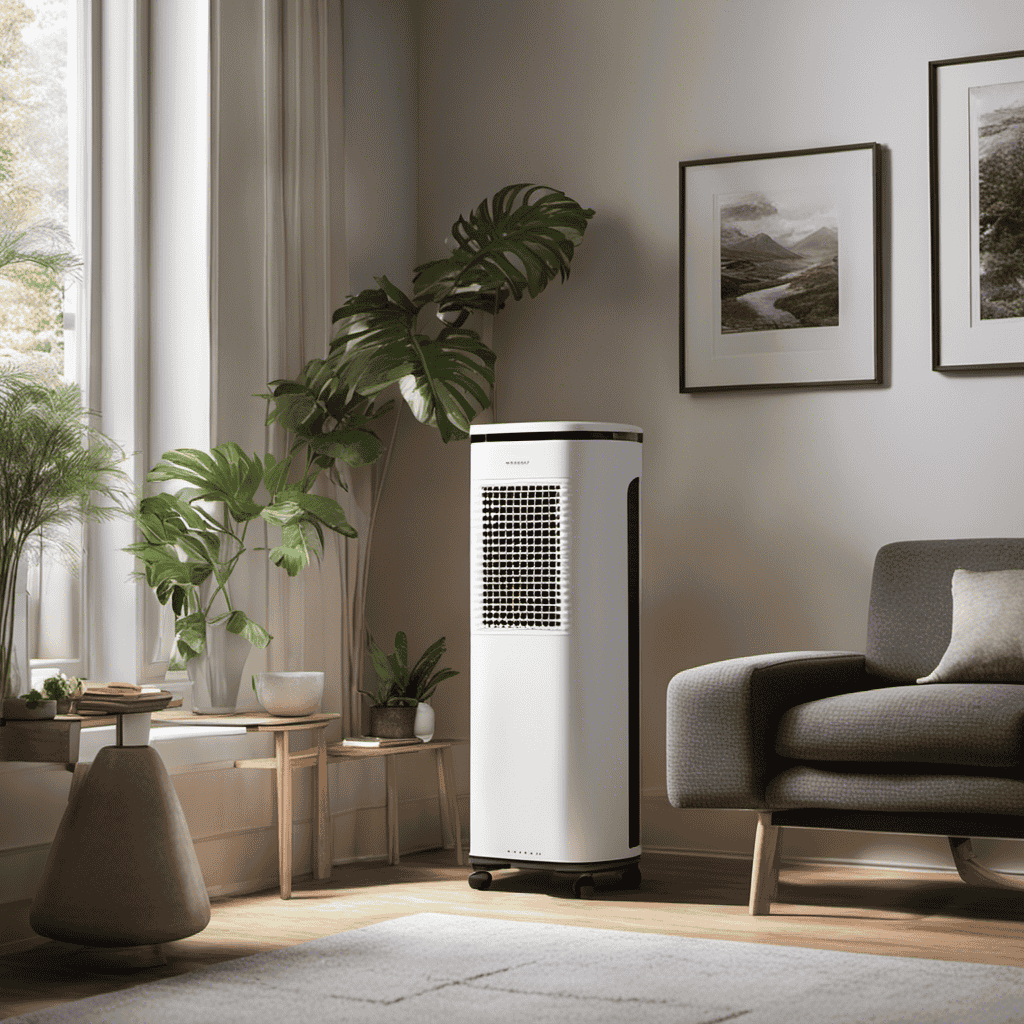
Did you realize that indoor air quality can be up to five times worse than outdoor air? This is why having a trustworthy air purifier like the Blue Air Purifier is essential.
In this article, I will guide you through the step-by-step process of changing the filter on your Blue Air Purifier. By the end, you’ll have the knowledge and confidence to maintain clean and fresh air in your home.
So, let’s get started and improve the quality of the air you breathe.
Key Takeaways
- The filter is a crucial part of the Blue Air Purifier and needs regular maintenance for optimal performance.
- The correct replacement filter can be determined by considering the proper size and filter efficiency (MERV rating).
- The necessary tools and supplies for a successful filter change include a replacement filter, a screwdriver, and a cleaning cloth.
- Before changing the filter, it is important to power off the Blue Air Purifier using the power button on the control panel and locate and open the filter compartment using the latch on the side.

2Pack 400LED Smart 4th of July String Lights | 164FT App Controlled Red White and Blue Lights, Waterproof Patriotic RGB Color Changing String Lights with Remote & Timer Indoor Outdoor for Memory Day
RGB String Lights with 16 Million Colors | The smart 4th of July color changing string lights can...
As an affiliate, we earn on qualifying purchases.
Understanding the Blue Air Purifier Filter
To understand the Blue Air Purifier filter, you’ll need to familiarize yourself with its components and how it functions.
The filter is a crucial part of the purifier as it traps and removes harmful particles from the air. Regular maintenance of the filter is essential to ensure optimal performance.
Cleaning the filter regularly will help prolong its lifespan and maintain its efficiency. However, over time, the filter will need to be replaced to maintain the purifier’s effectiveness.
When it’s time to replace the filter, it’s important to identify the correct replacement filter that matches the model of your Blue Air Purifier. This ensures that you’re getting the right filter that will fit and function properly in your purifier.

ReyeeInc Solar 4th of July String Lights, 100 Stars and 39.4FT Outdoor Waterproof Patriotic Lights, Solar Battery Operated Fourth of July Lights for Golf Cart, Camping, Outside Decorations
Show Your Patriotism: ReyeeInc red white and blue outdoor lights are a stunning and patriotic addition to Memorial...
As an affiliate, we earn on qualifying purchases.
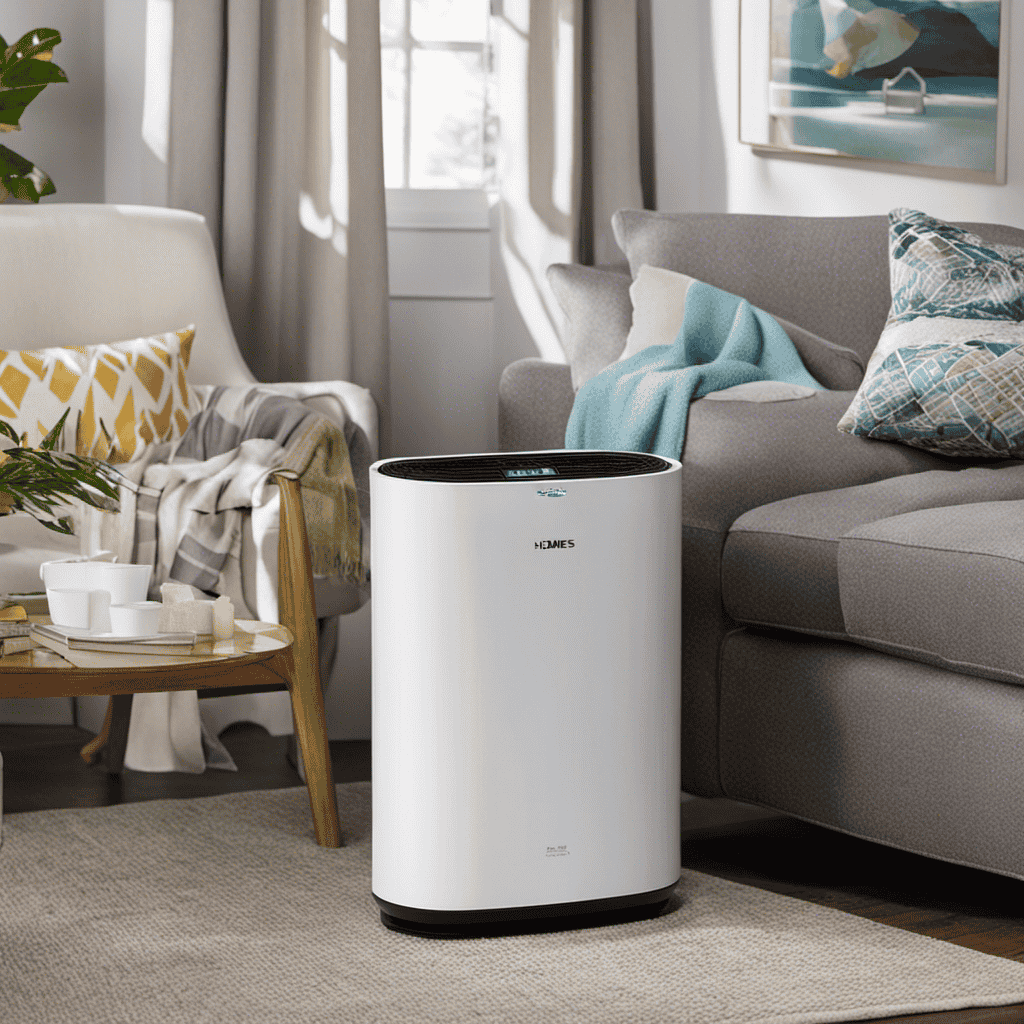
Identifying the Correct Replacement Filter
When identifying the correct replacement, it’s important to ensure you have the right filter for your Blue air purifier. To do this, you need to consider two main factors: the proper size and the filter efficiency.
To determine the proper size, you can refer to the user manual or the label on your current filter. It usually indicates the dimensions or the model number you should look for. Additionally, you can measure the dimensions of your current filter and find a replacement with the same measurements.
Next, researching filter efficiency is crucial. The efficiency is usually indicated by a MERV (Minimum Efficiency Reporting Value) rating. The higher the MERV rating, the more particles the filter can capture. It’s recommended to choose a filter with a higher MERV rating for better air purification.
Here’s a table to help you identify the correct replacement filter for your Blue air purifier:
| Filter Model | Dimensions (inches) | MERV Rating |
|---|---|---|
| A123 | 12x12x1 | 10 |
| B456 | 16x20x1 | 12 |
| C789 | 20x25x1 | 14 |
| D012 | 24x24x1 | 16 |
| E345 | 20x30x1 | 18 |

LAMPHOME 100 LED Red White and Blue Lights, 4th of July Decorations String Lights Plug in Indoor Outdoor, 16 Modes Waterproof Patriotic Light for Independence Day Holiday Memorial Day Party Decor
Patriotic Red, White & Blue String Lights: Features a premium 32.5ft white wire with 100 vibrant red, white,...
As an affiliate, we earn on qualifying purchases.
Gathering the Necessary Tools and Supplies
Gathering all the necessary tools and supplies is essential for completing the replacement process. To ensure a smooth and successful filter change on your Blue Air Purifier, here are the top three items you’ll need:
-
Replacement Filter: Identifying the correct filter for your Blue Air Purifier is crucial. Check the model number and specifications to find the right one that suits your needs.
-
Screwdriver: Most Blue Air Purifiers require removing screws to access the filter compartment. Having a screwdriver handy will make the process easier and quicker.
-
Cleaning Cloth: Before installing the new filter, it’s essential to clean the surrounding area to remove any dust or debris. A soft cleaning cloth will help you achieve a clean and dust-free environment for your purifier.
By gathering these tools and supplies, you’ll be ready to replace the filter efficiently and effectively, ensuring optimal performance of your Blue Air Purifier.
Now, let’s move on to the next step: powering off the Blue Air Purifier.

Dirnun 4th of July Decorations Red White and Blue Lights with 40 Led Big Stars, 4th of July Lights for Indoor Outdoor Home Garden Golf Cart Patriotic Theme Memorial Independence Day Decorations
Perfect 4th of July Lights: These red white and blue star string lights which is similar to the...
As an affiliate, we earn on qualifying purchases.
Powering Off the Blue Air Purifier
Before proceeding with the next step, make sure you turn off your Blue Air Purifier to ensure your safety. Properly shutting down and turning off the Blue Air Purifier is an important step in safely disconnecting the power.
To turn off the Blue Air Purifier, locate the power button on the control panel. Press and hold the power button for a few seconds until the device powers down completely.
Once the Blue Air Purifier is turned off, you can proceed with the next steps of changing the filter. Remember, safety is paramount, so always make sure to properly shut down and turn off your Blue Air Purifier before performing any maintenance or repairs.
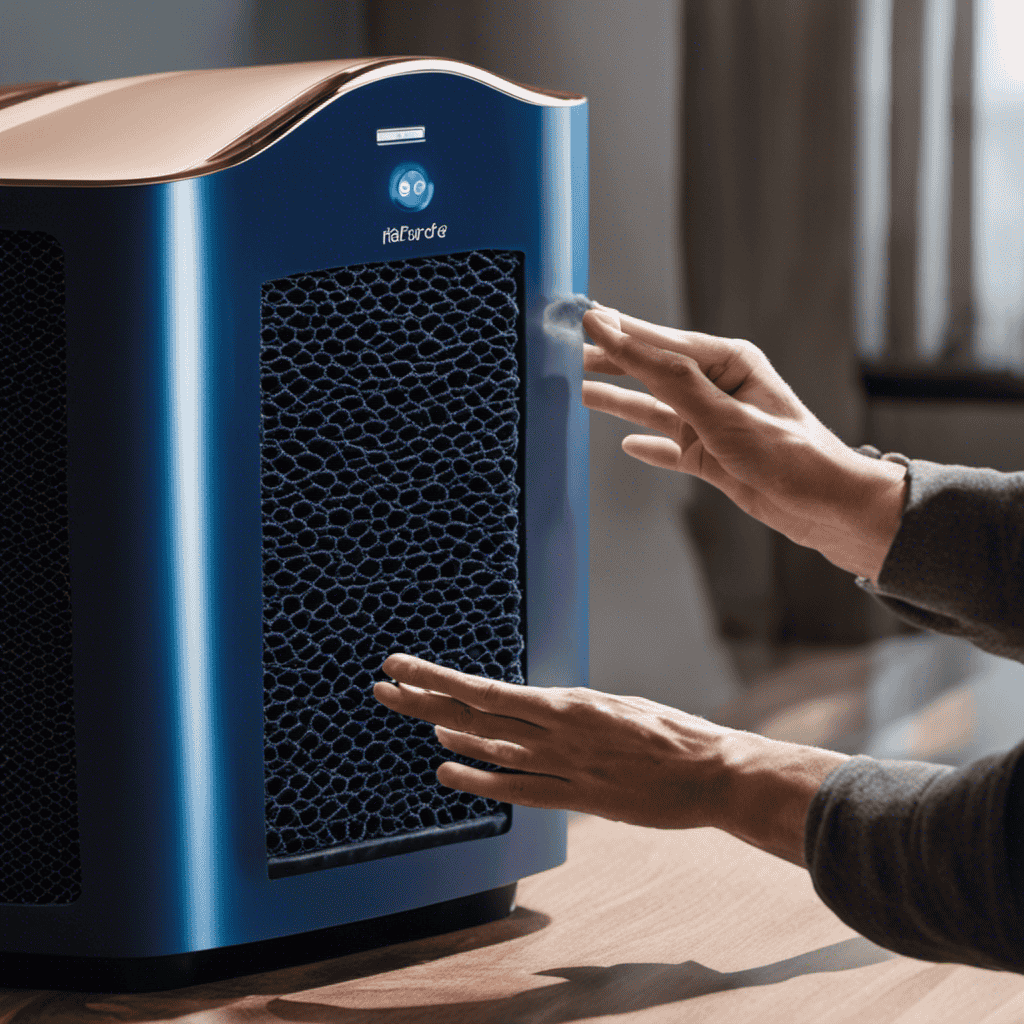
Locating the Filter Compartment
To access the filter compartment, simply locate the latch on the side of the device and press it to open.
The filter compartment of the Blue Air Purifier is a crucial component that requires proper maintenance for optimal performance. It is important to regularly clean the filter compartment to ensure that the air purifier continues to effectively remove pollutants from the air. Neglecting proper filter maintenance can lead to reduced air quality and potential health risks.
Here are three key aspects to consider when cleaning the filter compartment:
-
Remove the filter gently: Take care when removing the filter from the compartment to avoid any damage. A damaged filter may not function effectively and could compromise the air purifier’s performance.
-
Clean the compartment regularly: Use a soft cloth or brush to remove any dust or debris from the filter compartment. This will prevent the accumulation of dirt, ensuring the filter can work efficiently.
-
Follow manufacturer’s instructions: It is important to follow the specific guidelines provided by the manufacturer for cleaning the filter compartment. These instructions may vary depending on the model of the Blue Air Purifier, so be sure to refer to the user manual for accurate information.
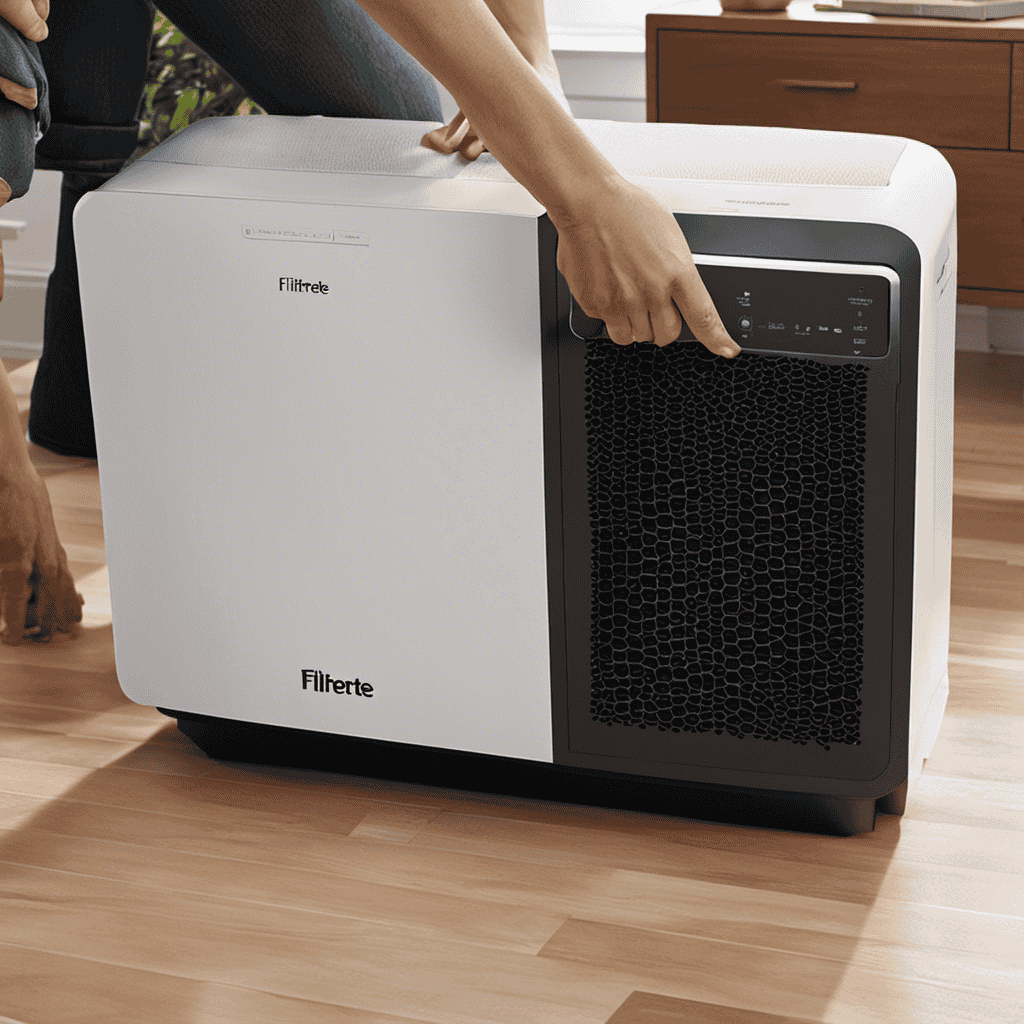
Opening the Filter Compartment
Now that we have located the filter compartment, let’s move on to opening it. If you are experiencing any issues with the filter compartment, such as difficulty opening or closing it, this troubleshooting guide will help you resolve the problem.
First, ensure that the air purifier is turned off and unplugged before attempting to open the filter compartment. Using a gentle but firm grip, locate the latch or release mechanism on the filter compartment. Depending on the model of your Blue Air purifier, this could be a button or a sliding latch. Press or slide the latch in the appropriate direction to unlock the compartment.
Once the compartment is open, carefully remove the filter. Before installing a new filter, it is essential to clean the filter compartment thoroughly. Use a damp cloth to wipe away any dust or debris that may have accumulated. Make sure to dry the compartment completely before inserting the new filter.
Removing the Old Filter
When it comes to maintaining optimal air quality, it is crucial to pay attention to the frequency of filter replacement. By adhering to the recommended replacement schedule, one can ensure that the air purifier operates at its highest efficiency.
Additionally, proper disposal methods should be followed to minimize environmental impact and maximize safety.
Lastly, it’s important to remember that clean air not only promotes a healthier living environment but also offers numerous benefits such as improved respiratory health and reduced allergens.
Filter Replacement Frequency
The filter on the blue air purifier needs to be replaced regularly to maintain its efficiency. Here are some filter replacement tips to help prolong the filter lifespan:
-
Follow the manufacturer’s guidelines: It is important to refer to the user manual or contact the manufacturer to determine the recommended frequency for filter replacement. This ensures that the air purifier continues to function effectively.
-
Monitor air quality: Pay attention to the air quality in your home or office. If you notice an increase in dust, allergens, or odors, it may be a sign that the filter needs to be replaced sooner than the recommended timeframe.
-
Clean and maintain the filter: Regularly cleaning the filter can help extend its lifespan. Follow the instructions provided by the manufacturer to properly clean and maintain the filter, ensuring optimal performance.
Proper Disposal Methods
To properly dispose of the used filters, you should check with your local recycling center for guidelines and instructions. Proper disposal of air purifier filters is essential to minimize the environmental impact. These filters often contain materials that can be harmful if not disposed of correctly.
Recycling centers have the expertise to handle these filters and ensure they are properly processed. They can provide instructions on how to package and transport the filters to their facilities. By following their guidelines, you can contribute to reducing waste and preventing potential contamination.
Benefits of Clean Air
Breathing clean air can greatly improve your overall health and well-being. Here are three benefits of clean air that can have a significant impact on your life:
-
Improved respiratory health: Clean air helps to reduce the risk of respiratory problems such as asthma, allergies, and lung diseases. It removes pollutants and allergens from the air, allowing you to breathe easier and reducing the likelihood of experiencing respiratory symptoms.
-
Enhanced cognitive function: Clean air has been shown to improve cognitive function and mental clarity. Breathing in fresh, clean air can help to increase focus, concentration, and productivity. It can also improve your mood and reduce feelings of stress and anxiety.
-
Better sleep quality: Clean air in your bedroom can promote better sleep by reducing the presence of allergens and pollutants that can disrupt your sleep. Breathing in clean air while you sleep can lead to a more restful and rejuvenating night’s sleep.
Improving indoor air quality is essential for reaping these clean air benefits. By using air purifiers and adopting good ventilation practices, you can create a healthier and more comfortable living environment.
Properly Disposing of the Old Filter
Make sure you don’t forget to dispose of the old filter properly. Proper disposal methods are crucial to minimize the environmental impact.
When it comes to changing the filter on your Blue Air purifier, you need to be aware of the correct procedures for disposing of the old filter.
First, check with your local waste management facility to determine if they accept used air filters. If they do, follow their guidelines for disposal.
If not, you can contact the manufacturer of the filter for guidance on proper disposal methods. Remember, throwing the old filter in regular trash can harm the environment, as it may contain harmful pollutants.
By disposing of the old filter responsibly, we can contribute to a cleaner and healthier planet.
Now, let’s move on to installing the new filter.
Installing the New Filter
When it comes to maintaining optimal air quality in your home, there are a few key points to consider.
First and foremost, understanding the frequency at which you should replace your air purifier’s filter is crucial.
Additionally, knowing the proper techniques for installing a new filter and troubleshooting any common issues that may arise are essential for ensuring the smooth operation of your air purifier.
Filter Replacement Frequency
The filter on the Blue Air purifier needs to be replaced regularly to ensure clean air. Maintaining a proper filter replacement schedule is crucial for the optimal functioning of your air purifier. Here are three reasons why timely filter replacement is essential:
-
Improved Air Quality: A clean filter ensures that harmful particles, such as dust, pollen, and pet dander, are efficiently captured, preventing them from circulating in your home and causing respiratory issues.
-
Energy Efficiency: A dirty filter restricts airflow, forcing the air purifier to work harder and consume more energy. By replacing the filter as recommended, you can maintain energy efficiency and reduce your electricity bills.
-
Prolonged Lifespan: Regular filter replacement prevents clogs and reduces strain on the motor. This not only extends the lifespan of your air purifier but also saves you money on costly repairs or replacements.
Now that you understand the importance of filter replacement, let’s move on to the next section about proper installation techniques.
Proper Installation Techniques
Now that we understand the frequency at which the filter needs to be replaced, let’s dive into the proper installation techniques for the Blue Air Purifier.
Filter maintenance plays a crucial role in ensuring optimal performance and longevity of the purifier. When it comes to cleaning the filter, it is important to follow the manufacturer’s guidelines. Typically, the filters can be cleaned by gently vacuuming or rinsing with water. However, it is essential to avoid using any harsh chemicals or abrasive materials that may damage the filter.
Regularly cleaning the filter will help maintain its effectiveness in trapping airborne particles and improving indoor air quality.
Now that we have covered filter maintenance and cleaning techniques, let’s move on to troubleshooting common issues that may arise with the Blue Air Purifier.
Troubleshooting Common Issues
If you’re experiencing any problems with your device, try resetting it by unplugging it from the power source for a few minutes and then plugging it back in.
Troubleshooting filter effectiveness and extending filter lifespan are important for maintaining the optimal performance of your Blue Air Purifier. Here are three key steps to address common issues:
-
Check for proper installation: Ensure the filter is correctly inserted and securely placed in the filter compartment. Misalignment or loose connections can hinder filter effectiveness.
-
Clean the filter regularly: Over time, dust and debris can accumulate on the filter, reducing its efficiency. Gently vacuum or rinse the filter to remove any buildup and enhance its performance.
-
Replace the filter when necessary: Filters have a limited lifespan and need to be replaced periodically. Refer to the manufacturer’s guidelines to determine the recommended replacement schedule based on your usage and air quality.
By following these troubleshooting steps, you can maximize filter effectiveness and extend its lifespan.
Now, let’s move on to closing the filter compartment for proper operation.
Closing the Filter Compartment
To close the filter compartment, follow these steps:
- Align the arrows on the compartment and filter.
- Press them together until you hear a click.
This step is crucial to ensure that the filter is securely in place and properly sealed. The arrows serve as a guide to ensure proper alignment, preventing any air leakage or filter dislodgement during operation.
When aligning the arrows, make sure they are perfectly matched, ensuring a tight seal. Once aligned, apply gentle pressure to press the compartment and filter together until you hear the click, indicating that the filter is securely locked in place.
This click sound is an assurance that the filter is correctly positioned and ready to effectively purify the air in your space.
Powering On the Blue Air Purifier
When you want to start the Blue Air Purifier, simply plug it into a power source and press the power button. Before doing so, it is important to ensure that the power source is functioning properly. Here are three steps to test the power and troubleshoot any issues:
-
Check the power outlet: Make sure the outlet is not damaged and provides a steady flow of electricity. You can use a different appliance to test the outlet if needed.
-
Inspect the power cord: Look for any visible damage or frayed wires. If there are any issues, replace the power cord to avoid electrical hazards.
-
Test the power button: Press the power button firmly to ensure it is working correctly. If it doesn’t respond, try a different power source or consult the user manual for further troubleshooting steps.
By following these steps, you can ensure that the Blue Air Purifier is properly powered on and ready to use.
Now, let’s move on to resetting the filter indicator.
Resetting the Filter Indicator
In this discussion, I’ll be addressing two important aspects of the Blue Air Purifier: filter replacement frequency and troubleshooting the filter indicator.
Understanding the recommended filter replacement frequency is crucial to ensure optimal performance and clean air quality.
Additionally, troubleshooting the filter indicator will help identify and resolve any issues that may arise with the indicator system, ensuring accurate filter replacement notifications.
Filter Replacement Frequency
You should regularly check the filter replacement frequency of your Blue Air purifier to ensure optimal air quality. The lifespan of your filter depends on various factors, such as the air quality in your environment and the usage of the purifier.
Here are three signs that indicate it might be time to replace your filter:
-
Decreased airflow: If you notice that the airflow from your Blue Air purifier has significantly reduced, it could be a sign that the filter is clogged with particles and needs to be replaced.
-
Increase in dust and allergens: If you start noticing an increase in dust or allergens in your home, even after running your purifier, it might be an indication that the filter is no longer effectively capturing these particles.
-
Odors and unpleasant smells: A dirty filter can lead to the buildup of unpleasant odors in your home. If you notice a persistent smell, it may be time to replace the filter.
By regularly checking the filter replacement frequency and looking out for these signs, you can maintain the optimal performance of your Blue Air purifier. This will ensure that you and your family breathe clean and fresh air.
Now, let’s move on to the next section about troubleshooting the filter indicator.
Troubleshooting Filter Indicator
To troubleshoot the filter indicator, check if the indicator light is blinking or displaying an error code. If the light is blinking, it usually means that the filter needs to be replaced. However, if it is displaying an error code, it could indicate a different issue with the filter or the device itself. In this case, referring to the user manual or contacting customer support would be the best course of action. Understanding filter lifespan is crucial in maintaining the effectiveness of your air purifier. It is important to regularly check and replace the filter as recommended by the manufacturer. Below is a table that shows the average lifespan of different types of filters commonly used in air purifiers.
| Filter Type | Lifespan |
|---|---|
| HEPA | 6-12 months |
| Carbon | 6-12 months |
| Pre-filter | 3-6 months |
| UV-C | 10-12 months |
| Ionizer | No replacement needed |
Testing the New Filter
After installing the new filter, it’s important to run a test to ensure it is functioning properly. Testing methods are crucial in determining the filter performance.
Here are three key points to consider when evaluating the new filter:
-
Air Quality Improvement: A properly functioning filter should noticeably improve the air quality in your space. You should experience a reduction in dust, allergens, and odors, leading to a fresher and cleaner environment.
-
Filter Efficiency: The filter’s efficiency is measured by its ability to remove particles of different sizes. Conduct a particle count test to ensure that the filter is effectively capturing contaminants, such as pollen, pet dander, and mold spores.
-
Noise Level: A well-performing filter should operate quietly without producing excessive noise. Listen closely for any unusual sounds or vibrations during the test. A silent and smooth operation indicates a properly functioning filter.
Maintaining the Blue Air Purifier Filter
To properly maintain the filter, it’s recommended to clean it regularly according to the manufacturer’s instructions. Cleaning the filter is essential for maintaining its efficiency and extending its lifespan.
The filter’s primary function is to trap particles and pollutants from the air, ensuring cleaner and healthier indoor air quality. Over time, the filter accumulates dirt, dust, and other contaminants, which can hinder its performance. Regular cleaning helps remove these accumulated particles and keeps the filter working at its optimal level.
Is the Process for Changing the Filter on a Blue Air Purifier the Same as Other Air Purifiers?
Yes, the process for changing the air purifier filter on a Blue air purifier is the same as other air purifiers. Simply locate the filter compartment, remove the old filter, and insert the new one according to the manufacturer’s instructions. It’s a quick and easy maintenance task to ensure your air purifier continues to work efficiently.
Troubleshooting Common Filter Replacement Issues
One common issue when replacing the filter is difficulty fitting it properly into the air purifier. This can be frustrating, but there are troubleshooting steps you can take to resolve the problem.
Here are three things to consider:
-
Check for filter clogging: Before replacing the filter, make sure it is not clogged with dirt or debris. A clogged filter can prevent proper installation and airflow. Clean the filter if necessary.
-
Ensure correct filter size: Double-check that you have purchased the correct filter size for your specific Blue Air purifier model. Using the wrong size can cause fitting issues and affect the purifier’s performance.
-
Explore alternative filter options: If you continue to experience difficulties fitting the filter, consider exploring alternative filter options. Some third-party manufacturers offer compatible filters that may be easier to install.
Frequently Asked Questions
How Often Should I Change the Filter on My Blue Air Purifier?
I change the filter on my Blue Air Purifier every 6 months. It’s important to keep the filter clean to maintain optimal performance and extend its lifespan. Regular cleaning and maintenance are key.
Can I Use a Generic Filter Instead of a Blue Air Purifier Replacement Filter?
I prefer using a Blue air purifier replacement filter over a generic filter. Branded filters are designed specifically for the Blue air purifier, ensuring optimal performance and filtration. The benefits outweigh the cost.
What Are the Signs That Indicate the Filter Needs to Be Changed?
Signs of a clogged filter include reduced airflow, increased dust accumulation, and decreased effectiveness in removing pollutants. Using a high quality replacement filter ensures optimal air purification and prolongs the lifespan of the air purifier.
Can I Clean and Reuse the Old Filter Instead of Replacing It?
No, cleaning and reusing the old filter is not recommended. The cleaning process may not effectively remove all contaminants, and replacing the filter ensures optimal air quality.
How Much Does a Replacement Filter for the Blue Air Purifier Cost?
A replacement filter for the Blue Air Purifier can cost between $50 and $100. It’s an essential part of air purifier maintenance as using a high-quality filter ensures maximum benefits in air purification.
Conclusion
In conclusion, changing the filter on the Blue Air Purifier is a straightforward process that ensures optimal air quality in your space. By following the steps outlined in this article, you can easily identify and replace the correct filter, power off the purifier, locate the filter compartment, reset the filter indicator, and test the new filter.
It is crucial to maintain the Blue Air Purifier filter regularly to avoid any issues and ensure its longevity. By troubleshooting common filter replacement issues, you can enjoy clean and fresh air effortlessly.