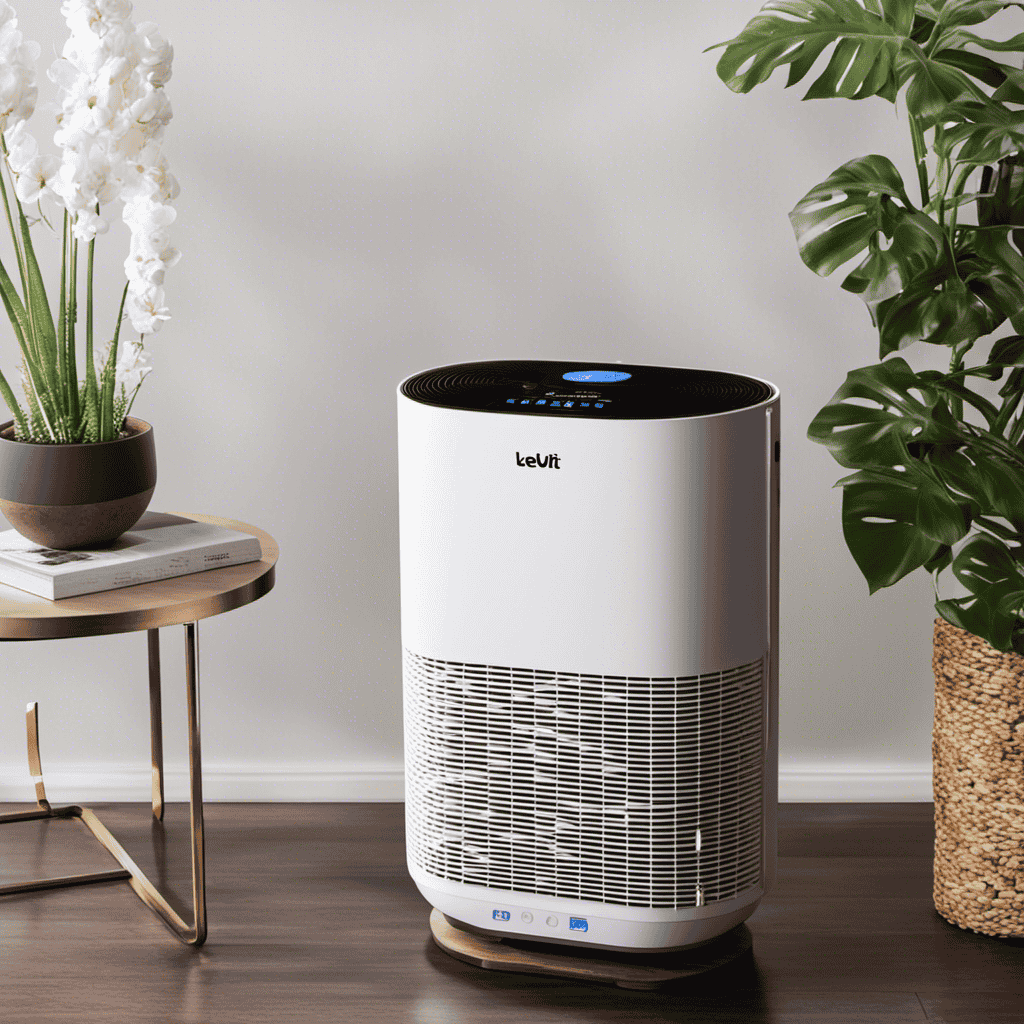
I enjoy inhaling clean, fresh air. However, as time goes on, the pre-filter in my air purifier can become blocked with dust and debris, reducing its efficiency. This is why it is essential to make sure to clean the pre-filter of my air purifier regularly.
In this article, I will guide you through the step-by-step process of cleaning your air purifier’s pre filter, providing you with the necessary tools and techniques to keep your air purifier running efficiently.
So let’s get started and ensure we’re breathing the cleanest air possible.
Key Takeaways
- Regular cleaning of the pre filter improves air purifier effectiveness and extends its lifespan.
- Cleaning the pre filter removes dust, pollen, pet dander, and other particles, resulting in cleaner air quality.
- It is important to follow the manufacturer’s guidelines for cleaning the pre filter and avoid using harsh chemicals or cleaning agents.
- Proper drying and reinstallation of the pre filter is necessary to ensure its proper functioning and to avoid damage.
Understanding the Importance of Cleaning the Pre Filter
Understanding the importance of cleaning the pre filter is crucial for maintaining the effectiveness of your air purifier. Regular maintenance is essential to ensure that your air purifier continues to provide clean and healthy air in your home.
By regularly cleaning the pre filter, you can remove the accumulated dust, pollen, pet dander, and other particles that it traps. This not only improves the air quality in your home but also helps the air purifier to function efficiently. A clean pre filter allows the air purifier to capture more pollutants, ensuring that you and your family breathe in cleaner air.
Additionally, regular cleaning of the pre filter prolongs the lifespan of your air purifier, saving you money in the long run. Therefore, understanding the importance of regular maintenance and the benefits of a clean pre filter is crucial for ensuring the optimal performance of your air purifier.
Gathering the Necessary Tools and Supplies
When it comes to cleaning, having the right tools is essential. In order to effectively clean, I have found that having a variety of cleaning tools such as microfiber cloths, sponges, and scrub brushes is important.
Additionally, proper supply preparation, such as having cleaning solutions and disinfectants readily available, can make the cleaning process more efficient and effective.
Essential Cleaning Tools
You’ll need a few essential cleaning tools to properly maintain your air purifier pre filter.
Firstly, a vacuum cleaner with a brush attachment is handy for removing larger debris and dust from the surface of the filter.
Additionally, a soft-bristle brush or toothbrush can be used to gently scrub away any stubborn dirt or particles that may have accumulated.
For a more thorough cleaning, a mild detergent or dish soap can be mixed with water to create a cleaning solution. This solution can be applied to the pre filter and gently scrubbed using the brush.
Finally, a microfiber cloth or paper towels can be used to dry the filter before reinstalling it.
Proper Supply Preparation
To properly prepare your supplies, gather all the necessary cleaning tools. When it comes to air purifier maintenance, having the right tools is essential. Start by gathering a soft cloth or sponge, mild detergent or cleaning solution, and a vacuum cleaner with a brush attachment. These tools will help you effectively clean your air purifier pre-filter.
Begin by turning off and unplugging the air purifier. Carefully remove the pre-filter from the unit and use the vacuum cleaner to remove any loose debris.
Next, dampen the cloth or sponge with the mild detergent or cleaning solution and gently wipe down the pre-filter. Be sure to remove any stains or build-up.
Once clean, allow the pre-filter to dry completely before reattaching it to the air purifier.
These simple cleaning tips will help keep your air purifier running efficiently and effectively.
Step-by-Step Guide to Removing the Pre Filter
First, let’s see how we can remove the pre filter in a step-by-step manner.
Proper pre filter maintenance is essential for the optimal performance of your air purifier.
To begin, locate the air purifier and ensure it is turned off and unplugged.
Next, carefully remove the front cover of the air purifier to access the pre filter.
The pre filter is usually located near the front of the unit.
Gently pull the pre filter out of its housing, being cautious not to damage it.
Avoid using excessive force or pulling on any attached wires.
Once removed, inspect the pre filter for any visible dirt, dust, or debris.
If necessary, gently tap the pre filter to remove loose particles.
Remember, common pre filter cleaning mistakes include using harsh chemicals or water, as this can damage the filter.
Proper handling and cleaning techniques are crucial to maintaining the longevity and efficiency of your pre filter.
Proper Techniques for Cleaning the Pre Filter
When cleaning your air purifier’s pre filter, it is important to follow specific guidelines to maintain its effectiveness.
Firstly, always refer to the manufacturer’s instructions for cleaning guidelines.
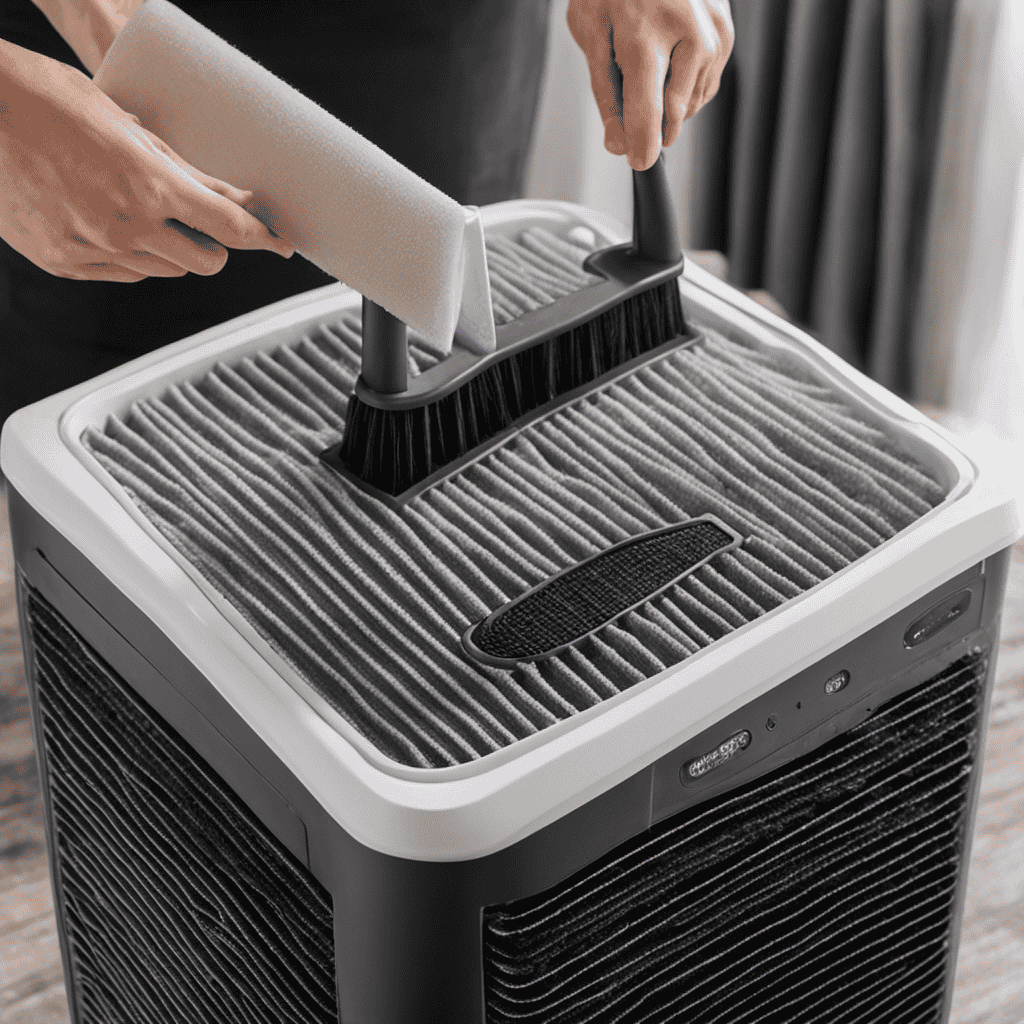
Generally, pre filters can be cleaned by gently vacuuming or brushing off accumulated debris. Avoid using excessive force to prevent damage.
Do not wash the pre filter with water, as it can compromise its functionality.
Similarly, avoid using harsh chemicals or cleaning agents, as they can break down the filter material.
Drying and Reinstalling the Pre Filter
When it comes to drying the pre filter of your air purifier, it’s important to follow proper techniques.
After cleaning, make sure to allow the filter to air dry completely before reinstallation. This will ensure optimal performance and prevent any damage to the filter.
Additionally, during the reinstallation process, ensure that the filter is properly aligned and securely placed in the air purifier.
Lastly, for longevity and effective maintenance, it’s recommended to clean and dry the pre filter regularly, following the manufacturer’s guidelines.
Proper Drying Techniques
To properly dry the air purifier pre-filter, you can simply let it air dry or use a hairdryer on a low setting. Here are some proper drying techniques for your pre-filter:
-
Ensure the pre-filter is completely dry before reinstalling it to prevent mold or bacteria growth.
-
Avoid using high heat settings on the hairdryer, as it may damage the filter material.
-
If air drying, find a clean and well-ventilated area with good air circulation.
-
Allow sufficient time for the pre-filter to dry completely, which may take several hours or overnight.
Properly drying the pre-filter is essential for maintaining its effectiveness and prolonging its lifespan. By following these techniques, you can ensure that your air purifier pre-filter is clean and ready to provide you with the benefits of improved indoor air quality.
Remember to store the pre-filter in a clean and dry place when not in use to preserve its quality for future use.
Filter Reinstallation Process
After drying the pre-filter, you can easily reinstall it by following these simple steps.
First, make sure the air purifier is turned off and unplugged for safety.
Then, locate the filter compartment, usually located at the back or sides of the unit. Open the compartment by removing the cover or sliding it off.
Take the dried pre-filter and align it with the designated slot in the compartment. Ensure that it fits securely and snugly.
Close the compartment cover and secure it in place.
Finally, plug in the air purifier and turn it on to start enjoying clean and fresh air once again.
It is important to regularly clean and maintain the pre-filter for optimal filter performance and longevity.
Now, let’s move on to some maintenance tips for longevity.
Maintenance Tips for Longevity
Now that we know how to reinstall the air purifier pre filter, let’s talk about some maintenance tips that can help prolong its life and maximize its effectiveness.
Cleaning the pre filter regularly is essential for maintaining the cleanliness of the air in your home. Here are some key benefits of regular cleaning and some guidelines for the cleaning frequency:
-
Improved air quality: Regular cleaning ensures that the pre filter is free from dust, pollen, and other airborne particles, allowing it to effectively capture pollutants and improve the air quality in your home.
-
Enhanced performance: A clean pre filter allows the air purifier to function optimally, ensuring that it can efficiently remove pollutants from the air.
-
Cost savings: By cleaning the pre filter regularly, you can extend its lifespan and avoid the need for frequent replacements, saving you money in the long run.
-
Longevity benefits: Proper maintenance and cleaning of the pre filter can help prolong the overall lifespan of your air purifier, ensuring that it continues to provide clean and fresh air for years to come.
To maintain the cleanliness of the pre filter, follow these tips in the subsequent section.
Tips for Maintaining the Cleanliness of the Pre Filter
Make sure you regularly vacuum the pre filter to remove any dust or debris buildup. This is crucial for maintaining pre filter efficiency and preventing filter clogs.
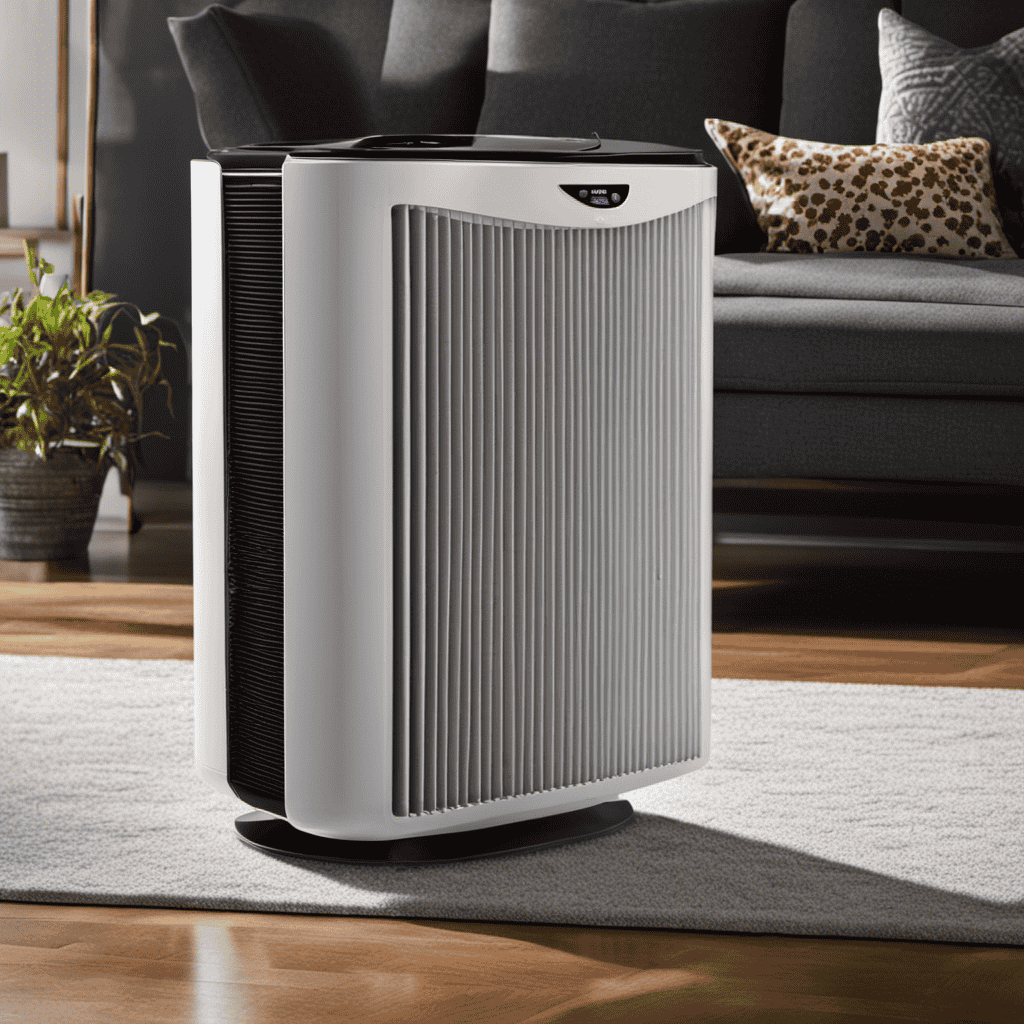
The pre filter is the first line of defense in an air purifier, catching larger particles before they reach the main filter. Over time, the pre filter can become clogged with dust and debris, which reduces its effectiveness and restricts airflow.
By vacuuming the pre filter on a regular basis, you can ensure that it continues to function optimally. Simply remove the pre filter from the air purifier, use a vacuum cleaner with a brush attachment to gently remove the accumulated dust and debris, and then reinsert the pre filter back into the unit.
This simple maintenance task will help prolong the life of your pre filter and ensure that your air purifier continues to operate efficiently.
Frequency of Cleaning the Pre Filter
To keep your pre filter working effectively, it’s important to regularly vacuum away any accumulated dust and debris. Cleaning frequency will depend on the air quality and usage of your air purifier, but as a general guideline, aim to clean the pre filter every 2-4 weeks.
Here are some signs that indicate a dirty pre filter:
-
Reduced air flow: If you notice that the airflow from your air purifier has significantly decreased, it’s likely due to a clogged pre filter.
-
Visible dirt and dust: Take a look at the pre filter and if you see a layer of dirt and dust, it’s time for a cleaning.
-
Unpleasant odors: A dirty pre filter can result in musty or unpleasant smells being emitted by your air purifier.
-
Decreased efficiency: If you find that your air purifier is not performing as effectively as before, a dirty pre filter could be the culprit.
Regular cleaning of your pre filter will help maintain optimal performance and ensure clean, fresh air in your space.
Troubleshooting Common Issues With the Pre Filter
If you’re experiencing reduced airflow or unpleasant odors, it might be due to an issue with your pre filter.
Troubleshooting common issues with the pre filter can help you identify and resolve the problem.
One common mistake is not cleaning the pre filter regularly. Over time, dust and debris can accumulate, reducing its effectiveness. To clean the pre filter, remove it from the air purifier and gently brush off the dirt or rinse it under running water.
Another troubleshooting method is to check for any damage or tears in the pre filter. If there are any, it’s important to replace it to ensure optimal performance.
Is There a Specific Method to Clean Pre-Filters in Air Purifiers?
Yes, there is a specific method for cleaning pre-filter air purifiers. Start by removing the pre-filter and gently tapping to remove loose dust. Then, vacuum the pre-filter or rinse with water and mild detergent. Allow it to fully dry before re-installing. Regular cleaning ensures optimal air purifier performance.
Final Thoughts on Cleaning Your Air Purifier Pre Filter
In conclusion, remember to regularly maintain and inspect your pre-filter to ensure optimal performance and clean air in your home.
Here are the benefits of a clean pre-filter and why air purifier maintenance is crucial:
-
Improved Air Quality: A clean pre-filter traps larger particles like dust, pollen, and pet dander, preventing them from circulating in your home and improving the overall air quality.
-
Increased Lifespan: Regularly cleaning your pre-filter helps extend the lifespan of your air purifier. A clogged filter puts extra strain on the system, reducing its efficiency and potentially leading to costly repairs or replacements.
-
Energy Efficiency: A clean pre-filter allows your air purifier to operate at its full potential, minimizing energy consumption and reducing your utility bills.
-
Health Benefits: By removing pollutants, a clean pre-filter helps reduce allergies, asthma symptoms, and respiratory issues, promoting a healthier living environment for you and your family.
Frequently Asked Questions
How Often Should I Replace the Pre Filter in My Air Purifier?
I replace the pre filter in my air purifier every 3-6 months to extend its lifespan. Signs that indicate it needs replacement include reduced air flow and a noticeable decrease in air quality.
Can I Clean the Pre Filter With Regular Household Cleaning Products?
I can clean the pre filter without household cleaning products. There are alternative methods available. It’s important to follow the manufacturer’s instructions to ensure proper cleaning and maintenance of the air purifier.
What Should I Do if My Pre Filter Is Damaged or Torn?
If my pre filter is damaged or torn, I should start by assessing the severity of the damage. If repair is not possible, I can easily find replacement filters online or at a local store.
Can I Wash the Pre Filter in the Dishwasher?
No, you should not wash the pre filter in the dishwasher as it can damage the filter. There are alternative cleaning methods available such as vacuuming or rinsing with water and mild detergent.
Can I Use a Vacuum Cleaner to Clean the Pre Filter?
Yes, you can use a vacuum cleaner to clean the pre filter. It’s a convenient and efficient method for maintenance. However, make sure to refer to the manufacturer’s instructions for alternative cleaning methods to ensure proper care.
Conclusion
In conclusion, cleaning your air purifier pre filter is crucial for maintaining the efficiency and effectiveness of your purifier. By regularly cleaning and maintaining the pre filter, you can ensure that it continues to trap large particles and extend the lifespan of your air purifier.
Remember to gather the necessary tools and supplies, follow the step-by-step guide, and use proper cleaning techniques. By doing so, you will not only improve the air quality in your home but also prolong the lifespan of your air purifier.
So, don’t neglect the pre filter and make it a part of your regular cleaning routine.