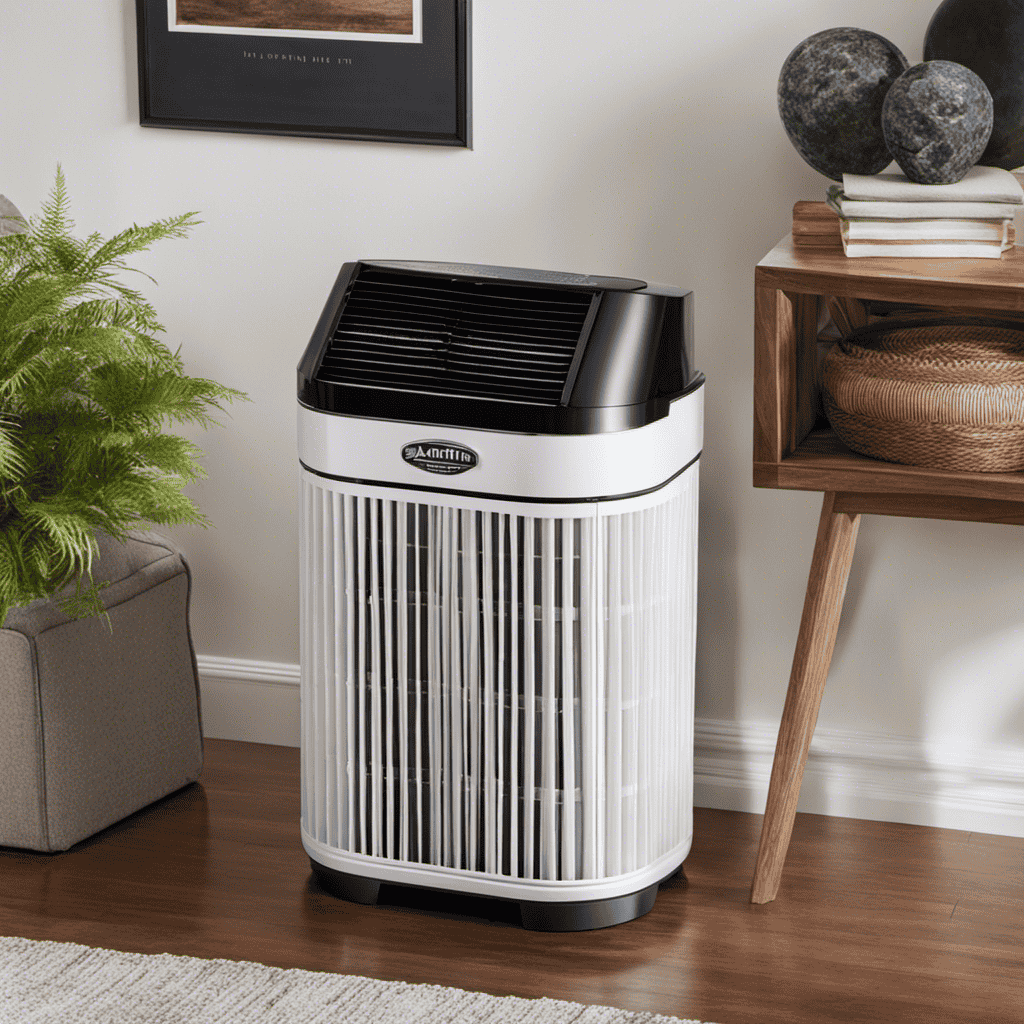
I’ve always been amazed at how much cleaner and fresher the air feels after using my Austin Air Purifier.
But did you know that regular cleaning is essential to maintain its efficiency? In fact, studies have shown that a dirty air purifier can decrease its effectiveness by up to 50%.
That’s why I want to share with you the step-by-step process of how to clean your Austin Air Purifier.
With a little maintenance, you can ensure that your purifier continues to provide you with clean and healthy air.
Key Takeaways
- The Austin Air Purifier has multiple components, including a HEPA filter, pre-filter, carbon filter, and fan.
- Regular cleaning and maintenance of these components is necessary for optimal performance.
- The cleaning process involves gathering necessary supplies, wiping down the exterior, vacuuming the filters, and washing the pre-filter and carbon filter.
- In addition to cleaning the filters, it is important to regularly clean the exterior of the purifier and the fan and motor assembly.
Understanding the Parts of Your Austin Air Purifier
To understand the parts of your Austin Air Purifier, you’ll need to become familiar with the different components it consists of.
The main components of an Austin Air Purifier include the HEPA filter, pre-filter, carbon filter, and fan.
The HEPA filter is responsible for capturing and removing 99.97% of particles as small as 0.3 microns.
The pre-filter helps to prolong the life of the HEPA filter by capturing larger particles.
The carbon filter is designed to remove odors and chemicals from the air.
The fan circulates the air through the filters, ensuring effective purification.
It is important to regularly clean and maintain these components to ensure optimal performance.
Cleaning methods may vary depending on the specific model, so it is important to refer to the user manual for instructions.
Additionally, following a maintenance schedule will help prolong the lifespan of your Austin Air Purifier and ensure that it continues to provide clean, fresh air for years to come.
Preparing for the Cleaning Process
Make sure you’re ready for the cleaning process by gathering all the necessary supplies.
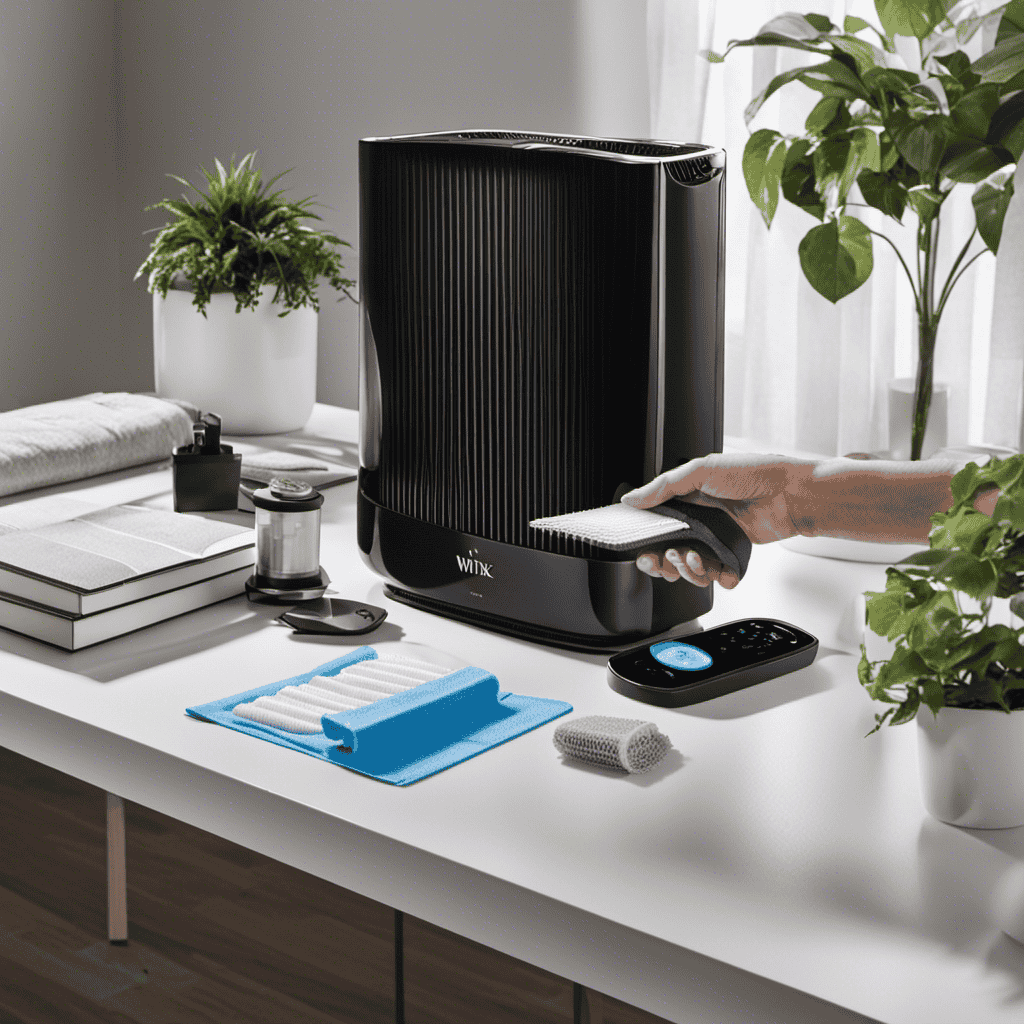
Cleaning an Austin Air Purifier is a simple task, but it requires a few specific tools. Firstly, you’ll need a soft cloth or sponge to wipe down the exterior of the purifier. Make sure it’s a non-abrasive material to avoid scratching the surface.
Next, you’ll need a mild detergent or cleaner to remove any dirt or grime. It’s important to choose a cleaner that is safe for use on electronic devices.
Additionally, you’ll need a vacuum cleaner with a brush attachment to clean the pre-filter and HEPA filter.
Lastly, don’t forget to wear gloves and a mask to protect yourself from any allergens or contaminants that may be present during the cleaning process.
Removing and Cleaning the Filters
Start by unplugging the device and locating the filter panel on the back of the purifier. Cleaning the filters of your Austin air purifier is an important step to maintain its efficiency. Regular cleaning of the filters ensures that your purifier continues to remove airborne pollutants effectively.
Here are the steps to remove and clean the filters:
- Open the filter panel by gently pulling it towards you.
- Take out the pre-filter, activated carbon filter, and HEPA filter from the purifier.
- Use a vacuum cleaner with a brush attachment to remove any dust or debris from the filters.
- For a deeper clean, wash the pre-filter and activated carbon filter with mild soap and water.
- Rinse the filters thoroughly and allow them to air dry completely before reinstalling.
By following these cleaning techniques and using the best cleaning products, you can ensure that your Austin air purifier operates at its best.
Once the filters are clean, we can move on to cleaning the exterior of your purifier.
Cleaning the Exterior of Your Austin Air Purifier
After you’ve finished cleaning the filters, it’s important to also wipe down the exterior of your purifier to remove any dirt or dust buildup. This step is often overlooked, but it’s crucial in maintaining the efficiency and effectiveness of your Austin air purifier.
Dust and dirt can accumulate on the exterior, hindering the airflow and reducing the purifier’s performance. To clean the exterior, simply use a damp cloth or sponge and gently wipe down the surfaces. Be sure to pay attention to all the nooks and crannies, including buttons, vents, and the control panel.
Regularly cleaning the exterior of your purifier not only improves its appearance but also prevents dust buildup, ensuring that your purifier continues to provide clean and fresh air.
Now, let’s move on to cleaning the fan and motor assembly.
Cleaning the Fan and Motor Assembly
To maintain the efficiency of your fan and motor assembly, it’s important to regularly remove any dirt or debris that may accumulate. Here are four steps to clean your Austin Air Purifier’s fan and motor assembly:
-
Turn off and unplug the air purifier: Safety should always be the priority when working with electrical appliances.
-
Remove the front cover: Most Austin Air Purifiers have a latch or button that allows you to easily access the fan and motor assembly.
-
Clean the air vents: Use a soft brush or vacuum cleaner to remove any dust or dirt that may have accumulated on the air vents. This will help ensure proper airflow and prevent any blockages.
-
Lubricate the motor: Apply a few drops of lubricating oil to the motor shaft to keep it running smoothly. Be sure to follow the manufacturer’s instructions for the type of oil to use.
Reassembling Your Austin Air Purifier
When reassembling your Austin Air Purifier, there are several key points to keep in mind.
First, it’s crucial to ensure proper filter placement to guarantee optimal air purification.
Additionally, securing all components tightly will prevent any potential leaks or malfunctions.
Lastly, troubleshooting reassembly issues can help address any problems that may arise during the process.
Proper Filter Placement
Make sure you’ve correctly positioned the filters inside your Austin air purifier. Proper filter placement is crucial for effective air purification and maintaining the longevity of your device.
Here are four important things to keep in mind:
-
Check the filter labels: Austin air purifiers typically have multiple filters, such as a pre-filter, a HEPA filter, and a carbon filter. Ensure that each filter is correctly labeled and positioned according to the manufacturer’s instructions.
-
Align the arrows: Many Austin air purifiers have arrows on the filter frames indicating the direction of airflow. Align these arrows with the airflow direction indicated by the unit to ensure optimal performance.
-
Secure the filters: Once positioned correctly, secure the filters in place using the provided fasteners or clips. This will prevent any air leaks and ensure that the filters stay in their intended positions.
-
Regularly inspect and clean: Filter maintenance is essential for the efficient functioning of your air purifier. Regularly inspect the filters for dirt, dust, and debris, and clean or replace them as necessary. This will help maintain the air quality in your living space and prolong the lifespan of your Austin air purifier.
Securing All Components
Securing all the components in your Austin air purifier is essential for proper functionality and optimal air purification. Neglecting to secure these components can lead to decreased performance and reduced air quality. To ensure your air purifier is running at its best, it is important to understand how to clean and maintain it properly.
Cleaning Techniques:
- Use a soft, dry cloth to wipe the exterior of the purifier.
- Regularly clean the pre-filter by vacuuming or rinsing it under water.
- Clean the HEPA filter every 6-12 months, depending on usage, by gently vacuuming or rinsing it.
- Replace the carbon filter every 6-12 months, or as recommended by the manufacturer.
Recommended Cleaning Frequency:
| Component | Cleaning Frequency |
|---|---|
| Exterior | Weekly |
| Pre-Filter | Monthly |
| HEPA Filter | Every 6-12 months |
| Carbon Filter | Every 6-12 months |
Troubleshooting Reassembly Issues
If you’re experiencing issues with reassembling the components, try referring to the user manual for step-by-step instructions. Troubleshooting power issues and fixing fan motor noise can be tricky, but with the right guidance, you can overcome these challenges.
Here are a few tips to help you troubleshoot and fix these common problems:
-
Check the power source: Make sure the air purifier is properly plugged into a working outlet. If it’s connected to a power strip, ensure that the power strip is turned on.
-
Inspect the power cord: Examine the power cord for any visible damage or frayed wires. If you notice any issues, replace the power cord to ensure a safe and reliable power supply.
-
Clean the fan motor: Fan motor noise can be caused by dirt and debris buildup. Remove the fan motor cover and carefully clean the blades using a soft brush or cloth. This should help reduce the noise.
-
Lubricate the fan motor: If the fan motor is still making noise after cleaning, try lubricating it with a few drops of oil specifically designed for motors. This can help reduce friction and quiet the noise.
Maintenance Tips to Keep Your Austin Air Purifier Clean and Efficient
To ensure your Austin Air Purifier stays clean and efficient, you should regularly clean the pre-filter. The pre-filter is responsible for capturing larger particles like dust, pet hair, and pollen, preventing them from entering the main filter. Cleaning the pre-filter not only improves the air purifier’s performance but also prolongs the life of the main filter.
When it comes to cleaning frequency, it is recommended to clean the pre-filter every three to six months, depending on the air quality in your home. However, if you have pets or live in a dusty environment, more frequent cleaning may be necessary.
To clean the pre-filter, you can follow these simple steps:
- Turn off and unplug the air purifier.
- Remove the front panel to access the pre-filter.
- Vacuum the pre-filter to remove loose debris.
- Rinse the pre-filter with water and mild detergent.
- Allow the pre-filter to dry completely before reinstalling.
Avoid common cleaning mistakes such as using harsh chemicals or scrubbing the pre-filter vigorously, as this can damage the filter fibers. By following these cleaning tips, you can ensure that your Austin Air Purifier continues to provide clean and fresh air for you and your family.
| Common Cleaning Mistakes |
|---|
| Using harsh chemicals |
| Scrubbing too vigorously |
| Not allowing to dry completely |
Frequently Asked Questions
Can I Use Any Cleaning Solution to Clean the Exterior of My Austin Air Purifier?
Yes, you can use a mild cleaning solution to clean the exterior of your Austin Air Purifier. It is important to follow the proper cleaning techniques provided by the manufacturer to maintain its performance and longevity.
How Often Should I Clean the Fan and Motor Assembly of My Austin Air Purifier?
I clean the fan and motor assembly of my Austin air purifier every 3 months. For the pre-filter, I clean it every month. Alternative cleaning methods for the fan and motor assembly include using compressed air or a soft brush.
Can I Wash the Filters of My Austin Air Purifier in the Dishwasher?
No, it is not recommended to wash the filters of your Austin air purifier in the dishwasher. The dishwasher can damage the filters and compromise their effectiveness. It is best to follow the manufacturer’s instructions for cleaning the filters.
Is It Necessary to Disassemble My Austin Air Purifier for Regular Maintenance?
Disassembling my Austin Air purifier for regular maintenance is not necessary. There are alternative cleaning methods that can effectively clean the filters without the need to take it apart.
Can I Use Compressed Air to Clean the Interior Components of My Austin Air Purifier?
Yes, you can use compressed air to clean the interior components of your Austin Air Purifier. However, it is important to follow the manufacturer’s instructions and consider alternative cleaning methods for a thorough and effective maintenance routine.
Conclusion
Cleaning your Austin Air Purifier is a simple yet essential task that ensures you and your loved ones breathe clean, fresh air. By following the steps outlined in this guide, you can maintain the efficiency and longevity of your air purifier.
Imagine the feeling of taking a deep breath, knowing that the air you inhale is free from pollutants and allergens. By regularly cleaning your Austin Air Purifier, you are creating a healthier and more comfortable environment for yourself and those around you.
