Hey there! If you’re like me, you want to make sure the air you breathe is clean and fresh.
That’s why I’m excited to share with you a step-by-step guide on how to clean your Enviracaire Air Purifier.
Whether you’re a novice or a seasoned pro, this article will provide you with the knowledge and tools you need to keep your air purifier running smoothly and effectively.
So, let’s dive in and give your air purifier the TLC it deserves!
Key Takeaways
- Understanding the key features and advantages/disadvantages of the Enviracaire Air Purifier
- Following essential safety precautions before cleaning the air purifier
- Gathering the necessary tools and supplies for cleaning
- Following proper cleaning techniques for the exterior, filters, pre-filter, HEPA filter, carbon filter, ionizer, fan, and motor
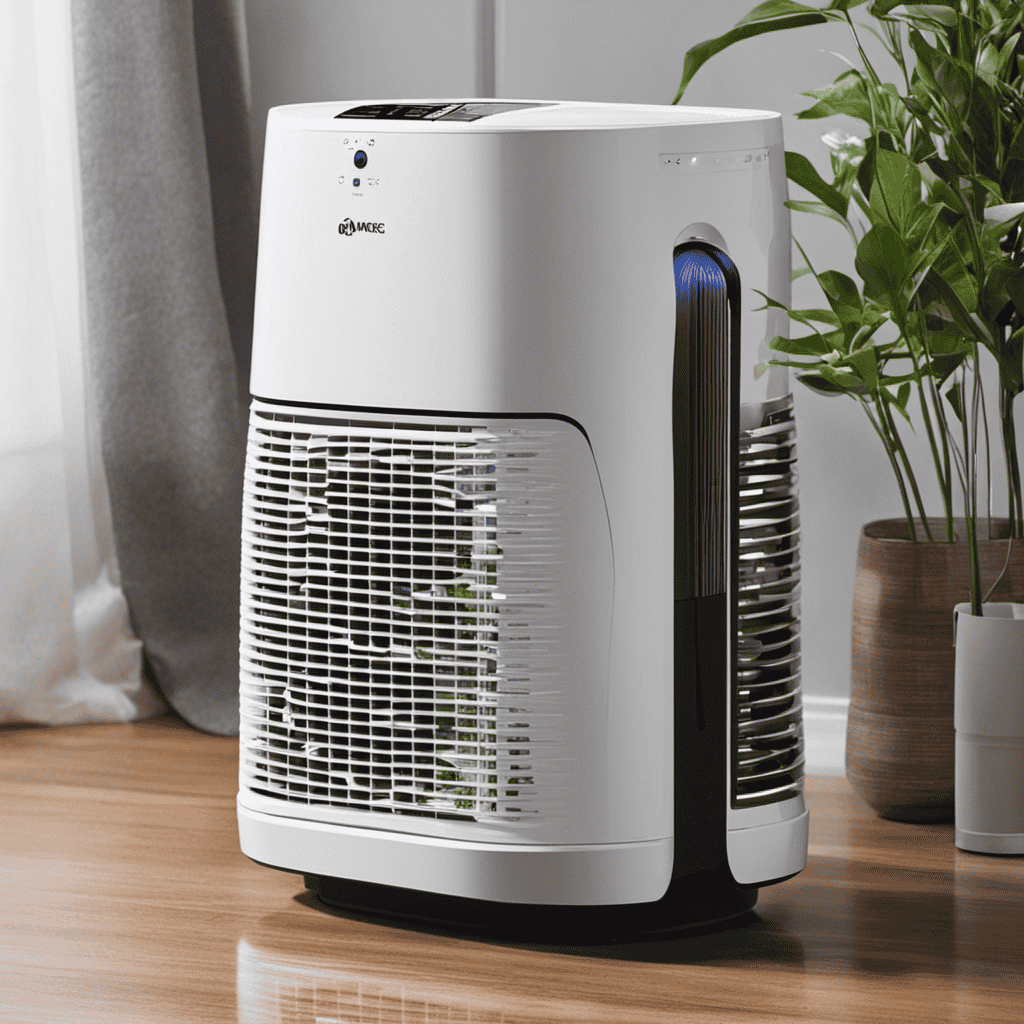
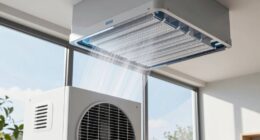
Understanding the Enviracaire Air Purifier
To understand the Enviracaire Air Purifier, you’ll need to become familiar with its various settings and features. This advanced air purifier offers several advantages for improving indoor air quality. One of its key features is the ability to remove allergens, such as dust, pollen, and pet dander, from the air. It also has a built-in HEPA filter, which can capture even the tiniest particles, providing clean air for you and your family.
However, there are a few disadvantages to consider. The Enviracaire Air Purifier can be quite noisy, especially when operating at higher fan speeds. Additionally, the replacement filters can be expensive and need to be changed regularly.
Understanding these advantages and disadvantages will help you make an informed decision about whether the Enviracaire Air Purifier is the right choice for you.
Now, let’s move on to the safety precautions before cleaning.
Safety Precautions Before Cleaning
Before we delve into the process of cleaning the Enviracaire Air Purifier, it’s crucial to discuss the essential safety measures that must be taken.
These measures are designed to prioritize the well-being of the user and ensure a safe cleaning experience. By following these precautions, we can guarantee a clean and healthy environment while minimizing the risk of accidents or damage to the device.
Essential Safety Measures
Make sure you follow all the essential safety measures when cleaning your Enviracaire air purifier.
During operation, it is crucial to take necessary precautions to ensure your safety. Always unplug the purifier before cleaning to avoid any electric shock.
Never immerse the unit in water or any other liquid as it can damage the electrical components. Use a damp cloth or a soft brush to clean the exterior of the purifier, and make sure to dry it thoroughly before plugging it back in.
When disposing of the filter waste, it is important to follow proper procedures. Check the user manual or contact the manufacturer for specific instructions on how to dispose of the filters safely and responsibly.
Adhering to these safety measures will help you maintain the performance of your Enviracaire air purifier and protect yourself from potential harm.
Prioritize User Well-Being
You should always prioritize your well-being when using any electronic device. This includes taking care of your health while using an Enviracaire air purifier. Not only does proper maintenance ensure the longevity of your device, but it also contributes to your overall satisfaction as a user. Cleaning your air purifier regularly has numerous health benefits, such as removing airborne allergens and improving indoor air quality. To make the cleaning process easier, I have prepared a table with four essential tools and supplies you will need:
| Tools | Supplies |
|---|---|
| Microfiber cloth | Mild detergent |
| Soft brush | Distilled water |
| Vacuum cleaner | Cotton swabs |
| Compressed air can |
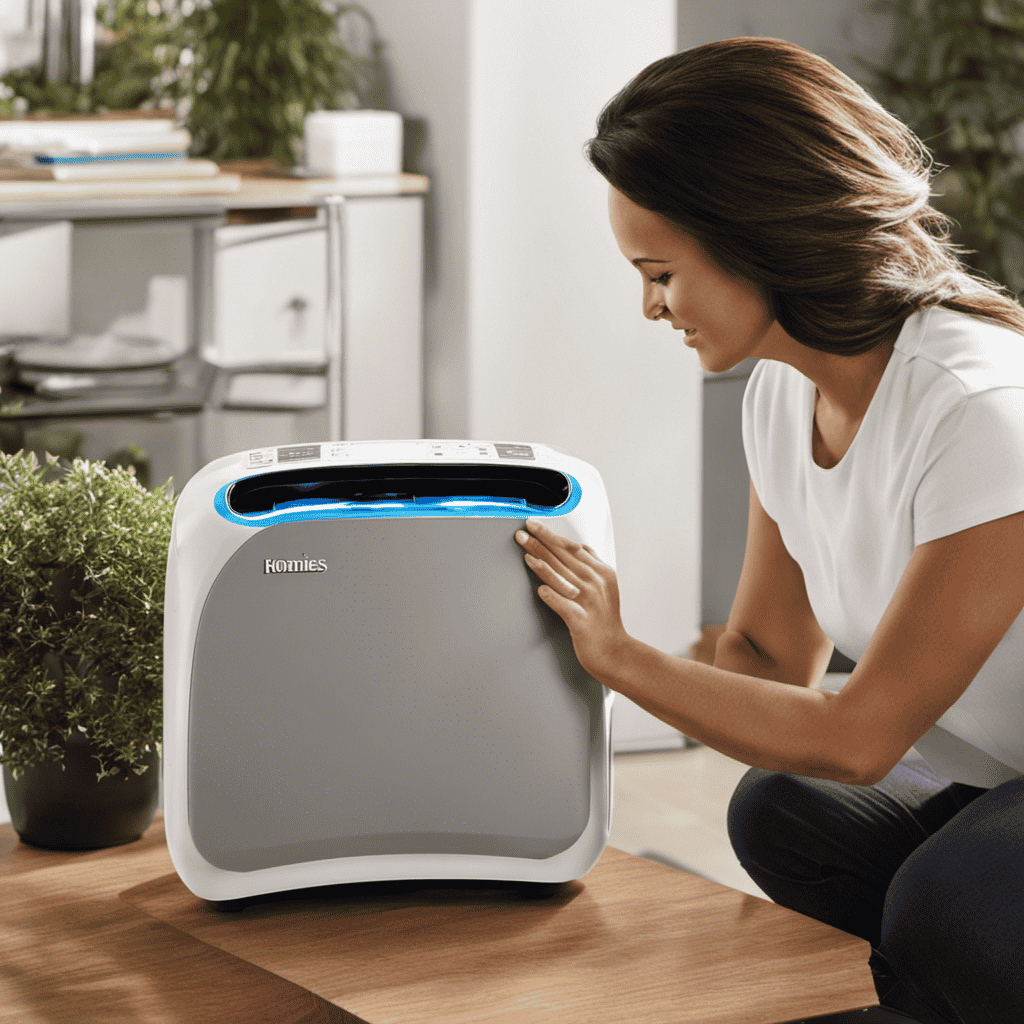
Gathering the Necessary Tools and Supplies
Once you’ve gathered the necessary tools and supplies, it’s time to start cleaning your Enviracaire air purifier.
To ensure a thorough cleaning, it’s important to have the right materials on hand. You will need a soft, lint-free cloth, mild dish soap, warm water, and a small brush or toothbrush for hard-to-reach areas.
Begin by unplugging the air purifier and removing any filters or covers that can be easily detached. Gently wipe down the exterior of the unit with the damp cloth, being careful not to get any water inside.
For stubborn dirt or grime, mix a small amount of dish soap with warm water and use the cloth to gently scrub the affected areas. Lastly, use the brush or toothbrush to clean any crevices or vents.
Once all parts are dry, reassemble the air purifier and plug it back in. Following these cleaning techniques will help maintain the efficiency and longevity of your Enviracaire air purifier.
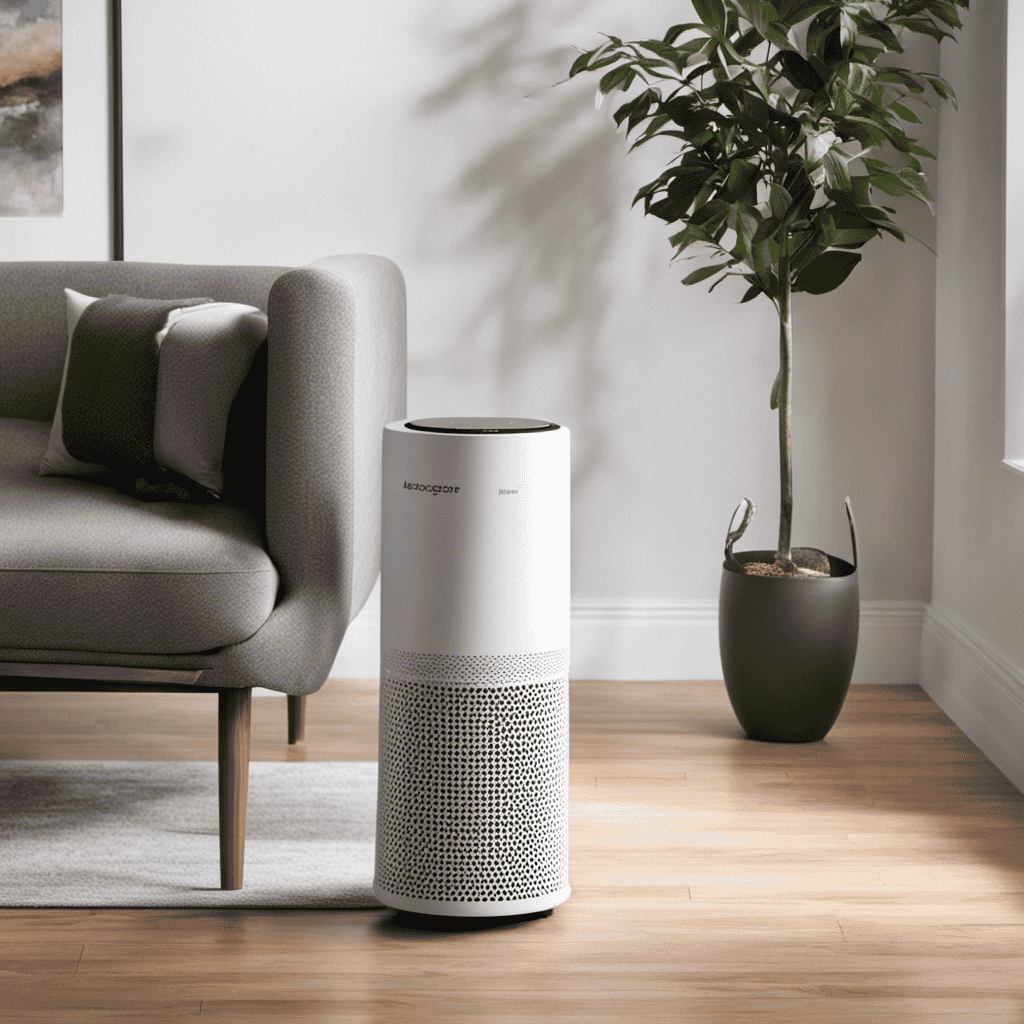
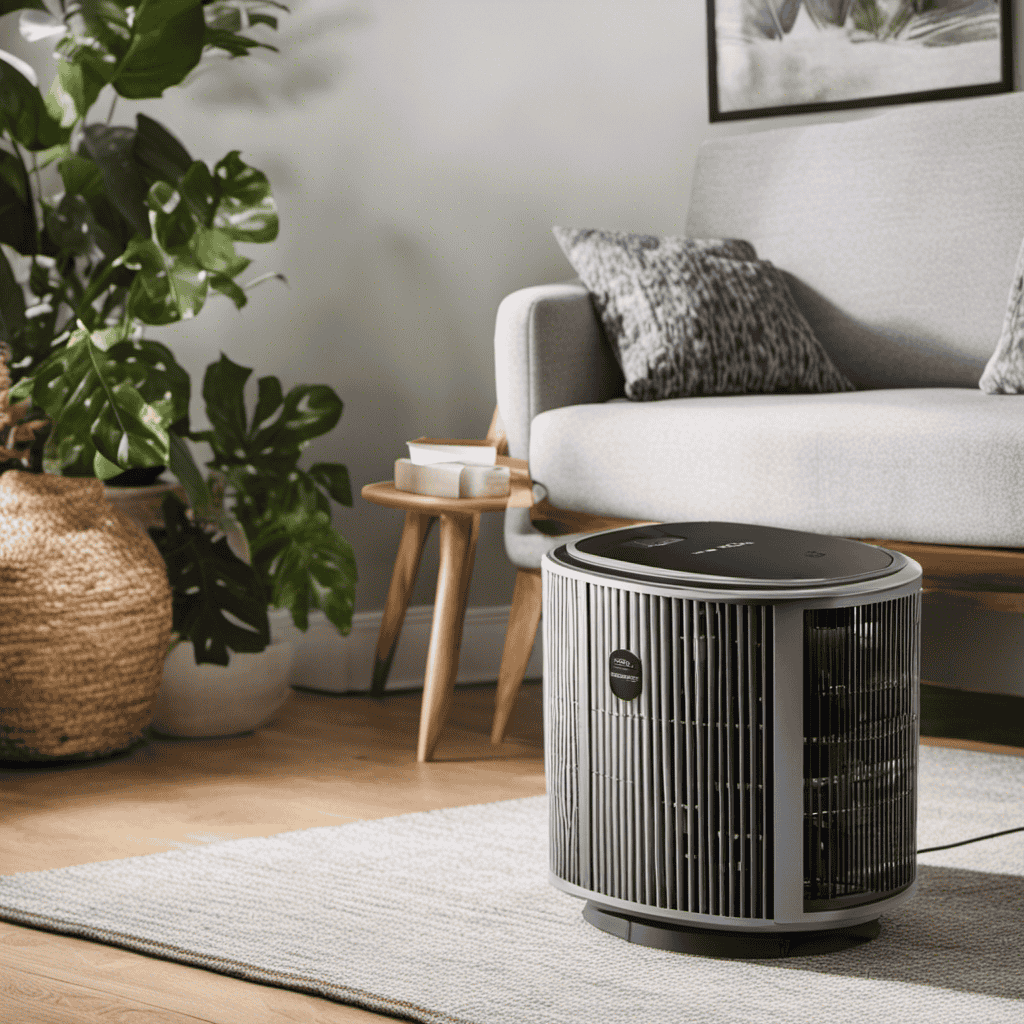
Removing the Outer Cover of the Air Purifier
To remove the outer cover, simply locate the small tabs on either side and gently press them inward. This will release the cover, allowing you to access the inner components of the air purifier. Once the cover is removed, you can begin the disassembling process to clean the different parts effectively.
Here are some cleaning techniques to follow:
-
Use a soft, lint-free cloth to wipe down the outer cover and remove any dust or debris.
-
For the filter, gently remove it and tap it against a hard surface to dislodge any trapped particles. If necessary, rinse it under running water and let it air dry completely before reinstalling.
-
Clean the fan blades with a damp cloth to remove any dirt or buildup.
-
Lastly, wipe down the inner surfaces of the air purifier with a mild detergent solution, taking care not to get any electrical components wet.
Following these cleaning techniques will help ensure that your Enviracaire air purifier continues to function optimally.
Cleaning the Pre-Filter
When it comes to maintaining the pre-filter of your air purifier, there are a few important tips to keep in mind.
Regular cleaning is crucial to ensure optimal performance and longevity of the filter.
Pre-Filter Maintenance Tips
Before starting, make sure you’ve unplugged the Enviracaire air purifier.
Maintaining the pre-filter is crucial for the optimal performance of your air purifier. Here are some tips for pre-filter maintenance:
-
Regular cleaning: Clean the pre-filter every 3 months or as needed to remove dust and debris. Follow the pre-filter cleaning instructions provided in the user manual.
-
Replacement schedule: Replace the pre-filter every 6-12 months, depending on the usage and air quality. This ensures efficient filtration and prolongs the lifespan of your air purifier.
-
Inspection: Check the pre-filter regularly for signs of wear and tear. If it’s damaged or discolored, replace it immediately to maintain the air purifier’s effectiveness.
-
Filter reset: After replacing the pre-filter, reset the filter indicator on the air purifier to ensure accurate monitoring of filter life.
Following these pre-filter maintenance tips will help you keep your Enviracaire air purifier running smoothly and effectively.
Importance of Regular Cleaning
Now that we have discussed some pre-filter maintenance tips, let’s move on to the importance of regular cleaning for your Enviracaire air purifier. Regular maintenance is crucial to keep your air purifier running efficiently and effectively. By regularly cleaning your air purifier, you can ensure that it continues to remove airborne pollutants and allergens from your surroundings.
Proper cleaning techniques are essential for maintaining the performance of your Enviracaire air purifier. Start by turning off and unplugging the unit. Gently remove the filters and pre-filters, following the manufacturer’s instructions. Use a soft brush or vacuum cleaner to remove dust and debris from the filters. You can also rinse the filters under lukewarm water if they are washable. Allow the filters to dry completely before reassembling them.
Cleaning the HEPA Filter
To clean the HEPA filter, you’ll need to gently vacuum or rinse it under cold water. Here’s a step-by-step guide to help you maintain your air purifier effectively:
-
Turn off the air purifier and unplug it from the power source.
-
Locate the HEPA filter, usually found at the back or side of the unit.
-
If the filter is visibly dirty, use a vacuum cleaner with a brush attachment to remove the accumulated dust and debris.
-
If the filter is washable, rinse it under cold water until the water runs clear. Avoid using hot water or harsh chemicals, as they may damage the filter’s effectiveness.
By following a regular cleaning schedule for your HEPA filter, you can ensure optimal performance and prolong its lifespan.
Now, let’s move on to cleaning the carbon filter for a thorough maintenance routine.
Cleaning the Carbon Filter
The carbon filter should be replaced every six to twelve months for optimal performance. However, with proper carbon filter maintenance, you can extend its lifespan and save money in the long run.
To maintain your carbon filter, start by vacuuming it regularly to remove any accumulated dust or debris. This will prevent clogging and ensure efficient air purification.
Additionally, you can prolong the lifespan of your carbon filter by placing it in a well-ventilated area. This will help prevent the filter from getting saturated quickly and allow it to work effectively for a longer period.
Lastly, avoid exposing the carbon filter to excessive moisture or high humidity levels, as this can reduce its effectiveness.
Cleaning the Ionizer
Regularly vacuuming the ionizer will help remove accumulated dust and maintain its optimal performance. As a user of the Enviracaire air purifier, I have found that cleaning the ionizer is an essential part of maintaining its efficiency. Here are four steps to effectively clean the ionizer:
-
Turn off the air purifier and unplug it from the power source to ensure safety during the cleaning process.
-
Locate the ionizer plate, which is usually located behind the pre-filter or near the fan.
-
Carefully remove the ionizer plate by following the manufacturer’s instructions. Be cautious not to damage the delicate wires or components.
-
Use a soft brush or a vacuum cleaner with a brush attachment to gently remove the dust and debris from the ionizer plate. Make sure to clean both sides thoroughly.
Cleaning the Fan and Motor
When it comes to maintaining your fan, there are several key points to keep in mind.
First, I’ll provide you with some fan maintenance tips that will help prolong the lifespan of your fan.
Next, I’ll discuss motor cleaning techniques, which are essential for keeping your fan running smoothly.
Lastly, I’ll explain how ensuring optimal performance is crucial for maximizing the efficiency of your fan.
Fan Maintenance Tips
To keep your fan running smoothly, make sure you clean it regularly. Here are some fan maintenance tips to help you prevent fan damage:
-
Dusting: Use a soft cloth or brush to gently remove dust from the fan blades and grill. Avoid using water or harsh chemicals that could damage the fan.
-
Vacuuming: Use a small brush attachment on your vacuum cleaner to remove any stubborn dust or debris from the fan blades and motor.
-
Lubrication: Check your fan’s user manual for instructions on lubricating the motor. Proper lubrication can help reduce friction and extend the life of your fan.
-
Inspecting: Regularly inspect your fan for any signs of damage or wear and tear. Look for loose screws, worn-out wires, or any other issues that could affect its performance.
Motor Cleaning Techniques
One way to keep your fan motor running smoothly is by using a soft cloth or brush to gently remove dust from the blades and grill. Regular motor maintenance is essential to ensure optimal performance and longevity.
Here are some troubleshooting techniques to keep your motor in top shape. First, check for any loose or damaged wires and connections. Tighten or replace as necessary.
Next, lubricate the motor bearings with a few drops of oil to reduce friction and noise. Additionally, inspect the motor capacitor for signs of damage or leakage. If needed, replace it to prevent motor failure.
Ensuring Optimal Performance
After cleaning the motor, it’s important to ensure that your Enviracaire air purifier is performing optimally. To achieve this, follow these steps:
-
Clean the filters regularly: Dirty filters can hinder the airflow and reduce the efficiency of the air purifier. Remove and clean both the pre-filter and HEPA filter according to the manufacturer’s instructions.
-
Check the fan blades: Over time, dust and debris can accumulate on the fan blades, causing them to spin less efficiently. Wipe them gently with a soft cloth to remove any buildup.
-
Inspect the air vents: Blocked air vents can restrict the airflow and reduce the purifier’s effectiveness. Regularly check and remove any obstructions, such as dust or pet hair, from the vents.
-
Troubleshoot common issues: If you notice any unusual noises, error codes, or a decrease in performance, consult the user manual or contact customer support for troubleshooting guidance.
By following these optimal cleaning techniques and troubleshooting common issues, you can maintain the performance of your Enviracaire air purifier.
Now, let’s move on to reassembling the air purifier.
Reassembling the Air Purifier
Before starting, make sure you have all the necessary pieces to reassemble the air purifier. Reassembling an air purifier may seem daunting, but with the right techniques and troubleshooting tips, it can be a breeze. To help you visualize the process, here is a table outlining the steps:
| Step | Technique | Troubleshooting |
|---|---|---|
| 1 | Clean filters | Check for clogs or damage |
| 2 | Reattach filters | Ensure proper alignment |
| 3 | Connect fan motor | Securely tighten screws |
| 4 | Attach control panel | Double-check wiring connections |
When reassembling, always refer to the manufacturer’s instructions for specific guidance. Make sure to clean the filters thoroughly and inspect them for any issues. When attaching the filters, ensure they are aligned correctly to maintain optimal performance. Additionally, pay attention to the fan motor and control panel connections, ensuring they are securely attached. By following these reassembling techniques and troubleshooting tips, you can successfully put together your air purifier and enjoy clean and fresh air in your space.
Maintenance Tips for Long-lasting Performance
Now that we have successfully reassembled the air purifier, let’s talk about some maintenance tips to ensure its long-lasting performance. Taking care of your Enviracaire air purifier is crucial not only for its efficiency but also for preventing air pollution and reducing allergies.
Here are some essential maintenance tips:
-
Regularly clean the pre-filter: The pre-filter collects larger particles like dust and pet hair. Cleaning it every 1-2 months will help maintain airflow and prevent clogging.
-
Replace the HEPA filter: The HEPA filter captures small particles, including allergens and pollutants. It’s recommended to replace it every 6-12 months to ensure optimal performance.
-
Clean the exterior: Dust and dirt can accumulate on the exterior of the air purifier, affecting its overall efficiency. Wiping it with a soft cloth regularly will keep it clean and functioning properly.
-
Check the indicator lights: Enviracaire air purifiers often have indicator lights that signal when it’s time to replace the filters. Pay attention to these lights and replace the filters accordingly.
Frequently Asked Questions
Can I Use Any Type of Cleaning Solution to Clean the Filters?
I can use various cleaning solutions to clean the filters of my Enviracaire Air Purifier. However, it is important to follow proper cleaning techniques to ensure effective and safe maintenance.
How Often Should I Clean the Ionizer?
To clean the ionizer effectively and maintain its performance, I recommend following the manufacturer’s instructions. Regular cleaning is essential for optimal functioning, but the frequency may vary depending on usage and environmental conditions.
Is It Safe to Use the Air Purifier Without the Outer Cover?
It is not safe to use the air purifier without the outer cover. The outer cover provides protection and prevents dust and debris from entering the purifier, ensuring optimal performance and prolonging its lifespan.
Can I Wash the HEPA Filter With Water?
I can clean the Enviracaire Air Purifier’s HEPA filter with water. It is a proper maintenance method for ensuring the filter’s effectiveness. However, it’s important to follow the manufacturer’s instructions and guidelines for specific cleaning methods.
How Do I Know if I Need to Replace the Carbon Filter?
To check the air quality inside my home, I use a handheld air quality monitor. It measures various pollutants and gives me a clear indication of when it’s time to replace the carbon filter in my Enviracaire Air Purifier.
Conclusion
In conclusion, cleaning the Enviracaire Air Purifier is a crucial task to ensure its optimal performance. By following the steps outlined in this guide, you can maintain a clean and healthy indoor environment.
Remember to prioritize safety precautions and gather the necessary tools before starting the cleaning process.
Pay attention to cleaning the pre-filter, ionizer, fan, and motor thoroughly.
Regular maintenance and cleaning will prolong the lifespan of your air purifier, keeping your air fresh and free from pollutants.
So, let’s get rid of those pesky particles and breathe in the pure air!