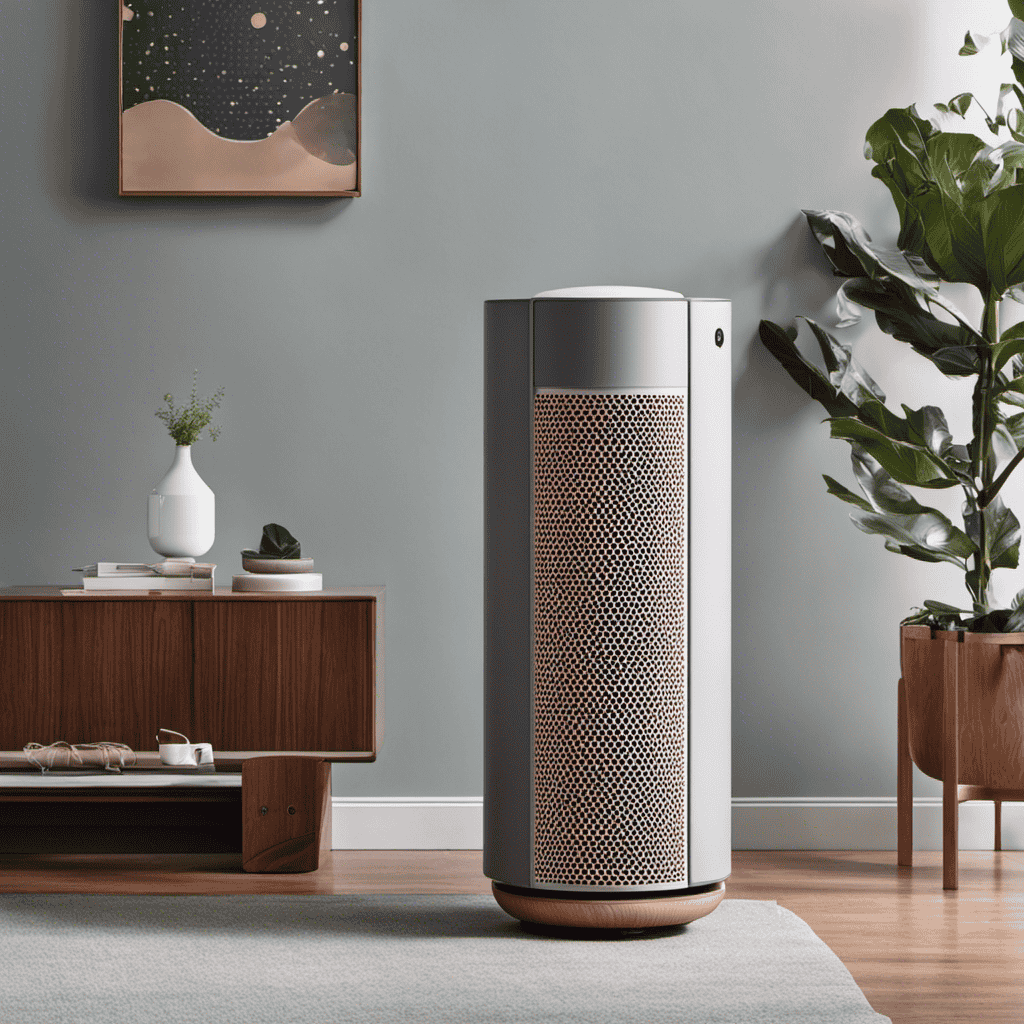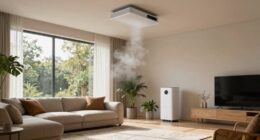
I’ve found the key to keeping the air in my home clean – regularly cleaning the filter on my Homedics air purifier. Believe me when I tell you, this easy yet important chore can have a significant impact on air quality.
By following a few easy steps, I’ll show you how to effectively clean your filter and ensure it’s performing at its best.
So, let’s dive in and unlock the key to fresher, healthier air in our homes.
Key Takeaways
- Regularly cleaning the filter is important for maintaining the effectiveness and efficiency of the Homedics air purifier.
- Cleaning the filter removes pollutants, allergens, and bacteria, improving indoor air quality and promoting a healthier living environment.
- Proper maintenance of the filter prevents dust and debris build-up, prolonging the lifespan of the air purifier and saving money on replacements.
- Regularly assessing the filter’s condition and cleaning it every three to six months, depending on usage and air quality, ensures optimal performance and extends the filter’s lifespan.

DEWALT Drill Bit Set, 3-Flats Shank,14-Piece, 135 Degree Split Point, for Plastic, Wood and Metal (DWA1184)
135 Degree Split point tip design to help reduce walking
As an affiliate, we earn on qualifying purchases.
Understanding the Importance of Cleaning the Filter
Understanding the importance of cleaning the filter is crucial for maintaining the effectiveness of your Homedics air purifier. Regular maintenance is essential to ensure that your air purifier continues to provide clean and healthy air for your home.
A clean air filter plays a vital role in removing harmful pollutants, allergens, and bacteria from the air, improving indoor air quality and promoting a healthier living environment. By regularly cleaning the filter, you can prevent the build-up of dust and debris, which can decrease the efficiency of the purifier over time.
Additionally, clean air filters help prolong the lifespan of your air purifier, saving you money on costly replacements. Overall, the benefits of clean air filters are undeniable, making regular filter maintenance an important aspect of owning a Homedics air purifier.

DEWALT 20V MAX Cordless Drill Driver Set, Electric Drill, Brushless 1/2 In 2 Speed, 2.0 Ah Battery and Charger Included, LED Light (DCD777D1)
DEWALT Power drill brushless motor delivers more run time over brushed
As an affiliate, we earn on qualifying purchases.
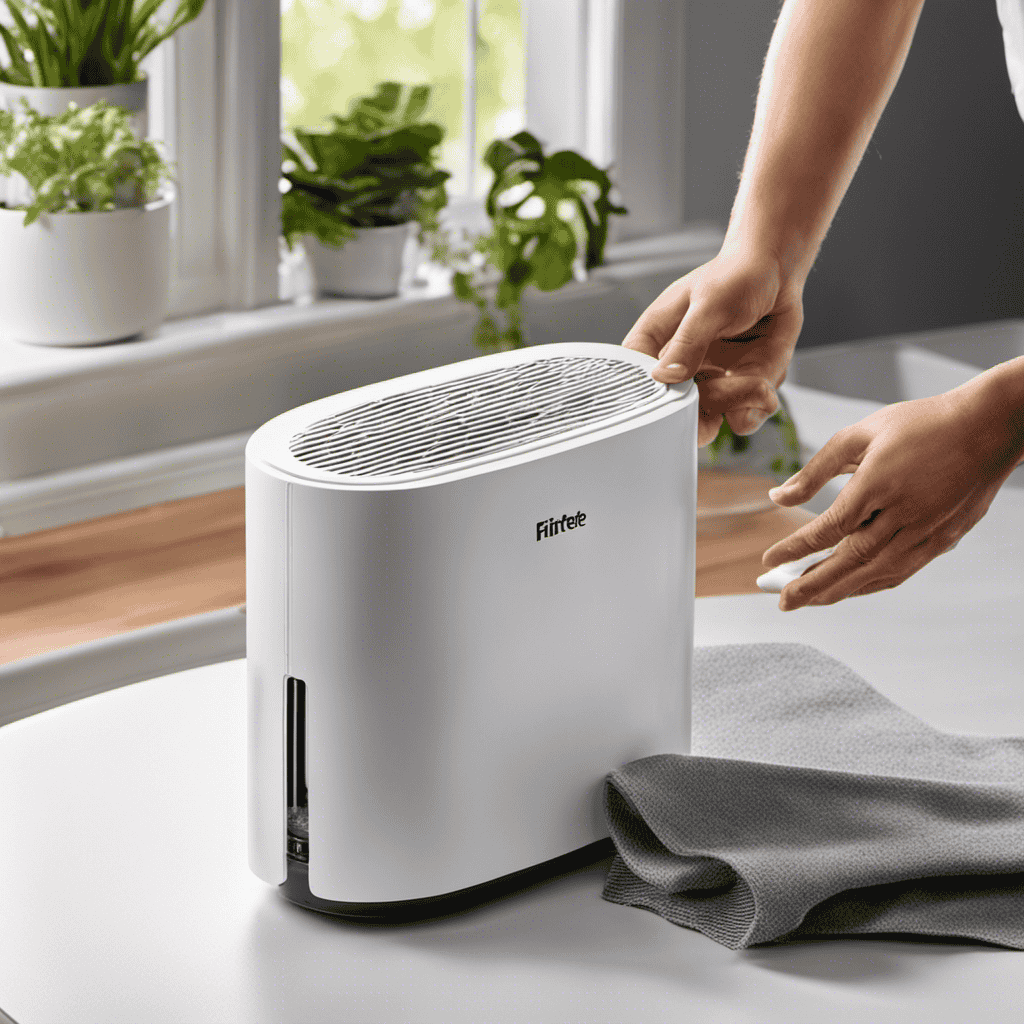
Gathering the Necessary Materials for Cleaning
To start, you’ll need a soft cloth, a vacuum cleaner with a brush attachment, and a bowl of warm soapy water.
Cleaning the filter on your Homedics air purifier is crucial for maintaining its efficiency and prolonging its lifespan. Regularly assessing the filter lifespan is essential to ensure its effectiveness in removing airborne pollutants.
There are alternative cleaning methods available to keep your filter in top condition. One option is using compressed air to blow out the debris from the filter. Another method is soaking the filter in a mixture of warm water and vinegar to remove stubborn dirt and odors.
However, it’s important to follow the manufacturer’s instructions and guidelines when cleaning the filter to avoid damaging it.
Proper maintenance and cleaning will ensure that your Homedics air purifier continues to purify the air effectively and efficiently.

DEWALT 20V MAX 5 Ah Lithium Ion Battery 2-Pack (DCB205-2)
Reliable runtime. DeWalt 20v Max XR battery: take on tough jobs with DEWALT replacement batteries that deliver a...
As an affiliate, we earn on qualifying purchases.
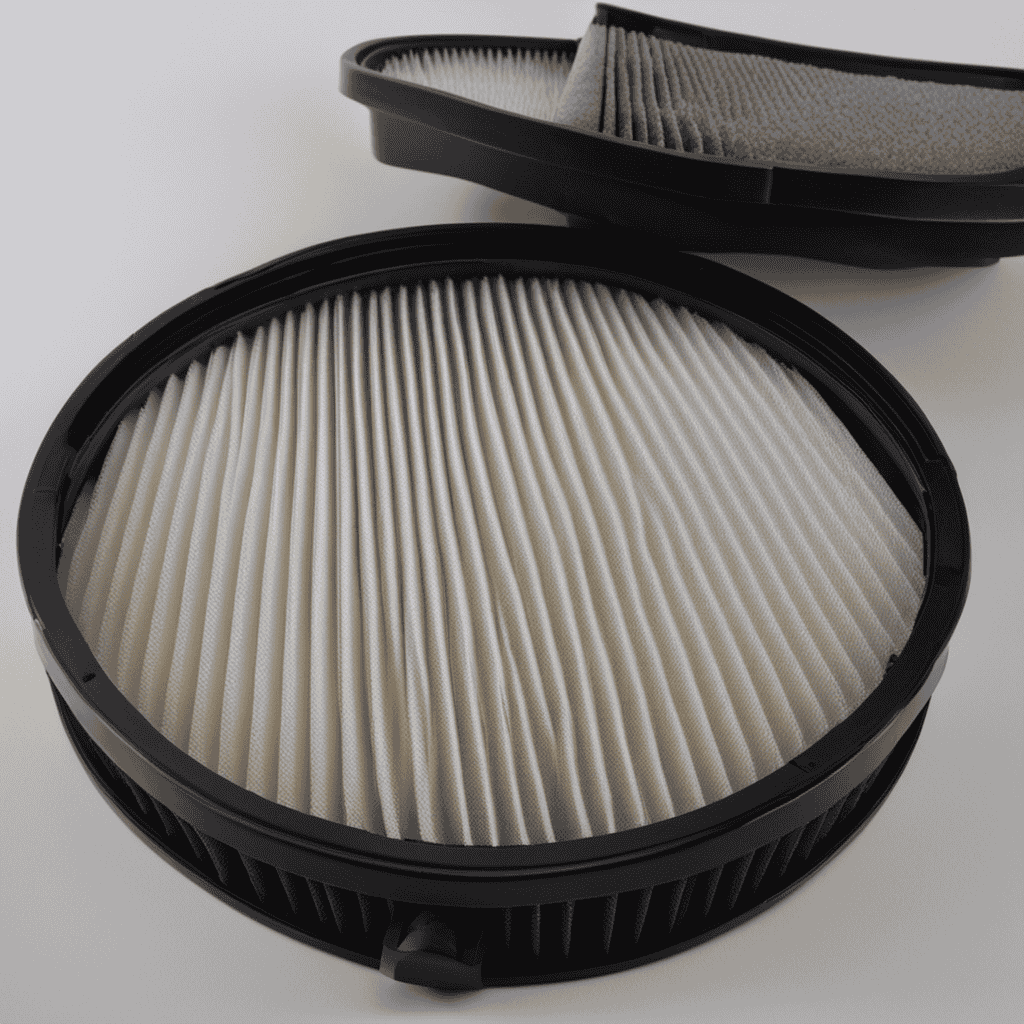
Removing the Filter From the Homedics Air Purifier
When it comes to removing the filter from my Homedics Air Purifier, I have found that following a few simple steps ensures a smooth process.
First, I carefully turn off the unit and unplug it from the power source. Then, I locate the filter compartment, which is usually located at the back or side of the purifier, and open it using the designated latch or button. Once the compartment is open, I gently pull out the filter, being cautious not to damage it.
After removing the filter from my Homedics Air Purifier, I take the time to thoroughly clean it to ensure optimal performance.
I start by using a soft brush or vacuum cleaner to remove any visible dust or debris from the filter. Then, I prepare a mixture of warm water and mild detergent and gently wash the filter in this solution, making sure to fully saturate it. After rinsing the filter with clean water, I let it air dry completely before placing it back into the purifier.
To maintain the efficiency of my Homedics Air Purifier, I have found it beneficial to clean the filter on a regular basis.
While the frequency may vary depending on factors such as air quality and usage, a general guideline is to clean the filter once every two to three months. By following this maintenance schedule, I can ensure that my air purifier continues to effectively remove pollutants and provide clean air for my home.
Filter Removal Steps
First, you’ll need to unplug the Homedics air purifier before attempting to remove the filter. Understanding filter maintenance is crucial to keeping your air purifier running efficiently.
When it comes to troubleshooting common filter issues, it’s important to know how to properly remove the filter. Start by locating the filter compartment on your Homedics air purifier. Open the compartment and carefully take out the filter. Pay attention to any clips or locks that may be securing the filter in place. Gently pull the filter out, making sure not to damage it.
Inspect the filter for any signs of dirt, dust, or debris. If it’s dirty, it’s time to clean or replace it. Cleaning methods may vary depending on the type of filter, so consult your user manual for specific instructions.
Cleaning Process Explained
Once you’ve located the filter compartment, carefully remove the filter and inspect it for any dirt or debris. Understanding the cleaning process is essential for maintaining the lifespan of your Homedics air purifier’s filter. Here are some tips to help you extend the filter’s lifespan:
-
Gently tap the filter to remove loose particles. This will help dislodge any trapped dirt or debris.
-
Rinse the filter under cold water to remove stubborn dirt. Avoid using hot water as it can damage the filter.
-
Use a soft brush or sponge to gently scrub the filter. This will help remove any remaining dirt or stains.
-
Allow the filter to air dry completely before reinstalling it. Make sure it is completely dry to prevent mold or mildew growth.
Maintenance Frequency Recommendations
To maintain the longevity of your device, it’s important to regularly check and clean the filter. Proper maintenance is crucial to ensure optimal performance and efficiency of your Homedics air purifier.
Cleaning the filter at recommended intervals will help remove trapped particles and maintain the air quality in your home. Neglecting filter maintenance can lead to common filter issues such as reduced airflow, decreased filtration efficiency, and even potential damage to the device.
It is recommended to clean the filter every three to six months, depending on the usage and air quality in your environment. Additionally, it is important to follow the manufacturer’s instructions for cleaning and replacement to ensure proper functioning of your air purifier.
Regular maintenance of the filter will help prolong the lifespan of your device and ensure clean and fresh air in your home.

Rubbermaid Brilliance 16-Cup Airtight Food Storage Container with Lid Clear/Grey - optimal for pantry organization flour sugar and food storage
Modular Design: Rubbermaid Storage Containers are compact and stackable, optimizing your kitchen storage space.
As an affiliate, we earn on qualifying purchases.
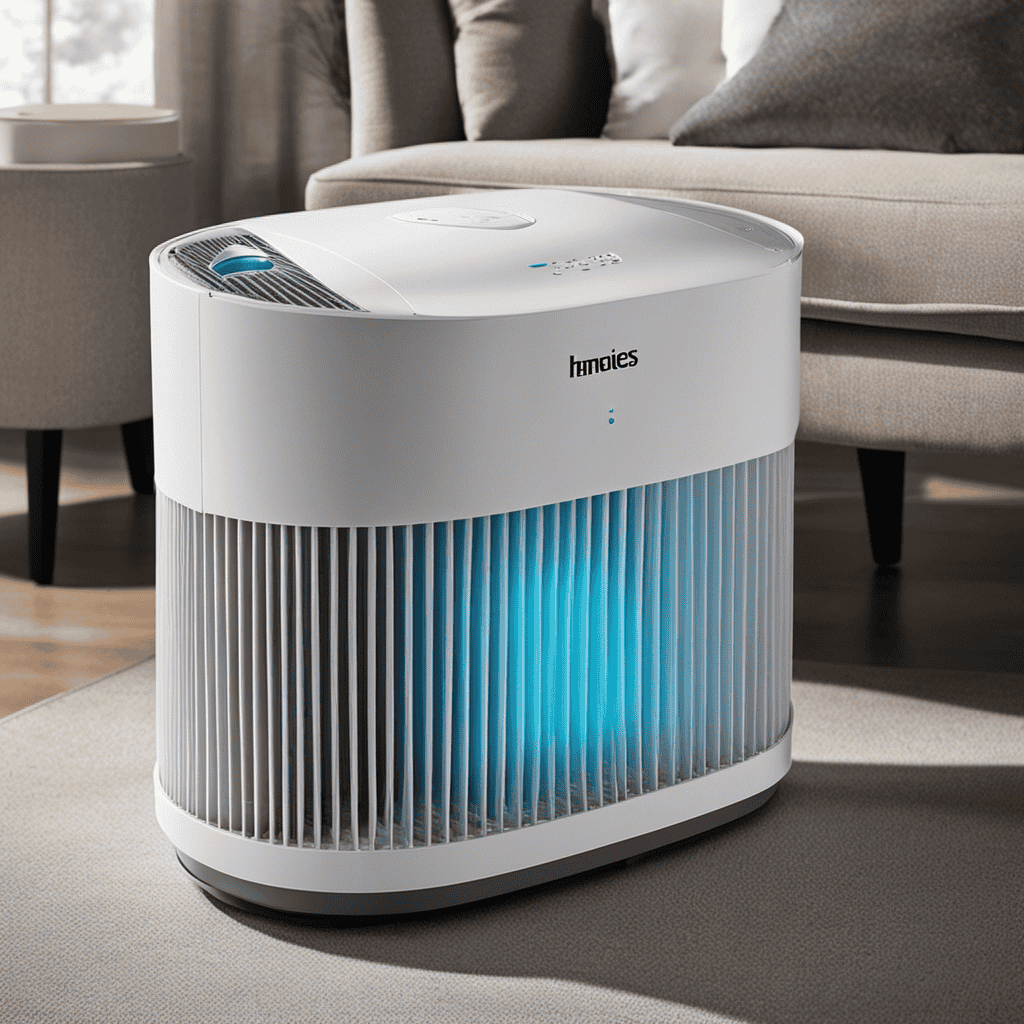
Assessing the Condition of the Filter
When it comes to maintaining the performance of my Homedics air purifier, I understand the importance of regularly assessing the condition of the filter.
Signs of filter deterioration can include a decrease in air flow, a noticeable decrease in air quality, and an increase in dust or allergens in the surrounding area.
To check for clogs, I typically inspect the filter for any visible dirt or debris and use a flashlight to look for any signs of blockage.
Signs of Filter Deterioration
If you notice any signs of filter deterioration, such as a decrease in air quality or a musty odor, it may be time to clean the filter on your HoMedics air purifier. Assessing the condition of the filter is crucial in maintaining its efficiency and prolonging its lifespan.
Here are four signs that indicate your filter needs cleaning:
-
Reduced Airflow: If you notice a decrease in the amount of air coming out of your air purifier, it could be a sign of a clogged or dirty filter. Cleaning it will restore proper airflow.
-
Dust Accumulation: If you see a buildup of dust on the surface of the filter, it means the filter is no longer effectively trapping particles. Cleaning it will improve its filtration capabilities.
-
Unpleasant Odor: A musty or stale smell coming from your air purifier indicates that the filter is dirty and needs cleaning. Eliminating the odor will improve air quality.
-
Increased Noise: If your air purifier starts making more noise than usual, it could be due to a clogged filter obstructing airflow. Cleaning it will reduce the noise and restore optimal performance.
Checking for Clogs
Check the surface of your filter for any visible dust accumulation. This is an important step in troubleshooting filter issues and checking for obstructions.
Dust accumulation can hinder the performance of your air purifier and reduce its effectiveness in removing pollutants from the air. Take a close look at the filter and inspect it for any clogs or blockages. If you notice a significant amount of dust or debris on the surface, it is a clear indication that the filter needs to be cleaned.
Cleaning the filter regularly is essential to maintain its efficiency and prevent any potential damage to the air purifier. Once you have identified any obstructions, you can move on to choosing the right cleaning method for your filter.
Choosing the Right Cleaning Method for Your Filter
To choose the right cleaning method for your filter, you’ll need to consider its type and condition. Proper filter maintenance is crucial for ensuring optimal air quality and the longevity of your air purifier.
Here are four key factors to consider when selecting a cleaning method:
-
Filter type: Different filters require different cleaning techniques. For example, a HEPA filter may require gentle vacuuming or rinsing, while a carbon filter may need to be replaced altogether.
-
Filter condition: If your filter is heavily soiled or damaged, it may be more effective to replace it rather than attempt to clean it. Regularly inspect your filter for signs of wear and tear.
-
Manufacturer’s recommendations: Check the user manual or the manufacturer’s website for specific cleaning instructions. They often provide guidance on the best cleaning methods for your particular filter model.
-
Frequency of cleaning: The frequency at which you clean your filter depends on various factors, such as the air quality in your home and the manufacturer’s recommendations. Regular cleaning is essential for maintaining optimal performance.
Cleaning the Filter With Water and Mild Detergent
Cleaning the filter with water and a mild detergent is a simple and effective way to remove dirt and debris. Regular filter cleaning is essential for maintaining the effectiveness and efficiency of your air purifier.
It not only helps to extend the lifespan of the filter but also ensures that it continues to function optimally in capturing airborne pollutants. Assessing filter effectiveness is crucial in determining when it needs to be cleaned.
A dirty filter can restrict airflow and reduce the purifier’s ability to remove contaminants from the air. By regularly cleaning the filter, you can improve the overall air quality in your home or office, reducing the risk of respiratory issues and allergies.
Using Compressed Air to Remove Dust and Debris
When it comes to removing dust and debris from electronics, one method that stands out for its effectiveness is using compressed air.
This method not only ensures thorough dust removal, but also keeps your electronics safe from any potential damage.
Plus, it’s a quick and easy process that can be done in no time, allowing you to get back to enjoying your devices without any hassle.
Effective Dust Removal
Using an air purifier with a HEPA filter is a must for effective dust removal in your home. Here are four key considerations when assessing dust accumulation and choosing the appropriate cleaning method:
-
Frequency: Regularly assess the amount of dust in your home to determine how often you need to clean the filter. Higher dust levels may require more frequent cleaning.
-
Filter type: Make sure your air purifier has a HEPA filter, as it is designed to capture small particles and allergens effectively.
-
Cleaning method: Follow the manufacturer’s instructions for cleaning the filter. Some filters can be vacuumed, while others may require washing or replacement.
-
Maintenance schedule: Create a regular maintenance schedule to ensure your air purifier operates at its best. This includes cleaning or replacing the filter as needed.
By following these steps, you can effectively remove dust from your home and create a cleaner and healthier living environment.
Transitioning into the next section about the impact of dust on electronic devices, it is important to consider their safety.
Safe for Electronics
To ensure your electronics are protected from dust, it’s essential to choose an air purifier with a HEPA filter. These filters are designed to capture even the smallest particles, including dust and other allergens, ensuring the air in your home is clean and safe for your electronics. Regularly cleaning the filter on your air purifier is also crucial for maintaining its effectiveness. By following the proper cleaning techniques, you can ensure that your air purifier continues to provide optimal protection for your electronics. Here is a table summarizing the recommended cleaning techniques for different types of air purifier filters:
| Filter Type | Cleaning Technique |
|---|---|
| HEPA | Vacuum or wash |
| Carbon | Replace |
| Electrostatic | Wash or vacuum |
| UV | Replace bulb |
| Pre-filter | Vacuum or wash |
Quick and Easy
Now that we know how to safely clean our Homedics air purifier without damaging any electronics, let’s move on to some quick and easy maintenance tips. Follow this troubleshooting guide to ensure your air purifier continues to work efficiently:
- Regularly check the filter indicator light to know when it’s time to clean the filter.
- Unplug the unit before cleaning to avoid any electrical hazards.
- Gently remove the filter from the unit and give it a thorough vacuuming to remove larger particles.
- If the filter is heavily soiled, it may need to be replaced. Refer to the user manual for instructions on purchasing and installing a new filter.
By following these maintenance tips, you can keep your Homedics air purifier in top-notch condition, ensuring that it effectively removes pollutants from your indoor air.
Now, let’s move on to vacuuming the filter to remove larger particles.
Vacuuming the Filter to Remove Larger Particles
First, you’ll want to grab your vacuum and gently suction the filter to remove any larger particles. This vacuuming technique is an effective way to clean your Homedics air purifier filter.
The filter plays a crucial role in capturing and trapping airborne particles, such as dust, pollen, and pet dander. Regular cleaning is essential to maintain the filter’s performance and prolong its lifespan.
While vacuuming is a popular method, there are also alternative cleaning methods available. For example, you can rinse the filter under running water or use a soft brush to remove the dust. However, it’s important to follow the manufacturer’s instructions and recommendations when choosing an alternative cleaning method.
Remember to always check the filter’s condition and clean it regularly to ensure optimum air purification efficiency.
Preparing the Filter for Reinstallation
Make sure you handle the filter with care to avoid any damage during the reinstallation process.
Assessing the filter lifespan is an important step in maintaining the efficiency of your Homedics air purifier.
Here are four steps to prepare the filter for reinstallation:
-
Remove the filter from the air purifier: Carefully open the front cover of the air purifier and locate the filter. Gently pull it out, being mindful not to shake it or touch the trapped pollutants.
-
Inspect the filter: Take a close look at the filter to assess its condition. Look for any signs of damage or excessive dirt buildup. If the filter is torn or heavily soiled, it may need to be replaced.
-
Clean the filter: Use a soft brush or vacuum cleaner with a brush attachment to remove the trapped pollutants from the filter. Make sure to clean both sides thoroughly to maximize its performance.
-
Allow the filter to dry: After cleaning, let the filter air dry completely before reinstalling it. This will prevent any moisture from causing mold or mildew growth.
By following these steps, you can ensure that your Homedics air purifier is equipped with a clean and effective filter, ready to remove pollutants from your indoor air.
Now, let’s move on to the next section and learn how to reinstall the cleaned filter into the Homedics air purifier.
Reinstalling the Cleaned Filter Into the Homedics Air Purifier
After thoroughly inspecting and cleaning the filter, it is time to reinstall it back into your Homedics air purifier. Reinstalling the filter is a straightforward process that requires following a few simple steps.
First, locate the filter compartment on your air purifier. It is usually located at the back or side of the unit. Open the compartment and carefully slide the cleaned filter back into place. Make sure it fits snugly and securely.
Once the filter is in place, close the compartment and ensure that it is properly sealed. To troubleshoot any issues during reinstallation, double-check that the filter is inserted correctly and that the compartment is closed properly.
If the air purifier does not turn on or the airflow seems weak after reinstalling the filter, consult the user manual or contact Homedics customer support for further assistance.
What is the best way to clean the filter on a Homedics air purifier?
To clean a HEPA air purifier filter by Homedics, start by unplugging the unit and removing the filter. Use a soft brush or vacuum to remove dust and debris. Gently wash the filter with water and let it dry completely before reinstalling. Replace the filter every 6-12 months for optimal performance.
Maintaining Regular Cleaning Schedule for Optimal Performance
To ensure optimal performance, you should regularly maintain a cleaning schedule for your Homedics air purifier. Assessing the cleaning frequency is crucial to keep your air purifier running efficiently. Here are four points to consider:
-
Check the manufacturer’s recommendations: Homedics provides guidelines on how often you should clean your air purifier. Follow their suggestions to ensure proper maintenance.
-
Monitor the air quality: If you live in a highly polluted area or have pets, you might need to clean your air purifier more frequently. Assess the air quality to determine the cleaning frequency that suits your needs.
-
Inspect the filter and pre-filter: Regularly examine the filter and pre-filter for dirt, dust, and debris. If they are visibly dirty or clogged, it’s time for a cleaning.
-
Consider alternative cleaning methods: In addition to the manufacturer’s instructions, you can explore alternative methods such as vacuuming or rinsing the filters. However, make sure to research and follow proper techniques to avoid damaging the filters or compromising air purification effectiveness.
Frequently Asked Questions
How Often Should I Clean the Filter on My Homedics Air Purifier?
I clean the filter on my Homedics air purifier every three months to ensure proper maintenance. Regular cleaning helps extend the lifespan of the filter and improves the air quality in my home.
Can I Use Any Type of Detergent to Clean the Filter?
I wouldn’t recommend using any type of detergent to clean the filter on a Homedics air purifier. It’s best to stick to the manufacturer’s instructions and use the recommended cleaning methods and solutions.
Is It Necessary to Remove the Filter From the Air Purifier Before Cleaning?
Removing the filter from the air purifier before cleaning is recommended. It ensures a thorough and effective cleaning process. While it may be tempting to clean the filter while it’s still in the purifier or vacuum it, these methods may not remove all the dirt and particles.
Can I Wash the Filter in a Dishwasher?
I wouldn’t recommend washing the filter in a dishwasher as it may damage it. However, you can check the manufacturer’s instructions to see if it’s dishwasher safe. If not, there are alternative cleaning methods available.
How Do I Know if the Filter Is Damaged and Needs to Be Replaced?
If you notice reduced airflow, increased dust or odors, or if the filter appears torn or discolored, these are signs of a damaged air filter that needs replacing. Regular cleaning and maintenance can help prolong its lifespan.
Conclusion
After thoroughly cleaning the filter on my Homedics air purifier, I was amazed at the transformation. It was like a breath of fresh air, both literally and figuratively.
The once clogged and dirty filter now gleamed with renewed vitality. I could almost see the particles being whisked away, leaving behind only clean and crisp air.
It was a reminder of the importance of regular maintenance and the impact it can have on the performance of our air purifiers. So, let us not forget to clean our filters regularly, ensuring that our homes remain a sanctuary of fresh and pure air.