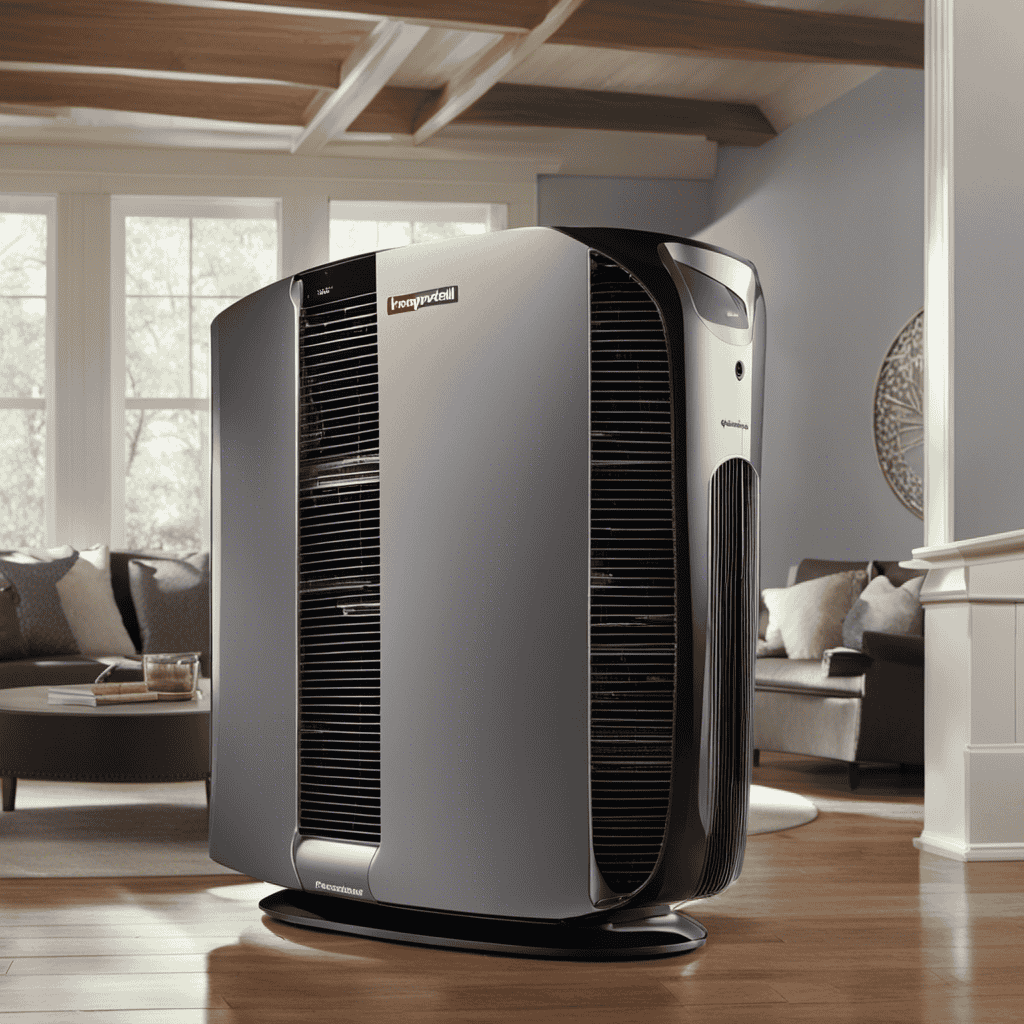
I’ve recently noticed that my air purifier isn’t working as efficiently as it used to, and I suspect it’s due to the gunk that has accumulated inside. Cleaning it properly is essential to ensure optimal performance and maintain a healthy living environment.
In this article, I will guide you through the step-by-step process of disassembling, cleaning, and reassembling your air purifier. By following these instructions, you’ll be able to remove the gunk and restore your air purifier to its full functionality.
Key Takeaways
- Regular maintenance is important to prevent gunk buildup in the air purifier and avoid potential consequences such as reduced airflow, strange noises, and decreased effectiveness.
- Gathering the necessary cleaning supplies, such as a soft-bristle brush, vacuum cleaner with brush attachment, mild dish soap or specialized cleaning solution, and a clean cloth or microfiber cloth, is essential for effective cleaning.
- Proper handling and disposal of removed gunk is crucial to prevent the release of allergens or pollutants, and it is recommended to use air purifier-specific cleaning solutions.
- The step-by-step process of disassembling the air purifier, thoroughly cleaning and removing gunk from filters and components, and reassembling and testing the air purifier ensures optimal performance and functionality.
Understanding the Importance of Regular Maintenance
You should understand the importance of regular maintenance for your air purifier to keep it running efficiently.
One of the main reasons for maintenance is to prevent gunk buildup in the unit. Gunk, which can consist of dust, dirt, and other particles, can accumulate over time and hinder the performance of your air purifier. It can also lead to unpleasant odors and decreased air quality.
To prevent gunk buildup, it is recommended to clean or replace the filters regularly, as they are the primary defense against airborne particles. Additionally, keeping the surrounding area clean and dust-free can minimize gunk accumulation.
Common signs of gunk buildup include reduced airflow, strange noises, and a decrease in the purifier’s effectiveness.
Regular maintenance will ensure that your air purifier functions optimally and provides you with clean and fresh air.
Gathering the Necessary Cleaning Supplies
Before starting, make sure you have all the necessary supplies for cleaning. Here’s a list of essential items you’ll need:
-
A soft-bristle brush: This will help you remove dust and dirt from the air purifier’s filters without causing any damage.
-
A vacuum cleaner with a brush attachment: Use this to suck up loose debris and dirt that may have accumulated inside the air purifier.
-
Mild dish soap or a specialized air purifier cleaning solution: It’s important to choose the right cleaning solution to ensure that it effectively removes the gunk without causing any harm to the filters or other components.
-
A clean cloth or microfiber cloth: This will be used to wipe down the exterior of the air purifier and remove any remaining dirt or cleaning solution residue.
When choosing the cleaning solution, opt for one that is specifically designed for air purifiers. Additionally, it’s crucial to handle and dispose of the removed gunk properly. Make sure to seal it in a bag before throwing it away to prevent any allergens or pollutants from being released back into the air.
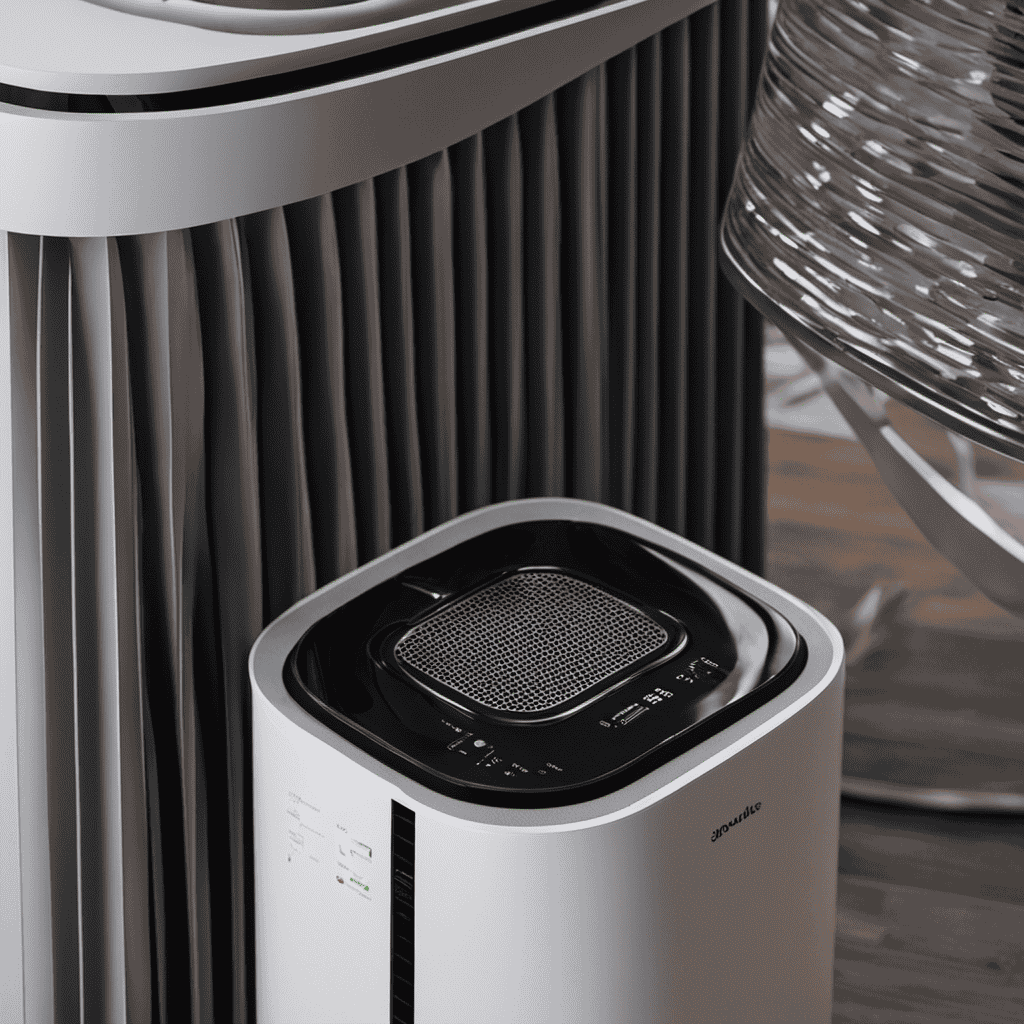
Step-by-Step Guide to Disassembling the Air Purifier
To begin disassembling your air purifier, start by unplugging it from the power source. This ensures your safety and prevents any potential electrical accidents.
Once the air purifier is unplugged, you can proceed with the disassembly process. Follow these steps to effectively disassemble your air purifier:
-
Remove the front cover: Most air purifiers have a removable front cover that can be easily taken off. Refer to the user manual for specific instructions on how to remove the front cover.
-
Access the filters: After removing the front cover, you will be able to access the filters. These filters are responsible for capturing and eliminating airborne particles.
-
Clean or replace the filters: Depending on the condition of the filters, you can either clean them or replace them with new ones. Refer to the user manual for instructions on how to properly clean or replace the filters.
-
Check for any loose connections: While the air purifier is disassembled, it’s a good idea to inspect the internal components for any loose connections. This can help troubleshoot common issues such as poor performance or strange noises.
-
Reassemble the air purifier: Once you have finished cleaning or replacing the filters and checking for any loose connections, it’s time to reassemble the air purifier. Follow the reverse steps of disassembly to put it back together.
Thoroughly Cleaning and Removing Gunk From Filters and Components
Once the front cover is removed, it’s important to carefully inspect the filters and components for any buildup or debris. Here’s how you can thoroughly clean and remove gunk from your air purifier:
-
Remove the filters: Gently detach the filters from the unit and shake off any loose dirt or dust.
-
Wash with natural cleaning solutions: Fill a basin with warm water and mild soap. Immerse the filters and let them soak for a few minutes. Gently scrub away stubborn stains using a soft brush or sponge. Rinse thoroughly and allow them to air dry completely.
-
Clean the components: Using a damp cloth, wipe down the inside of the air purifier, paying special attention to areas with visible gunk or debris. For stubborn stains, create a paste with baking soda and water, apply it to the stain, and gently scrub with a soft brush. Wipe clean with a damp cloth.
-
Reassemble and test: Once everything is dry, reattach the filters and ensure they are securely in place. Put the front cover back on and power on the air purifier to check if it’s working properly.
Reassembling and Testing the Air Purifier for Optimal Performance
After drying the components and filters thoroughly, I make sure to securely reassemble everything and test the air purifier to ensure it is working optimally.
Here are some reassembling tips to help you get started.
First, refer to the manufacturer’s instructions to ensure you are putting everything back in the right place. Pay close attention to any specific order or alignment requirements.
Double-check that all connections are tight and secure, and that there are no loose or missing screws.
Once reassembled, it’s time to troubleshoot common issues. If the air purifier doesn’t turn on, check the power source and make sure it’s properly connected. If it’s still not working, it could indicate a more serious problem, and you may need to contact customer support for further assistance.
Frequently Asked Questions
How Often Should I Clean My Air Purifier?
I clean my air purifier filters every 3 months to keep it running efficiently. It’s important to follow the manufacturer’s instructions and best practices for maintaining an air purifier to ensure optimal performance and air quality.
Can I Use Regular Household Cleaning Products to Clean My Air Purifier?
Yes, regular household cleaning products can be used to clean an air purifier. However, it is important to follow the manufacturer’s guidelines and use appropriate cleaning methods. Some alternative cleaners may also be effective.
Is It Safe to Clean the Filters With Water?
Yes, it’s safe to clean air purifier filters with water. However, there are alternative cleaning methods to consider. Using water has pros (easy, inexpensive) and cons (potential damage, longer drying time).
What Should I Do if I Can’t Remove All the Gunk From the Components?
If I can’t remove all the gunk from my air purifier components, troubleshooting tips and alternative cleaning methods can be helpful. It’s important to follow manufacturer’s instructions and consider using specialized cleaning products.
Can I Clean the Air Purifier While It Is Still Plugged In?
Can I clean my air purifier while it’s plugged in? No, it’s important to unplug the device before cleaning to avoid electric shock. There are alternative cleaning methods available that can help remove gunk effectively.
Conclusion
In conclusion, regular maintenance of your air purifier is crucial to ensure optimal performance and clean air quality in your home. By following the step-by-step guide provided, you can easily disassemble, clean, and reassemble your air purifier, removing any gunk and dirt that may have accumulated over time.
It is recommended to clean the filters and components every 3-6 months, depending on usage. Did you know that a dirty air purifier can reduce its efficiency by up to 50%? So, make sure to regularly clean your air purifier to maintain its effectiveness in purifying the air.