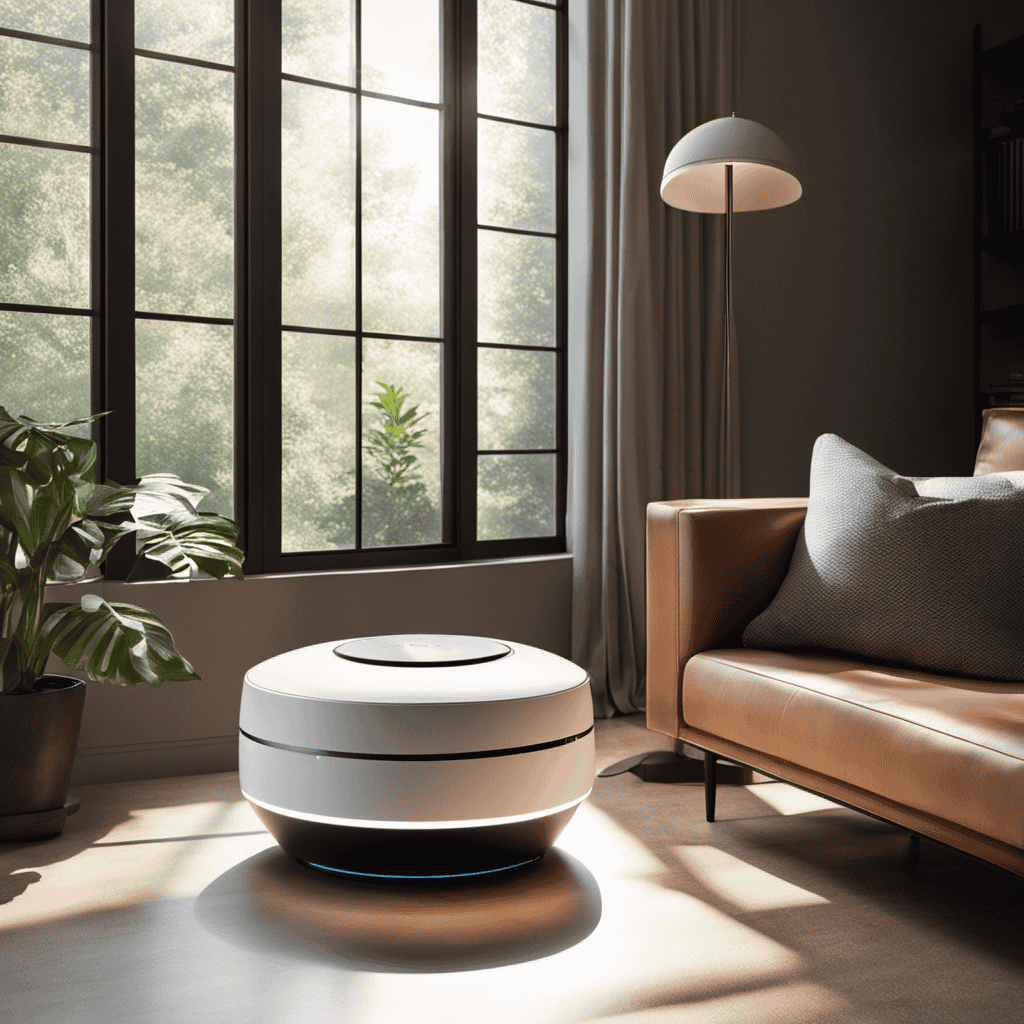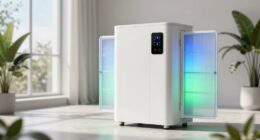
Worried about the air I breathe at home, I rolled up my sleeves and built a HEPA air purifier myself.
In this article, I will guide you through the step-by-step process of building your own air purifier using a HEPA filter. By following these instructions, you’ll not only save money, but also ensure that the air you and your loved ones breathe is clean and free from harmful pollutants.
Let’s get started!
Key Takeaways
- HEPA filters remove 99.97% of particles as small as 0.3 microns
- Choosing the right HEPA filter involves considering size, efficiency rating, and cost effectiveness
- Building the housing of the HEPA air purifier involves determining the size, selecting suitable materials, and ensuring a secure locking mechanism
- Installing and securing components requires optimal filter placement, tight and secure connections, and use of adhesive and seals for extra sealing
Understanding the Importance of Air Purification
You need to understand the importance of air purification in order to effectively make your own HEPA air purifier.
HEPA filters, or High Efficiency Particulate Air filters, are known for their ability to remove 99.97% of particles as small as 0.3 microns from the air. This means that HEPA air purifiers can effectively remove common pollutants and allergens such as dust, pollen, pet dander, mold spores, and even bacteria and viruses.
By using HEPA filters in your air purifier, you can greatly improve the quality of air in your home, which can have numerous benefits for your health. Clean air can reduce respiratory symptoms, alleviate allergies, and even improve sleep quality.
Additionally, air purification systems can help eliminate unpleasant odors and create a more comfortable living environment.
Selecting the Right HEPA Filter for Your DIY Air Purifier
When selecting the right HEPA filter for your DIY air purifier, it’s important to consider the size and efficiency rating of the filter. HEPA filters come in different options, each with varying levels of filtration efficiency and cost.
The efficiency rating of a HEPA filter determines its ability to capture particles of different sizes. The higher the efficiency rating, the more effective the filter is in removing airborne pollutants. However, it’s essential to strike a balance between filtration efficiency and cost effectiveness.
While higher efficiency filters provide better air purification, they can be more expensive. It’s crucial to assess your specific needs and budget to find the right HEPA filter option that offers both effective filtration and cost efficiency for your DIY air purifier.
Gathering the Necessary Materials and Tools
When it comes to creating your own DIY HEPA air purifier, there are a few key points to consider.
First, you will need to gather the required materials, which include a HEPA filter, a fan, and a housing unit.
Second, having the essential tools for assembly is crucial, such as a screwdriver, pliers, and wire cutters.
Lastly, by ensuring you have all the necessary materials and tools, you can confidently proceed with the construction of your DIY HEPA air purifier.
Required Materials for DIY HEPA
To make your own HEPA air purifier, you’ll need a fan, a HEPA filter, and tape. Here’s a list of the materials required for this DIY project:
-
Fan: Choose a fan with adjustable speed settings to control the airflow according to your needs. You can purchase one from hardware stores or online retailers.
-
HEPA Filter: Look for a high-quality HEPA filter that is designed to capture tiny particles like pollen, dust, and pet dander. Consider buying options from reputable brands to ensure efficiency.
-
Tape: Use adhesive tape, such as duct tape or electrical tape, to secure the HEPA filter to the fan. Make sure it forms a tight seal to prevent air leakage.
-
Cost Estimation: The cost of the materials may vary depending on the brand and quality. On average, a fan can range from $20 to $50, a HEPA filter can cost around $10 to $30, and tape is relatively inexpensive.
Essential Tools for Assembly
By gathering the necessary materials and using tape, you can easily assemble your DIY HEPA air purifier. To successfully assemble the air purifier, you will need the following essential tools:
| Tools | Purpose |
|---|---|
| Screwdriver | For unscrewing and securing components |
| Pliers | To hold and manipulate small parts |
| Scissors | For cutting and shaping materials |
| Tape measure | To ensure accurate measurements |
| Wire cutters | For cutting and stripping wires |
| Hot glue gun | To secure components and prevent movement |
| Soldering iron | For joining electrical components |
| Safety goggles | To protect your eyes from debris and fumes |
| Mask | To prevent inhalation of dust and particles |
These tools will be instrumental in the assembly process, ensuring that all components are securely connected and functioning properly. Having them on hand will make the process smoother and more efficient. Remember to follow the instructions carefully and take necessary precautions to ensure your safety.
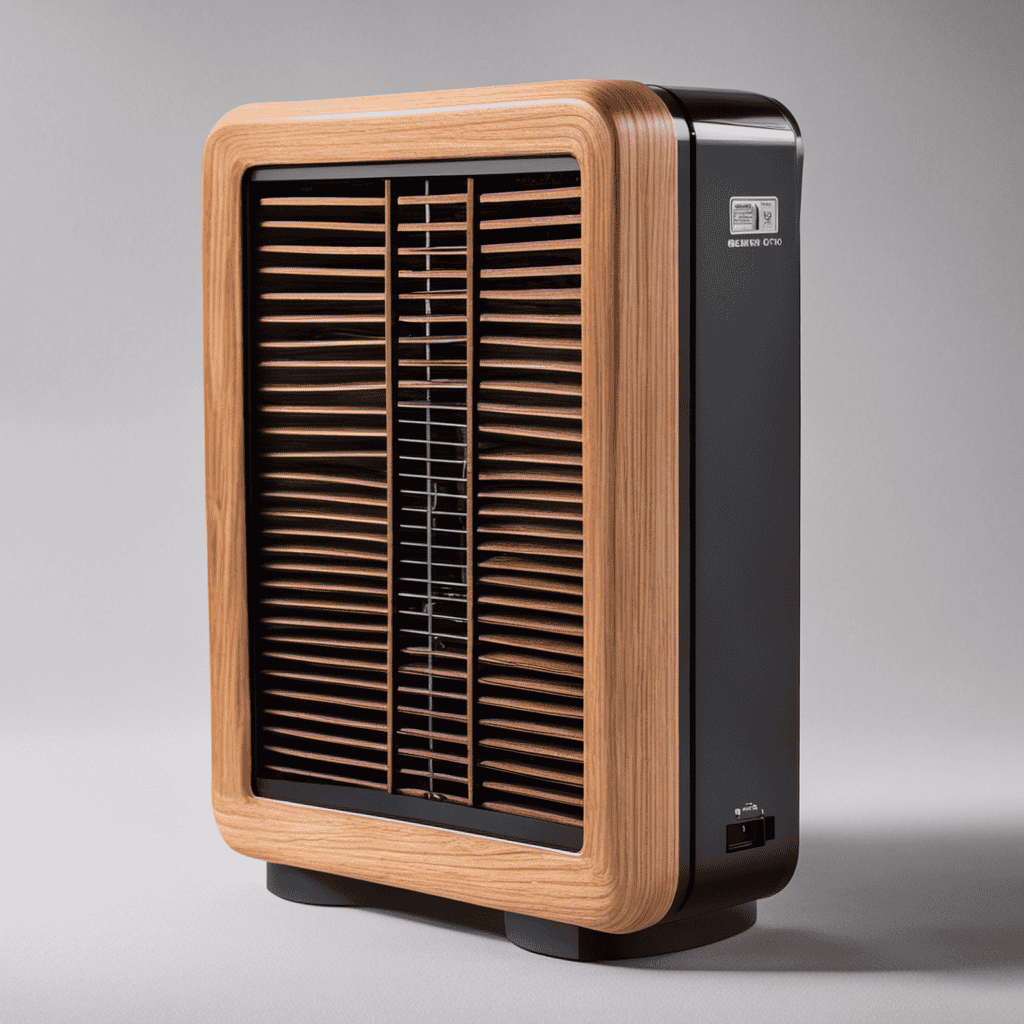
Building the HEPA Air Purifier Housing
For the HEPA air purifier housing, you’ll need to gather the necessary materials and measure the dimensions of the filter. Building the housing requires careful attention to detail and adherence to safety precautions. Here are the essential steps to follow:
-
Determine the size of the HEPA filter by measuring the length, width, and height. This will ensure a snug fit inside the housing.
-
Choose a suitable material for the housing, such as sturdy plastic or metal. Consider factors like durability and ease of cleaning.
-
Use building techniques like cutting, drilling, and fastening to create the housing. Ensure that all edges are smooth and free from sharp points that could cause injury.
-
Install a secure locking mechanism to keep the housing tightly sealed and prevent any air leakage.
Installing the HEPA Filter and Fan System
When it comes to installing the HEPA filter and fan system, two key points to consider are optimal filter placement and fan speed control.
Proper filter placement is crucial for maximum air filtration efficiency, as it ensures that all air passes through the filter before being released back into the room.
Additionally, controlling the fan speed allows for customization of air flow and noise level, ensuring optimal performance and user comfort.
These factors play a significant role in the overall effectiveness and usability of the HEPA air purifier.
Optimal Filter Placement
Placing the filter in the optimal location is crucial for maximizing the effectiveness of your homemade HEPA air purifier. Here are four key considerations for filter placement:
-
Position: Ensure that the filter is placed at the air intake of your DIY air purifier design. This allows it to capture airborne particles effectively.
-
Orientation: Install the filter with the correct side facing the airflow. Most HEPA filters have an arrow indicating the correct direction for airflow. Follow the manufacturer’s instructions to ensure proper installation.
-
Access: Consider filter maintenance when choosing the location. Place the filter where it is easily accessible for regular cleaning or replacement. This ensures the long-term efficiency of your air purifier.
-
Airflow: Optimize the airflow around the filter by avoiding obstructions. Make sure there is enough space for air to circulate freely, allowing the filter to capture pollutants efficiently.
By following these guidelines, you can ensure that your homemade HEPA air purifier functions at its best.
Now, let’s discuss how to control the fan speed for optimal performance.
Fan Speed Control
In order to optimize the performance of your homemade HEPA air purifier, it is important to have control over the fan speed. Adjusting the fan speed allows you to customize the airflow and noise level according to your preferences and needs. By reducing the fan speed, you can enjoy a quieter operation, which is especially beneficial during nighttime or when you want to minimize disruptions in your environment.
To achieve fan speed adjustment, you can incorporate a variable speed controller into your air purifier design. This device allows you to increase or decrease the fan speed easily, giving you the flexibility to find the perfect balance between air purification and noise reduction. By controlling the fan speed, you can ensure that your air purifier operates efficiently and effectively while maintaining a peaceful environment.
Now, let’s move on to the next step: securing and sealing the air purifier components.
Securing and Sealing the Air Purifier Components
To secure and seal the air purifier components, you’ll need to make sure all the connections are tight and secure. Proper sealing techniques and component security are crucial for the effectiveness of your homemade HEPA air purifier. Here are four important steps to ensure a secure and airtight assembly:
-
Use high-quality adhesive: Apply adhesive to any joints or connections to prevent air leakage. Make sure to choose an adhesive that is suitable for the materials you are working with.
-
Use gaskets or rubber seals: Place gaskets or rubber seals at the connection points to provide an extra layer of sealing. This will help prevent any air leaks and ensure a tight seal.
-
Tighten screws and fasteners: Check that all screws and fasteners are tightened properly. This will keep the components securely in place and prevent any movement that could compromise the seal.
-
Inspect for gaps or cracks: Thoroughly inspect all components for any gaps or cracks. Fill in any openings with sealant or tape to ensure a complete seal.
By following these steps, you can ensure that your homemade HEPA air purifier is securely sealed, maximizing its efficiency in filtering out airborne pollutants.
Now, let’s move on to the next step: testing and maintaining your homemade HEPA air purifier.
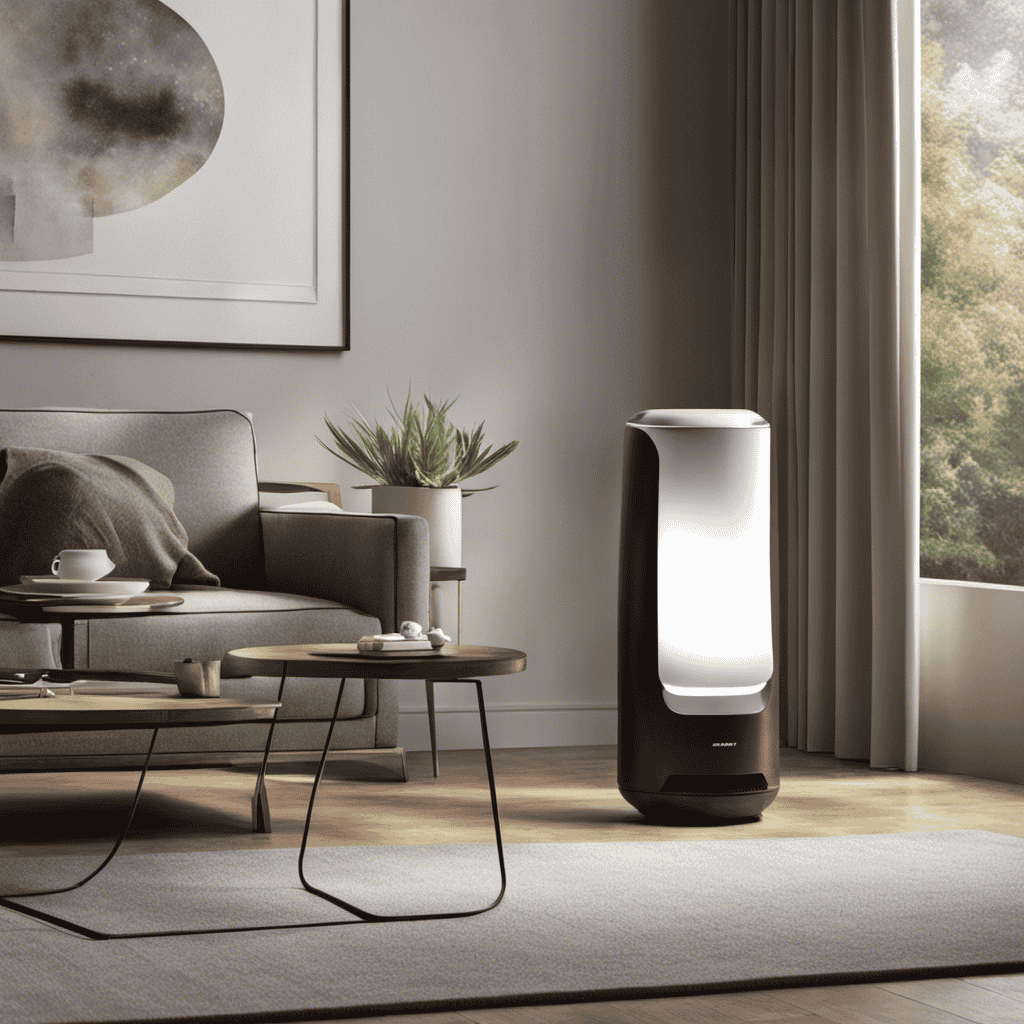
Testing and Maintaining Your Homemade HEPA Air Purifier
Now that you’ve completed the assembly, it’s time to test and maintain your homemade HEPA air purifier. Proper testing methods ensure that your air purifier is effectively removing airborne particles and providing clean air. To test its efficiency, you can use a particle counter to measure the number of particles before and after the air passes through the purifier. This will help you determine its effectiveness in removing pollutants.
Regular filter maintenance is crucial to keep your homemade air purifier working optimally. The HEPA filter should be replaced or cleaned according to the manufacturer’s instructions. Cleaning the pre-filter regularly will prevent the buildup of large particles and improve the overall efficiency of your purifier. Additionally, it is essential to keep the exterior and fan clean by regularly wiping them down with a damp cloth.
Frequently Asked Questions
How Much Does It Cost to Build a DIY HEPA Air Purifier?
Building a DIY HEPA air purifier can be cost-effective compared to buying a commercial one. However, it’s important to consider the effectiveness of the homemade purifier in filtering out pollutants and maintaining long-term performance.
Can I Use Any Type of Fan for My Homemade HEPA Air Purifier?
Yes, you can use various types of fans for a homemade HEPA air purifier. While a box fan is commonly used, alternative options like desk fans or even computer fans can also be compatible.
How Often Do I Need to Replace the HEPA Filter in My DIY Air Purifier?
Typically, a HEPA filter in a commercial air purifier lasts around 6 to 12 months, depending on usage and the level of air pollution. Reusable filters are not recommended for commercial air purifiers.
Is It Safe to Leave My Homemade Air Purifier Running All Day and Night?
Yes, it is safe to leave my homemade air purifier running all day and night. Running it continuously maximizes its effectiveness in removing pollutants and allergens from the air, providing the benefits of clean and fresh indoor air quality.
Can I Customize the Design of My DIY HEPA Air Purifier to Match My Home Decor?
Yes, you can customize the design of your DIY HEPA air purifier to match your home decor. However, it’s important to consider the pros and cons of doing so, as it may affect its functionality and efficiency.
Can I Use UV Light in My DIY HEPA Air Purifier for Better Air Quality?
Yes, you can incorporate UV light into your homemade HEPA air purifier to improve air quality. UV light can help eliminate airborne pathogens and allergens, complementing the HEPA filter’s function. Just ensure the UV light is safely installed and does not produce harmful ozone.
Conclusion
In conclusion, creating your own HEPA air purifier is a rewarding and cost-effective project. By understanding the importance of air purification and selecting the right HEPA filter, you can ensure the air in your home is clean and free from pollutants.
By gathering the necessary materials and tools, building the housing, and installing the filter and fan system, you can create a powerful air purifier. Just like a skilled scientist in a laboratory, you can test and maintain your homemade HEPA air purifier to ensure its efficiency and effectiveness.