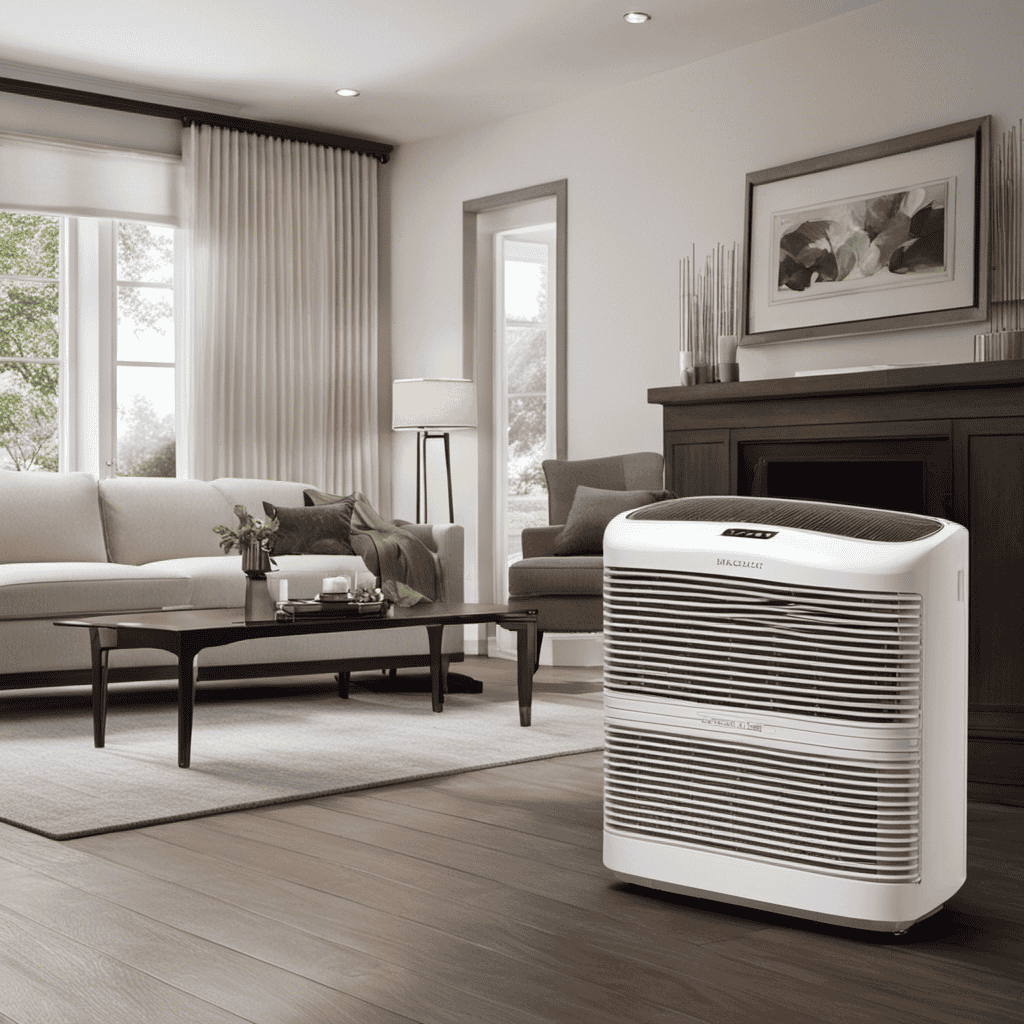
Hello there! Have you ever wondered how to open and clean your Dr Mercola Whole Home Air Purifier? Well, I’m here to help!
In this article, I’ll guide you through the step-by-step process of opening and cleaning your air purifier. With just a few tools and supplies, you’ll be able to keep your air purifier in top-notch condition.
So, let’s dive in and learn how to give your Dr Mercola Whole Home Air Purifier the TLC it deserves!
Key Takeaways
- Use a Phillips screwdriver to remove the front panel screws and access the interior of the Dr Mercola Whole Home Air Purifier.
- Troubleshoot common issues using the provided table of possible solutions, such as checking the power cord and outlet connection if there is no power.
- Clean or replace the air filters to ensure proper airflow and remove dirt and debris.
- Follow the manufacturer’s instructions for cleaning the exterior of the air purifier, using a soft cloth or microfiber cloth and mild disinfectant or water-vinegar mixture, avoiding liquid inside the unit.
Tools and Supplies Needed
To open and clean the Dr. Mercola Whole Home Air Purifier, you’ll need a few tools and supplies.
First, you’ll need a Phillips screwdriver to remove the screws that hold the front panel in place.
Additionally, a soft cloth or microfiber cloth is necessary to wipe down the exterior of the purifier.
For a more thorough cleaning, a can of compressed air can be used to blow out any dust or debris that may have accumulated inside the unit.
Lastly, make sure to have a vacuum cleaner with a brush attachment on hand to clean the air vents and intake grills.
With these tools and supplies, you’ll be well-equipped to open and clean your Dr. Mercola Whole Home Air Purifier.
Now, let’s move on to the next section and learn how to open the air purifier.
Opening the Air Purifier
First, you’ll want to locate the latch on the side of the device to access the interior. Once you’ve found the latch, simply slide it open to reveal the inside of the air purifier.
To troubleshoot common issues with the Dr Mercola Whole Home Air Purifier, refer to the table below for possible solutions:
| Common Issue | Possible Solution |
|---|---|
| No power | Check power cord and outlet connection |
| Poor air flow | Clean or replace air filters |
| Strange noise | Check for loose parts or debris in fan area |
| Odor | Replace or clean the carbon filter |
If you’re experiencing noise problems specifically, try the following troubleshooting steps:
- Check for loose screws or parts in the fan area and tighten if necessary.
- Remove any debris or obstructions from the fan blades.
- Clean or replace the air filters to ensure proper airflow.
Removing and Cleaning the Filters
Once you’ve located the latch on the side of the device, simply slide it open to access and remove the filters for cleaning. Cleaning the filters of the Dr. Mercola Whole Home Air Purifier is an important maintenance task that ensures optimal performance.
To clean the filters, gently remove them from the air purifier and inspect them for dirt and debris. If you notice any buildup, use a soft brush or vacuum cleaner with a brush attachment to remove the particles. For more stubborn dirt, you can wash the filters with mild soap and water, making sure to thoroughly rinse them afterwards. Allow the filters to air dry completely before reinstalling them into the air purifier.
Troubleshooting common issues with the filters may include checking for loose connections or damaged seals.
Once you have successfully cleaned the filters, you can move on to cleaning the exterior of the air purifier.
Cleaning the Exterior of the Air Purifier
Now that you’ve finished cleaning the filters, it’s time to focus on the exterior of your air purifier. Properly maintaining the exterior is essential for optimal performance. Here are three cleaning techniques to keep your air purifier in top condition:
-
Dusting: Use a soft, dry cloth or a microfiber cloth to gently wipe away any dust or debris from the surface. Avoid using harsh chemicals or abrasive materials that could damage the exterior.
-
Vacuuming: Use a vacuum cleaner with a brush attachment to remove dirt or dust that may have accumulated in the vents or crevices. This ensures that the air flow is not blocked and the purifier can work efficiently.
-
Disinfecting: To prevent the growth of bacteria or mold, use a mild disinfectant or a mixture of water and vinegar to wipe down the exterior. Follow the manufacturer’s instructions and avoid getting any liquid inside the unit.
Reassembling the Air Purifier
After completing the cleaning process, you can start reassembling the air purifier by carefully following the manufacturer’s instructions.
Begin by placing the cleaned filters back into their designated slots, ensuring they fit securely.
Then, reattach any detached parts, such as the front cover or side panels, making sure they are properly aligned and fastened.
Take extra care not to force any pieces together, as this may cause damage.
If you encounter any difficulties during the reassembling process, consult the troubleshooting tips provided in the user manual or contact the manufacturer for assistance.
It is crucial to follow the instructions precisely to ensure the air purifier functions optimally.
Once you have successfully reassembled the unit, you can plug it back in and enjoy fresh, clean air in your home.
Tips for Regular Maintenance and Care
When it comes to maintaining my air purifier, two key points that I always keep in mind are the cleaning frequency and the options for replacement filters.
Cleaning frequency is crucial to ensure the proper functioning of the air purifier and to maintain clean and healthy indoor air.
Additionally, knowing the different replacement filter options available allows me to choose the most suitable one for my specific needs and budget.
Cleaning Frequency
To maintain optimal performance, you should regularly clean your Dr. Mercola whole home air purifier. Cleaning the air purifier not only helps to remove accumulated dust and debris but also ensures that the filters are working effectively. Here are some cleaning techniques and recommended products to help you keep your air purifier in top condition:
-
Vacuum the exterior: Use a soft brush attachment to gently remove dust and dirt from the exterior of the air purifier. This will prevent any build-up that can affect its performance.
-
Clean the filters: Follow the manufacturer’s instructions to remove and clean the filters. Use a mild detergent and warm water to gently wash the filters, then allow them to dry completely before reinserting.
-
Wipe down the interior: Use a damp cloth to wipe down the interior surfaces of the air purifier. Be careful not to get any water on the electrical components.
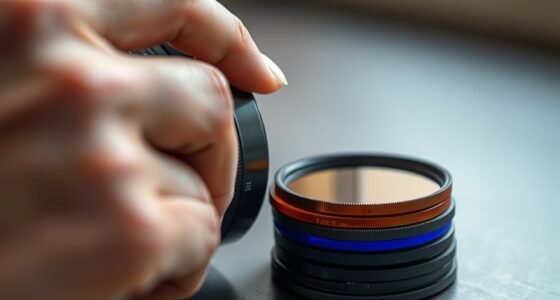
Replacement Filter Options
Now that we know how often to clean the Dr. Mercola Whole Home Air Purifier, let’s talk about the replacement filter options.
There are several reputable brands available in the market that offer compatible filters for this purifier. Some popular replacement filter brands include Honeywell, Filtrete, and Blueair.
When choosing a replacement filter, it’s important to consider the filtration efficiency and the lifespan of the filter. Prices for replacement filters can vary depending on the brand and model, so it’s a good idea to compare the costs before making a purchase.
Additionally, consider the specific needs of your home and the level of air pollution in your area when selecting a replacement filter.
Frequently Asked Questions
How Often Should I Clean the Filters of the Dr Mercola Whole Home Air Purifier?
I clean the filters of my Dr Mercola Whole Home Air Purifier every 3 months to ensure optimal performance. It is important to use only the recommended brand of filters for this purifier.
Can I Use Any Cleaning Solution to Clean the Exterior of the Air Purifier?
I wouldn’t recommend using any cleaning solution on the exterior of the air purifier. It’s important to follow proper cleaning techniques to maintain its effectiveness. Stick to the manufacturer’s instructions for best results.
Is It Safe to Use the Air Purifier While the Filters Are Being Cleaned?
It is not recommended to use the air purifier while cleaning the filters as it may affect the performance of the unit. It’s best to wait until the filters are fully cleaned and reinstalled before using the purifier again.
Are There Any Specific Precautions I Need to Take While Disassembling the Air Purifier?
During the disassembling process of the Dr Mercola Whole Home Air Purifier, it is important to take proper precautions. Ensure the unit is unplugged, wear protective gloves, and follow the manufacturer’s instructions to avoid any accidents or damage.
Can I Use a Vacuum Cleaner to Clean the Filters Instead of Washing Them?
I wondered if a vacuum cleaner could efficiently clean the filters instead of washing them. After researching, I found that while it may remove some debris, washing is still the best method to ensure thorough cleaning and maintenance of the filters.
Conclusion
In conclusion, maintaining and cleaning the Dr. Mercola Whole Home Air Purifier is a straightforward process that ensures optimal performance and longevity.
Just like nurturing a blooming garden, taking care of your air purifier requires regular attention and care.
By following the steps outlined in this guide, you can keep your air purifier running smoothly, effectively removing pollutants from your home and creating a fresh and healthy environment.
Remember, a well-maintained air purifier is like a guardian angel, safeguarding your home from airborne impurities.