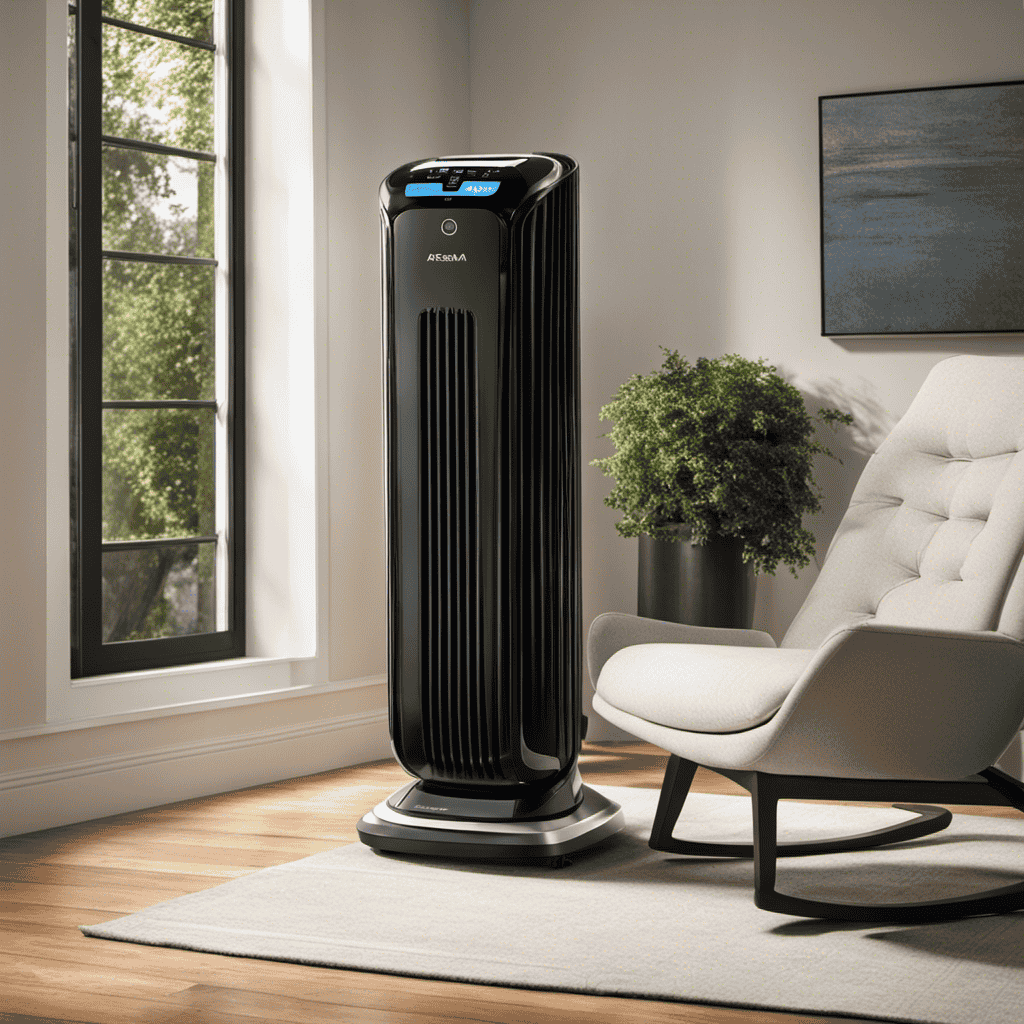
I’ve consistently battled with allergies and subpar air quality at my place, hence when I acquired the Aeramax Dx55 Air Purifier, I realized the importance of mastering its usage.
In this article, I will guide you through the step-by-step process of operating this powerful device. From unboxing and assembly to adjusting the fan speed and programming the timer, you’ll gain a comprehensive understanding of how to maximize the benefits of this air purifier.
Get ready to breathe easier and enjoy cleaner air in your home.
Key Takeaways
- Ensure all necessary components are present: main unit, True HEPA filter, and carbon filter
- Familiarize yourself with different buttons and their functions on the control panel
- Regularly clean and maintain the air purifier, following the manufacturer’s guidelines
- Clean air promotes better respiratory health and reduces the risk of respiratory illnesses and allergies

LEVOIT Air Purifier for Home Allergies Pet Hair in Bedroom, Covers Up to 1073 ft² by 56W High Torque Motor, AHAM VERIFIDE, 3-in-1 Filter with HEPA Sleep Mode, Remove Dust Smoke Odor, Core300-P, White
WHY CHOOSE AHAM VERIFIDE AIR PURIFIERS: AHAM (Association of Home Appliance Manufacturers) is an ANSI-accredited organization that sets...
As an affiliate, we earn on qualifying purchases.
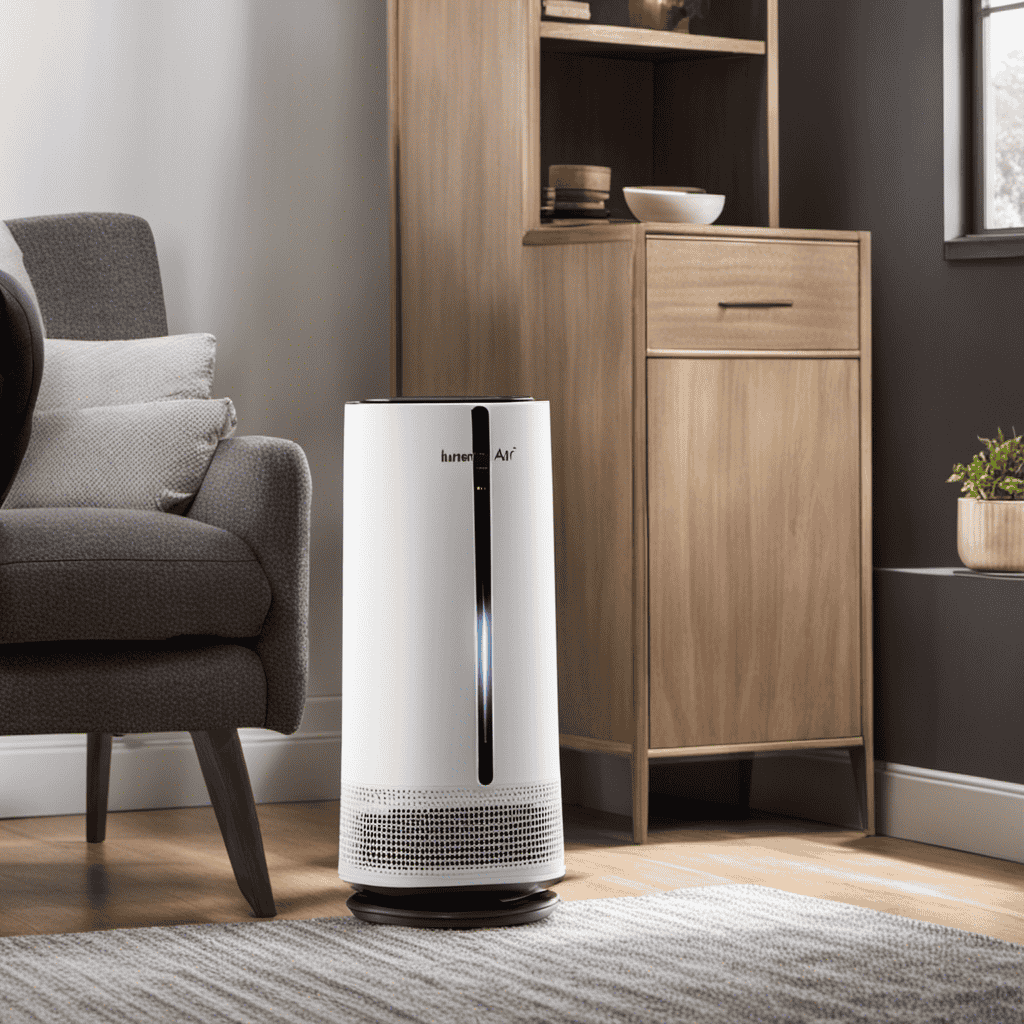
Unboxing and Assembly
Now that you’ve unboxed and assembled your Aeramax DX55 air purifier, it’s time to start enjoying cleaner air in your home! Let me guide you through the unboxing process.
Firstly, make sure you have all the necessary components: the main unit, the True HEPA filter, and the carbon filter. Carefully remove the packaging and protective films from each component.
Next, locate the filter compartment on the back of the unit and open it by pressing the release button. Insert the True HEPA filter, making sure it fits securely. Then, insert the carbon filter on top of the HEPA filter. Close the compartment firmly.
Congratulations, your Aeramax DX55 air purifier is now ready for use!
In case you encounter any issues during the unboxing or assembly process, please refer to the troubleshooting guide provided in the user manual.

KNKA Air Purifier for Home Bedroom Large Room Up to 1,695 Ft² in 1 Hr, HEPA Air Cleaner with Washable Pre-Filter, AHAM VERIFIDE, AQI Display, ECO Mode, Pet Mode for Pets, Dust, Pollen, APH4000
𝐀𝐇𝐀𝐌 𝐕𝐞𝐫𝐢𝐟𝐢𝐞𝐝 & 𝐇𝐢𝐠𝐡 𝐂𝐀𝐃𝐑 𝐕𝐚𝐥𝐮𝐞: Certified by the Association of Home Appliance Manufacturers, this air purifier provides...
As an affiliate, we earn on qualifying purchases.
Understanding the Control Panel
To understand the control panel, you’ll want to familiarize yourself with the different buttons and their functions.
The control panel of the AeraMax DX55 air purifier is designed to provide you with easy access to adjust the settings and troubleshoot any issues that may arise.
The main power button turns the unit on and off, while the fan speed button allows you to choose from low, medium, and high settings.
The filter reset button is used to reset the filter indicator once you have replaced the filters.
If you encounter any problems, such as a blinking indicator light or unusual noises, consult the troubleshooting tips in the user manual.
Now that you understand the control panel, let’s move on to setting up the filters.

LEVOIT Air Purifiers for Bedroom Home Dorm, AHAM VERIFIDE, 3-in-1 Filter Cleaner With Aroma Pad, Filters Smoke, Allergens, Pet Dander, Odor, Dust, Office, Desktop, Core Mini-P, White
𝗪𝗛𝗬 𝗖𝗛𝗢𝗢𝗦𝗘 𝗔𝗛𝗔𝗠 𝗩𝗘𝗥𝗜𝗙𝗜𝗗𝗘 𝗔𝗜𝗥 𝗣𝗨𝗥𝗜𝗙𝗜𝗘𝗥𝗦: AHAM (Association of Home Appliance Manufacturers) is an ANSI-accredited organization that sets...
As an affiliate, we earn on qualifying purchases.
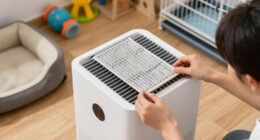
Setting Up the Filters
When it comes to maintaining and installing filters for your air purifier, there are a few key points to keep in mind.
First, regular filter maintenance is crucial for optimal performance and air quality. This includes cleaning or replacing filters as recommended by the manufacturer.
Second, proper filter installation is essential to ensure that the air purifier effectively captures and removes pollutants from the air. Following the manufacturer’s instructions and guidelines for filter installation is important for achieving the best results.
Filter Maintenance Tips
Regular filter maintenance is crucial for the proper functioning of the Aeramax DX55 air purifier. To ensure optimal performance, it is important to regularly clean and replace the filters. The table below provides a breakdown of the recommended cleaning and replacement intervals for each filter:
| Filter Type | Cleaning Frequency | Replacement Frequency |
|---|---|---|
| Carbon Filter | Every 3 months | Every 6 months |
| True HEPA Filter | Every 6 months | Every 12 months |
| PlasmaTrue Filter | Every 12 months | Every 24 months |
| AeraSafe Antimicrobial Treatment | Not applicable | Every 6 months |
Regularly cleaning the filters will help remove dust, allergens, and other particles from the air, ensuring clean and fresh indoor air quality. When it’s time for replacement, be sure to use genuine Aeramax filters to maintain the purifier’s performance. Following these maintenance tips will help prolong the lifespan of your Aeramax DX55 air purifier and ensure its effectiveness in providing clean and healthy air for you and your family.
Proper Filter Installation
Make sure you properly install the filters in your Aeramax DX55 to ensure optimal performance. The filter replacement process is simple and should be done every three to six months, depending on usage.
Start by turning off the air purifier and unplugging it from the power source. Open the front panel and carefully remove the old filters. Take note of their positions and discard them.
Next, unpack the new filters and insert them into their respective slots, making sure they are securely in place. Close the front panel and plug in the air purifier. Turn it on and check for proper operation. If you encounter any issues, refer to the troubleshooting tips in the user manual.
With the filters properly installed, you can now move on to adjusting the fan speed.

LEVOIT Air Purifiers for Home Large Room Up to 1875 Ft² with Washable Pre-Filter, AHAM VERIFIDE, Air Quality Monitor, HEPA Sleep Mode for Allergies, Pet Hair in Bedroom, Vital 200S-P, White
𝐖𝐇𝐘 𝐂𝐇𝐎𝐎𝐒𝐄 𝐀𝐇𝐀𝐌 𝐕𝐄𝐑𝐈𝐅𝐈𝐃𝐄 𝐏𝐑𝐎𝐃𝐔𝐂𝐓𝐒: AHAM (Association of Home Appliance Manufacturers) is an ANSI-accredited organization that sets strict...
As an affiliate, we earn on qualifying purchases.
Adjusting the Fan Speed
To adjust the fan speed on your AeraMax DX55 air purifier, simply press the fan speed button and select your desired level. The fan speed button is located on the control panel of the air purifier.
By pressing this button, you can cycle through different fan speed settings, ranging from low to high. Changing the fan speed allows you to customize the air flow and noise level of the purifier to your preferences.
If you are experiencing any issues with the fan speed, such as the button not responding or the fan not adjusting, try troubleshooting by checking the power source, ensuring the unit is properly plugged in, and contacting customer support if necessary.
Adjusting the fan speed is a simple and effective way to optimize the performance of your AeraMax DX55 air purifier.
Using the Auto Mode
If you want to use the auto mode on your AeraMax DX55, simply press the auto mode button and let the purifier adjust the fan speed automatically based on the air quality in the room.
The auto mode offers several benefits. First, it optimizes energy efficiency by only running the fan as fast as needed to maintain clean air. This helps save on electricity costs.
Second, it ensures that the purifier is always operating at the appropriate fan speed, even if the air quality fluctuates throughout the day.
However, if you encounter any issues with the auto mode, there are a few troubleshooting steps you can try. First, check if the sensor is clean and free from any obstructions.
Next, make sure that the purifier is placed in a location where the sensor can accurately detect the air quality.
Programming the Timer
Set the desired time on the timer and let it automatically control when your AeraMax DX55 adjusts the fan speed.
The AeraMax DX55 air purifier offers convenient scheduling options, allowing you to customize settings based on your preferences. With the timer function, you can program the unit to turn on or off at specific times, ensuring that it runs when you need it most.
Whether you want it to start purifying the air before you wake up or to turn off when you leave for work, the scheduling options provide flexibility and convenience. By customizing the settings, you can optimize the performance of your AeraMax DX55 to suit your individual needs.
Now that you know how to program the timer, let’s move on to maintenance and cleaning.
Maintenance and Cleaning
Now that you know how to program the timer, let’s discuss how you can easily maintain and clean your AeraMax DX55. Keeping your air purifier clean is crucial to ensure its optimal performance and longevity. Here are some important maintenance and cleaning tips:
-
Cleaning Schedule:
-
It is recommended to clean the pre-filter every three months.
-
The carbon filter should be replaced every six months.
-
The True HEPA filter needs to be replaced annually.
-
Troubleshooting Tips:
-
If the air purifier is not turning on, check if it is properly plugged in.
-
If the unit is producing a foul odor, it may be time to replace the filters.
-
If the airflow is weak, clean the pre-filter or replace the filters if necessary.
Following these simple maintenance steps and troubleshooting tips will ensure that your AeraMax DX55 continues to provide you with clean and fresh air.
Frequently Asked Questions
What Is the Recommended Room Size for the Aeramax Dx55 Air Purifier?
The recommended room size for the Aeramax Dx55 air purifier is determined by its coverage area. It is designed to purify the air in rooms up to a certain square footage, ensuring optimal performance and air quality.
Can the Aeramax Dx55 Air Purifier Be Used in a Baby’s Nursery or Children’s Room?
Yes, the Aeramax Dx55 air purifier can be safely used in a baby’s nursery or children’s room. It provides numerous benefits, such as removing allergens and improving indoor air quality for a healthier environment.
Does the Aeramax Dx55 Air Purifier Emit Any Harmful Ozone?
Yes, the Aeramax Dx55 air purifier emits no harmful ozone. It comes with a warranty. In comparison to other models on the market, the Dx55 is efficient and effective in purifying the air.
How Often Do the Filters Need to Be Replaced?
How often do I need to clean and replace the filters? It is important to regularly clean the filters every 3-6 months and replace them every 6-12 months to ensure optimal performance of the Aeramax Dx55 Air Purifier.
Can the Aeramax Dx55 Air Purifier Be Used in a Smoke-Filled Room?
Yes, the Aeramax Dx55 air purifier can be used in a smoke-filled room. It effectively removes smoke particles and odors, making it ideal for individuals with allergies to smoke.
Conclusion
In conclusion, operating the AeraMax DX55 air purifier is a breeze.
With its user-friendly control panel, customizable fan speeds, and convenient timer, maintaining clean air has never been easier.
Just like a trusty companion, this air purifier quietly works in the background, effortlessly removing allergens and pollutants from your home.
It’s like having a personal air butler, ensuring that you and your loved ones breathe fresh and pure air at all times.
So sit back, relax, and let the AeraMax DX55 do its magic.