
Hello! Have you ever been curious about the correct way to clean your Blue Air Purifier? Search no more! In this article, I’m going to walk you through every step needed to open and deeply clean your air purifier.
By following these instructions, you’ll be able to remove the outer cover, access and clean the filters, clean the control panel, and even clean the fan and motor assembly.
So, let’s dive right in and ensure that your Blue Air Purifier is working at its best!
Key Takeaways
- Proper tools and safety precautions are necessary for opening and cleaning the Blue Air Purifier.
- Regular cleaning and maintenance of filters are essential for optimal air purification.
- The frequency of filter replacement depends on air quality and usage.
- Specific components like the activated carbon filter and air intake vents require regular cleaning to maintain efficiency.
Tools Needed for Opening the Blue Air Purifier
To open the blue air purifier, you’ll need a screwdriver and a pair of pliers. These tools are essential for accessing the internal components and effectively cleaning the device.
Before starting the cleaning process, gather the necessary cleaning supplies such as a microfiber cloth, mild detergent, and water. Troubleshooting tips are also helpful in case any issues arise during the cleaning process.
It is important to ensure the device is disconnected from the power source before attempting to open it. Once the screws are removed using the screwdriver, gently use the pliers to pry open any stubborn parts. Take care not to damage any delicate wires or sensors inside.
Step-By-Step Guide to Removing the Outer Cover
Removing the outer cover of the Blue Air Purifier is an essential step in properly cleaning the device. In order to access the internal components, it is important to follow a step-by-step guide to ensure the cover is removed correctly.
Additionally, safety precautions should be considered to prevent any accidents or damage to the device during the process.
Removing Outer Cover
First, you’ll need to locate the screws on the outer cover of your Blue air purifier. To remove the outer cover, you will require a Phillips head screwdriver. Once you have the necessary tools, follow these steps:
| Step | Action |
|---|---|
| 1 | Unplug the air purifier from the power source. |
| 2 | Turn the air purifier around so that the back is facing you. |
| 3 | Use the Phillips head screwdriver to unscrew the screws securing the outer cover. |
Proper Cleaning Technique
Now that the outer cover is off, you can begin the proper cleaning technique for your Blue air purifier. To effectively clean your air purifier, you will need a few tools. Firstly, you will need a soft cloth or sponge to wipe down the surfaces. Additionally, a small brush or toothbrush can be used to clean hard-to-reach areas and remove any dust or debris.
One of the most common cleaning mistakes is using harsh chemicals or abrasive cleaners on the purifier. It’s important to avoid these as they can damage the unit and affect its performance. Instead, use a mild detergent or soap mixed with water for gentle cleaning. Remember to rinse and dry all parts thoroughly before reassembling the air purifier.
By following these steps, you can ensure a thorough and effective cleaning process for your Blue air purifier.
Now that the cleaning process is complete, it’s important to consider some safety precautions.
Safety Precautions to Consider?
It’s important to consider some safety precautions after completing the cleaning process. Maintaining and cleaning your air purifier is essential for optimal performance and to ensure the air you breathe is clean and free from pollutants. Here are some key safety precautions to keep in mind:
| Precaution | Description |
|---|---|
| Disconnect Power | Before starting any maintenance or cleaning tasks, always unplug the air purifier from the power source to avoid electric shock. |
| Wear Protective Gear | Use gloves and a mask to protect yourself from potential allergens or harmful particles that may be present in the filter or purifier. |
| Follow Manufacturer’s Instructions | Read and follow the user manual provided by the manufacturer to ensure you are using the correct cleaning techniques and tools. |
Removing and Cleaning the Pre-Filter
When it comes to maintaining the pre-filter of your air purifier, there are a few key tips to keep in mind.
Firstly, it is important to regularly check and clean the pre-filter to ensure optimal performance.
Secondly, proper cleaning techniques involve gently vacuuming or rinsing the pre-filter with water and allowing it to fully dry before reinserting it.
Lastly, the frequency of filter replacement will depend on the air quality and usage of your air purifier, but generally, it is recommended to replace the pre-filter every 3 to 6 months for optimal efficiency.
Pre-Filter Maintenance Tips
To properly maintain your blue air purifier, make sure to regularly clean the pre-filter. The pre-filter is an essential component of the air purifier that helps to capture larger particles such as dust, pet hair, and pollen.
It is important to clean the pre-filter regularly to ensure optimal performance and to prolong the lifespan of the air purifier. Here are some pre-filter maintenance tips:
- Gently remove the pre-filter from the air purifier.
- Use a soft brush or vacuum cleaner with a brush attachment to gently remove the dust and debris from the pre-filter.
- If the pre-filter is excessively dirty, you can rinse it under running water and let it air dry before reinstalling.
Regular cleaning of the pre-filter is crucial for maintaining the efficiency and effectiveness of your blue air purifier. By following these maintenance tips, you can ensure that your air purifier continues to provide clean and fresh air for a long time.
Proper Cleaning Techniques
Regularly cleaning the pre-filter is essential for maintaining the efficiency and effectiveness of your blue air purifier. To properly clean the pre-filter, you will need a few tools: a vacuum cleaner with a brush attachment, a soft cloth, and mild soap or detergent. Avoid using harsh chemicals or abrasive cleaners as they can damage the filter.
When cleaning the pre-filter, it is important to avoid some common cleaning mistakes. Firstly, do not wash the pre-filter with water as it can cause the filter to become clogged and less effective. Instead, gently vacuum the pre-filter to remove any dust and debris. Secondly, do not skip regular cleaning intervals. Cleaning the pre-filter every 2-3 months, or as recommended by the manufacturer, will ensure optimal performance of your blue air purifier.
By following these proper cleaning techniques, you can prolong the lifespan of your blue air purifier and maintain clean and fresh air in your home.
| Common Cleaning Mistakes | Proper Cleaning Techniques |
|---|---|
| Washing with water | Gently vacuum the pre-filter |
| Skipping cleaning intervals | Clean the pre-filter every 2-3 months |
| Using harsh chemicals or abrasive cleaners | Use mild soap or detergent |
Frequency of Filter Replacement
After learning about the proper cleaning techniques for my Blue Air purifier, I wanted to understand how often I would need to replace the filters. The filter lifespan is an important factor to consider as it affects the overall performance and efficiency of the purifier.
Based on my research, here is what I found:
- The lifespan of the filters can vary depending on the model and usage, but generally, it is recommended to replace them every 6 to 12 months.
- The frequency of filter replacement can also be influenced by factors such as air quality, pollutants present, and the amount of time the purifier is in use.
- It is crucial to regularly monitor the filter’s condition and replace it when necessary to maintain optimal air purification.
Considering the cost of filter replacement is essential. While the price may vary depending on the specific model and type of filter, it is advisable to budget for the cost of replacement filters to ensure continuous and efficient air purification.
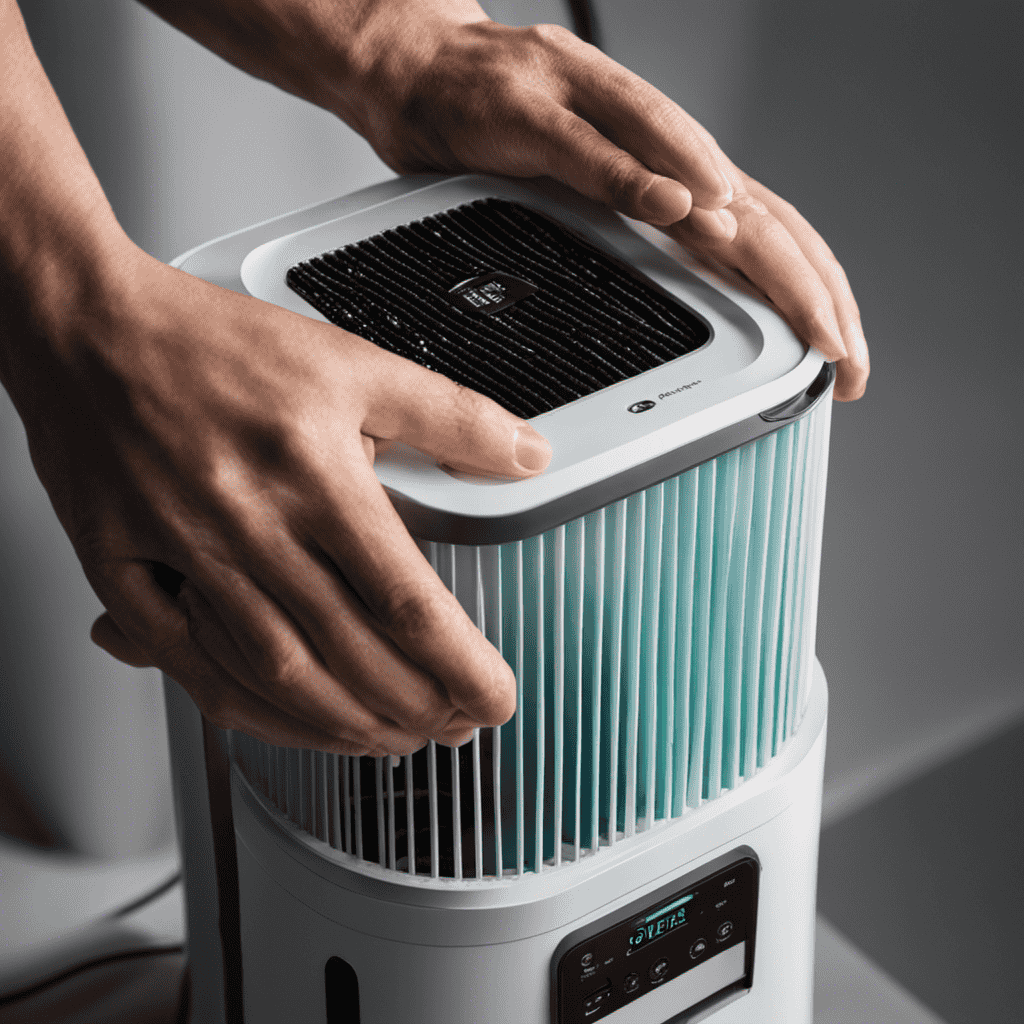
Accessing and Cleaning the HEPA Filter
First, you’ll need to locate the latch on the side of the air purifier to access and clean the HEPA filter.
Proper storage techniques are crucial to maintain the performance of your air purifier. When not in use, it is recommended to store the unit in a cool, dry place away from direct sunlight and extreme temperatures. This will prevent any damage to the electronic components and ensure its longevity.
Troubleshooting common issues with your air purifier can help you address any problems you may encounter. If the purifier is not turning on, check if it is properly plugged into a power source. If the unit is making unusual noises, it is possible that the fan or motor needs cleaning or repair.
Regular maintenance and cleaning of the HEPA filter is essential to keep your air purifier functioning optimally.
How to Open the Air Purifier’s Control Panel
To access the control panel of your air purifier, simply locate the button labeled ‘Open’ and press it. This will allow you to gain access to the inner workings of the purifier and perform various maintenance tasks.
When troubleshooting common issues, it is essential to have the right tools on hand. Here are some tools that can aid in the maintenance of your air purifier:
- Screwdriver: Use this to remove any screws holding the control panel in place.
- Cleaning brush: Helps to remove dust and debris from the control panel and its components.
- Multimeter: Useful for testing the electrical connections and ensuring they are functioning properly.
By having these tools ready, you can effectively troubleshoot and resolve common issues with your air purifier.
Once you have accessed the control panel, the next step is cleaning the fan and motor assembly, which I will explain in the next section.
Cleaning the Fan and Motor Assembly
Make sure you have the necessary tools from the previous section, such as a screwdriver, cleaning brush, and multimeter, to effectively clean the fan and motor assembly of your air purifier.
Fan maintenance is crucial to ensure optimal performance and longevity of your air purifier. Start by turning off and unplugging the unit for safety.
Remove the front cover to access the fan and motor assembly. Use a screwdriver to remove any screws holding the assembly in place.
Gently clean the fan blades using a cleaning brush to remove any dust or debris. Be careful not to damage the blades.
Next, use a soft cloth or brush to clean the motor, removing any accumulated dirt or grime. Avoid using water directly on the motor.
Once cleaned, reassemble the fan and motor assembly, ensuring all screws are securely tightened.
Regular fan maintenance and motor cleaning will help keep your air purifier running efficiently and effectively.
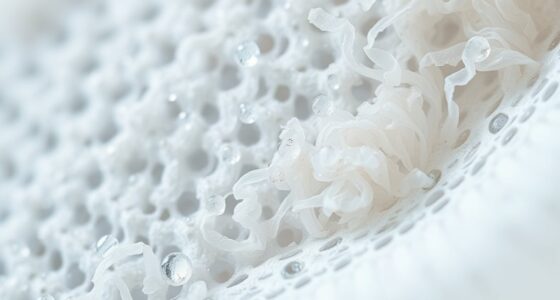
Removing and Cleaning the Activated Carbon Filter
Once the front cover is removed, gently pull out and clean the activated carbon filter using a soft cloth or brush. The activated carbon filter is an essential component of the Blue air purifier. It effectively removes odors, chemicals, and harmful gases from the air. Proper storage and maintenance of the activated carbon filter is crucial to ensure optimal performance and longevity.
Here are the benefits of using activated carbon filters:
- Adsorption: The activated carbon material has a high surface area, allowing it to effectively adsorb and trap pollutants.
- Odor elimination: Activated carbon filters are especially effective at removing unpleasant odors, such as smoke, pet odor, and cooking smells.
- Chemical removal: These filters can capture and neutralize volatile organic compounds (VOCs) and other harmful chemicals.
By regularly cleaning and replacing the activated carbon filter, you can continue to enjoy clean and fresh air in your living space.
Now, let’s move on to opening and cleaning the air intake vents.
Opening and Cleaning the Air Intake Vents
After removing the front cover, gently wipe and clear the air intake vents using a soft cloth or brush.
It is important to take safety precautions while cleaning the air intake vents of the blue air purifier. Ensure that the device is unplugged before starting the cleaning process.
The air intake vents are responsible for drawing in the air and filtering out impurities, so it is crucial to keep them clean for optimal performance.
Regular cleaning of the vents helps to maintain the efficiency of the air purifier and prevent any blockages. Depending on the environment and usage, it is recommended to clean the air intake vents every 2 to 3 months.
Once the vents are clean, it’s time to reassemble the blue air purifier and continue enjoying fresh and clean air in your space.
Reassembling the Blue Air Purifier After Cleaning
After thoroughly cleaning the air intake vents of my Blue Air Purifier, it’s time to reassemble the unit. Here are some helpful tips and troubleshooting advice to ensure a smooth reassembly process:
-
Start by aligning the filters properly. Check for any loose or damaged parts before proceeding.
-
Carefully place the filters back into their designated slots, ensuring they fit snugly.
-
Secure the filter cover in place, making sure it’s tightly fastened to prevent any air leaks.
Troubleshooting common issues during reassembly:
-
If the filters don’t fit properly, double-check if they’re inserted correctly. Misalignment can hinder the purifier’s performance.
-
If the filter cover doesn’t close securely, it may be due to debris obstructing the mechanism. Clean the cover and surrounding area thoroughly before trying again.
Following these reassembling tips and troubleshooting common issues will help maintain the efficiency and effectiveness of your Blue Air Purifier.
Frequently Asked Questions
How Often Should I Clean My Blue Air Purifier?
I clean my Blue Air Purifier every three months as recommended. To clean it properly, I follow the manufacturer’s instructions, which include dusting the exterior, replacing the filters, and wiping the unit with a damp cloth. These best practices ensure optimal performance and air quality.
Can I Use Any Cleaning Solution to Clean the Filters?
I wouldn’t recommend using any cleaning solution on the filters without checking the manufacturer’s instructions first. It’s important to use safe cleaning methods and alternatives to ensure the longevity of the filters and the effectiveness of the air purifier.
Is It Necessary to Unplug the Purifier Before Cleaning It?
Unplugging the air purifier before cleaning is necessary. If not unplugged, there are risks of electric shock or damage to the purifier. It is important to ensure safety by disconnecting from the power source.
Can I Clean the Outer Cover in a Washing Machine?
I can clean the outer cover of the Blue Air Purifier using alternative methods. However, it is not recommended to wash it in a washing machine as it may damage the material.
How Long Does It Take for the Filters to Dry After Cleaning?
To properly dry air purifier filters, it is important to allow them to air dry completely. This process can take anywhere from a few hours to a day, depending on the humidity levels in your home. Regularly maintaining clean air in your home can help improve indoor air quality.
Conclusion
In conclusion, I hope this detailed guide has provided you with the necessary information on how to open a Blue Air Purifier and clean it thoroughly.
By following the step-by-step instructions and using the appropriate tools, you can ensure that your air purifier is working at its optimal capacity.
Remember to clean the outer cover, pre-filter, HEPA filter, control panel, fan and motor assembly, activated carbon filter, and air intake vents for a complete cleaning process.
By maintaining and cleaning your Blue Air Purifier regularly, you can enjoy fresh and clean air in your surroundings.