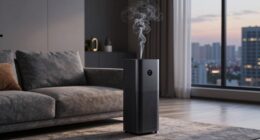
To prove your air got cleaner, start with reliable air quality tests before implementing improvements. Use standardized methods to measure pollutants like PM, VOCs, or CO2 and record baseline results. After making changes—such as installing purifiers or improving ventilation—repeat the tests under similar conditions. Compare the results to show reductions in pollutants. Keeping detailed records helps validate your efforts, and continuing this process guarantees ongoing air quality monitoring. Explore more to master effective testing strategies.
Key Takeaways
- Conduct initial air quality tests using reliable devices to establish a clear baseline for comparison.
- Implement targeted improvements such as purifiers or ventilation systems, then replicate testing under similar conditions.
- Ensure testing protocols remain consistent, including timing, location, and environmental factors, to attribute changes accurately.
- Analyze before-and-after data to confirm pollutant reductions and verify that improvements result from interventions.
- Document all testing procedures and results thoroughly, integrating regular monitoring for ongoing air quality validation.

Before-and-after testing is a powerful method to measure the impact of changes or improvements in a process, product, or system. When it comes to improving air quality, this approach allows you to objectively demonstrate whether your efforts have made a tangible difference. To do this effectively, you need to follow precise testing procedures that guarantee your results are accurate and meaningful. Proper testing procedures involve selecting the right tools, establishing baseline conditions, and controlling variables that could influence your measurements.
Before-and-after testing measures process improvements; select proper tools, establish baselines, and control variables for accurate results.
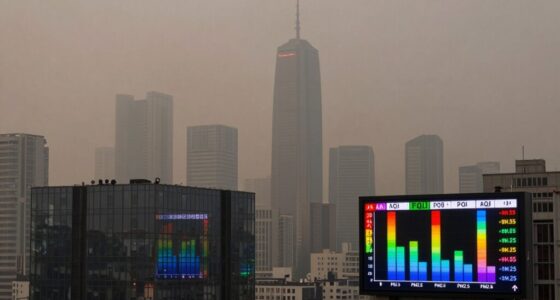
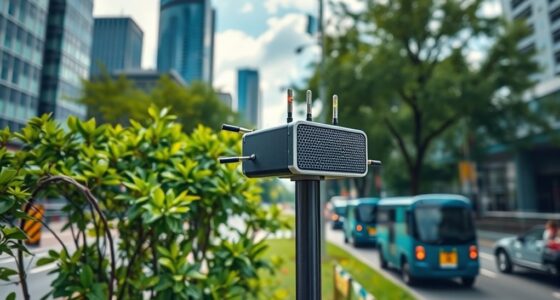
First, you want to start by evaluating your current air quality. This means conducting initial tests using reliable air quality testing devices. These devices measure factors like particulate matter (PM), volatile organic compounds (VOCs), carbon dioxide levels, and other pollutants. When you perform these tests, make sure to follow standardized testing procedures—such as taking measurements at consistent times, in similar locations, and under comparable environmental conditions. This consistency is vital because it lets you compare before-and-after data accurately. Additionally, understanding the air quality standards helps you interpret your results within a meaningful context.
Once you’ve established a baseline, you implement your improvement measures. These could include installing air purifiers, increasing ventilation, sealing leaks, or switching to cleaner energy sources. After the changes are in place, you conduct the same testing procedures again. The key is to replicate the initial testing conditions as closely as possible to guarantee that any differences in air quality are due to your interventions, not external factors like weather or occupancy levels.
Analyzing the before-and-after data helps you see whether your efforts have paid off. If the testing results show a significant reduction in pollutants, you can confidently attribute the improvement to your actions. Conversely, if there’s little or no change, it indicates that your strategies may need adjustment or that external factors are influencing your indoor air quality. Remember, it’s essential to document each step of your testing procedures and results thoroughly. Proper documentation not only helps validate your findings but also provides a clear record for future reference or reporting.
Incorporating regular testing into your maintenance routine ensures you continually monitor air quality and verify that your environment remains safe and healthy. By following precise testing procedures and carefully analyzing your before-and-after data, you prove whether your efforts have truly made the air cleaner. This method not only confirms the effectiveness of your improvements but also guides you in making informed decisions for ongoing air quality management.
Frequently Asked Questions
How Long Should I Wait Between Testing Sessions?
You should wait at least two weeks between testing sessions to guarantee accurate results. This allows enough time for your air sampling to reflect changes and for calibration methods to stabilize. Regularly calibrate your testing equipment before each session to maintain accuracy. Waiting this period helps you compare data reliably, proving whether your efforts to improve air quality are effective. Keep consistent testing intervals for the most accurate comparison.
What Equipment Is Best for Accurate Air Quality Measurement?
Imagine holding a clear, precise lens over your airspace; the best equipment for accurate measurement includes portable monitors with properly calibrated sensors. These devices offer real-time readings, helping you see subtle changes. Prioritize sensors that require calibration regularly to guarantee accuracy. A reliable portable monitor acts like a trusted eye, capturing air quality details so you can confidently prove your space is cleaner and healthier.
Can Weather Conditions Affect Test Results?
Weather variability can definitely affect your test results, making it harder to guarantee testing consistency. Changes in humidity, temperature, wind, and rain can influence air quality readings, causing fluctuations that aren’t related to actual pollution levels. To get reliable data, you should conduct tests under similar weather conditions or account for weather variability in your analysis. This way, you can confidently prove your air got cleaner with accurate, consistent results.
How Often Should I Perform These Tests?
Like clockwork, you should perform testing at regular intervals to guarantee your air quality remains improved. The ideal testing intervals depend on your specific environment, but generally, monthly testing provides a good baseline. If conditions change or you notice issues, increase the frequency. Consistent testing helps you catch setbacks early and demonstrate ongoing improvements, giving you confidence that your air stays clean over time.
Are There Any Safety Concerns During Testing?
Yes, there are safety concerns during testing, but you can minimize risks by following proper ventilation safety and testing precautions. Guarantee the testing area is well-ventilated to avoid buildup of any potentially harmful substances. Wear appropriate protective gear, like masks and gloves, and keep children and pets away. Regularly check your equipment for leaks or malfunctions, and always follow manufacturer instructions to stay safe during the process.
Conclusion
By conducting before-and-after tests, you can see firsthand if your efforts truly improve your air quality. It’s simple to verify whether your cleaning methods or air purifiers make a real difference, giving you peace of mind. Don’t just trust claims—measure and prove that your air is cleaner. This approach not only boosts confidence but also helps you fine-tune your strategies for healthier, fresher indoor air. Ready to see the results for yourself?