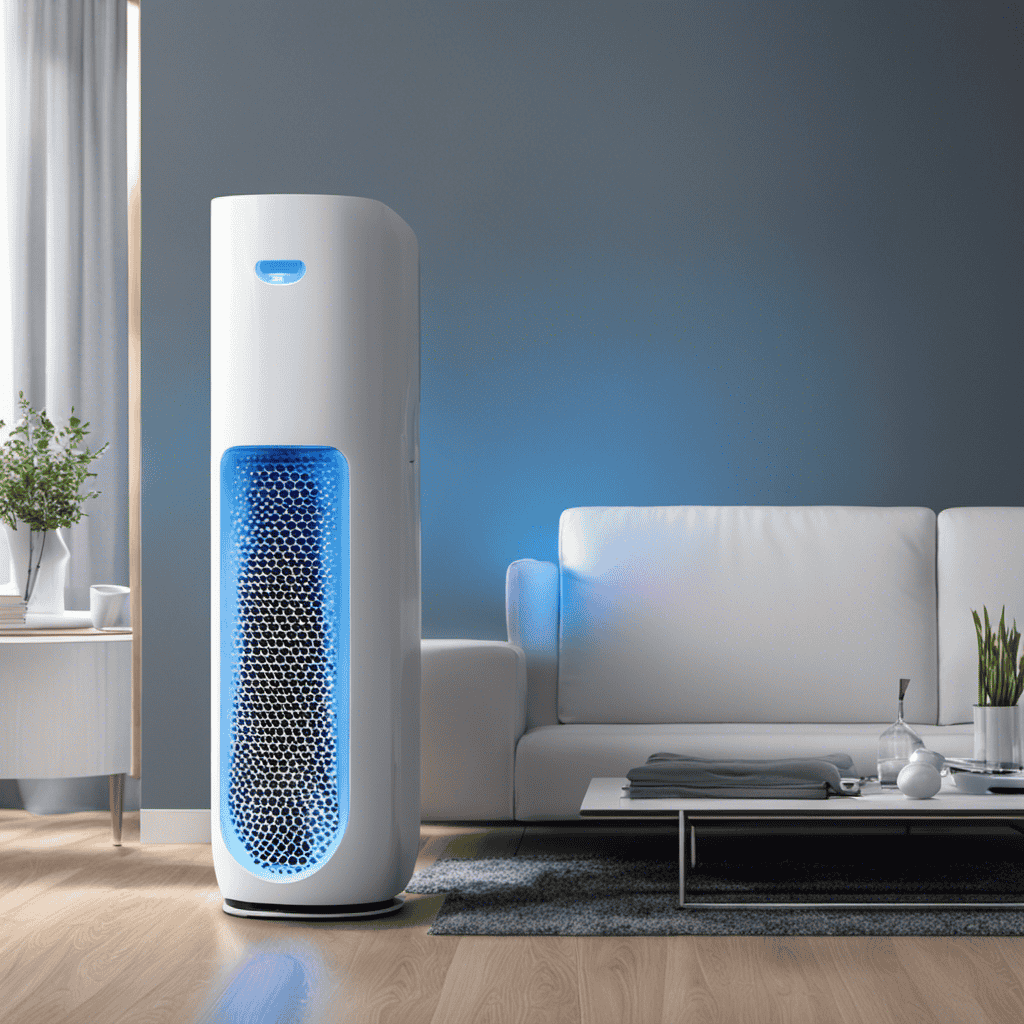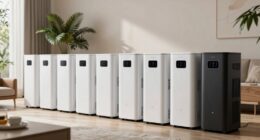

As an individual who appreciates the significance of breathable, purified air, I recognize the necessity of possessing a mini USB air purifier.
In this article, I will guide you through the simple process of turning on your device and ensuring its optimal performance.
By following these steps, you’ll be able to activate the purification mode, adjust the fan speed, set a timer, and troubleshoot any potential issues.
Let’s dive in and enjoy the benefits of a purified environment together.
Key Takeaways
- Plug the USB air purifier mini into a compatible power outlet and securely insert the USB plug into the device.
- Locate the power button or switch on the device to turn it on and ensure there are no loose connections.
- Connect the USB cable securely between the device’s USB port and the air purifier’s port before turning it on.
- Understand and master the device settings to adjust fan speed, set a timer, activate sleep mode, and turn on the ionizer for optimal air purification.
Checking the Power Source
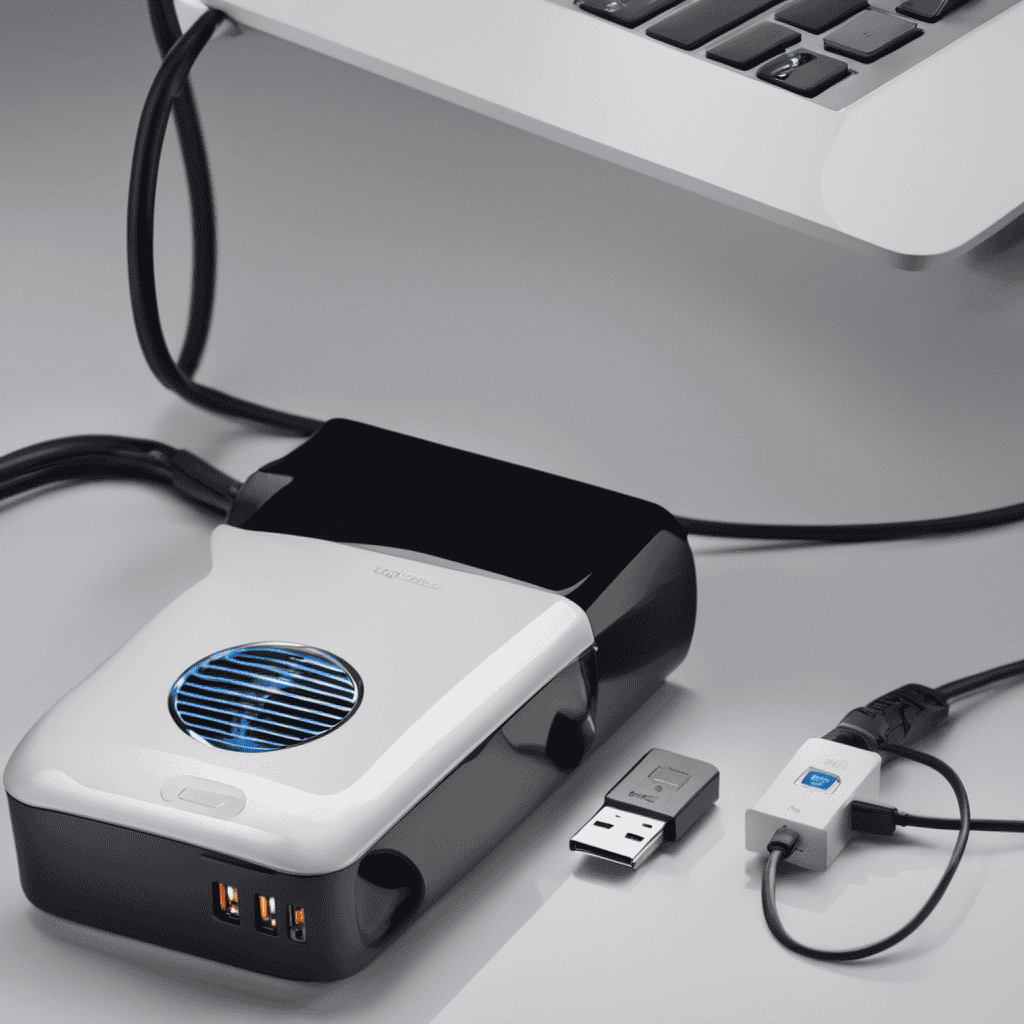
First, you’ll want to make sure you’ve plugged the USB air purifier mini into a power source. The power supply of the device is through a USB connection, which can be plugged into any compatible power outlet.
To check if the USB air purifier mini is properly connected to a power source, locate the USB port on the device and insert the USB plug into it. Ensure that the plug is securely inserted, and there are no loose connections.
Once connected, you can then proceed to turn on the USB air purifier mini by using the power button or switch, which is usually located on the device itself.
With the power source established, the USB air purifier mini is ready to provide clean and fresh air in your desired space.
Connecting the USB Cable
To connect the USB cable, you’ll need to locate the appropriate port on your device. Before proceeding, make sure you have already checked the power source. This is crucial to ensure that your USB air purifier mini functions properly.
Once you have confirmed the power source is working, take the USB cable and identify the USB port on your device. It is typically a small rectangular slot, commonly found on computers, laptops, and even some power adapters. Insert one end of the USB cable into the USB port on your device, and the other end into the corresponding port on your USB air purifier mini. Make sure the connection is secure and snug.
Once the USB cable connection is established, you can proceed to turn on your USB air purifier mini.
Understanding the Controls
In this discussion, I’ll explain the control functions of the USB air purifier mini and provide tips for mastering its device settings.
We’ll also explore the simplicity of the control panel, which allows for easy operation and customization.
Understanding these key points will ensure optimal use and effectiveness of the air purifier.
Control Functions Explained
The USB air purifier mini has various control functions that are easy to understand. With the touch of a button, you can adjust the fan speed, set a timer, activate the sleep mode, and turn on the ionizer. These functions allow you to customize the purifier’s operation to suit your needs.
To ensure the optimal performance of your air purifier, regular maintenance is essential. Cleaning the filter regularly will help remove dust, allergens, and pollutants from the air more effectively. Additionally, replacing the filter when necessary will ensure that the purifier continues to provide clean and fresh air.
Air purifiers offer numerous benefits, such as improving indoor air quality, reducing allergies, and eliminating unpleasant odors. By removing harmful particles and allergens from the air, they create a healthier and more comfortable environment for you and your family.
Now that you understand the control functions and the benefits of air purifiers, let’s move on to mastering the device settings to further enhance your air purification experience.
Mastering Device Settings
Now that you’ve grasped the control functions and benefits, let’s explore how to maximize your air purification experience by mastering the device settings.
Proper device setup is crucial for optimal performance. Start by placing the air purifier in a central location, away from obstructions. Next, ensure that the power cord is securely connected to both the device and a power outlet.
Once the device is powered on, you can adjust the settings to suit your needs. The device’s power management feature allows you to control the fan speed and set a timer for automatic shut-off. By utilizing these settings, you can save energy and prolong the life of the device.
Now, let’s move on to exploring the simple control panel and its functions.
Simple Control Panel
To adjust the fan speed or set a timer, simply press the corresponding buttons on the control panel. The control panel of the USB Air Purifier Mini is designed to provide a user-friendly and intuitive experience. It allows you to easily customize the display and adjust the brightness according to your preference. The control panel features a clear LCD screen that displays all the relevant information about the device’s settings and functions. With just a few simple button presses, you can adjust the fan speed to suit your needs, whether you want a gentle breeze or a stronger airflow. Additionally, you can set a timer to automatically turn off the device after a certain period of time. The control panel of the USB Air Purifier Mini puts you in complete control of your air purification experience.
| Button | Function |
|---|---|
| Power | Turns the device on or off |
| Fan Speed | Adjusts the speed of the fan |
| Timer | Sets a timer to automatically turn off the device |
| Display | Customizes the display brightness |
Activating the Purification Mode
Simply press the power button on your USB air purifier mini to activate the purification mode.
This mode is designed to effectively filter out pollutants and improve the air quality in your surroundings.
By turning on the air purification function, you can ensure that your environment is free from harmful particles such as dust, allergens, and smoke. This is especially beneficial for individuals with allergies or respiratory issues, as it helps to reduce the risk of respiratory problems and improve overall well-being.
Additionally, air purification can also eliminate unpleasant odors, leaving your space fresh and clean.
If you are experiencing any issues with the air quality, troubleshooting your air purifier can help identify and resolve any problems that may be affecting its performance.
Adjusting the Fan Speed
By adjusting the fan speed on your USB air purifier mini, you can customize the airflow to meet your specific needs. The fan speed controls how fast the blades rotate, which directly affects the amount of air being circulated. To change the fan speed, simply use the control buttons provided on the device.
Increasing the fan speed will result in a higher airflow, while decreasing it will reduce the airflow. It’s important to note that changing filters regularly is crucial for maintaining optimal performance and air quality.
When selecting the fan speed, consider the noise levels as well. Higher speeds may generate more noise, while lower speeds offer a quieter operation.
Now, let’s move on to the next section about setting the timer to further enhance your air purifier experience.
Setting the Timer
The timer on your USB air purifier mini allows you to schedule when the device turns on and off, giving you control over how long it operates. Here’s how you can set the timer on your USB air purifier mini:
- Press the timer button on the device to enter the timer setting mode.
- Use the up and down buttons to adjust the hours and minutes for the device to turn on.
- Press the timer button again to set the off time.
- Use the up and down buttons to adjust the hours and minutes for the device to turn off.
By setting the timer, you can ensure that your USB air purifier mini operates only when needed, saving energy and prolonging the life of the device’s filter.
Now let’s move on to troubleshooting and maintenance tips to keep your air purifier in optimal condition.
Troubleshooting and Maintenance Tips
When it comes to troubleshooting and maintenance of a USB air purifier mini, there are common issues that may arise. However, there are also effective solutions to address these problems.
Additionally, it’s important to understand the proper cleaning techniques and the regular replacement of filters to ensure optimal performance and air quality.
Common Issues and Solutions
If you’re having any issues with your USB air purifier mini, here are some common problems and their solutions.
-
No power: Make sure the USB cable is securely connected to both the air purifier and the power source. Check if the power source is working properly by plugging in another device.
-
Low airflow: Clean the air filters regularly to prevent clogging. Remove the filters and rinse them with water or use a vacuum cleaner to remove dust and debris.
-
Strange odors: Replace the activated carbon filter to eliminate odors. It is recommended to replace the filter every 3-6 months, depending on usage.
-
Loud noise: Check if the fan blades are clean and free from any obstructions. If the noise persists, contact customer support for further assistance.
Remember to always refer to the user manual for specific troubleshooting techniques and proper air purifier maintenance.
Cleaning and Filter Replacement
To ensure optimal performance, regularly clean the filters and replace the activated carbon filter every 3-6 months. Proper cleaning techniques and filter maintenance are essential for the efficient operation of your USB air purifier mini. Neglecting these tasks can lead to reduced air quality and decreased performance.
Here are some cleaning techniques and tips to help you maintain your device:
-
Pre-filter: Remove the pre-filter and gently vacuum or wash it to remove dust and debris.
-
Activated Carbon Filter: Replace the activated carbon filter every 3-6 months to eliminate odors and harmful gases.
-
HEPA Filter: Vacuum the HEPA filter to remove dust and allergens. Avoid washing it, as this can damage the filter.
Frequently Asked Questions
Can the USB Air Purifier Be Used in a Car or Only With a Computer?
The USB air purifier can be used in a car or with a computer. It offers the convenience of purifying the air while driving, providing benefits such as removing allergens and odors.
What Is the Recommended Duration for Using the USB Air Purifier?
The recommended duration for using the USB air purifier is 8 hours a day. It helps to remove allergens, pollutants, and odors from the air. Using it consistently can improve air quality and promote a healthier environment.
Can the USB Air Purifier Be Used in a Small, Enclosed Space Like a Closet?
Can the USB air purifier effectively clean the air in small, enclosed spaces like a closet? USB air purifier maintenance is simple, and the benefits of using it in tight spaces include improved air quality and odor reduction.
Is It Safe to Leave the USB Air Purifier Turned on Overnight?
Leaving the USB air purifier on overnight can be safe, as it helps improve air quality and provides health benefits. However, factors such as noise level, power consumption, and the size of the enclosed space should be considered beforehand.
How Often Should the Filter Be Replaced in the USB Air Purifier?
The filter in the USB air purifier should be replaced every 6-12 months, depending on usage. To maintain it properly, regularly check for signs of a clogged filter, such as reduced airflow or a musty smell.
Conclusion
In conclusion, operating a USB air purifier mini is a straightforward process that provides immense benefits for your indoor air quality. By following the steps outlined in this guide, you can easily activate the device and enjoy clean, fresh air in your space.
From checking the power source to troubleshooting any issues that may arise, this compact purifier proves to be a lifesaver. So go ahead, experience the astonishing transformation of your environment with this remarkable device—a true game-changer in the pursuit of pristine air.