Hello there!
I’m here to share with you my personal tips and tricks on how to make the most of your Philips Air Purifier.
From unboxing to maintenance, I’ll guide you through the process step by step.
With its sleek design and powerful technology, this purifier is a game changer when it comes to improving indoor air quality.
So, let’s dive in and discover how to unleash the full potential of your Philips Air Purifier!
Key Takeaways
- Unboxing and initial setup: Lay out all components, insert filters, plug in and switch on the air purifier, follow user manual instructions.
- Understanding the control panel: Familiarize yourself with functions and settings, adjust fan speed, activate auto mode and sleep mode, use timer function.
- Troubleshooting common issues: Consult user manual for solutions, check for loose components or fan that needs lubrication, ensure proper power connection, clean or replace filters, contact customer support if issues persist.
- Adjusting fan speed and mode: Use control panel or remote control for convenient adjustments, adjust oscillation angle, find desired fan speed, enjoy controlling the air purifier from anywhere in the room.
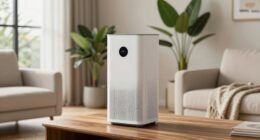
Unboxing and Initial Setup
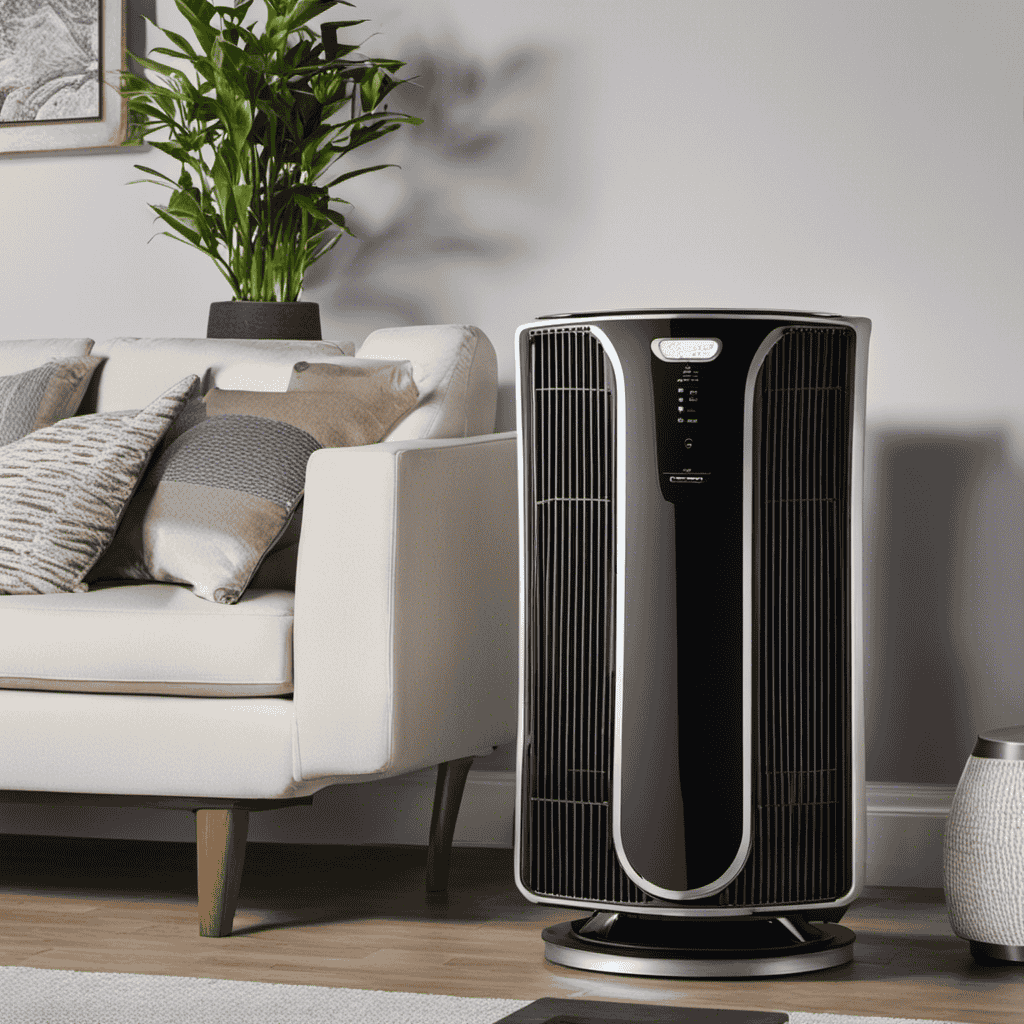
First, you’ll need to unbox the Philips air purifier and start the initial setup process. The unboxing experience is straightforward. Inside the box, you’ll find the purifier unit, filters, and a power cord. Carefully remove all the components and place them on a clean, flat surface.
Next, follow the initial setup tips to get started. Locate the filter compartment and remove the protective packaging from the filters. Insert the filters back into the unit, ensuring they are securely in place. Then, plug in the power cord and switch on the air purifier.
Now, let’s move on to understanding the control panel and optimizing the purifier’s settings for your specific needs.
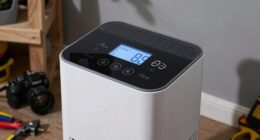
Understanding the Control Panel
When it comes to using an air purifier, understanding the control panel is crucial.
In this discussion, I will delve into the panel functions and settings that you need to know.
Additionally, I will address common issues that may arise with the control panel and provide troubleshooting tips to help you resolve them.
Panel Functions and Settings
To adjust the fan speed on the Philips air purifier, simply press the corresponding button on the control panel.
The control panel of the Philips air purifier offers a variety of functions and settings to customize your air purification experience.
Here are three key features that can help optimize air purification:
-
Auto Mode: This setting allows the air purifier to automatically adjust its fan speed based on the air quality in the room. It continuously monitors the air and adjusts the purification level accordingly, ensuring that you always have clean and fresh air.
-
Sleep Mode: When you want a peaceful night’s sleep without any disturbance, activate the Sleep Mode. This feature reduces the noise level and dims the lights on the control panel to provide a quiet and comfortable sleeping environment.
-
Timer Function: The timer function allows you to set a specific time duration for the air purifier to operate. This is useful if you want the purifier to run for a certain period and then automatically turn off, saving energy and ensuring efficient operation.
Troubleshooting Common Issues
If you’re experiencing any issues with your device, a helpful tip is to check the user manual for troubleshooting solutions.
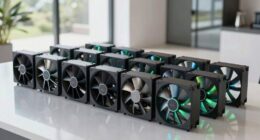
When it comes to air purifiers, two common problems that users encounter are excessive noise and the device not turning on.
If you’re hearing an unusual noise coming from your air purifier, check if the filters are properly installed and if they need to be cleaned or replaced. Sometimes, the noise could be caused by loose components or a fan that needs to be lubricated.
On the other hand, if your air purifier is not turning on, ensure that it is properly plugged in and that the power switch is in the on position. If the issue persists, try resetting the device or contacting customer support for further assistance.
Adjusting the Fan Speed and Mode
Simply press the ‘Fan Speed’ button to adjust the speed and mode of your Philips air purifier. This button is conveniently located on the control panel of the device. When you press it, you can cycle through different speed settings to find the one that suits your needs.
Additionally, you can use the remote control to adjust the fan speed and mode from anywhere in the room. The remote control provides convenience and ease of use, allowing you to make adjustments without having to get up from your seat.
Another useful feature of the Philips air purifier is the ability to adjust the oscillation angle. This allows you to direct the airflow in a specific direction, ensuring that the purified air reaches all corners of the room.
Setting the Timer and Sleep Mode
The timer on the Philips air purifier can be set to automatically turn off the fan after a certain period of time. This feature is extremely useful if you want to conserve energy or if you only need the air purifier to run for a specific duration.
By using the sleep mode, you can set the timer to run the air purifier for a specific amount of time while you sleep, ensuring that you wake up to clean and fresh air. The benefits of setting the timer are twofold: it helps you save energy and it allows you to customize the duration of the air purification process.
This feature is particularly useful for those who want to minimize electricity consumption or only require the air purifier for a specific time period.
Now let’s move on to the next section, which is about replacing the filters.
Replacing the Filters
When it comes to replacing the filters in your air purifier, there are a few important things to consider.
First, understanding the lifespan of the filters and knowing the indicators for when they need to be replaced is crucial for maintaining optimal air quality.
Additionally, it’s essential to know the different types of replacement filters available for your specific model, as each one serves a different purpose.
Lastly, proper installation techniques are key to ensure that the filters are securely in place and functioning effectively.
Filter Lifespan and Indicators
You should regularly check the filter indicators to monitor the lifespan of your Philips air purifier filters. Proper maintenance is essential for maintaining air quality in your home.
Here are three key things to know about filter lifespan and indicators:
-
Filter Replacement Schedule: Philips air purifiers typically have a recommended filter replacement schedule. This schedule is based on factors like usage time and air quality conditions. It’s important to follow this schedule to ensure optimal performance and clean air in your home.
-
Filter Indicator Lights: Most Philips air purifiers have filter indicator lights that will alert you when it’s time to replace the filters. These lights usually change color or blink, indicating the filter’s condition. Pay attention to these indicators to ensure timely filter replacements.
-
Resetting the Indicator: After replacing the filters, you may need to reset the filter indicator. This is usually done by holding down a specific button or combination of buttons on the air purifier. Refer to your user manual for instructions on how to reset the filter indicator.
Types of Replacement Filters
One of the types of replacement filters for your Philips air purifier is a HEPA filter. HEPA stands for High Efficiency Particulate Air, and these filters are designed to capture microscopic particles as small as 0.3 microns. They are highly effective at removing allergens, dust, pollen, pet dander, and other airborne pollutants from your indoor air. Another type of filter commonly used in air purifiers is the activated carbon filter. These filters are effective at removing odors, chemicals, and gases from the air. They work by adsorbing these pollutants onto the surface of the carbon particles. Using a pre-filter in your air purifier is also beneficial as it helps to extend the lifespan of the main filters by capturing larger particles and preventing them from clogging the system.
Here is a visual representation of the different types of filters:
| Filter Type | Function |
|---|---|
| HEPA | Captures microscopic particles |
| Activated Carbon | Removes odors, chemicals, and gases |
| Pre-filter | Captures larger particles and extends lifespan of main filters |
Proper Installation Techniques
To properly install the filters, make sure to follow the instructions provided in the user manual. Proper installation of filters is essential for the optimal functioning of your Philips air purifier.
Here are some installation tips to ensure proper placement:
-
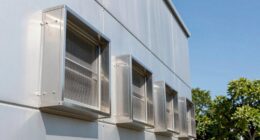
Find the right location: Place the air purifier in a central area of the room to ensure maximum coverage. Avoid placing it near walls or furniture that could obstruct airflow.
-
Remove the packaging: Before installing the filters, make sure to remove any packaging or protective coverings. This will allow the filters to effectively capture and remove pollutants from the air.
-
Align and secure the filters: When inserting the filters, ensure they are properly aligned with the designated slots. Apply gentle pressure to secure them in place. Double-check that they are firmly installed before turning on the air purifier.
Following these installation tips and ensuring proper placement of the filters will help your Philips air purifier work efficiently and improve the air quality in your home.
Cleaning and Maintenance
Regularly cleaning and replacing the filters is essential for maintaining the performance of the Philips air purifier. To clean the filters, first, ensure the unit is turned off and unplugged.
Gently remove the front cover and take out the filters. Depending on the model, you may have a pre-filter, HEPA filter, and activated carbon filter. To clean the pre-filter, simply rinse it under running water and let it air dry.
The HEPA and activated carbon filters cannot be washed, so it’s best to replace them every 6-12 months, or as recommended by Philips. This ensures optimal filtration and removes odors effectively.
Remember to consult the user manual for specific cleaning techniques and filter replacement instructions, as they may vary depending on the model.
Troubleshooting Common Issues
After learning about the importance of cleaning and maintenance for your Philips air purifier, it’s time to address any troubleshooting issues that may arise.
Here are some common problems you may encounter and their solutions:
-
Strange Odors: If you notice an unusual smell coming from your air purifier, it may be due to a dirty filter. Try cleaning or replacing the filter to eliminate the odor.
-
Loud Noise: If your air purifier is making a loud noise, it could be due to a loose or damaged fan. Check the fan and tighten any loose screws. If the noise persists, contact customer support for further assistance.
-
Power Issues: If your air purifier is not turning on, check if it is properly plugged into a working outlet. You can also try resetting the power by unplugging it for a few minutes and plugging it back in.
Frequently Asked Questions
How Often Do I Need to Replace the Filters in My Philips Air Purifier?
I replace the filters in my Philips air purifier every 6-12 months. It’s important to clean the exterior regularly to maintain optimal performance. Using a Philips air purifier helps remove allergens, pollutants, and odors, improving indoor air quality.
Can I Use the Air Purifier in a Large Room or Only in Smaller Spaces?
Yes, you can use the Philips Air Purifier in a large room. It is designed to effectively clean the air in spaces up to a certain size. Make sure to follow the maintenance tips for optimal performance.
Is It Safe to Leave the Air Purifier on Overnight?
Yes, it is safe to leave the air purifier on overnight. However, there are pros and cons to consider. On one hand, it helps improve air quality while you sleep. On the other hand, it can be noisy and increase electricity consumption. To optimize its use during sleep, ensure proper ventilation and adjust the fan speed accordingly.
Can I Use the Air Purifier in a Room With Pets?
Yes, you can safely use the air purifier in a room with pets. It helps remove pet dander and allergens, providing cleaner air for both you and your furry friends.
How Long Does It Take for the Air Purifier to Effectively Clean the Air in a Room?
It typically takes about 1-2 hours for the air purifier to effectively clean the air in a room. Factors like room size and air quality may affect the time it takes.
Conclusion
In conclusion, using a Philips air purifier is a simple and effective way to improve the air quality in your home.
With its user-friendly control panel and customizable settings, you can easily adjust the fan speed and mode to suit your needs.
Additionally, the timer and sleep mode features allow for convenient operation during different times of the day.
It is fascinating to note that according to a study conducted by the American Lung Association, indoor air pollution can be up to five times worse than outdoor pollution. This emphasizes the importance of investing in an air purifier to protect your health and well-being.
Remember to regularly replace the filters and perform routine cleaning and maintenance to ensure optimal performance of your air purifier.