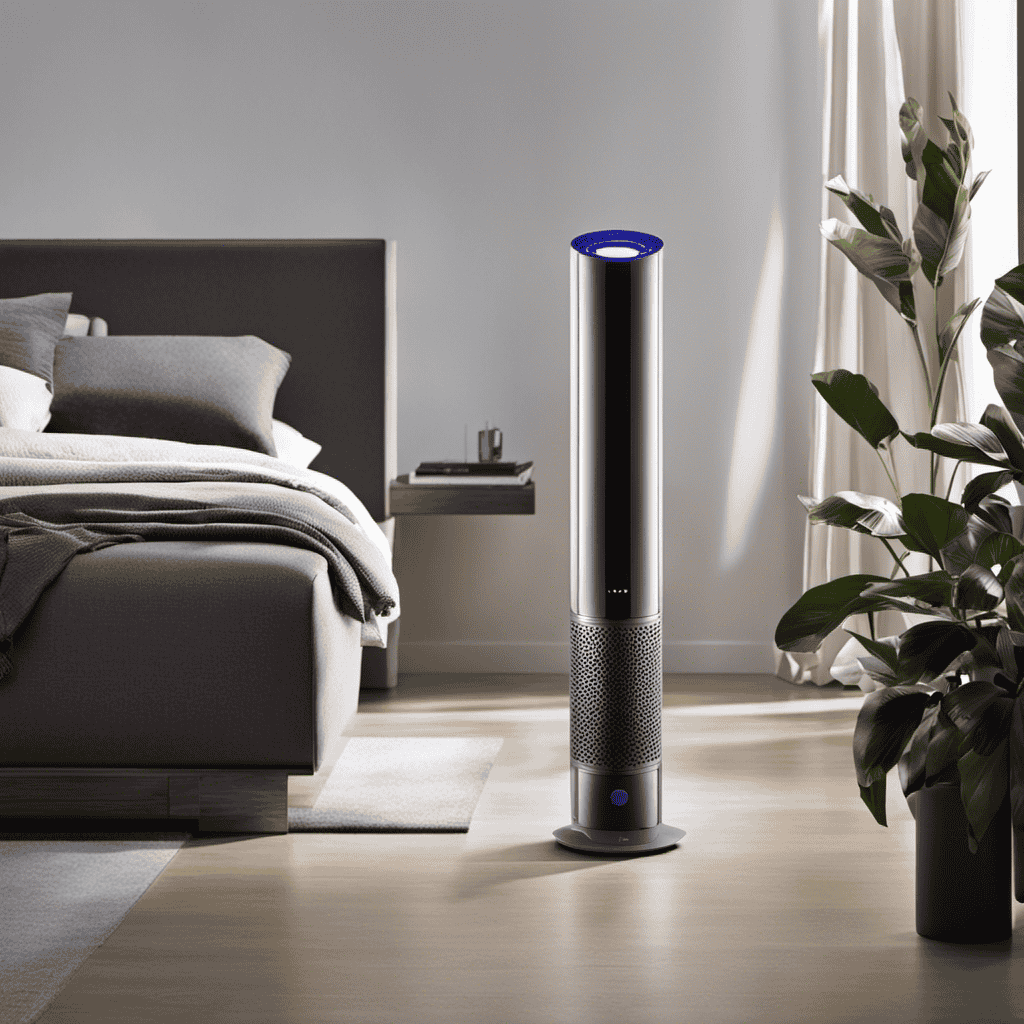
So, you have purchased an Aerus Air Purifier and it is likely accumulating dust and dirt. No need to worry, I have a solution for you.
In this article, I’ll be showing you how to clean your Aerus Air Purifier step by step. From understanding the different parts to reassembling and testing it, I’ll make sure you have all the information you need to keep your air purifier working at its best.
Let’s get started!
Key Takeaways
- The Aerus Air Purifier has multiple filters, including a pre-filter, carbon filter, HEPA filter, and UV light.
- Before cleaning the Aerus Air Purifier, make sure to unplug the device and remove the filter according to the manufacturer’s instructions.
- Clean the exterior of the air purifier with a soft, damp cloth and clean the vents to remove any dust or debris blocking airflow.
- For maintenance, regularly clean and replace the pre-filter and HEPA filter, avoiding the use of water or harsh chemicals.

DEWALT Drill Bit Set, 3-Flats Shank,14-Piece, 135 Degree Split Point, for Plastic, Wood and Metal (DWA1184)
135 Degree Split point tip design to help reduce walking
As an affiliate, we earn on qualifying purchases.
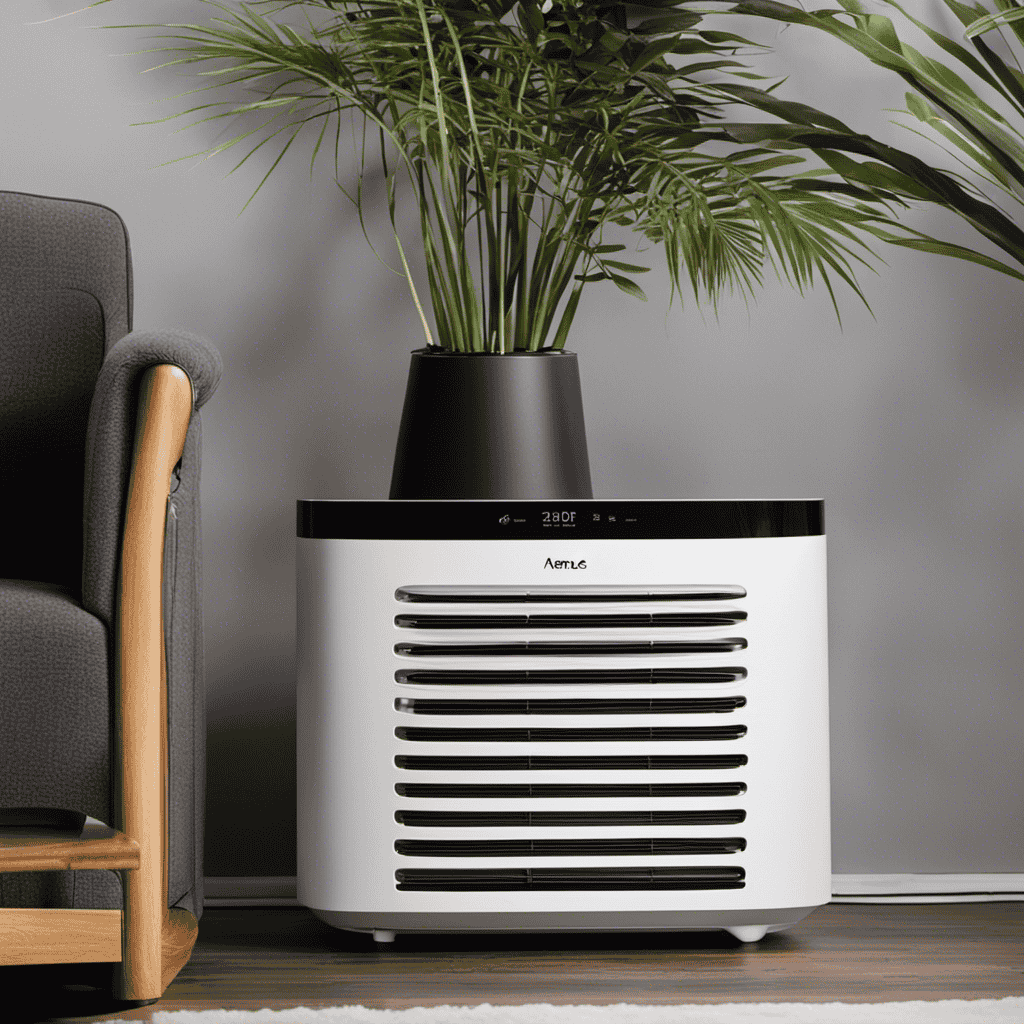
Understanding the Parts of Your Aerus Air Purifier
To understand the parts of your Aerus Air Purifier, you’ll need to familiarize yourself with the different components.
Understanding the importance of regular maintenance for your Aerus Air Purifier is crucial to ensure its optimal performance and longevity.
The main components of the Aerus Air Purifier include the pre-filter, carbon filter, HEPA filter, UV light, and the fan.
The pre-filter captures larger particles like pet hair and dust, while the carbon filter eliminates odors and harmful chemicals.
The HEPA filter is responsible for capturing tiny particles like pollen and allergens.
The UV light helps kill bacteria and viruses, providing a cleaner and healthier environment.
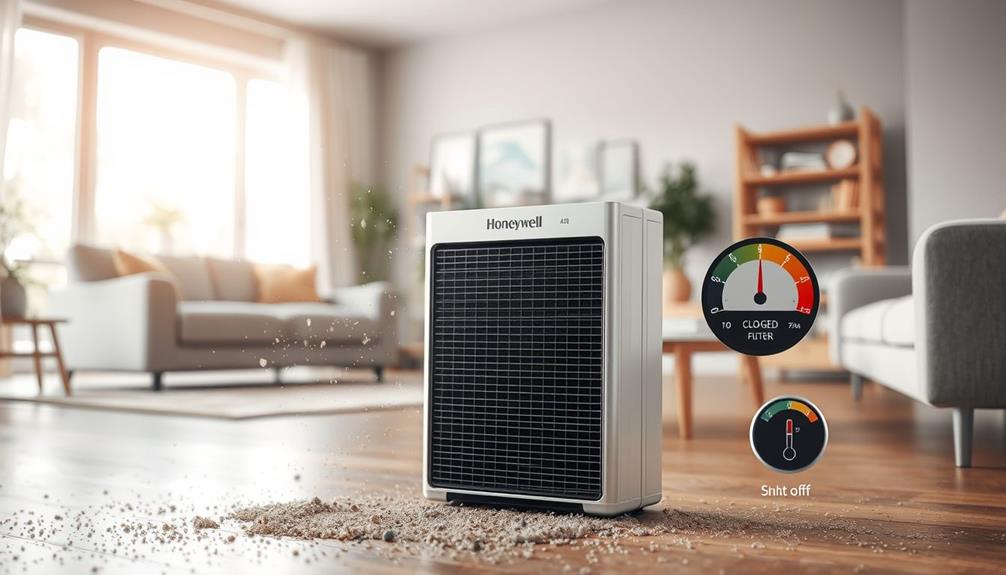
If you experience any issues with your Aerus Air Purifier, common troubleshooting steps include checking the power supply, replacing filters, and cleaning the unit thoroughly.
Regular maintenance and troubleshooting are essential to keep your Aerus Air Purifier working efficiently and effectively.

DEWALT 20V MAX Cordless Drill Driver Set, Electric Drill, Brushless 1/2 In 2 Speed, 2.0 Ah Battery and Charger Included, LED Light (DCD777D1)
DEWALT Power drill brushless motor delivers more run time over brushed
As an affiliate, we earn on qualifying purchases.
Preparing Your Aerus Air Purifier for Cleaning
First, make sure you unplug your device before starting the cleaning process. Cleaning an Aerus air purifier is an important step in maintaining its efficiency and prolonging its lifespan. Here are some tips to help you prepare your Aerus air purifier for cleaning:
-
Remove the filter: Take out the filter from the air purifier according to the manufacturer’s instructions. This will allow you to clean or replace it as needed.
-
Wipe down the exterior: Use a soft, damp cloth to wipe down the exterior of the air purifier. This will remove any dust or dirt that has accumulated on the surface.
-
Clean the vents: Gently vacuum or wipe the vents to remove any dust or debris that may be blocking airflow.
-
Check for common issues: Inspect the power cord, buttons, and controls for any signs of damage or malfunction. Troubleshoot any common issues before proceeding with the cleaning process.

DEWALT 20V MAX* Dust Extractor, Brushless, Universal, Tool Only (DWH161B)
High mobility, compact and lightweight OSHA Table 1 Compliant solution. HEPA filter is included in the dust extractor.
As an affiliate, we earn on qualifying purchases.
Removing and Cleaning the Pre-Filter
When it comes to maintaining my Aerus Air Purifier, one key aspect is the pre-filter.
In order to ensure optimal performance and prolong the lifespan of the purifier, it’s important to regularly clean the pre-filter.
In this discussion, I will be sharing some helpful pre-filter maintenance tips and guidelines on how frequently the pre-filter should be cleaned.
Pre-Filter Maintenance Tips
Make sure you regularly vacuum the pre-filter of your Aerus air purifier to prevent dust and debris from building up. The pre-filter plays a crucial role in capturing larger particles before they reach the main filter, ensuring optimal performance and prolonging the life of your air purifier.
Here are some pre-filter maintenance tips to keep in mind:
- Regularly inspect the pre-filter for any visible debris or damage.
- If the pre-filter is dirty or clogged, clean it by gently tapping it to remove loose particles or vacuum it with a soft brush attachment.
- Replace the pre-filter according to the manufacturer’s recommendations or if it becomes damaged beyond repair.
- Common pre-filter issues include accumulation of dirt, pet hair, and odors, which can be minimized by regular cleaning and replacement.
By properly maintaining the pre-filter, you can ensure that your Aerus air purifier continues to provide clean and fresh air for a healthier indoor environment.
Now let’s discuss the frequency of cleaning the pre-filter.
Frequency of Cleaning
Regularly vacuuming the pre-filter of your Aerus air purifier is important to prevent dust and debris buildup. But how often should you clean it? Well, the frequency of cleaning depends on various factors like the air quality in your home, the number of occupants, and the presence of pets. A good rule of thumb is to clean the pre-filter every 2-3 months. However, if you have allergies or respiratory issues, it’s best to clean it more frequently, like once a month. To help you create a cleaning schedule, here’s a table that outlines different scenarios and recommended cleaning frequencies:
| Scenario | Cleaning Frequency |
|---|---|
| Low air pollution, no pets | Every 2-3 months |
| Moderate air pollution, 1-2 pets | Every 1-2 months |
| High air pollution, 3+ pets | Every month |
| Allergies or respiratory issues | Every month |
Regular cleaning is crucial to maintain the efficiency and longevity of your Aerus air purifier. So, make sure to set a cleaning schedule that suits your specific needs and keep your indoor air clean and fresh.

Fein Turbo I HEPA Pro Set Wet/Dry Dust Extractor - 5.8-Gallon Capacity, 151 CFM Suction, Anti-Static System, Quiet 66 dB Operation, Includes HEPA Filter and Accessories - 92037060990
Compact Yet Powerful - With 151 CFM suction and 98" of water lift, this 5.8-gallon wet/dry dust extractor...
As an affiliate, we earn on qualifying purchases.
Cleaning the HEPA Filter of Your Aerus Air Purifier
When it comes to maintaining the filters in my Aerus air purifier, there are a few key points to keep in mind.
First and foremost, proper filter maintenance is crucial for ensuring optimal performance and longevity of the device. This includes regular cleaning and replacement as needed.
In terms of cleaning techniques, I have found that gently vacuuming the filters or using a soft brush to remove dust and debris is effective.
Additionally, there are a few tips I have learned along the way, such as avoiding the use of water or harsh chemicals on the filters and allowing them to fully dry before reinserting them into the air purifier.
Proper Filter Maintenance
To ensure your Aerus air purifier functions effectively, don’t forget to regularly replace the filters. Filter replacement is an essential part of proper maintenance for your air purifier.
Here are a few key points to keep in mind:
-
Frequency: It is recommended to replace the filters every 6-12 months, depending on the usage and air quality in your area.
-
Genuine Filters: Always use genuine Aerus filters for optimal performance and to maintain the warranty of your air purifier.
-
Filter Types: Aerus air purifiers may have multiple filters, such as a pre-filter, carbon filter, and HEPA filter. Make sure to replace all the filters as per the manufacturer’s instructions.
-
Troubleshooting Guide: If you notice a decrease in air purifier performance or any unusual noises, refer to the troubleshooting guide provided by Aerus to identify and resolve any issues.
Regular filter replacement is crucial to ensure that your Aerus air purifier continues to provide clean and fresh air for you and your family.
Cleaning Techniques and Tips
One way you can maintain the effectiveness of your Aerus air purifier is by regularly cleaning the exterior surfaces with a soft cloth. To ensure a thorough cleaning, you may also need some additional cleaning tools such as a small brush or a vacuum cleaner with a brush attachment.
Start by unplugging your air purifier and removing any loose debris from the exterior surfaces. Then, gently wipe down the surfaces with a soft cloth dampened with water or a mild cleaning solution. Avoid using harsh chemicals or abrasive materials that could damage the finish. For deep cleaning, you can use a small brush to clean any crevices or vents.
Once the exterior is clean, it’s time to move on to maintaining and cleaning the carbon filter.
Transition: Now that the exterior surfaces of your Aerus air purifier are clean, let’s move on to maintaining and cleaning the carbon filter.
Maintaining and Cleaning the Carbon Filter
You should regularly clean the carbon filter in your aerus air purifier to ensure optimal performance. Cleaning the carbon filter is an essential maintenance task that helps to remove pollutants and keep the air in your home clean and fresh. Here are some important tips to keep in mind:
-
Carbon filter replacement: Over time, the carbon filter will become saturated and lose its effectiveness. It is important to replace the carbon filter regularly to ensure maximum air purification.
-
Troubleshooting common issues: If you notice a decrease in air purifier performance or an unpleasant odor, it may be a sign that the carbon filter needs cleaning or replacement. Troubleshoot these issues by checking the carbon filter and taking appropriate action.
-
Proper cleaning technique: To clean the carbon filter, gently remove it from the air purifier and rinse it under running water. Avoid using harsh chemicals or scrubbing vigorously, as this can damage the filter.
-
Drying and reinstallation: After cleaning, allow the carbon filter to dry completely before reinstalling it in the air purifier. This ensures that it functions optimally and effectively removes pollutants from the air.
Regularly cleaning and maintaining the carbon filter in your aerus air purifier is crucial for its performance and longevity. By following these tips, you can ensure that your air purifier continues to provide clean and fresh air for you and your family.
Now let’s move on to the next section, which covers cleaning the exterior of your aerus air purifier.
Cleaning the Exterior of Your Aerus Air Purifier
After properly maintaining and cleaning the carbon filter of your Aerus air purifier, it’s time to move on to cleaning the exterior. This step is important to ensure that your air purifier not only functions efficiently but also looks good in your home. To clean the exterior, you will need a few basic cleaning tools. Here’s a table to help you gather everything you need:
| Cleaning Tools | Quantity |
|---|---|
| Microfiber cloth | 1 |
| Mild soap | 1 |
| Water | 1 |
Using a damp microfiber cloth, gently wipe down the exterior surfaces of your air purifier. If there are any stubborn stains, you can mix a small amount of mild soap with water and use it to clean the affected areas. Be careful not to get any water inside the air purifier. Once you’re done, make sure to thoroughly dry the exterior before reassembling and testing your cleaned Aerus air purifier.
Now, let’s move on to the next step of reassembling and testing your cleaned air purifier.
Can I Use the Same Cleaning Methods for Aerus and Germ Guardian Air Purifiers?
When it comes to cleaning Germ Guardian air purifiers, you should not use the same methods for Aerus air purifiers. Each brand has specific cleaning instructions to maintain optimal performance. Follow the guidelines provided for cleaning Germ Guardian air purifier to ensure it functions effectively.
Reassembling and Testing Your Cleaned Aerus Air Purifier
To put your cleaned Aerus air purifier back together and test it, start by carefully reattaching all the components. Make sure to follow these reassembly steps:
- Begin by placing the clean filters back into their designated slots.
- Securely attach the filter cover or grille, ensuring it is tightly in place.
- Reattach the fan or motor assembly, making sure it is aligned correctly.
- Finally, plug in the power cord and turn on the air purifier to test its functionality.
When testing your air purifier, there are a few methods you can use to ensure it is working properly. First, check for any unusual noises or vibrations. Next, observe the airflow and make sure it is consistent and strong. Finally, use an air quality monitor to measure the air purity levels in the room before and after using the air purifier.
Frequently Asked Questions
How Often Should I Clean the Aerus Air Purifier?
I clean my Aerus air purifier every 3 months as recommended. To ensure optimal performance, I follow the best practices provided by the manufacturer. These cleaning methods help maintain its efficiency and prolong its lifespan.
Can I Clean the Filters With Water?
Yes, you can clean the filters of the Aerus Air Purifier with water. However, there are also alternative solutions and cleaning methods available that can effectively remove dirt and improve the air quality.
Is It Necessary to Clean the Exterior of the Air Purifier Regularly?
Yes, it is important to clean the exterior of the air purifier regularly. Dust and dirt can accumulate, affecting its performance. I recommend using a soft cloth and mild detergent to gently wipe the surface. Avoid using harsh chemicals or abrasive materials.
How Long Does It Take to Clean the Aerus Air Purifier?
I can clean my Aerus air purifier in about 20 minutes. I start by removing the filters and gently vacuuming them. Then, I wipe down the exterior with a damp cloth. It’s important to regularly clean and maintain air purifiers for optimal air quality.
Can I Use Any Cleaning Solution to Clean the Filters?
Yes, you can use a variety of cleaning solutions to clean the filters of the Aerus Air Purifier. However, it is important to follow the manufacturer’s guidelines and avoid using harsh chemicals that could damage the filters.
Conclusion
In conclusion, cleaning my Aerus air purifier was a breeze! I now have a deep sense of satisfaction knowing that my air is being purified by a fresh and clean machine.
The process was straightforward and detailed, ensuring that every part was thoroughly cleaned. It was like giving my air purifier a spa day, rejuvenating it to its full potential.
Now, I can enjoy the cleanest and freshest air imaginable, thanks to my sparkling clean Aerus air purifier.