Are you aware that indoor air can be up to five times more contaminated than outdoor air? That’s why it is essential to regularly maintain and ensure proper functioning of your Honeywell air purifier.
In this article, I’ll guide you through the step-by-step process of cleaning your Honeywell air purifier, ensuring that you’re breathing in cleaner and healthier air.
So grab your cleaning supplies and let’s get started on improving the air quality in your home.
Key Takeaways
- Indoor air can be up to five times more polluted than outdoor air.
- Regularly replacing the HEPA filter is important for optimal performance.
- The air purifier employs noise reduction techniques for a quiet environment.
- Proper cleaning techniques ensure optimal performance and longevity.
Understanding the Honeywell Air Purifier
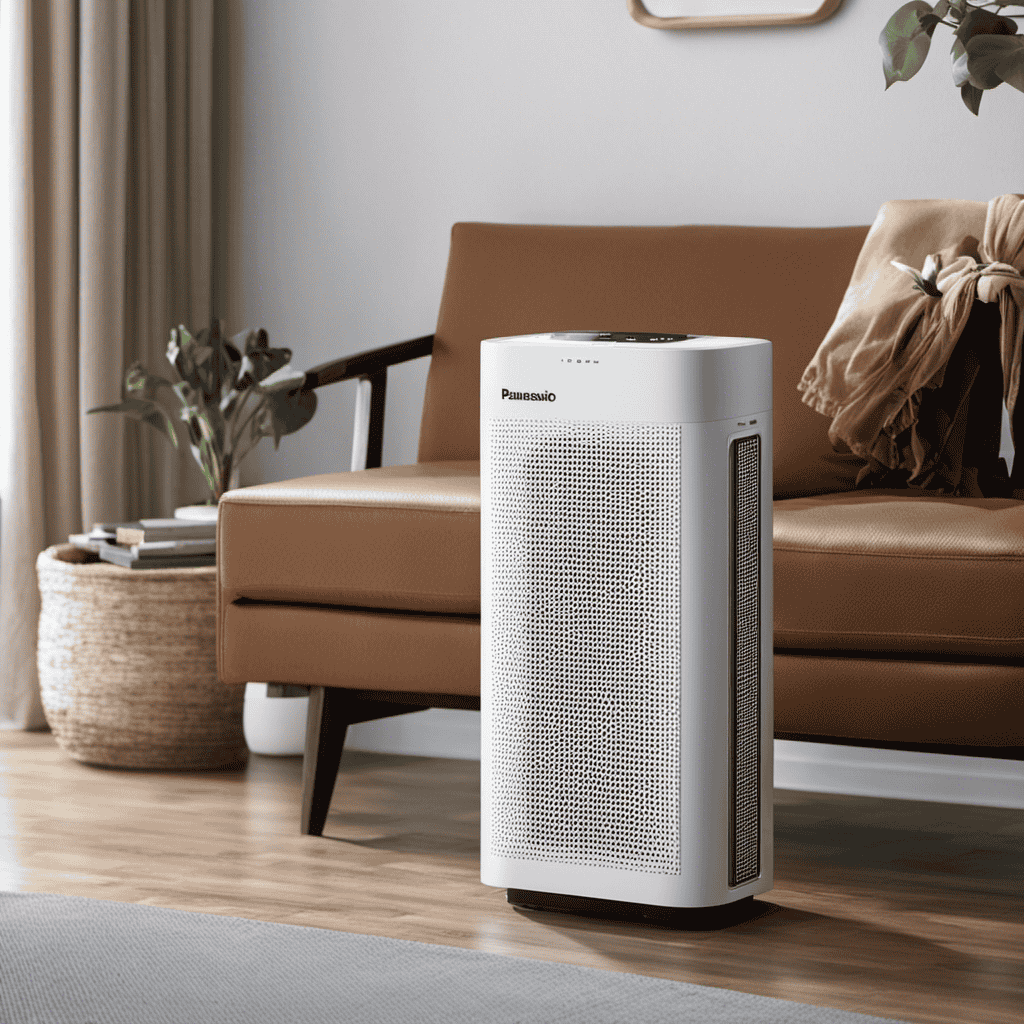
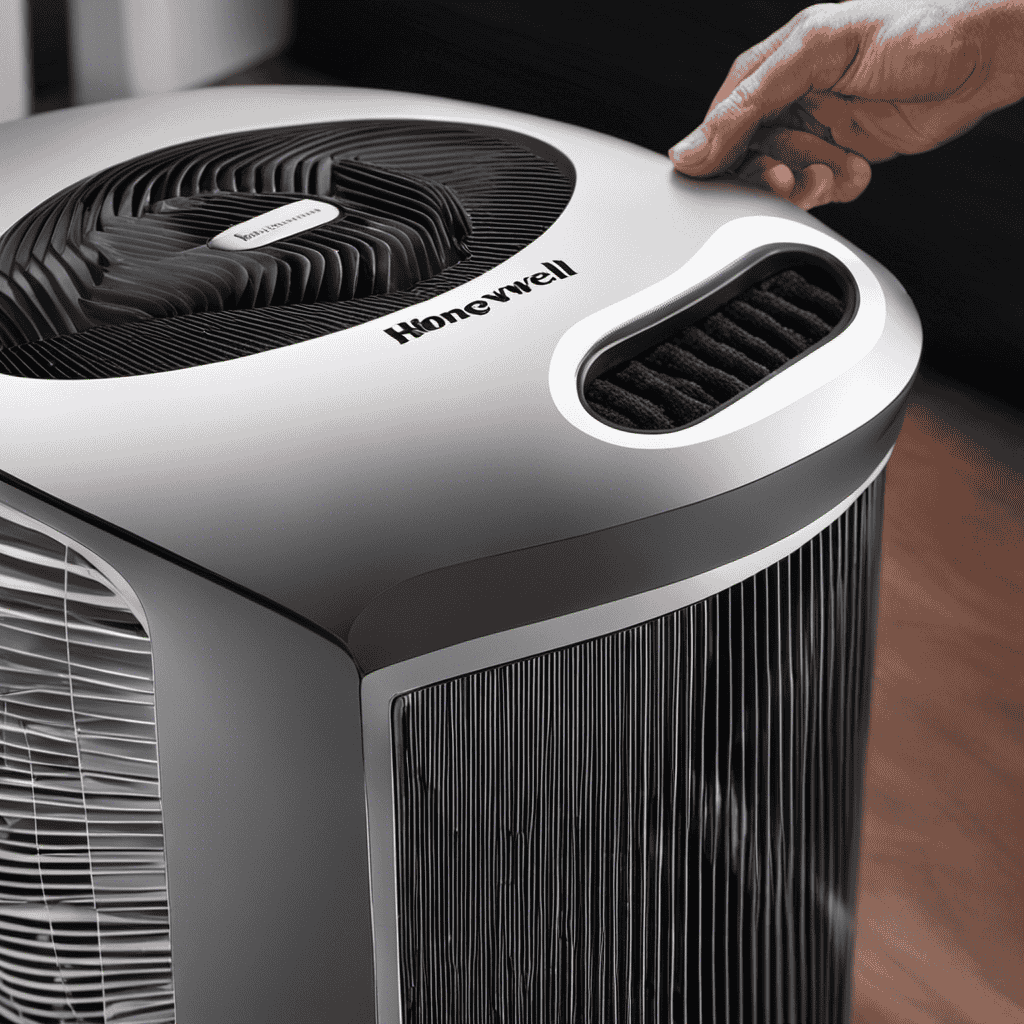
To understand the Honeywell Air Purifier, you’ll want to familiarize yourself with its features and how it works.
This air purifier is equipped with a HEPA filter, which stands for High-Efficiency Particulate Air. The HEPA filter is responsible for trapping small particles and allergens, ensuring cleaner air for you to breathe. It is important to regularly replace the HEPA filter to maintain optimal performance.
The Honeywell Air Purifier also employs noise reduction techniques to provide a quiet and peaceful environment. These techniques minimize the noise produced by the purifier, allowing you to enjoy clean air without any disturbance.
Now that you understand the features and functions of the Honeywell Air Purifier, let’s move on to gathering the necessary cleaning supplies.
Gather the Necessary Cleaning Supplies
When it comes to cleaning my Honeywell air purifier, there are a few essential tools that I always make sure to have on hand. These include a soft cloth or sponge, mild detergent or cleaning solution, and a vacuum cleaner with a brush attachment.
To properly clean the air purifier, I start by unplugging it and removing any filters or panels that can be detached. Then, using the soft cloth or sponge, I gently wipe down the exterior of the unit, being careful not to scratch or damage any surfaces.
After that, I use the vacuum cleaner with the brush attachment to remove any dust or debris from the filters and vents.
Required Cleaning Tools
You’ll need a few tools to clean your Honeywell air purifier. To properly maintain your air purifier, you’ll require a soft cloth, a vacuum cleaner with a brush attachment, and a small brush or toothbrush. These tools will help you effectively clean the different components of the air purifier.
The soft cloth can be used to wipe down the exterior of the purifier, removing any dust or dirt that may have accumulated.
The vacuum cleaner with a brush attachment is ideal for cleaning the pre-filter and the main filter, as it can easily remove larger debris and particles.
Lastly, the small brush or toothbrush can be used to clean the more delicate parts, such as the sensor or the control panel.
By utilizing these cleaning techniques and maintaining the filters regularly, you can ensure that your Honeywell air purifier continues to provide clean and fresh air for your space.
Now, let’s move on to the proper cleaning procedure.
Proper Cleaning Procedure
Now that we have discussed the required cleaning tools, let’s delve into the proper cleaning procedure.
When it comes to cleaning a Honeywell air purifier, there are a few key techniques to keep in mind.
Firstly, it is important to regularly clean the filters. The frequency of filter cleaning depends on the model and usage, but as a general rule, it is recommended to clean the pre-filter every 3 months and the HEPA filter every 12 months.
To clean the filters, gently vacuum them or rinse with water and mild detergent, making sure to let them dry completely before reinstalling.
Additionally, wipe down the exterior of the air purifier with a soft cloth and mild cleaning solution.
Following these proper cleaning techniques will ensure the optimal performance and longevity of your Honeywell air purifier.
Maintenance Tips for Longevity
For optimal longevity, it’s important to regularly maintain your Honeywell air purifier. This includes cleaning the filters and wiping down the exterior. To ensure maximum efficiency, follow these maintenance tips.
First, check the user manual for specific instructions on filter replacement. Typically, it is recommended to replace the filters every 3-6 months, depending on usage.
When cleaning the filters, gently vacuum or rinse them under running water to remove dust and debris. Allow the filters to dry completely before reinserting them into the air purifier.
Additionally, regularly wipe down the exterior of the unit with a soft, damp cloth. Avoid using harsh chemicals or abrasive materials that could damage the surface.
Following these maintenance tips will help prolong the lifespan of your Honeywell air purifier and ensure it continues to provide clean, fresh air for years to come.
Power off and Unplug the Air Purifier
First, make sure to power off and unplug the air purifier before cleaning it. This is a crucial step to ensure your safety and prevent any electrical accidents. To power off the unit, simply locate the power button and press it until the device turns off. Next, locate the power cord at the back of the air purifier and unplug it from the electrical outlet. Once the device is completely disconnected from the power source, you can proceed with the cleaning process.
To provide a visual representation of the steps, here is a table outlining the process:
| Steps to Power Off and Unplug the Air Purifier |
|---|
| 1. Locate the power button and press it to turn off the device. |
| 2. Unplug the power cord from the electrical outlet. |
Now that the air purifier is safely powered off and unplugged, we can move on to the next step of the cleaning process, which is to remove and clean the pre-filter.
Remove and Clean the Pre-Filter
Once the pre-filter is removed, it’s important to give it a thorough cleaning to ensure optimal performance of your air purifier. Proper pre-filter maintenance is vital in keeping your air purifier functioning effectively. Here is a step-by-step guide on how to clean the pre-filter and remove dirt and debris:
- Start by unplugging the air purifier and removing the pre-filter from the unit.
- Gently tap the pre-filter to remove any loose dirt or debris.
- Rinse the pre-filter under running water to remove stubborn particles.
- If necessary, use a soft brush or toothbrush to scrub away any remaining dirt.
- Allow the pre-filter to air dry completely before reassembling it into the air purifier.
By following these steps, you can ensure that your pre-filter is clean and free from dirt and debris, allowing it to effectively remove pollutants from the air.
Now, let’s move on to the next section about cleaning the HEPA filter.
Clean the HEPA Filter
When it comes to maintaining the HEPA filter in my air purifier, there are a few key points to keep in mind.
First, it’s important to understand the proper cleaning techniques to ensure the filter is working at its best. This includes using a soft brush or vacuum to remove any dust or debris.
Additionally, it’s crucial to know the frequency of filter cleaning, as this will vary depending on factors such as the level of air pollution in the area and the manufacturer’s recommendations.
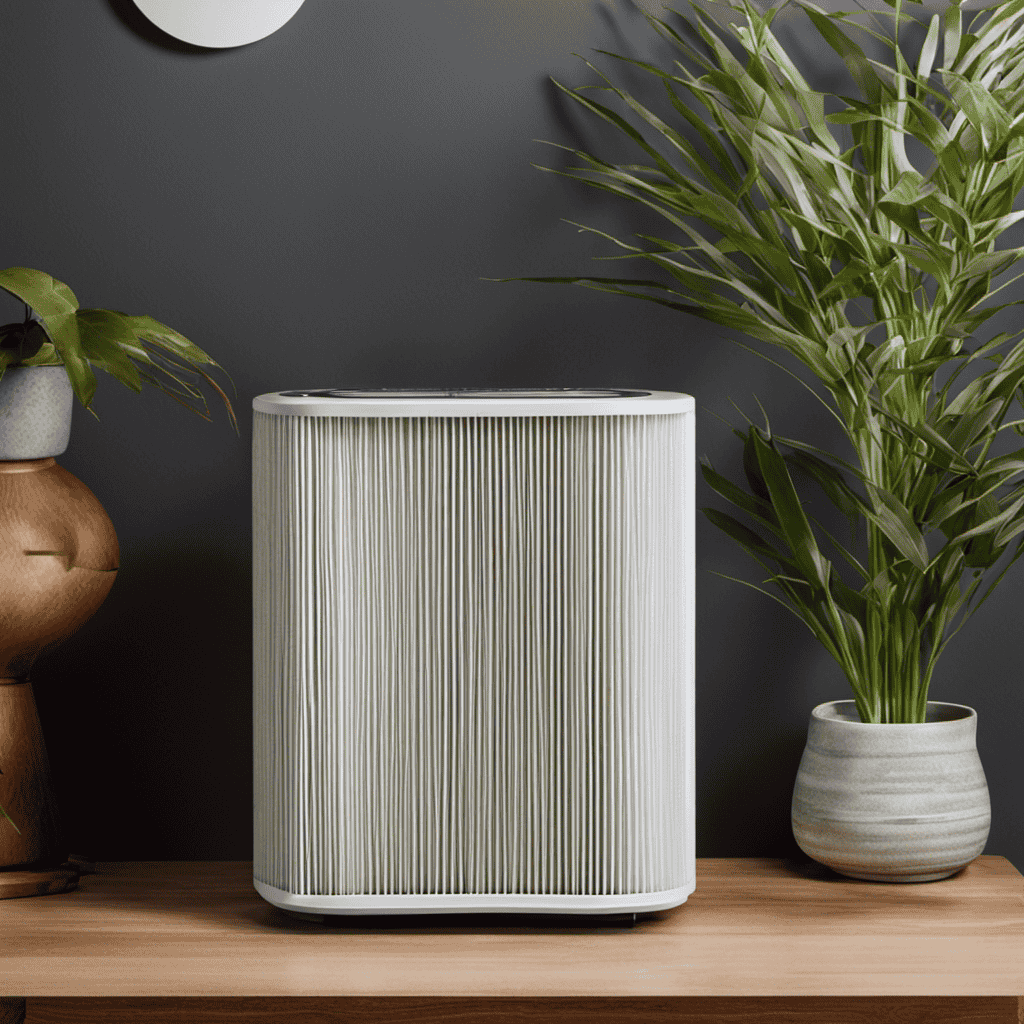
HEPA Filter Maintenance
To maintain your Honeywell air purifier’s HEPA filter, you’ll need to regularly vacuum or rinse it, depending on the model. The HEPA filter is a crucial component of the air purifier that traps small particles and allergens, ensuring clean and fresh air in your home.
Here are some essential tips for maintaining your HEPA filter:
-
HEPA Filter Replacement:
-
Check the manufacturer’s instructions for the recommended replacement schedule.
-
Replace the HEPA filter when it becomes visibly dirty or after a specified period.
-
Use genuine Honeywell replacement filters for optimal performance.
-
Troubleshooting Common Issues:
-
If the air purifier’s performance drops, check the HEPA filter for clogs or damage.
-
Ensure the filter is properly installed to avoid air leakage.
-
Clean or replace the pre-filter regularly to prevent debris buildup.
Proper Cleaning Techniques
Now that we understand the importance of maintaining the HEPA filter in our Honeywell air purifier, it’s crucial to know the proper cleaning techniques to ensure its optimal performance.
Many people make common mistakes when cleaning their air purifiers, which can lead to subpar results or even damage the device. To avoid these errors, start by reading the manufacturer’s instructions thoroughly.
Use a soft, damp cloth to clean the exterior of the air purifier, making sure to avoid excessive moisture.
When cleaning the pre-filter, gently vacuum or rinse it under running water.
For the HEPA filter, never wash or vacuum it as this could damage the delicate fibers. Instead, replace it according to the manufacturer’s recommendations.
Frequency of Filter Cleaning
Make sure to regularly check the condition of your HEPA filter to determine if it needs cleaning. Cleaning your HEPA filter is essential for maintaining the efficiency and effectiveness of your Honeywell air purifier.
Here are some important points to consider regarding the frequency of filter cleaning:
-
It’s recommended to clean your HEPA filter every 3-6 months, depending on the air quality of your surroundings and the usage of your air purifier.
-
Regular cleaning ensures that your air purifier continues to provide clean and healthy air by removing dust, pollen, pet dander, and other airborne particles from your home.
-
Clean filters also help to prolong the lifespan of your air purifier and prevent any potential damage or malfunctions.
Clean the Activated Carbon Filter
Start by removing the activated carbon filter from the Honeywell air purifier. The activated carbon filter is an important component of the air purifier as it is designed to capture and remove odors, gases, and volatile organic compounds from the air. Activated carbon works by adsorbing these pollutants onto its porous surface.
When it comes to disposal options, it is important to note that activated carbon filters cannot be cleaned or reused. They should be replaced every 3 to 6 months, depending on usage and air quality.
The benefits of activated carbon include its ability to effectively remove odors and harmful gases, improving the overall air quality in your home. It is an essential part of maintaining a clean and healthy indoor environment.
Clean the Ionizer (If Applicable
To clean the ionizer, simply unplug the device and gently wipe the ionizer plates with a soft cloth. Regular cleaning of the ionizer is essential for optimal performance and longevity.
Here are some cleaning techniques and maintenance tips for your ionizer:
-
Use a soft cloth: When wiping the ionizer plates, make sure to use a soft cloth to avoid scratching or damaging the delicate surface.
-
Remove any debris: Before wiping the plates, check for any debris or buildup. Use a brush or compressed air to remove any particles that may have accumulated.
-
Avoid using water: It is important to note that ionizer plates should not be submerged or cleaned with water. Water can damage the electronic components of the ionizer.
Reassemble and Test the Air Purifier
Once you have finished cleaning the ionizer plates, the next step is to reassemble the air purifier and test its functionality.
To reassemble the air purifier, start by carefully placing the cleaned ionizer plates back into their original positions. Make sure they are properly aligned and securely fastened.
Next, reattach the front grille by aligning the tabs with the slots and pressing gently until it clicks into place.
Finally, plug in the air purifier and turn it on. Listen for any unusual sounds or vibrations, as these could indicate a problem. Check that the fan is running smoothly and that the indicator lights are functioning correctly.
If you encounter any issues during the reassembly or testing process, consult the user manual for troubleshooting tips or contact the manufacturer for further assistance.
Frequently Asked Questions
How Often Should I Clean My Honeywell Air Purifier?
I clean my Honeywell air purifier every three months to keep it running efficiently. Regular maintenance ensures optimal performance and helps to remove dust, allergens, and pollutants from the air in my home.
Can I Use Water to Clean the Filters of the Air Purifier?
Yes, water can be used to clean the filters of a Honeywell air purifier. It is one of the recommended cleaning methods for maintaining the efficiency of the purifier.
Is It Necessary to Clean the Ionizer of the Air Purifier?
It is necessary to clean the ionizer of the air purifier to maintain its effectiveness. The benefits of regular ionizer maintenance include improved air quality, while drawbacks include the time and effort required. Alternative cleaning methods for air purifier ionizers may include using a soft brush or compressed air.
Can I Use Any Cleaning Solution to Clean the Filters?
I can use various cleaning solutions to clean the filters of my Honeywell air purifier. However, it’s important to follow the manufacturer’s instructions and avoid using harsh chemicals that could damage the filters. Alternative cleaning methods may also be available.
How Do I Know if the Filters Need to Be Replaced Instead of Just Cleaned?
If you’re wondering when to replace the filters in your Honeywell Air Purifier, it’s all about following the maintenance schedule. Cleaning can only do so much; eventually, the filters need a breath of fresh air.
Is the Cleaning Process for an Air Purifier Similar to How It Cleans the Air?
Yes, the air purifier cleaning process is similar to how it cleans the air. Both involve removing dirt, dust, and other particles to improve air quality. Regular maintenance of the air purifier, such as cleaning or replacing filters, is essential to ensure it continues to effectively clean the air.
Conclusion
In conclusion, cleaning a Honeywell air purifier is a straightforward process that can greatly improve the performance and lifespan of the device. By following the steps outlined in this article, you can ensure that your air purifier is free from dirt, dust, and other pollutants.
Regular cleaning of the pre-filter, HEPA filter, activated carbon filter, and ionizer (if applicable) will help maintain the efficiency and effectiveness of your air purifier, providing you with cleaner and fresher air in your home.
So, take the time to clean your Honeywell air purifier regularly and enjoy the benefits of clean and purified air.