I’ve always been interested in learning how to replace the filter in my Austin Air Purifier. Therefore, I conducted some research to find out how to do it.
In this step-by-step guide, I’ll show you exactly how to determine the type of filter you need, gather the necessary tools and materials, and safely replace the old filter with a new one.
By the end of this article, you’ll be able to confidently change the filter in your Austin Air Purifier and enjoy cleaner, fresher air in your home.
Key Takeaways
- Check the manufacturer’s instructions for filter compatibility and identify the type of filter needed for your specific Austin Air Purifier model.
- Gather the necessary tools and materials, such as a screwdriver, replacement filter, cleaning cloth or brush, and the user manual.
- Turn off and unplug the air purifier before locating and removing the old filter. Dispose of the old filter properly.
- Install the new filter according to the manufacturer’s instructions and regularly maintain and replace the filter to improve air quality and extend the purifier’s lifespan.

Filter-Monster – Replacement Filter Kit with Pre-Filters – Compatible with Austin Air Healthmate FR400 Air Purifier Filter and Austin Air Models HM400, HM402, HM405, HM410, and HM450
- Compatibility: Fits Austin Air HM400, HM402, HM405, HM410, HM450
- High-Efficiency Filtration: Removes 99.97% of airborne particles
- Effective Particle Removal: Filters particles as small as 0.3 microns
As an affiliate, we earn on qualifying purchases.
As an affiliate, we earn on qualifying purchases.
Determine the Type of Filter Needed for Your Austin Air Purifier
To determine the type of filter you’ll need for your Austin air purifier, start by checking the manufacturer’s instructions. These instructions will provide you with the specific details regarding the compatible filters for your purifier model.
Different air purifiers are designed to target specific types of air pollutants, such as dust, pollen, pet dander, mold spores, and even odors. Therefore, it’s crucial to choose the right filter that can effectively capture and eliminate these pollutants from your indoor air.
Using an air purifier with the correct filter can provide numerous benefits, including improved air quality, reduced allergy symptoms, and a cleaner living environment.
Once you have identified the type of filter needed, you can easily purchase it online or from a local retailer.
Gather the Necessary Tools and Materials for the Filter Change
First, make sure you have all the tools and materials you need for the filter swap in your Austin air purifier. Here’s a step-by-step guide on how to gather everything you’ll need:
- Screwdriver: This will help you remove the screws holding the front panel in place.
- Replacement filter: Make sure you have the correct filter size and type for your specific Austin air purifier model.
- Cleaning cloth or brush: Use this to gently wipe away any dust or debris that may have accumulated on the inside of the purifier.
- User manual: Keep this handy for reference, as it may provide specific instructions or tips for your particular model.
By having these tools and materials ready, you’ll be well-prepared to successfully complete the filter change in your Austin air purifier.
Let’s move on to the next step.
Turn off and Unplug the Austin Air Purifier
Make sure you remember to switch off and disconnect your Austin air purifier before proceeding to the next step.
Cleaning and maintaining your Austin Air Purifier is essential to ensure its optimal performance. Here are some tips to help you keep your air purifier in top shape.
Firstly, turn off the power switch and unplug the unit from the electrical outlet. This will prevent any electrical accidents and ensure your safety.
Secondly, remove the filters from the air purifier using the instructions provided in the user manual. Gently clean the filters using a vacuum cleaner or a soft brush to remove any dust or debris. If the filters are excessively dirty, it may be time to replace them.
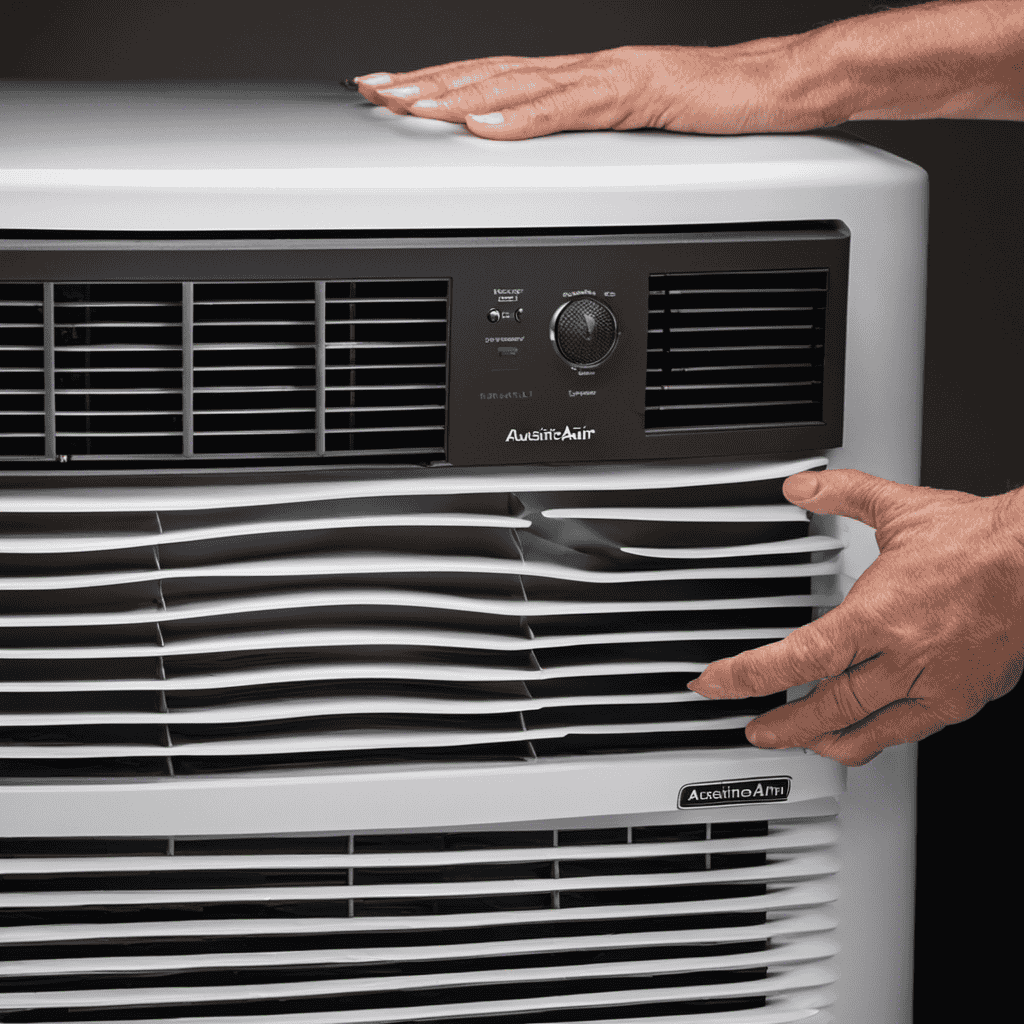
Locate the Filter Compartment on the Austin Air Purifier
Once you’ve finished cleaning or replacing the filters, you can easily find the compartment where they are located on your Austin air purifier. Here’s a step-by-step guide on how to locate the filter compartment and troubleshoot common issues with air purifier filters:
-
Start by turning off and unplugging the air purifier for safety.
-
Look for a latch or a panel on the back, side, or top of the unit. This is where the filter compartment is usually located.
-
Open the latch or remove the panel to access the filter compartment.
-
Inside the compartment, you’ll find the old filters. Carefully remove them and dispose of them properly.
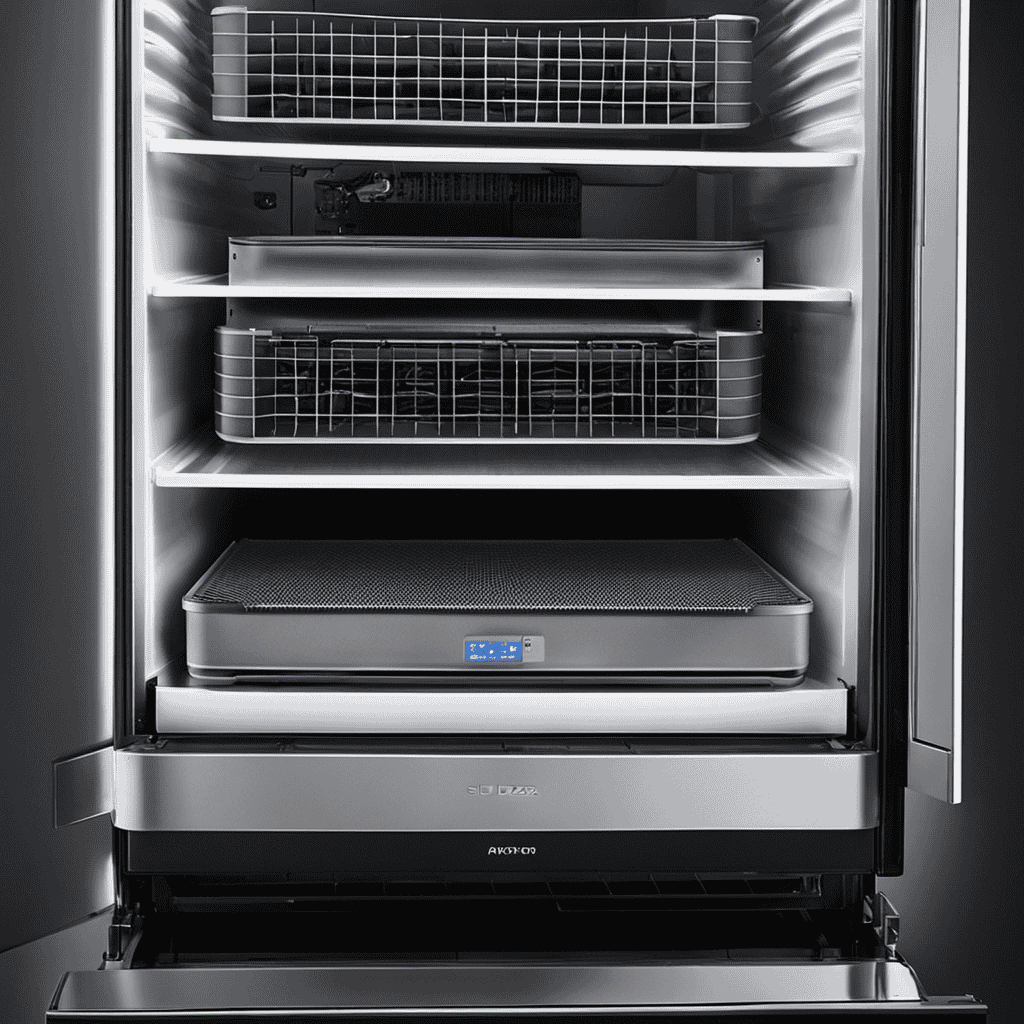
Remove the Old Filter From the Austin Air Purifier
To remove the old filter from your Austin Air Purifier, follow these steps:
-
Turn off the power to the air purifier and unplug it from the electrical outlet for safety.
-
Open the latch or remove the panel to access the filter compartment.
-
Locate the old filter inside the compartment. It is usually placed in a designated slot or secured with clips.
-
Carefully remove the old filter by gently pulling it out. Be cautious not to damage the filter or the purifier.
-
Once the old filter is removed, place it in a proper filter storage bag or container. This will prevent any dust or debris from spreading.
Install the New Filter Into the Austin Air Purifier
When installing the new filter, you’ll notice that it easily slides into the designated slot or securely clips in place.
Here are some tips for maintaining the lifespan of your air purifier filter and the importance of regular filter replacement for air purifiers:
-
Make sure to follow the manufacturer’s instructions for replacing the filter. Each air purifier model may have different installation methods.
-
Regularly check the filter to see if it needs to be replaced. A clogged or dirty filter will reduce the purifier’s efficiency.
-
Consider using a pre-filter to capture larger particles and extend the lifespan of the main filter.
-
Set a reminder to replace the filter every 6 to 12 months, depending on usage and the manufacturer’s recommendations.
Turn on and Test the Austin Air Purifier After the Filter Change
Now that you’ve successfully changed the filter in your Austin Air Purifier, it’s important to remember to schedule regular maintenance reminders for filter replacements.
This will ensure that your air purifier continues to function effectively and provide you with clean air.
In addition, it’s crucial to dispose of the used filters properly to prevent any potential contamination or environmental harm.
Let’s discuss some simple steps for setting maintenance reminders and the correct methods for filter disposal.
Maintenance Reminders for Filters
Make sure you’re aware of the maintenance reminders for changing the filters in your Austin air purifier. It’s important to follow a filter replacement schedule to ensure that your air purifier continues to function effectively.
Here are some key maintenance reminders for your Austin air purifier:
-
Check the filter replacement schedule provided by the manufacturer. This will help you determine when to change the filters for optimal performance.
-
Make sure to clean the filter compartment regularly. Dust and debris can accumulate over time, affecting the efficiency of the filters.
-
When replacing the filters, always refer to the user manual for specific instructions. Different models may have different filter replacement procedures.
-
Consider purchasing extra filters in advance, so you have replacements on hand when it’s time to change them.
Proper Filter Disposal Methods
To properly dispose of the filters, remember to follow the guidelines provided by the manufacturer and local waste management regulations. Proper filter disposal is important to protect the environment and prevent any potential harm.
Here are some steps to help you dispose of your filters properly:
-
Check the manufacturer’s instructions: Different filters may have specific disposal instructions, so it’s important to read and follow them carefully.
-
Separate the filter from the purifier: Remove the filter according to the manufacturer’s instructions. This may involve unplugging the purifier and opening the filter compartment.
-
Determine recycling options: Research recycling options available in your area. Some filters can be recycled, while others may need to be disposed of as regular waste.
-
Contact local waste management: If recycling options are not available, contact your local waste management facility to inquire about proper disposal methods for your specific filter.
Frequently Asked Questions
How Often Should I Change the Filter in My Austin Air Purifier?
I change the filter in my Austin Air Purifier every 6-12 months depending on usage. Signs of a dirty filter include decreased air flow and a musty smell. To clean the air purifier, follow these steps.
Can I Use a Filter From a Different Brand in My Austin Air Purifier?
Yes, you can use a filter from a different brand in your Austin air purifier. However, it’s important to ensure compatibility and consider alternative filter options that are specifically designed for your model.
Is There a Specific Direction to Insert the New Filter Into the Austin Air Purifier?
Inserting the new filter into the Austin Air Purifier is a breeze. Just follow these simple steps: open the purifier, remove the old filter, insert the new one, and close it back up. Easy peasy!
Can I Clean and Reuse the Old Filter Instead of Replacing It?
No, it is not recommended to clean and reuse the old filter in the Austin Air Purifier. The filter is designed to be replaced for optimal performance. Regularly replacing filters improves air quality and ensures the purifier works effectively.
How Do I Properly Dispose of the Old Filter?
To properly dispose of the old filter, it’s important to consider the proper disposal methods due to their environmental impact. Follow these step-by-step instructions to ensure responsible disposal and minimize harm to the environment.
Conclusion
In conclusion, changing the filter in my Austin Air Purifier was a breeze. With the right tools and materials at hand, I was able to locate the filter compartment and remove the old filter with ease.
Installing the new filter was a straightforward process, and after turning on the purifier, I could immediately feel the difference in the air quality. It’s like a breath of fresh air!
So don’t hesitate, follow these steps and you’ll be enjoying clean, purified air in no time. It’s as easy as pie!